Vim (Vi IMproved) is one of the most favourite text editors among programmers. It has its own specialities in performing different operations with short hand commands.
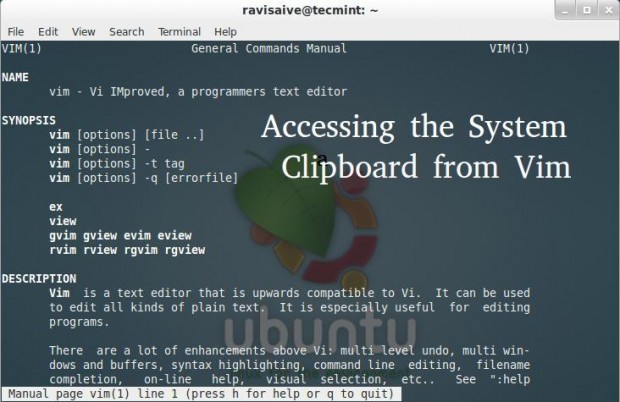
For example, to copy the highlighted text we use the ‘y‘ command and ‘x‘ to cut the same. But, by default vim (and not gVim) clipboard contents cannot be accessed after closing vim instances.
Vim uses the ‘+‘ register to refer to the system clipboard. You can run ‘vim –version‘ and if you cannot see something like “+xterm_clipboard” and instead “xterm_clipboard“, then internal clipboard contents will not be available outside vim.
Install gvim and parcellite
In order to access the vim clipboard contents, you need to install gvim package. The gVim is a GUI mode for vim editor where clipboard option is enabled by default.
# yum install -y gvim
Next, enable RPMForge Repository to install parcellite package. The Parcellite is a lightweight, tiny and free clipboard manager for Linux.
# yum install -y parcellite
Once installed, run the following command. Where argument ‘&’ is used to send parcellite for running as a background process.
# parcellite &
Check whether the option is enabled in gvim.
# gvim --version
Make sure you have the “+xterm_clipboard” option displayed in the output as shown below.
VIM - Vi IMproved 7.2 (2008 Aug 9, compiled Apr  5 2012 10:12:08)
Included patches: 1-411
Modified by <[email protected]>
Compiled by <[email protected]>
Huge version with GTK2 GUI.  Features included (+) or not (-):
+arabic +autocmd +balloon_eval +browse ++builtin_terms +byte_offset +cindent
+clientserver +clipboard +cmdline_compl +cmdline_hist +cmdline_info +comments
+cryptv +cscope +cursorshape +dialog_con_gui +diff +digraphs +dnd -ebcdic
+emacs_tags +eval +ex_extra +extra_search +farsi +file_in_path +find_in_path
+float +folding -footer +fork() +gettext -hangul_input +iconv +insert_expand
+jumplist +keymap +langmap +libcall +linebreak +lispindent +listcmds +localmap
+menu +mksession +modify_fname +mouse +mouseshape +mouse_dec +mouse_gpm
-mouse_jsbterm +mouse_netterm -mouse_sysmouse +mouse_xterm +multi_byte
+multi_lang -mzscheme +netbeans_intg -osfiletype +path_extra +perl +postscript
+printer +profile +python +quickfix +reltime +rightleft -ruby +scrollbind
+signs +smartindent -sniff +startuptime +statusline -sun_workshop +syntax
+tag_binary +tag_old_static -tag_any_white -tcl +terminfo +termresponse
+textobjects +title +toolbar +user_commands +vertsplit +virtualedit +visual
+visualextra +viminfo +vreplace +wildignore +wildmenu +windows +writebackup
+X11 -xfontset +xim +xsmp_interact +xterm_clipboard -xterm_save
Open up user’s .bashrc file.
# vim ~/.bashrc
And add the alias and save the file (press ‘i’ to insert line and press ESC, then run :wq to save and exit).
# .bashrc

# User specific aliases and functions

alias rm='rm -i'
alias cp='cp -i'
alias mv='mv -i'
alias vim='gvim -v'
# Source global definitions
if [ -f /etc/bashrc ]; then
        . /etc/bashrc
fi
This alias is a built-in used to bypass some command to another. Thus every time when vim command is issued, the corresponding alias goes to gvim with clipboard enabled by default.
Now edit your ‘.vimrc‘ file in a similar way (In case if you don’t have a .vimrc file, generate one such file through and then get back here.
# vim ~/.vimrc
Append the following line and save the file.
autocmd VimLeave * call system("echo -n $'" . escape(getreg(), "'") . "' | xsel -ib")
Now open any file in vim and highlight the portion of text (using ‘v‘ command) and press “+y. Try to paste anywhere outside vim (after closing or without closing vim) and you are done.
Generating .vimrc File
Run the following command to generate .vimrc file (skip this part if you already have one).
# cd   [This will put you in home directory]
# vim .vimrc
In vim run the following after pressing the ESC key (In vim every command is run after pressing ESC key which puts you in command mode).
:r $VIMRUNTIME/vimrc_example.vim
:w