In a previous article I shared a brief review about 7 web and cloud hosting providers I thought you would like to check out. In that review, I not only listed the services and products offered by those companies but also the prices and other features.
In case you missed it, you can read it here: The 7 Best Web Hosting Companies for Linux.
In this guide we will cover a similar, yet slightly different topic: managing email accounts for your domain using Google Apps. Suppose you purchased a domain from one of the companies listed in the above-mentioned article.
Perhaps you even started building a website for your business or hired them to do it for you. The next step consists of establishing a communication channel for you and your audience or prospective clients, and email comes to mind as the first solution for that purpose.
Why Google Apps?
In all of the cases reviewed in our last article, a number of free email accounts are offered along with the purchase of a web hosting plan, but there are reasons why you may want to consider using the email service of what I would call “the biggest guy in the industry” (also known as Google).
By hosting or managing your email accounts separately from your website you add a security layer in that if the web server gets compromised for some reason, your emails are safe. In addition, if your website is on shared hosting, you run the risk of getting your domain blacklisted if another account in the same server (which shares the IP address with your domain) abuses the email service. Not likely to happen, but it can happen to you as it happened to me a few years ago (not with any of the recommended providers, though).
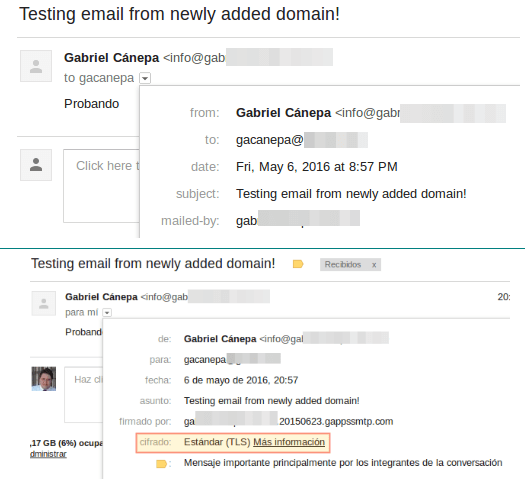
All of that for the worry-free price of $5 per user per month – and you not only get access to the email service but also to all of the rest of the apps (Google drive, Calendar, etc). On top of this, even with the basic plan you get standard TLS encryption for your email. Not bad at all for the price, if you ask me.
Don’t worry about the price yet, though, because you can try the service free of charge for 30 days.
Setting up a Google apps account for your domain
STEP 1 – To start setting up a Google apps account for your domain, go to https://apps.google.com/ and click on Get started.
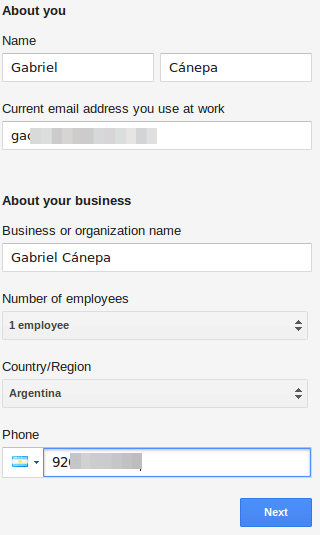
You will then be asked to fill out a form with your name, a current email address to use for registration, your business or organization name, your number of employees, country, and phone number, as you can see below. Once done, click Next:
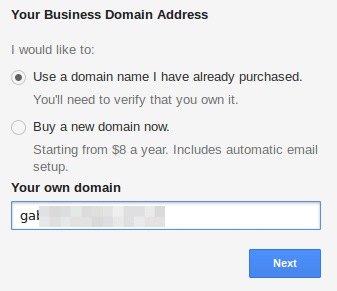
STEP 2 – In the following screen you will be prompted to choose whether you will be using a domain you already own (you will need to verify this) or purchase a separate one from Google.
In this guide I will assume that you have already registered a domain, as I have. Thus, I will choose “Use a domain name I have already purchased” and enter the domain in the textbox below. Then let’s click Next again:
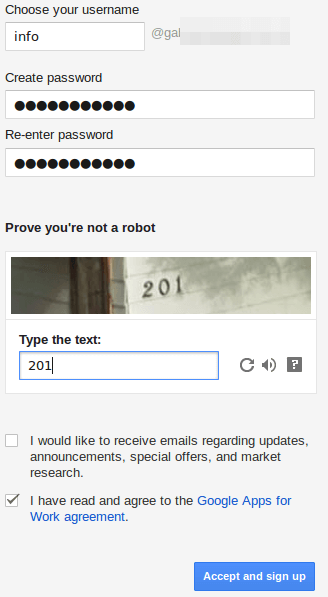
STEP 3 – In the next step you will need to enter your desired email id ([email protected]), choose a password, and prove you’re not a robot by entering the captcha in the textbox. To proceed, you will need to agree with the terms and conditions of the service before clicking Accept and sign up:
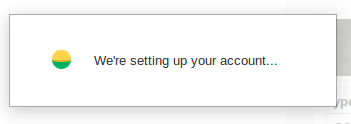
Then sit back and relax for a few seconds while your account is being set up:
Once the account has been created, you will receive a notification to the registration email address you specified in STEP 1 earlier, and will be taken to your administration dashboard where you will be able to add other accounts to your domain and will receive the instructions to verify that you actually own it.
Once each part of the verification process is completed you will have to click the associated checkbox.
1). Choose a verification method (choose only one):
- a. Add a meta tag -provided by the Google apps service- to your homepage.
- b. Upload a HTML file to your website.
- c. Add a domain host record (TXT or CNAME).
We’ll go with a) as it is the easiest and fastest way. However, feel free to choose one of the others if you wish.
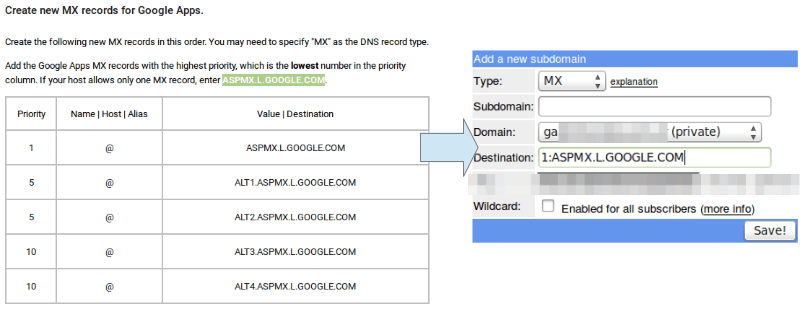
2). In the control panel for your domain, add the indicated Google MX records (may differ for your case):
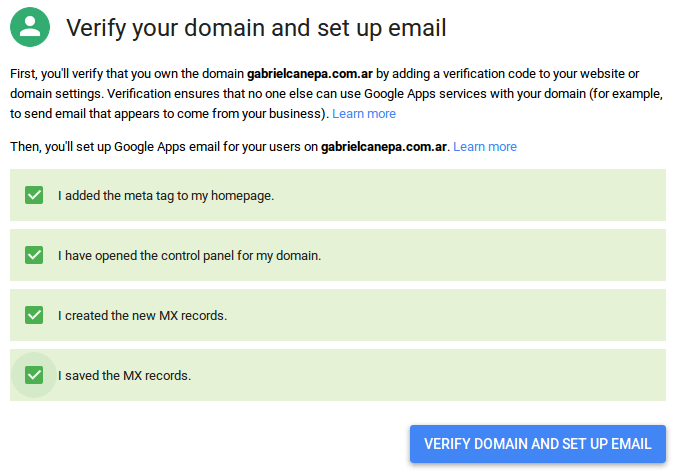
3). Save the MX records you added previously and check that all of the verification steps have been completed. Finally, click Verify domain and setup email:
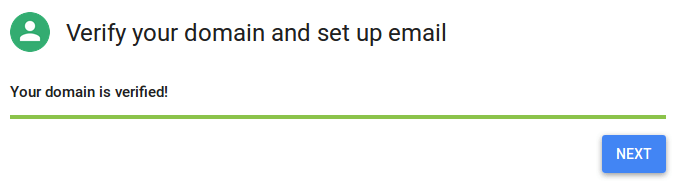
If everything works as expected, your domain should be verified in a matter of seconds:
Otherwise, you will be prompted to correct an error in one of the previous steps (nothing to worry about, though).
Please note that at this point, the emails sent to your domain are being routed to your newly created Google apps account (give it a couple of hours for DNS propagation):
By clicking Next above, you will finish the process and will be prompted to choose a billing plan to ensure that your account is not suspended at the end of the free trial period, but you will not be charged until that period ends.
Furthermore, you can also cancel your account anytime if you are not satisfied following the instructions given in the following YouTube video:
The following plans are available:
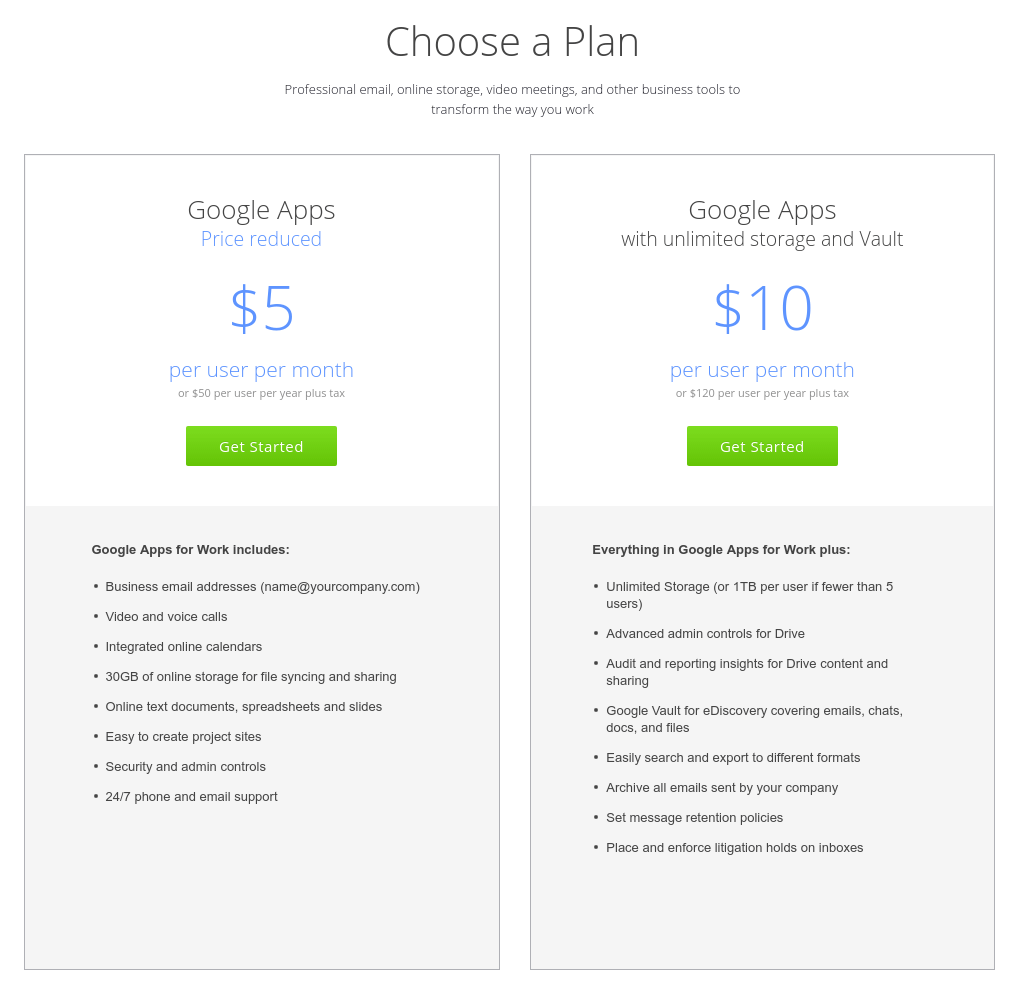
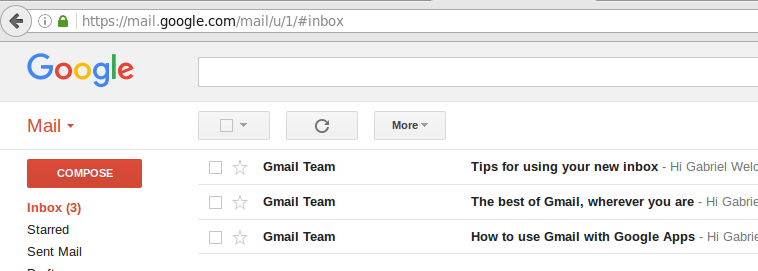
To wrap up, here are two screenshots of emails going back and forth between my main email address and the account that I created early in this article:
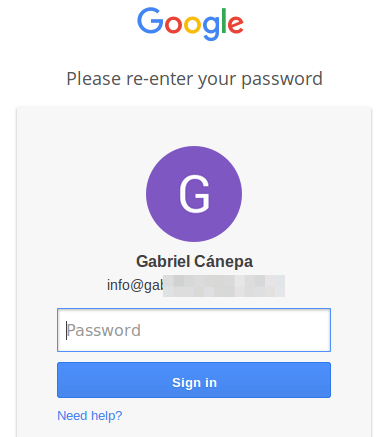
To access your newly created email account, go to https://mail.google.com and enter your credentials. You should be able to login without issues:
Vouchers for our Customers
we’re also giving you two following voucher codes, which will give you discount of 20% for the first year.
1. XARYH6NC74HMY6J
2. 4CYYQ6FNAFFMP3H
To use the voucher codes simply login to https://apps.google.com/ –> Billing settings, choose Payment plan and enter any of the above promo code.
Summary
In this guide we have shared the reasons why you would consider using a Google apps account to manage emails for your custom domain, which not only makes the email addresses of your business look more professional but also free you from the task of managing emails.
Grab your free Google Apps trial account
Go ahead and try the service, and don’t hesitate to let us know how it went using the comment form below.
We look forward to hearing from you!
The promotion code you entered is not valid.
@Mesut,
Added new promotion codes, which will give you 20% discount for the first year and codes expires 09/2017.
Glad to hear!
Wow ! Amazing post.I previously had no idea of creating an email ID for a domain.I usually used my own Gmail id .Now I definatelty gonna try this method.Thanks for the post and the vouchers!Gabriel.