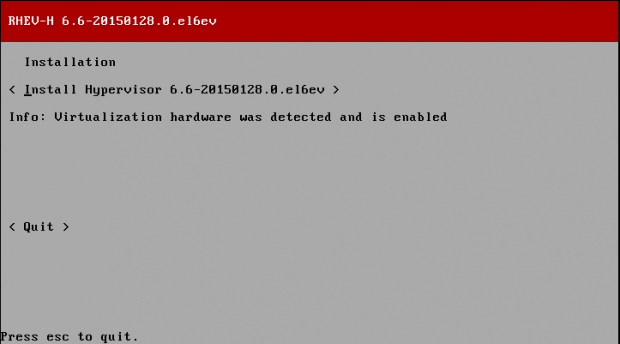
14. In the start console make sure about INFO which talking Virtualzation H/W was detected and enabled. Don’t continue with anything else..
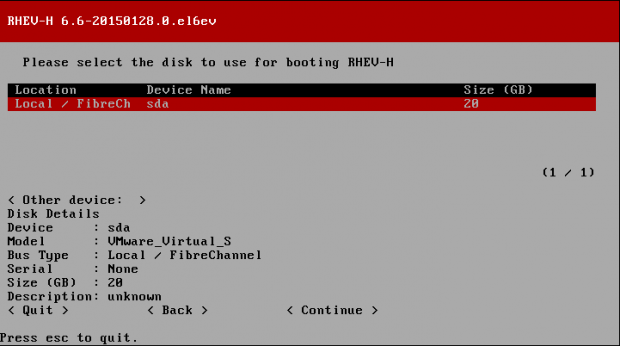
15. Check you preferred language and continue with your local storage.
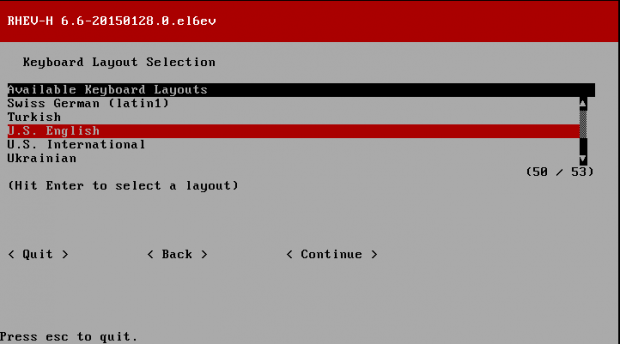
Hint: Use arrows keys to change and space to select and deselect options.
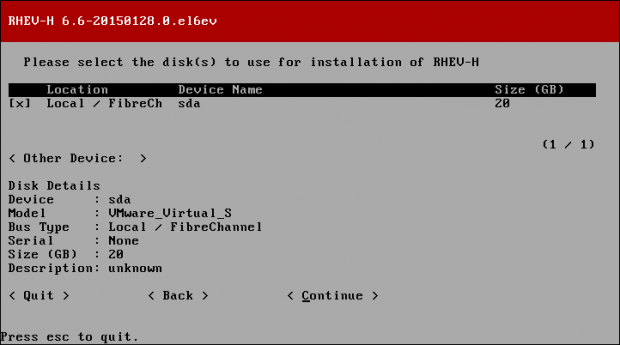
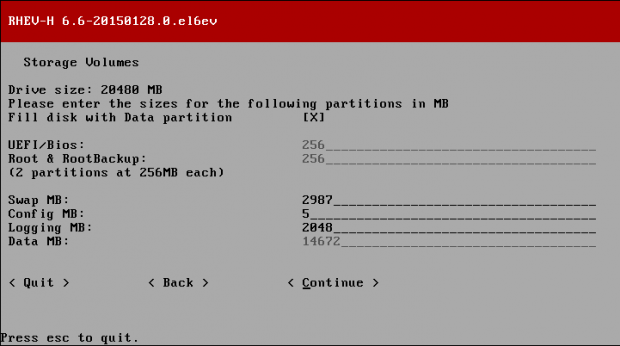
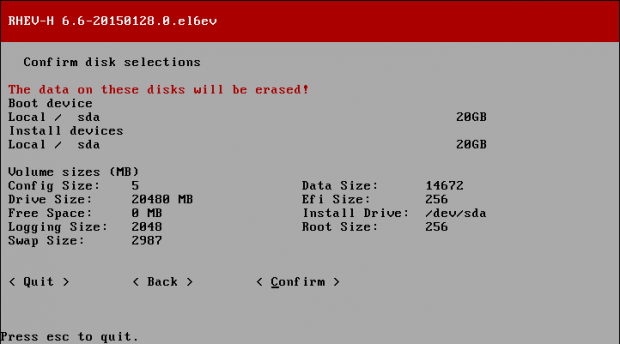
16. There is no need to change the default values of storage volumes and system portions, so keep it as defaults and make sure to review and confirm settings.
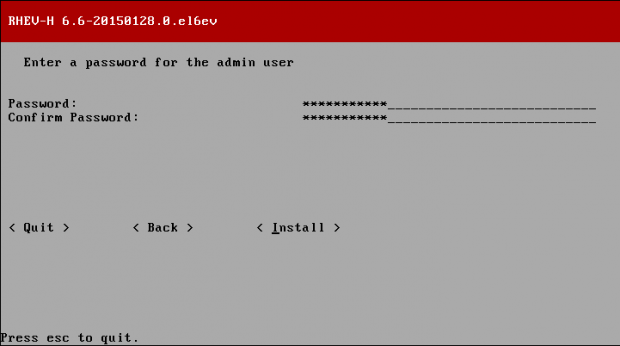
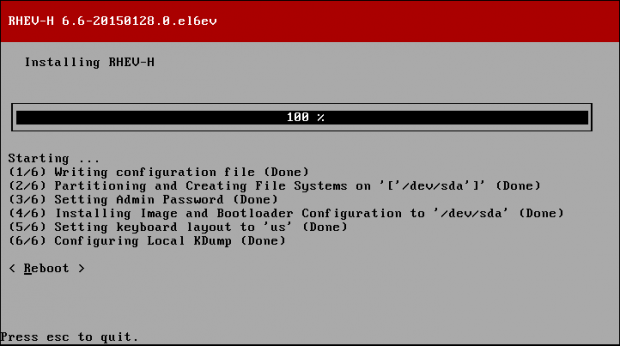
17. For security reasons, root account isn’t available directly by-default as you should login with admin account, which have full privilege – then switch to root account. So take care about admin password as its equivalent to root password in importance.
Mainly, root account be needed for maintenance and troubleshoot proposals. Any configuration or customization done be admin account only.
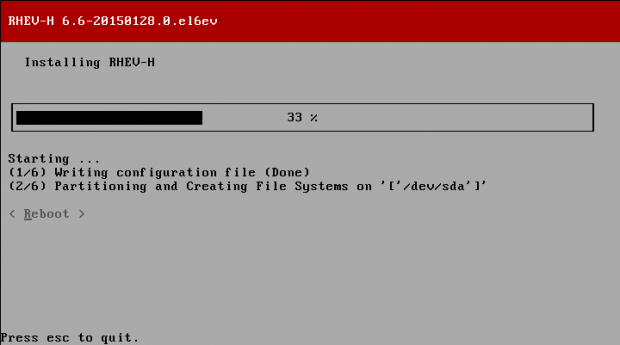
Wait minutes until installation finishes and then “Reboot” the system.
18. After rebooting, provide admin credentials to login.
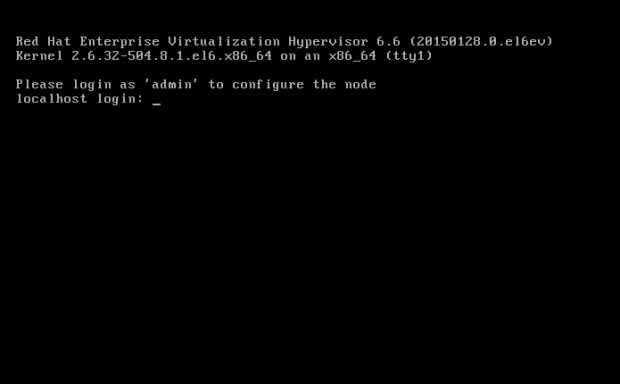
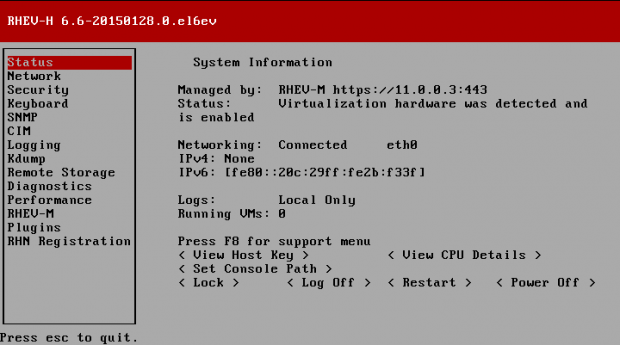
This is the default console to manage the basic configuration of your hypervisor.

Hint: Review the status of your hypervisor and make sure it looks like the above.
19. Now, we will make three major, basic and important configuration.
- Network
- Security
- RHEV-M
Network:
Select Network tab [using arrows].
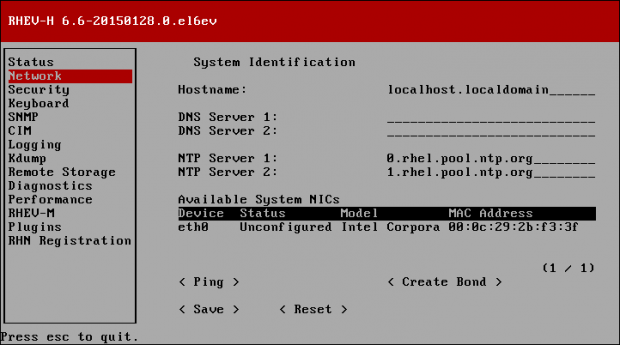
Change you hypervisor hostname and add DNS IP address.

Hint: For our VMware workstation environment, we will provide the gateway IP address.
Next, configure Static IP for your NIC.
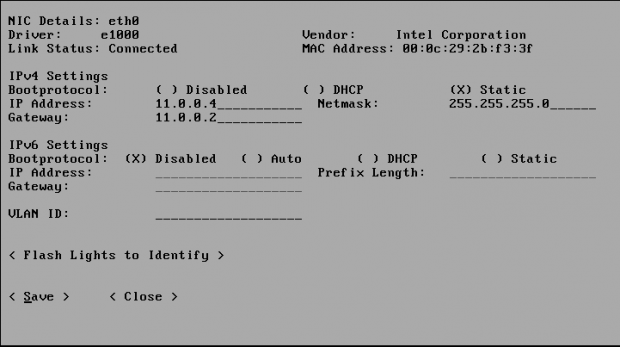
Then save and close ‘wait few minuets‘…

Test your connectivity with internet using ping.
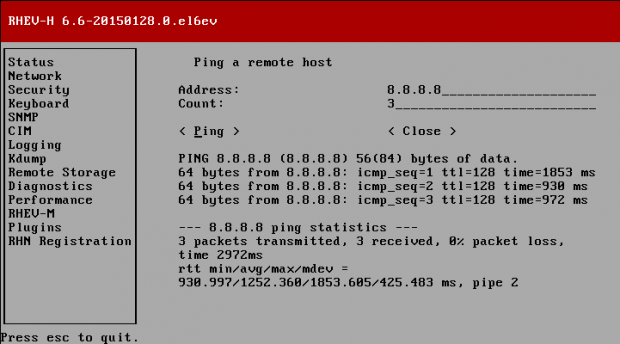
Important: Check the connectivity between hypervisors nodes and manager machines using ping.
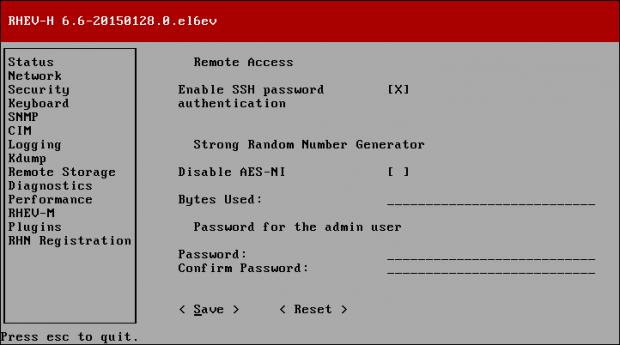
Security
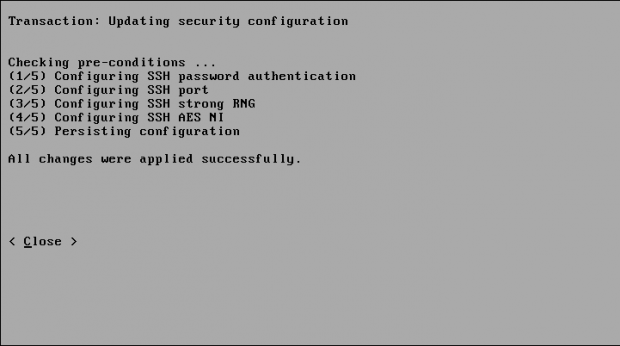
Select security tab. By default ssh is disabled enable it [by check it using ‘space‘] and then save and close.
RHEV-M
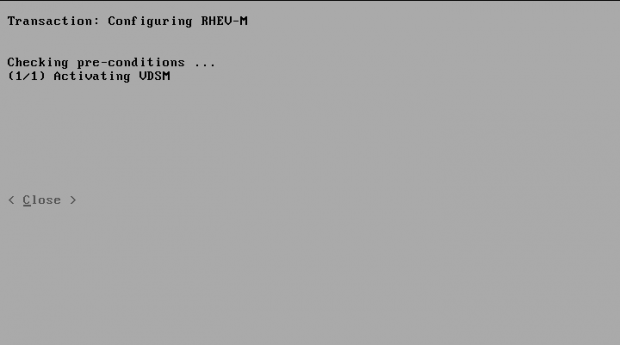
The last and important thing is establish connection between hypervisors and manager then registration them under the manager.
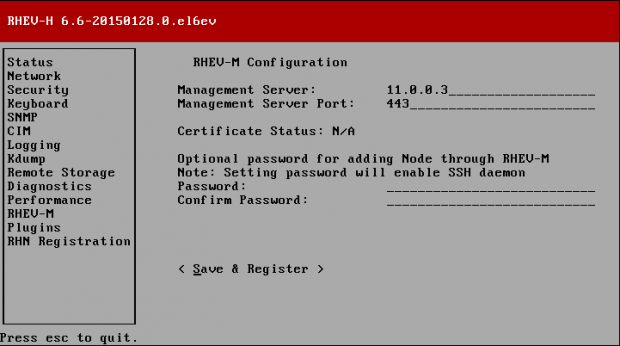
Due to SSL connection you should compare SSL Finger print with Internal CA from RHEVM.
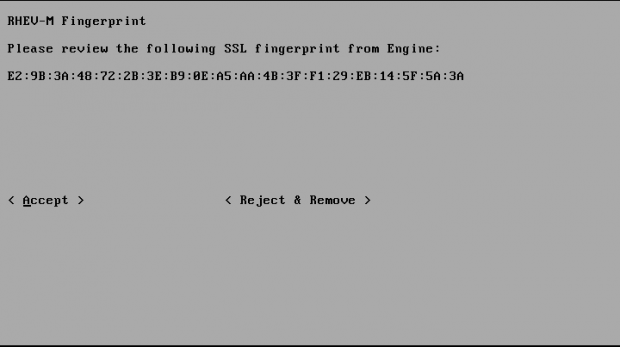
Hint: If you reviewed it with Install RedHat Enterprise Virtualization – Part 1 article, we will find them identical.
Then accept and close the tab, next go to status tab and review everything.
20. Final check, using RHEVM web interface. If you reviewed previous article, you will find there is no hosts under hosts tab.
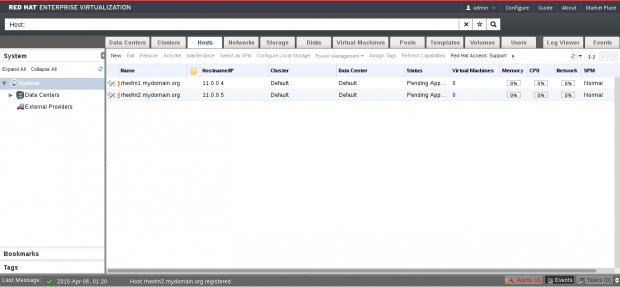
You will find node is registered successfully and ready for admin approval to be included under data-center.
Conclusion
We’ve discussed how to deploy our environment hypervisors and connect them to manager, in our next upcoming article we will see how to deploy to general datacenter with clusters using shared storage. Last thing, If you working over real environment, skip VMware preparation section.
Reference Links:
- Red Hat Enterprise Virtualization Installation Guide
- Red Hat Enterprise Virtualization Administration Guide


Hello Team,
I installed RHEVH4.0 on a virtual machine using Oracle VM Virtual Box. The installation was successful but I am not sure how to get the hypervisor admin console window and how can I register the hypervisor under my RHEVM.
Can someone please help me on this?
Thanks,
Pramod
Hi Mohammad, Thanks for this article.
I have one query – How can I get the hypervisor ISO image ?
Hi Mohammad Dosoukey, thanks for your beautiful tutorial about Red Hat Enterprise Virtualization. I am waiting for your next post. Will you please make this hurry? Thanks again.