May 26, 2015 marked the release of Fedora 22, which comes in three editions viz., Workstation (for Desktop and Laptops – target is Home User), Server (For Real Production Server) and Cloud (for Deploying hosting and Cloud related Applications). We have covered a series of topics on Fedora 22 which you may like to go through:
- Fedora 22 Released – What’ New
- 27 Useful DNF Commands to Manage Packages
- Fedora 22 Workstation Installation Guide
- Install Fedy to Tweak Fedora Systems
Here in this article we will cover the detailed installation instructions for Fedora 22 Server. If you have already installed previous version of Fedora, you may update using our upgrade article Upgrade Fedora 21 to Fedora 22. If you want to install fresh Fedora 22 on one your server, this article is for you.
First Download the Fedora 22 Server Edition from the link below, as per your machine architecture. Note that the link below are for 32-bit and 64-bit machine. Also there is a Netinstall Download link, which downloads comparatively smaller ISO.
At the time of Installation Netinstall image, it will pull package from the repositories thus installation will require a little more time based upon Internet speed and physical memory.
Download Fedora 22 Server Live Image
- Fedora-Server-DVD-i386-22.iso – Size 2.2GB
- Fedora-Server-DVD-x86_64-22.iso – Size 2.1GB
Download Fedora 22 Server Netinstall Image
- Fedora-Server-netinst-i386-22.iso – Size 510MB
- Fedora-Server-netinst-x86_64-22.iso – Size 448MB
Installation of Fedora 22 Server
1. Once you have Downloaded the ISO image, its time to check the integrity of ISO image using following command.
# sha256sum Fedora-Server-DVD-*.iso

Sample Output
b2acfa7c7c6b5d2f51d3337600c2e52eeaa1a1084991181c28ca30343e52e0df  Fedora-Server-DVD-x86_64-22.iso
Now validate this hash value with the one provided by official website of Fedora.
- For 32-bit ISO checksum click Fedora-Server-22-i386-CHECKSUM
- For 64-bit ISO checksum, click Fedora-Server-22-x86_64-CHECKSUM
Now the integrity of Downloaded ISO is verified, you may proceed to burn it to a DVD Disk or Make a USB flash Drive boot-able and boot right from it or you may also use Network PXE boot to Install Fedora.
If you like to know in details on the procedure to write an ISO to USB flash using a third party Utility – ‘Unetbootin‘ or manually using Linux ‘dd‘ command, you may follow the link below.
2. After writing it to USB Flash Drive or to a DVD ROM, put the media in and boot from the respective media, by prioritizing it from BIOS.
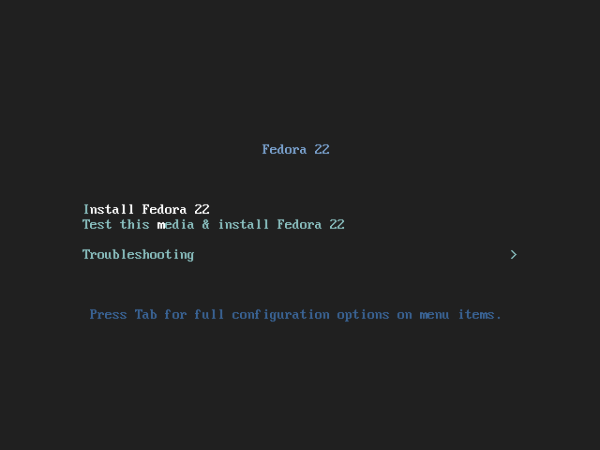
As soon as Fedora 22 Server Boots from the Disk/Drive, you will get boot Menu, similar to below. It is Important to note that the default boot option is “Test this media & Install Fedora 22” which is recommended to check if installation media is error free or not, however you can bypass it by clicking your UP Navigation Key and then choose to boot into “Install Fedora 22”.
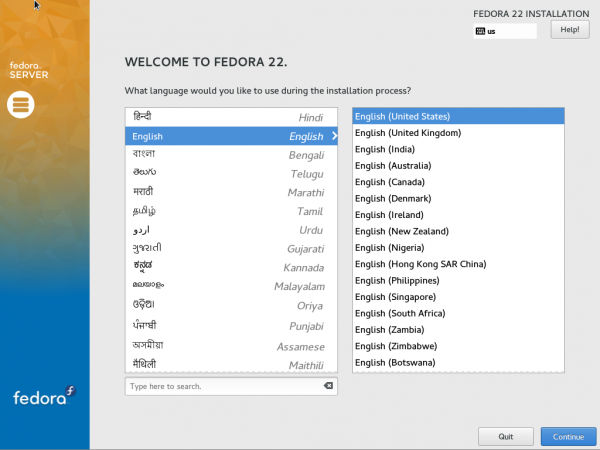
3. On the next window, you have the option to select Language, which suits you and click Continue.
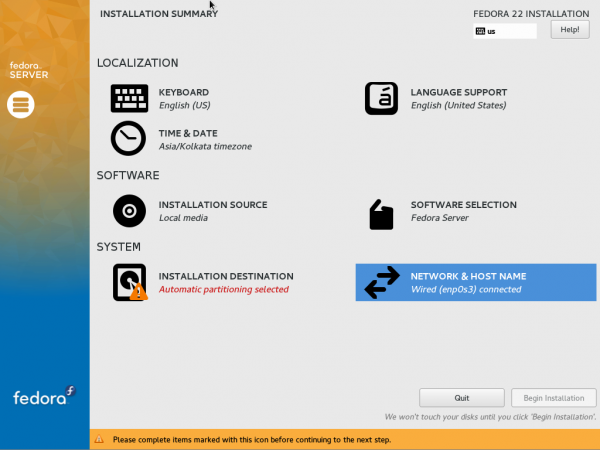
4. The next screen “Installation Summary” lets you configure a lots of option. This is the screen where you can configure your ‘Keyboard layout‘, ‘Language Support‘, ‘Time & Date‘, ‘Installation Source‘, ‘Software Selection‘, ‘Installation Destination‘ and ‘Network & Host Name‘. Lets configure each option one by one.
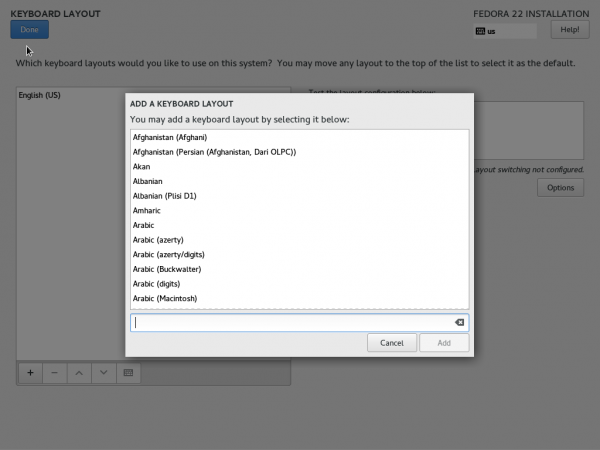
5. First Select ‘Keyboard‘. Scroll through and add as many keyboard Layouts you want to add. You have to click on ‘+‘ every-time you want to add a new Layout followed by clicking on ‘Add‘. When all the required Keyboard Layouts are Added, Click Done on the Top Left Corner of the Screen.
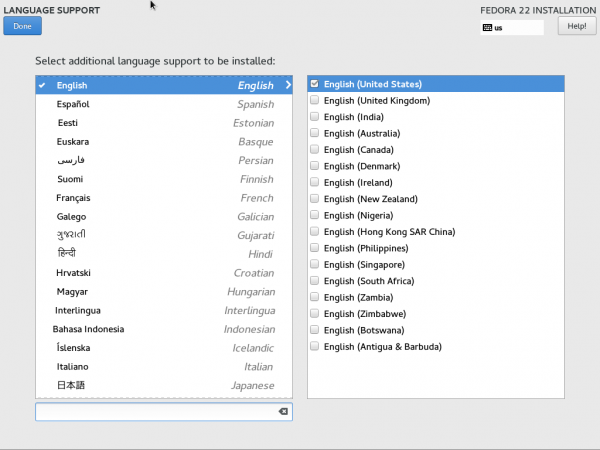
From the resulting screen (Installation Summary window), Click ‘Language Support‘. Select all the Language Support you want by putting a check mark on the required boxes and click done! When done.
Again, you will get “Installation Summary” Window. Click on ‘Time & Date‘. Set time, Date and Geographical Location by clicking on the world map. When everything seems okay, click Done.

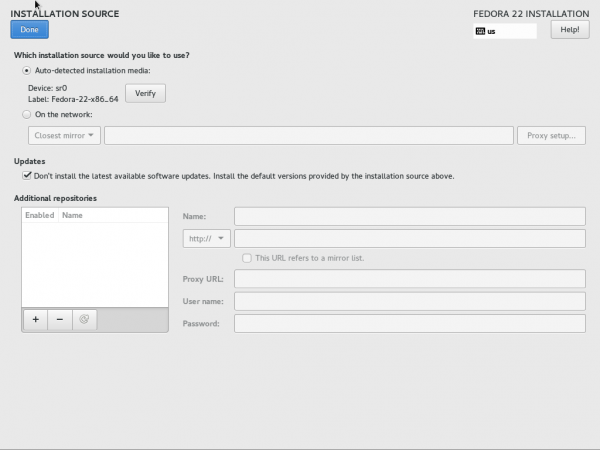
6. You will find yourself back to “Installation Summary” Screen. Click on ‘Installation Source‘. Here you can add network mirrors and additional repository.
If you are not sure about what to do on this window, leave everything as it is. Note that ‘Auto-detected installation media‘ is enough to install Minimal Fedora Server. Click Done in either case.
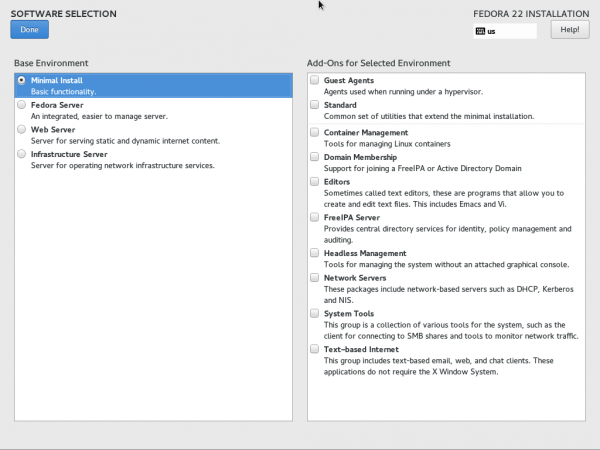
7. Again you will find yourself on “Installation Summary” window. click “Software Selection” from there.
Though there are 4 different option there – ‘Minimal Install‘, ‘Fedora Server‘, ‘Web Server‘ and ‘Infrastructure Server‘.
In production it is always the best idea to install Minimal Server so that unwanted packages are not installed and keep the system clean, configured, fast and secure. Any piece of software can be installed from Minimal Install as and when required.
Here in this example I have selected ‘Minimal Install‘, as well. Select base environment and click Done!
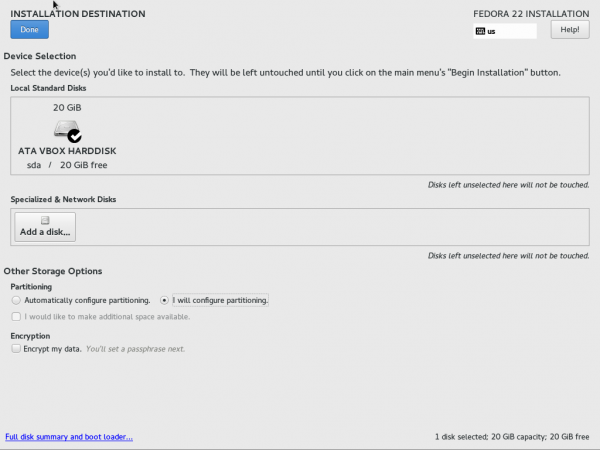
8. It’s time to configure ‘Installation Destination‘. Select the same from ‘Installation Summary‘ screen.
Note the default option is ‘Automatically Configure Partitioning‘ change it to ‘I will Configure Partitioning‘, to partition manually. By Selecting Manual Partitioning, you can make most out of your Space. Also you may select to ‘Encrypt‘ your data from this window. Finally click done.
The resulting Interface lets you create partitions manually.
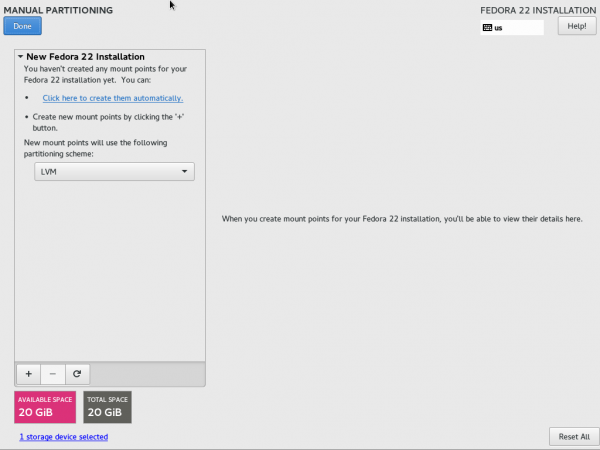
9. Use LVM partitioning Scheme, if you want to install and extend it to LVM. On most of the server, LVM is almost there. Click on + on the bottom left and create /boot partitioning. Enter Desired Capacity and Click ‘Add mount Point‘.
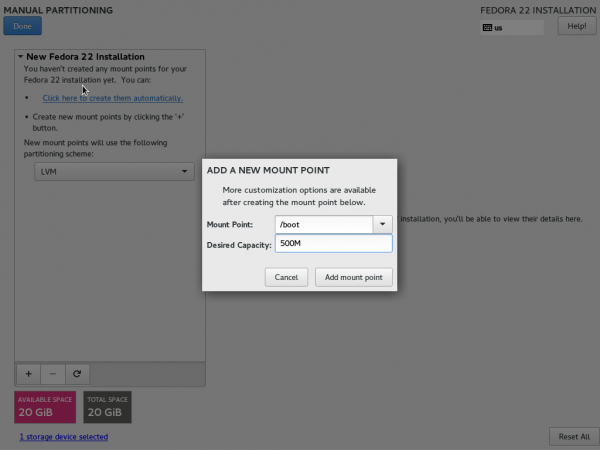
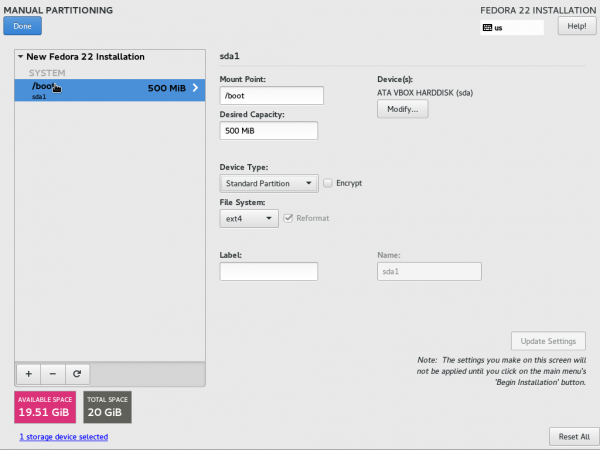
Note that File System type for /boot must be ‘ext4‘ and device type is ‘Standard Partition‘.
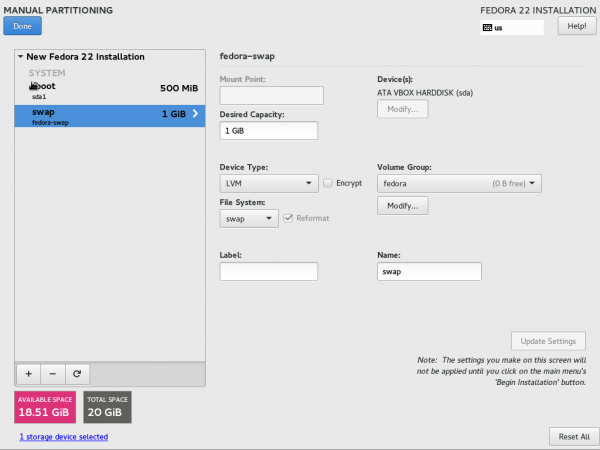
10. Again Click on + and Create SWAP space. Add Desired Capacity and click “Add mount Point”.
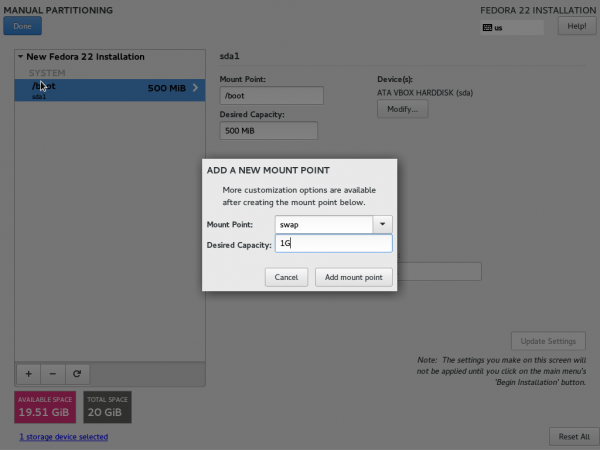
Note that File System type is ‘SWAP‘ and Device Type is ‘LVM‘.
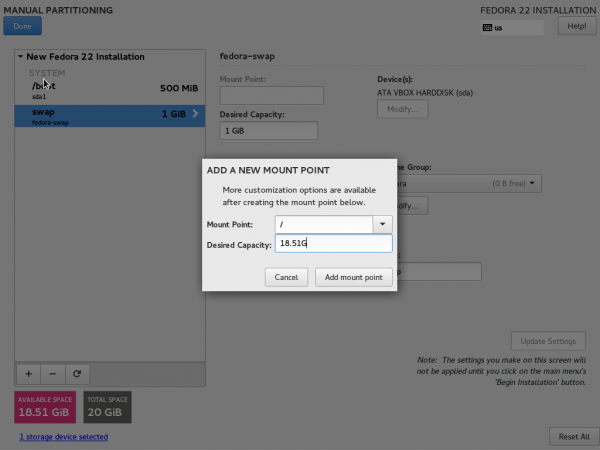
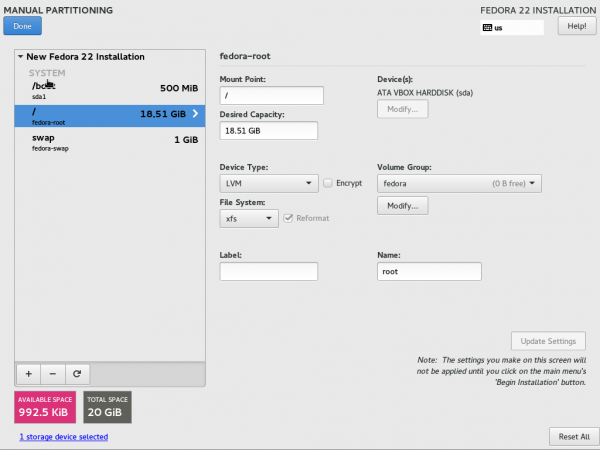
11. Finally we will be creating root partition (/), add all the Remaining Disk Space and Click ‘Add mount Point‘.
Note that File System Type for root is ‘XFS‘ and Device Type is ‘LVM‘. Click Done after cross checking every options.
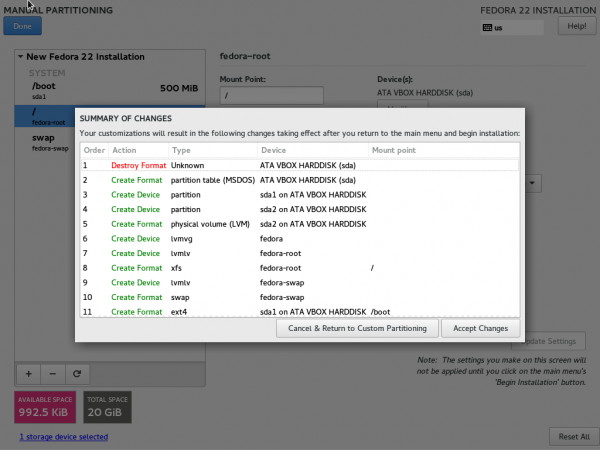
12. The resulting window will ask, if you want to Destroy the format? Click Accept Changes.
13. You will find yourself again on “Installation Summary” Interface. Click on Network and Host Name. You got an interface to modify your IP, DNS, Route, Subnet Mask and Host Name.
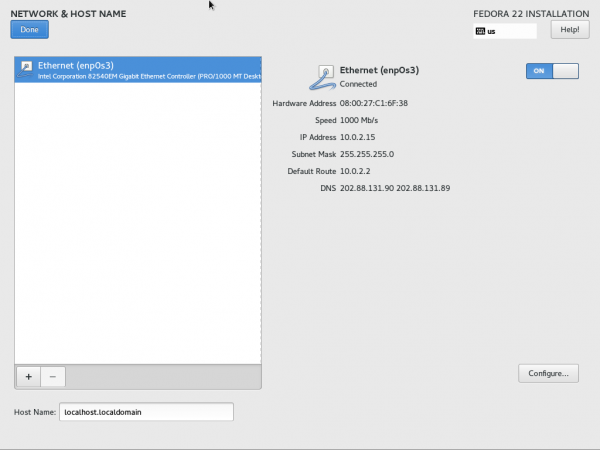
14. You will notice you got a dynamic IP. In production and in most general it is suggested to have a static IP. Click on Configure and change method to ‘Manual‘ from ‘Automatic‘ under Hood. ‘IPv4 Settings‘. Finally Click ‘save‘.

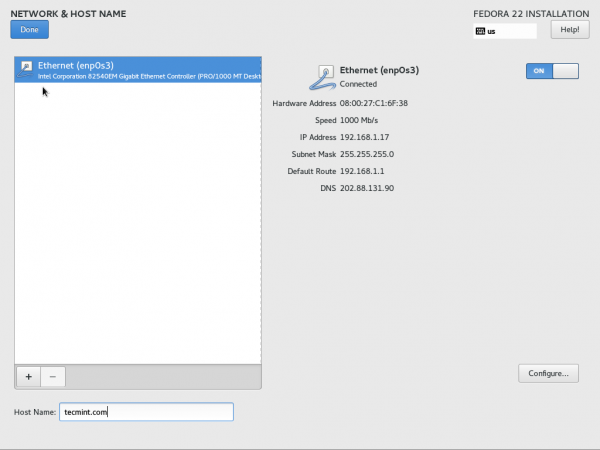
15. You will be back to ‘Network & Host Name‘ Interface. Here you may set Host Name and for the changes to be taken into effect immediately, switch off and again on Ethernet, from this interface. Finally click Done! When everything looks okay.
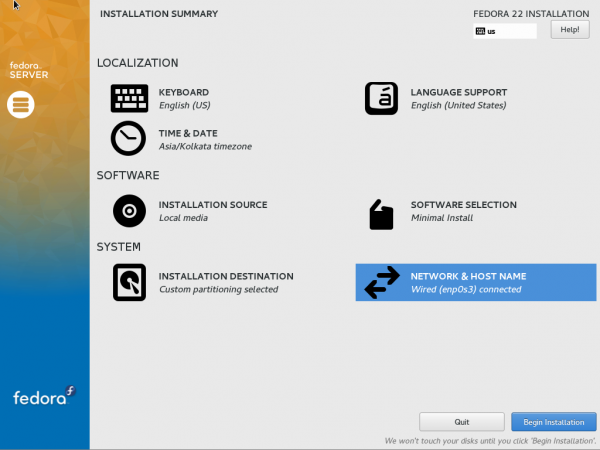
16. One last time you will find yourself back to ‘Installation Summary‘ Interface. You may notice that there is no conflicts and warning here. Everything looks alright. Click Begin Installation.
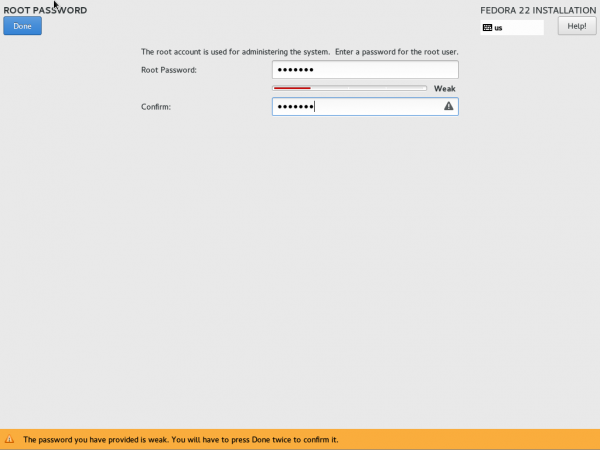
17. On the next Interface the system will install necessary packages, basic configuration and Boot Loaders. You have to take care of two things here. First is to set ‘Root password‘ and second is to ‘Create User‘.
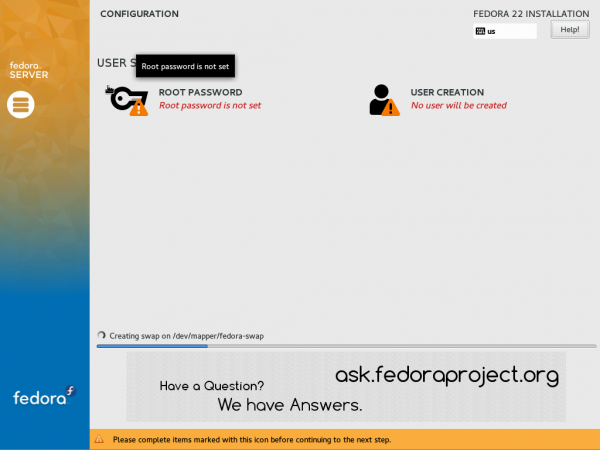
18. First click on ‘Root Password‘. Enter same password twice. Follow the general rule of making password hard by using both upper-case and lower-case letter, numbers and special characters. Also avoid any dictionary words and ensure password is of sufficient long. Remember Password should be “Hard to Guess, Easy to Remember”.
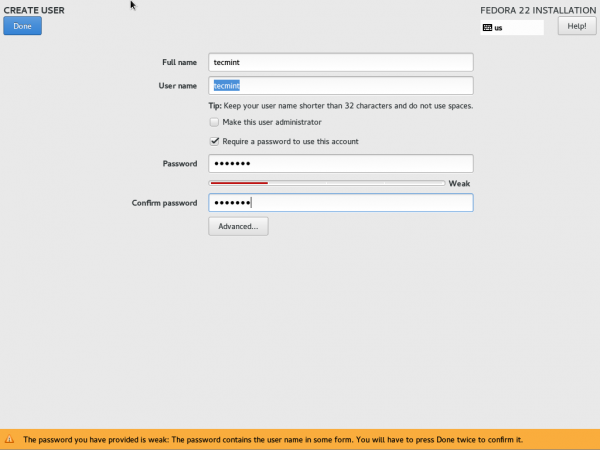
19. Next click on ‘User Creation‘ from the configuration Interface and fill up necessary information like full name, user name and password. You may like to see ‘Advanced options‘. Click Done, when you are done.
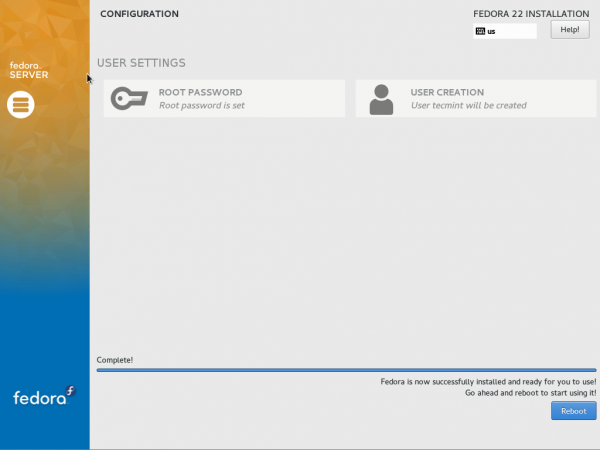
20. It will take some time for the installation to finish depending upon what you selected to Install, your ISO type (full iso or Netinstall) and your memory size along with several other factors.
Once the installation and configuration along with boot loaders is over, you will notice a message at the right bottom of the screen “Fedora is now Successfully Installed, reboot the machine to finish installation.
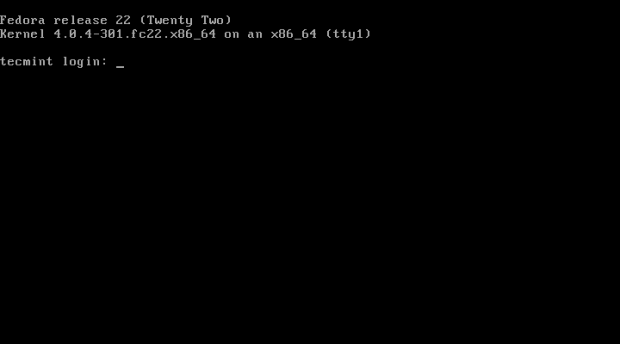
21. The system will reboot and you may notice Fedora 22 Boot Menu.

22. The login interface will be available in no time, enter username and password of new user account.
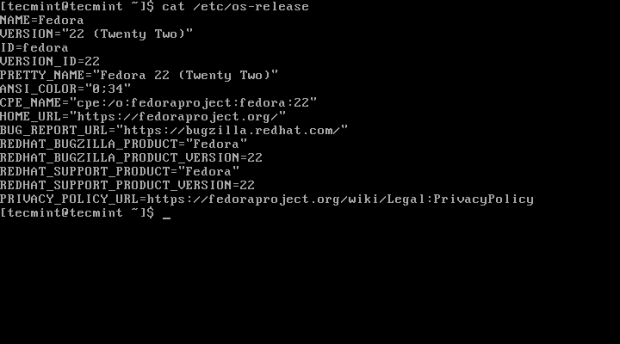
23. Once logged-in, check the version of Fedora 22 using following command.
$ cat /etc/os-release
Conclusion
Installation of Fedora 22 Sever is very simple and straight Forward. A lots of new features, packages and journaling system included. DNF is powerful than YUM. ‘Database Server role’, ‘Default XFS System’ and ‘Compatible Cockpit’, availability in repo makes it easy for new Admins to handle and configure system efficiently. Running on top of kernel 4.0.4, you may expect support for maximum number of hardwares and updation is easy.
For those who are already using or intend to use Fedora 22 server backed by Red Hat, won’t regret Using fedora on one/many of their server.


Hi,
I’ve installed Fedora 22 Server and got to the same console login screen. I would like to automatically get launched in GNOME environment but I don’t know how. I’ve installed it with:
dnf groupinstall gnome
but after that I don’t know how to get it automatically startup.
Thank you
Pietro
If everything else is at its place and you are logging into Gnome session by typing ‘startx’ at the command line, then you can add gdm service to start automatically at boot simply as
# systemctl enable gdm.service
# systemctl restart gdm.service
Optional :: Check Status of gdm Service
# systemctl status -l gdm.service
This should help you. If not let me know the complete issue in details and error message.
Thank you for your reply, Avishek.
I tried those commands but it didn’t work, so after googling I found another solution:
dnf group install “Fedora Workstation”
I finally got a GUI environment but it is glitchy with many graphical issues. Probably the default graphical drivers aren’t good for my old ATI 9800Pro GPU (many yellow, black and white stripes on the DVI output and an unusable login screen with disaligned constrol over the VGA output). I downloaded the Catalyst from AMD website but when I execute the .run installer it tells me that the architecture is wrong (I’m on a 32bit CPU, so I installed a Fedora 22 Server x86 version). I run the OS with the kernel “acpi=off” option but I don’t know how to add other options that I used when booting from the live ISO (pnpbios=off edd=off). May be that those options make the GPU working correctly? If I change them on the fly from the GRUB ‘e’ option, the OS doesn’t start (I get a blinking cursor over a black screen).
I’ve lost too much time but I would like to make it running. Do you know how can I figure this out?
Many thanks
Pietro