After HTTP and shadow DNS services, mail (SMTP, POP, IMAP and all related encrypted mail protocols) is one of the most used service in Internet, and also, one of the most sensible, due to spam and open-relay mail servers.

This tutorial will guide you through installing a full mail server with MTA, MDA and MUA software in a few minutes on RHEL, CentOS, Scientific Linux and Debian, Ubuntu, Linux Mint with Postfix, Virtual Domains and Users with MySQL, Dovecot – support for POP3/POP3S, IMAP/IMAPS, Roundcube – Webmail and also, mail spam and virus scanning with SpamAssassin and ClamAV, all installed using a single software package called ‘iRedMail’.
What is iRedMail
iRedMail is an Open Source full featured mail server solution that can spare a lot of time for system administrators for complex configurations, has support for all major Linux distributions and ships with the following Linux packages.
- Postfix: SMTP service – default MTA.
- Dovecot: POP3/POP3S, IMAP/IMAPS, Managesieve service – default MDA.
- Apache: Web server.
- MySQL/PostgreSQL: Storing application data and/or mail accounts.
- OpenLDAP: Storing mail accounts.
- Policyd: Postfix policy server.
- Amavisd: An interface between Postfix and SpamAssassin, ClamAV. Used for spam and virus scanning.
- Roundcube: Webmail – default MUA.
- Awstats: Apache and Postfix log analyzer.
- Fail2ban: scans log files (e.g. /var/log/maillog) and bans IPs that show malicious system attempts.
Requirements
- CentOS 6.5 minimal installation – CentOS 6.5 Installation Guide
- A valid DNS MX record that points to your mail server responsible for your domain name.
Also, this tutorial is designed for testing and learning purposes only and does not use a valid MX records, nor a valid DNS domain mane, all of configurations are made locally using virtual recipients with MySQL (can receive or send mail between local domain users only – local domain name provided from hosts file) but be aware that, although our system can’t receive mails from internet domains, it can actually relay mails to those domain mail servers through Postfix MTA, even if you reside on a private IP address space, with no valid MX record and using a fictional domain, so pay much attention to what you’re doing.
Step 1: Initial Configurations and Static IP Address
1. After first reboot login with your root account and make sure your system is up to date and install some useful packages needed for later usage.
On RHEL/CentOS/Scientific Linux
# yum update && yum upgrade
# yum install nano wget bzip2
On Debian/Ubuntu/Linux Mint
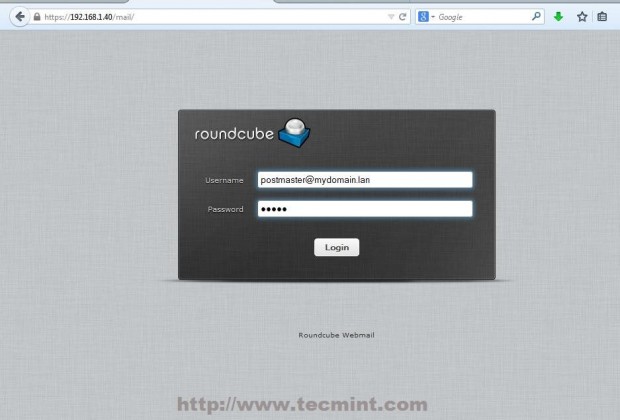
# apt-get update && apt-get upgrade
# apt-get install nano wget bzip2
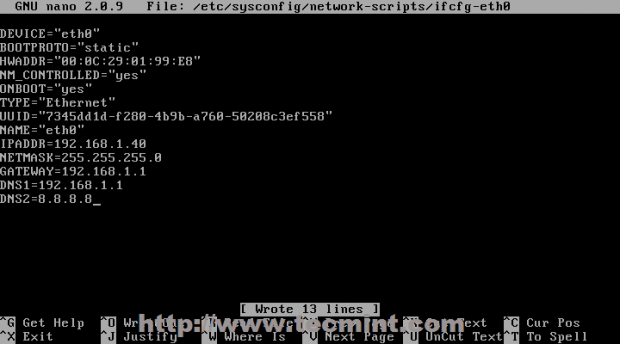
2. Because this box acts like a Mail Server, a static IP needs to be configured on Network Interface. To add a static IP open and edit your NIC configurations file located on /etc/sysconfig/network-scripts/ path and add the following values.
On RHEL/CentOS/Scientific Linux
# nano /etc/sysconfig/network-scripts/ifcfg-eth0
Use this file as a template and replace it with your customize values.
DEVICE="eth0"
BOOTPROTO="static"
HWADDR="00:0C:29:01:99:E8"
NM_CONTROLLED="yes"
ONBOOT="yes"
TYPE="Ethernet"
UUID="7345dd1d-f280-4b9b-a760-50208c3ef558"
NAME="eth0"
IPADDR=192.168.1.40
NETMASK=255.255.255.0
GATEWAY=192.168.1.1
DNS1=192.168.1.1
DNS2=8.8.8.8
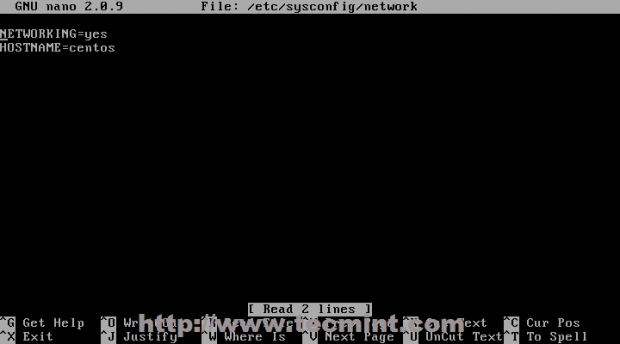
After you finish editing your NIC file, open network file from the same location as above and add your server unqualified hostname on HOSTNAME directive.
# nano /etc/sysconfig/network-scripts/network
On Debian/Ubuntu/Linux Mint
# nano /etc/network/interfaces
Replace following values with your settings.
auto eth0
iface eth0 inet static
  address 192.168.1.40
  netmask 255.255.255.0
  gateway 192.168.1.1
  dns-nameservers 192.168.1.1
  dns-search 8.8.8.8
Once, you finish with your network file, now add your hostname in /etc/hostname file.
# nano /etc/hostnames
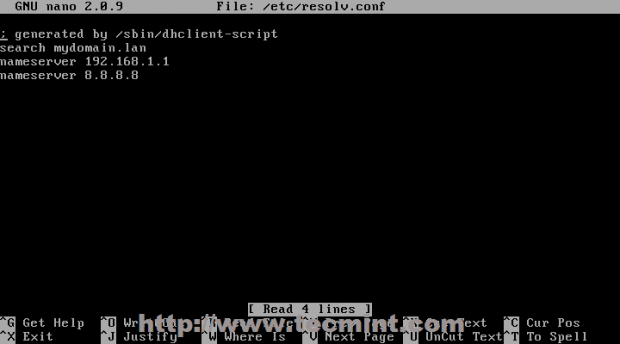
3. Then open /etc/resolv.conf file and append your DNS IP servers system wide like in the screenshot below.
# nano /etc/resolv.conf
Add the following content with your favorite name servers.
search mydomain.lan
nameserver 8.8.8.8
nameserver 8.8.8.8
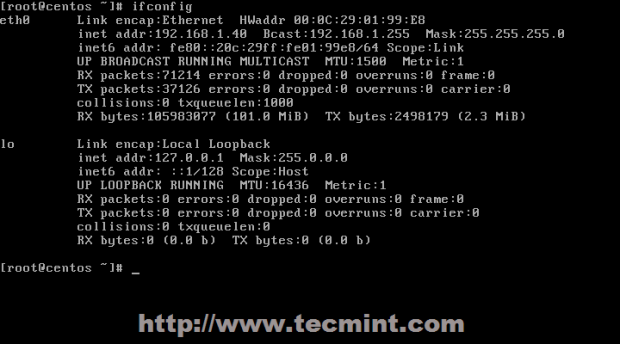
4. After all the configurations above had been written to their corresponding files restart your network service to apply newly configurations and verify it using ping and ifconfig commands.
# service network restart	[On RedHat based systems]

# service networking restart	[On Debian based systems]
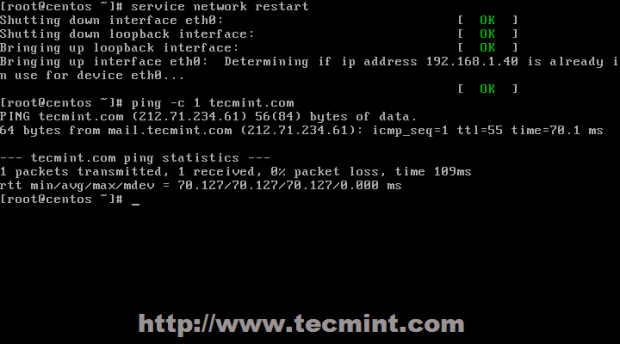
# ifconfig
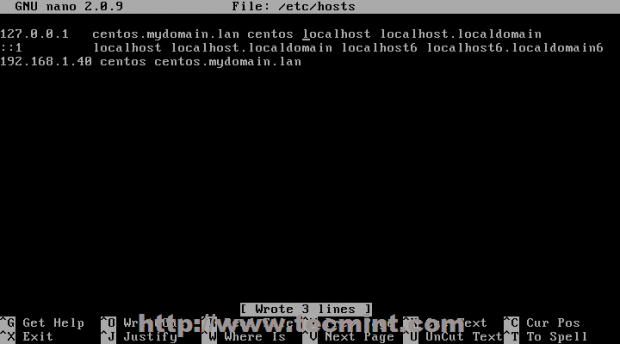
5. Now that your static network is fully operational, edit /etc/hosts file and add your unqualified and FQDN hostname like the example below.
# nano /etc/hosts
127.0.0.1   centos.mydomain.lan centos localhost localhost.localdomain
192.168.1.40 centos.mydomain.lan centos
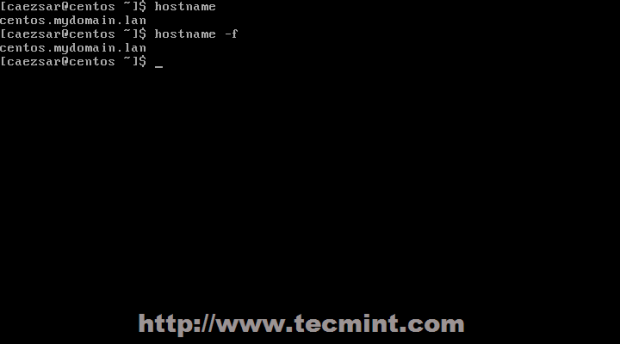
To verify your hostname configuration issue, run hostname and hostname –f commands.
# hostname
# hostname -f
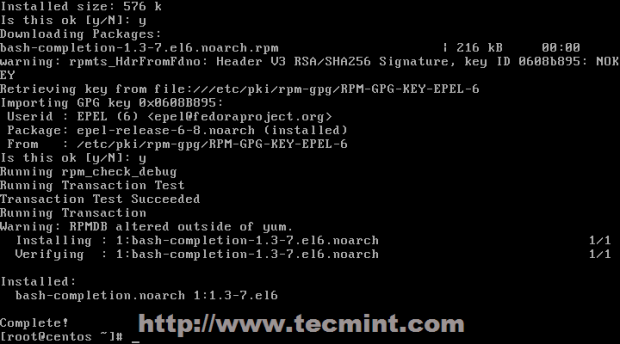
6. Another useful package is bash-completion (auto-complete commands sequence using [Tab] key) which is provided by EPEL repository under RedHat based systems and then update your sources.
On RHEL/CentOS/Scientific Linux
# rpm –Uvh http://fedora.mirrors.romtelecom.ro/pub/epel/6/i386/epel-release-6-8.noarch.rpm
# yum repolist && yum upgrade

After your sources had been updated install bash-completion utility (answer Yes on all questions).
# yum install bash-completion
On Debian/Ubuntu/Linux Mint
The bash-completion package under Debian based systems can be easily installed using following command.
# apt-get install bash-completion
7. The last step is to add a system user with root privileges. First add the user and setup its password.
# adduser your_user
# passwd your_user
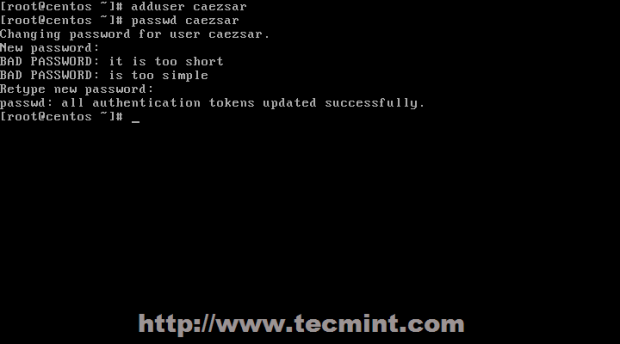
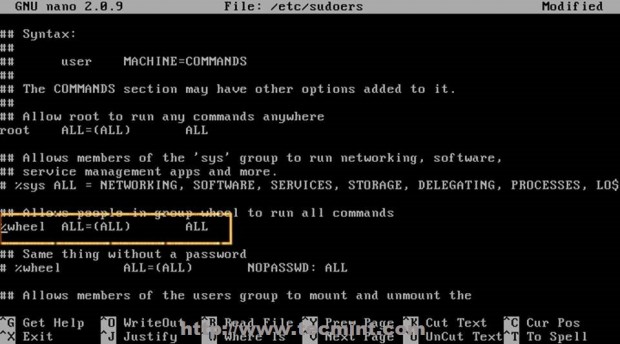
After your user has been added, open /etc/sudoers file and uncomment %wheel group, then add your newly created user to wheel group.
# nano /etc/sudoers
Search and uncomment wheel group line to look like this.
%wheel ALL=(ALL) ALL
Close the file and add your user to wheel group issuing the following command.
# usermod -aG wheel your_user

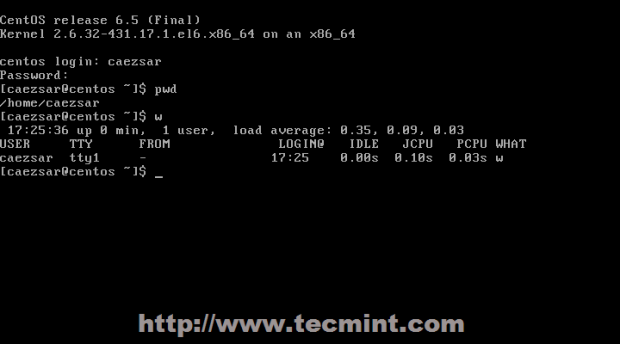
8. Before we can start download and install iRedMail software, reboot your system, then login with your newly created user and make sure everything is fully functional.
Step 2: Install iRedMail
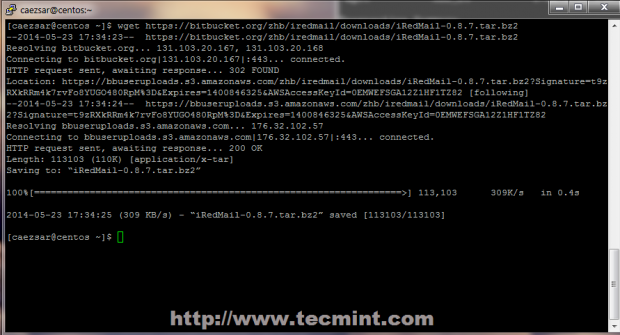
9. In order to downlad iRedMail archive package you must visit it’s official download page section or you can use wget command to download the last version ( 0.8.7 at the time of writing this article).
# wget https://bitbucket.org/zhb/iredmail/downloads/iRedMail-0.8.7.tar.bz2
10. After iRedMail archive download finishes, extract it using the following command.
# tar xvjf iRedMail-0.8.7.tar.bz2
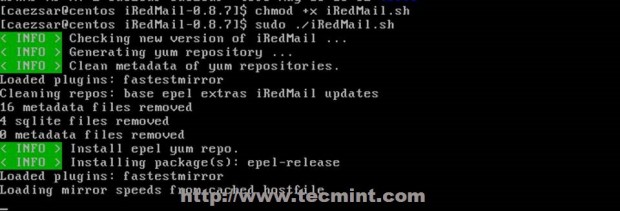
11. Then enter newly extracted iRedMail directory path, mark iRedMail.sh script with executable permissions then run it.
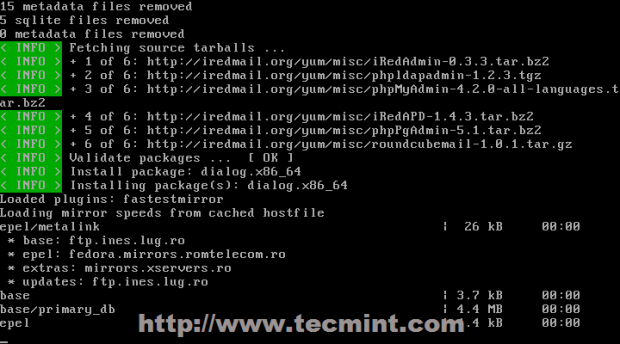
# cd iRedMail-0.8.7
# chmod +x iRedMail.sh
# sudo ./iRedMail.sh
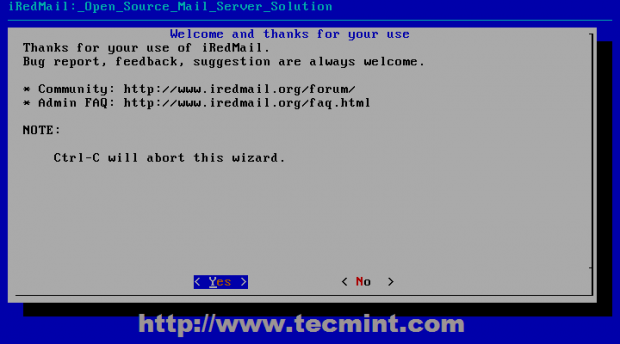
12. After initial system checks the program starts adding required repository then the first guidance prompt asks you whether you wish to continue with installation or abort. Choose Yes to continue.
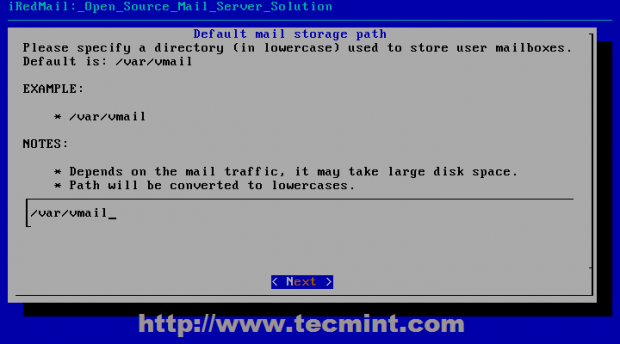
13. iRedMail uses Maildir format to store e-mails on /var/vmail system path where it creates separated directories for every domain that you append to your MTA server. If you’re comfortable with this path hit Next to move forward with server configurations else provide your desired location then Next.
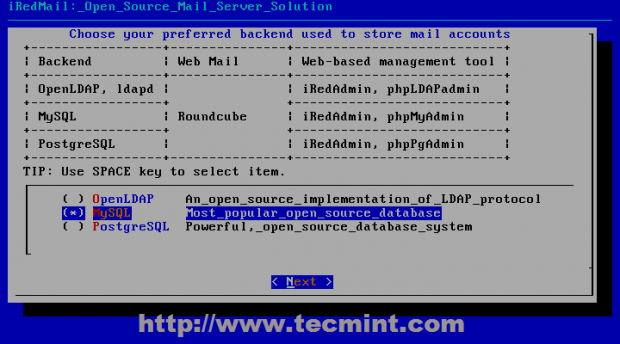
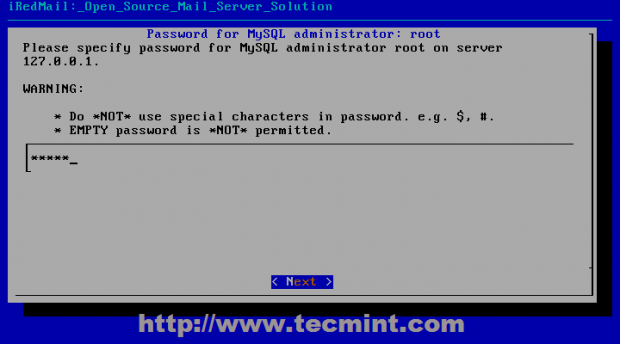
14. On the next step choose you preferred database to store mail domains names and recipients that will connect to Postfix. This tutorial focuses on MySQL database, so choose MySQL using [Space] bar then continue with Next and provide a strong password for MySQL root account.
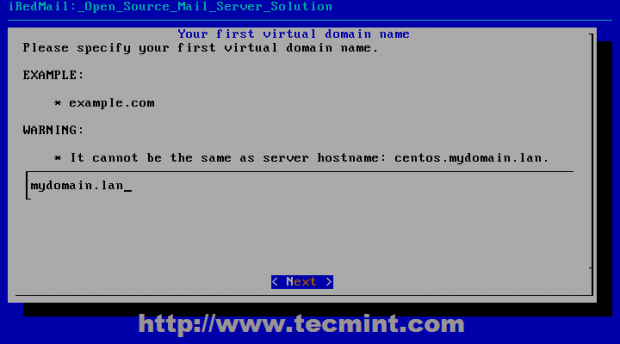
15. On the next step add your first virtual domain name. If you own a registered domain name added here (add just the domain name not system FQDN).
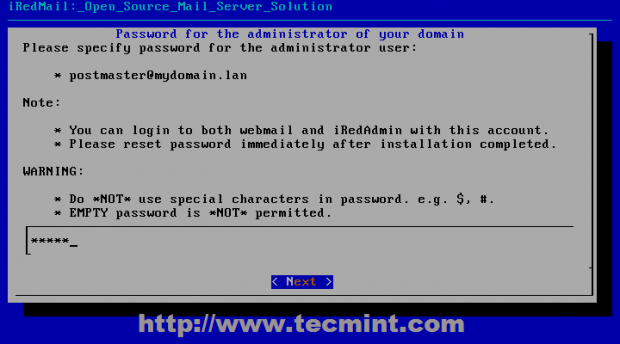
16. By default iRedAdmin creates an administrative user with full powers over your server that can be accessed through iRedAdmin panel or through Dovecot protocols (default Roundcube webmail interface or any other IMAP/POP MUA software like SquirrelMail, Rainloop, Microsoft Outlook, Mozilla Thunderbird, Evolution, Mutt, Elm etc ).
Also this postmaster administrative account is used by the system to report incidents related to mail functions or other system failures or useful information – logwatch usually sends its statistics here- so choose a strong password and continue with Next.
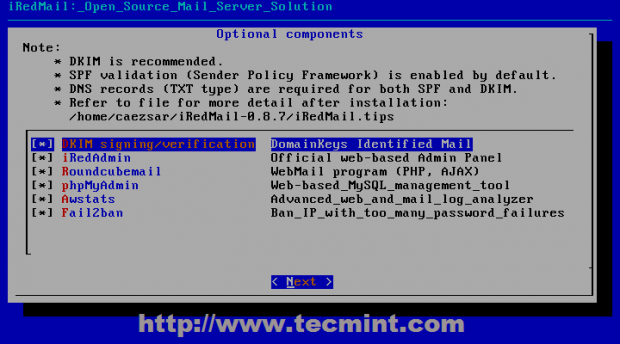
17. On the next step choose your other mail server components like iRedAdmin official administrative panel to Postfix, DKIM domain keys – ( adds a signature to message header evaluating message trust for final delivery or further relays), Roundcube default webmail interface ( if you plan to use other Mail Delivery Agent skip Roundcube ), PhpMyadmin (if you are comfortable with MySQL command line you should also skip installing PhpMyAdmin ), Awstats ( useful log statistics and analyzer ), Fail2ban ( protects your server from brute force attacks).
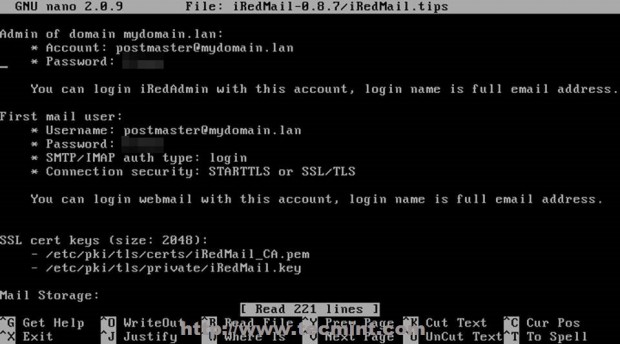
18. On next series of questions, depending on your optional components installed you should answer with Yes. Pay extra attention to iRedMail.tips file located on $HOME extracted directory because it contains sensitive mail server information like usernames and passwords for server applications, server configurations files, default URL and other important information.


19. After installation finishes reboot your system and verify iRedmail.tips file to see your server default settings – you should move this file to a secure system path with 600 permissions on it.
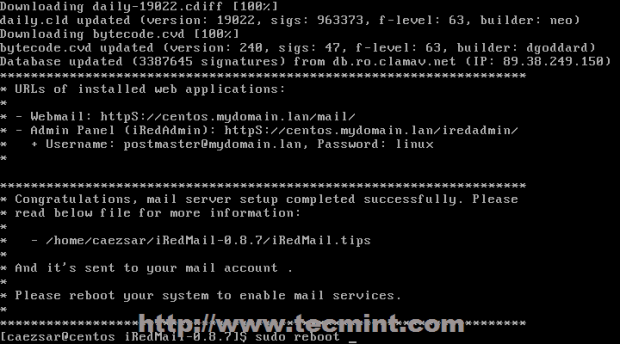
20. Access default web applications on the following URLs.
- Roundcube Webmail – https://domain_name or server_IP/mail/
- IRedAdmin panel – https://domain_name or server_IP/iredadmin/
- PhpMyadmin – https://domain_name or server_IP /phpmyadmin/
- Awstats – https://domain_name or server_IP/awstats/awstats.pl?config=web (or ?config=smtp)
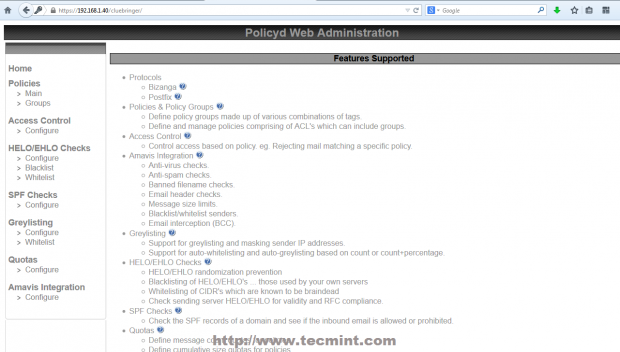
- Policyd anti-spam plugin – https://domain_name or server_IP/cluebringer/
Step 3: Initial Webmail Configurations
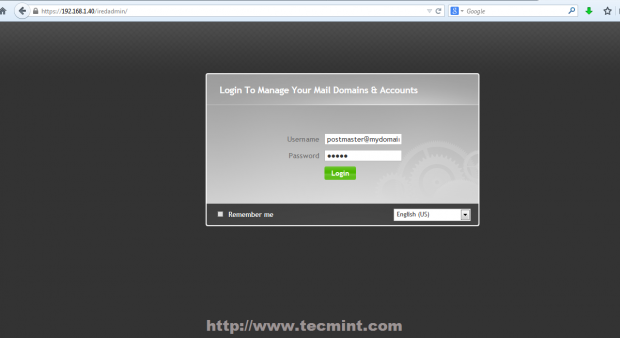
21. iRedAdmin administrative panel offers a basic webmail interface where you can add virtual domains and accounts for your mail server that Postfix can handle through MySQL backend. To login to iRedAdmin panel point your browser to https://domain_name/iredadmin/ or https://server_IP/iredadmin/ URL and use the following default credentials.
- Username: postmaster@your_domain_name.tld
- Password: postmaster password set on #16 point
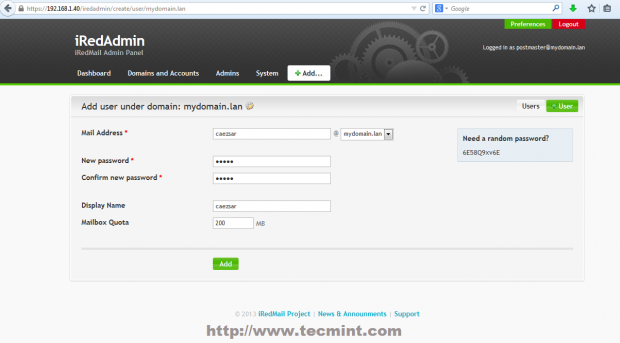
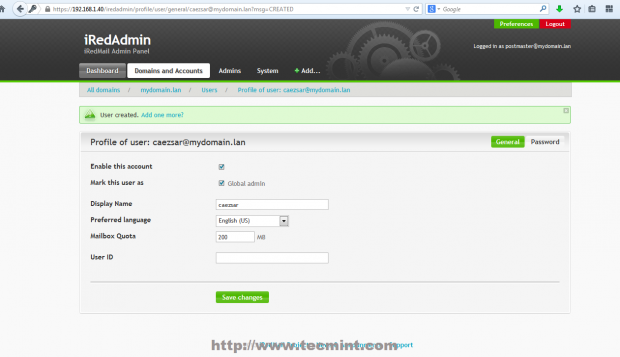
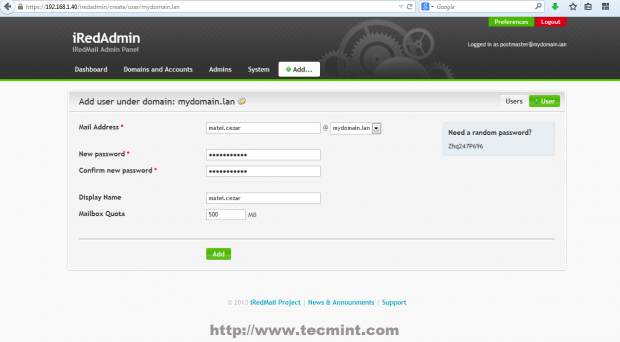
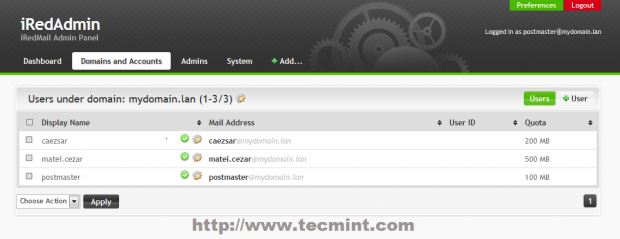
22. To add a user navigate to Add -> User then provide your desired username mail address and password. You can also setup the amount of space your user Mailbox can handle with Quota and you can also promote users with administrative powers over iRedAdmin panel by Marking user as Global admin.
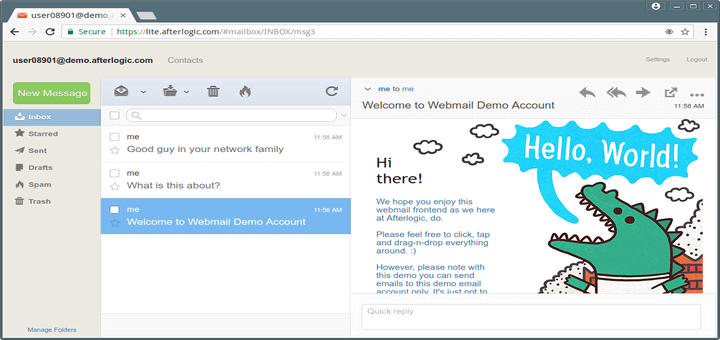
23. Reading users email is provided by Roundcube web interface. To access it navigate to https://domain_name/mail or https://server_IP/mail/ URL and supply your mail account credentials in the form of [email protected].
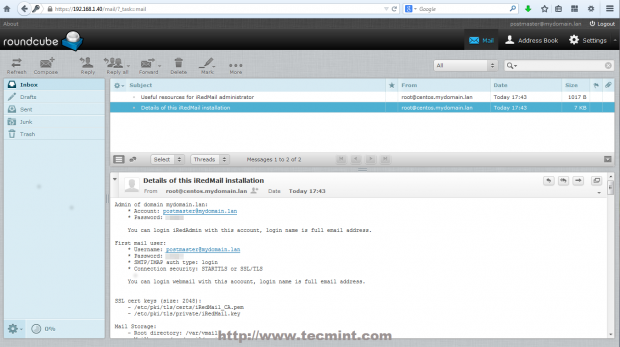
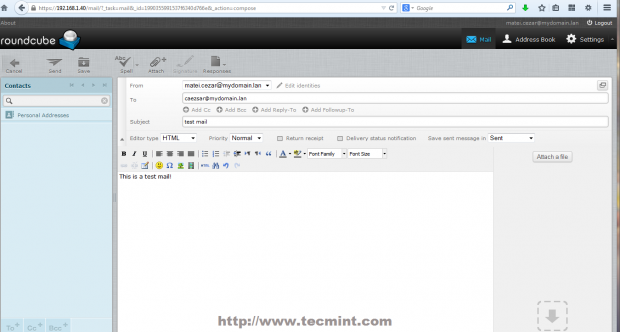
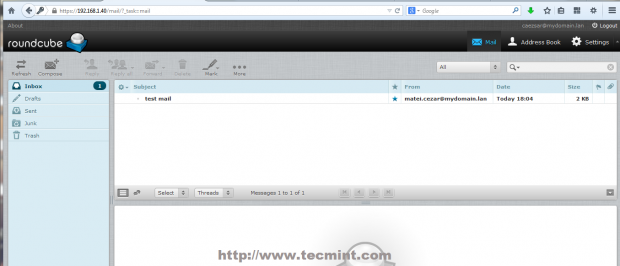
Accessing the default administrative mail account postmaster you will find two initial emails, one of them including your server sensitive information. From here you can now read emails, compose and send mails to other domain users.
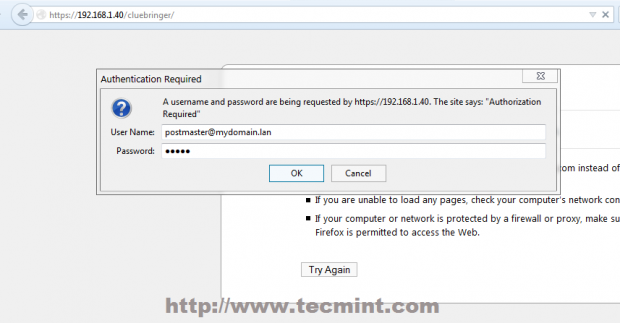
24. To access server Policyd anti-spam policy navigate to https://domain_name/cluebringer or https://server_IP/cluebringer/ and provide the following credentials.
- User Name: [email protected]
- Password: postmaster password
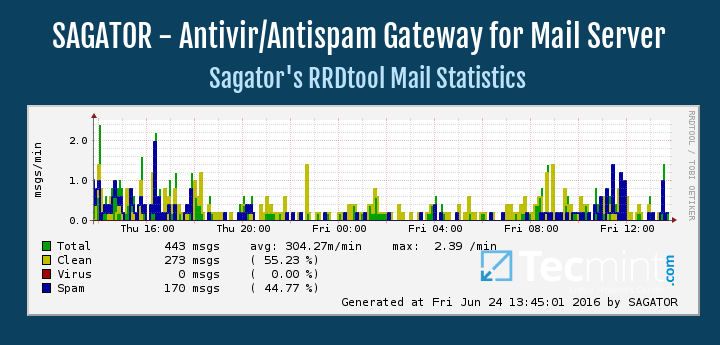
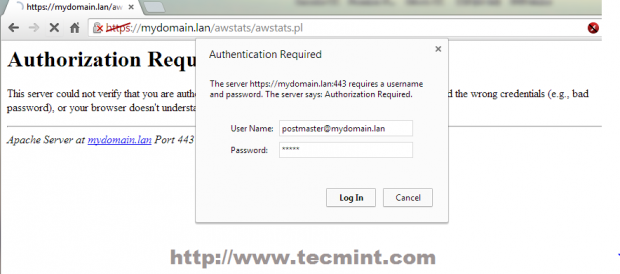
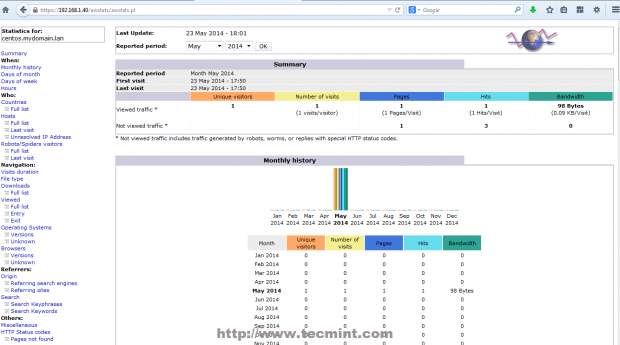
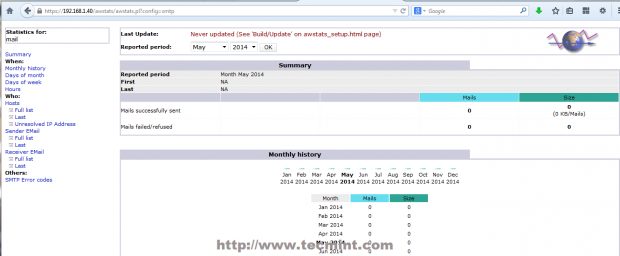
25. To view your mail server statistics navigate to https://mydomain.lan/awstats/awstats.pl/?config=smtp or https://mydomain.lan/awstats/awstats.pl and use the following credentials.
- User Name: [email protected]
- Password: postmaster password
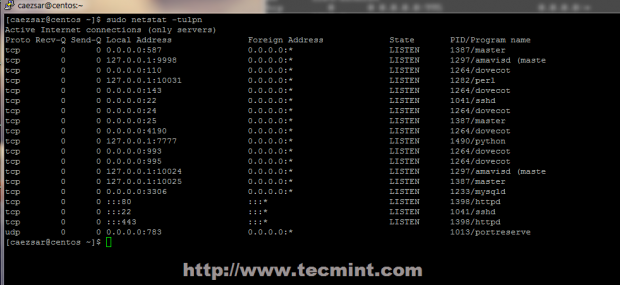
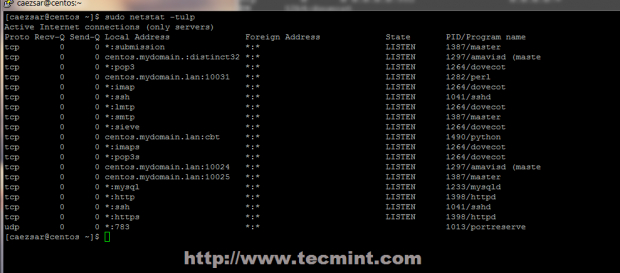
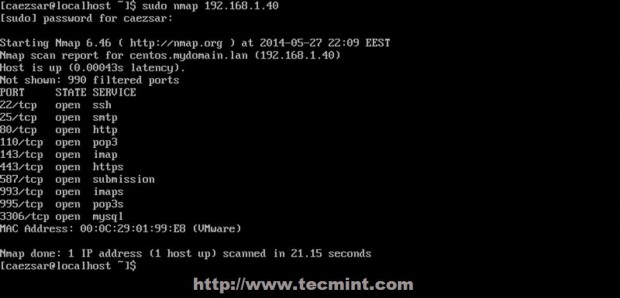
26. If you want to check your server’s opened connections and listening daemon state with their afferent sockets issue the following commands.
# netstat -tulpn   ## numerical view
# netstat -tulp    ## semantic view
27. To debug other problems with mail transactions or view your server live working you can use the following commands.
# tailf /var/log/maillog   ## visualize mail logs in real time
# mailq    		   ##  inspect mail queue
# telnet    		   ## test your server protocols and security form a different location
# nmap                     ## scan your server opened connections from different locations
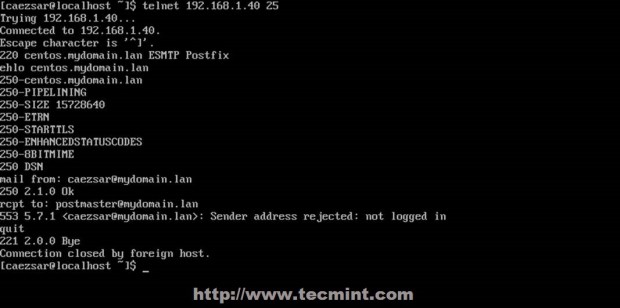
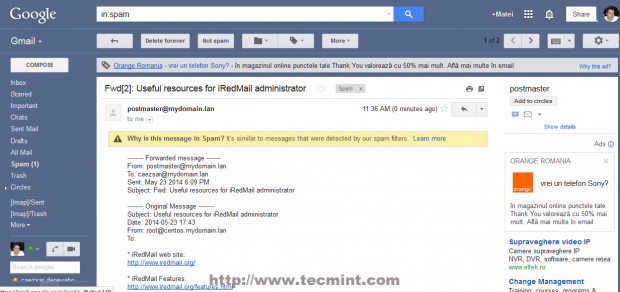
28. Now you have deployed a full mail environment, the only thing that is missing, at least on this topic is a valid domain name with a MX DNS record to receive mail from other internet domains but local SMTP server can and will relay mail on other Internet valid domains so pay extra attention who you send mails because you can get into illegal problems with your ISP.
From the screenshot below you can see that I have send an email from my local non-valid domain to one of my google.com accounts and the email was successfully received by my google account.
Unlike other network services where you install and forget about them for a long time managing a mail server is a continuous hard work due to mail service related problems like SPAM, open relay and message bounces.