LAMP stack is an acronym which stands for the Linux operating system alongside with Apache web server, MySQL/MariaDB database and dynamic PHP programming language which facilitates the deployment of dynamic web applications.

In this guide we will discuss how to install LAMP stack on Ubuntu 16.04 Server with new released of PHP 7 version and MariaDB 10 version.
Requirements
Step 1: Install Apache on Ubuntu 16.04
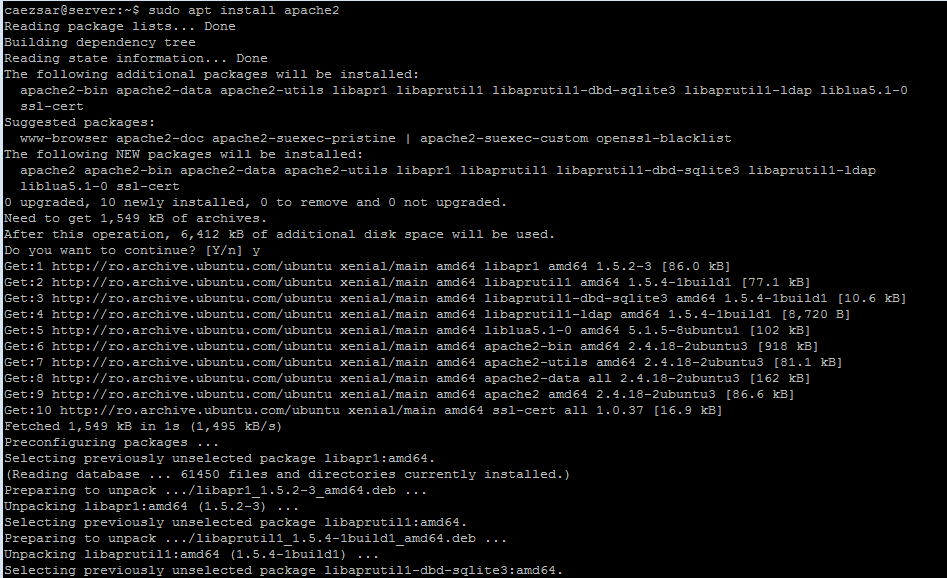
1. On the first step will start by installing one of the most popular web servers today in internet, Apache. Install Apache binary package in Ubuntu from their official repositories by typing the following commands on console:
$ sudo apt install apache2
OR
$ sudo apt-get install apache2
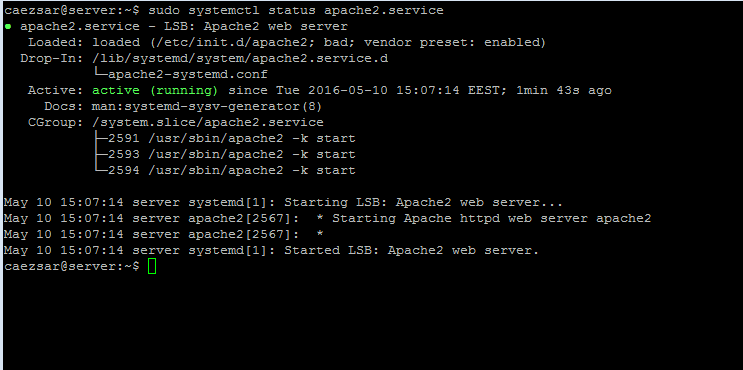
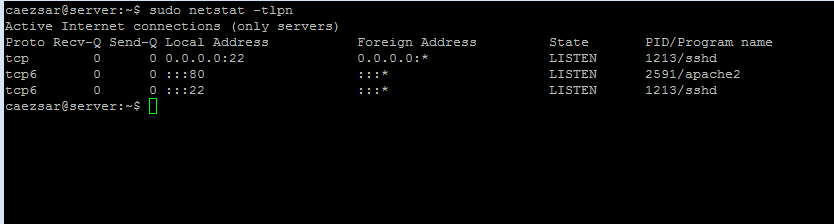
2. Once Apache web server has been installed on your system, verify if the daemon is started and on what ports it binds (by default it listens on port 80) by issuing the below commands:
$ sudo systemctl status apache2.service
$ sudo netstat –tlpn
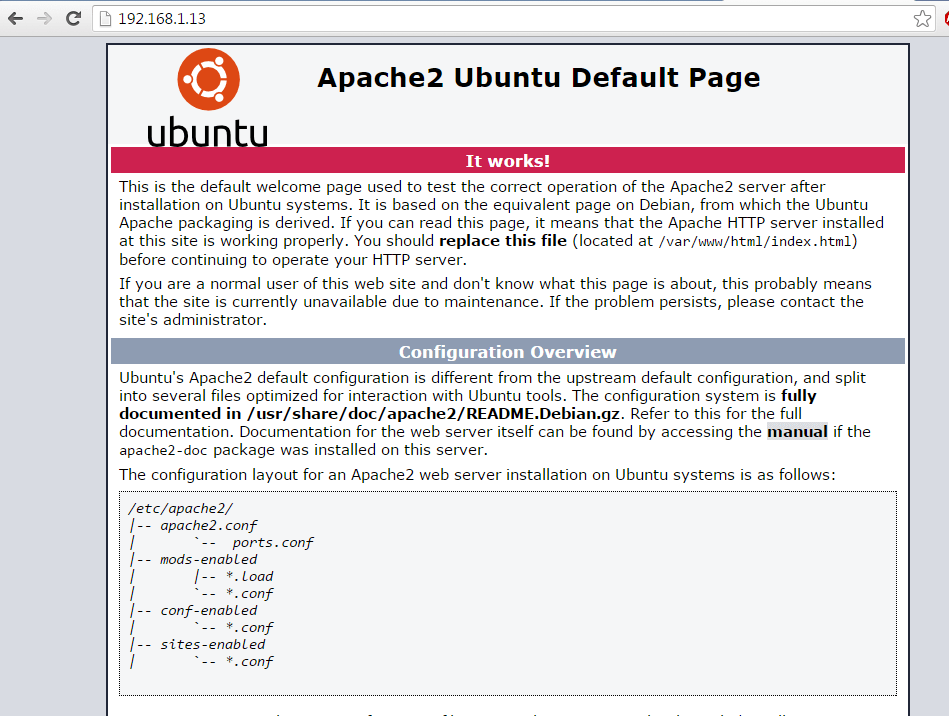
3. You can also verify if apache service is running by typing your server IP address in a web browser using HTTP protocol. A default web page should be displayed on the browser similar to the following screenshot:
http://your_server_IP_address
4. Because accessing web pages using HTTP protocol is highly insecure, further will start enabling Apache SSL module by issuing the following commands:
$ sudo a2enmod ssl
$ sudo a2ensite default-ssl.conf
$ sudo systemctl restart apache2.service
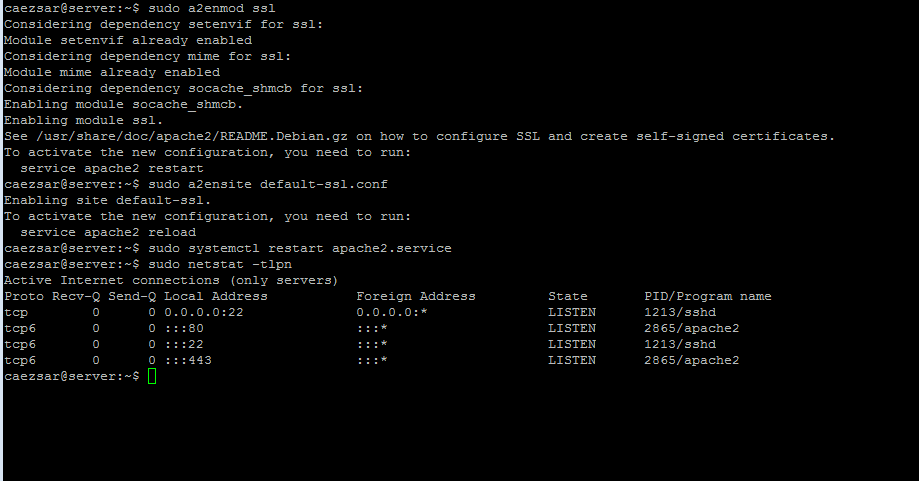
Confirm if the server is properly binding on default HTTPS port 443 by running netstat command again.
# sudo netstat -tlpn
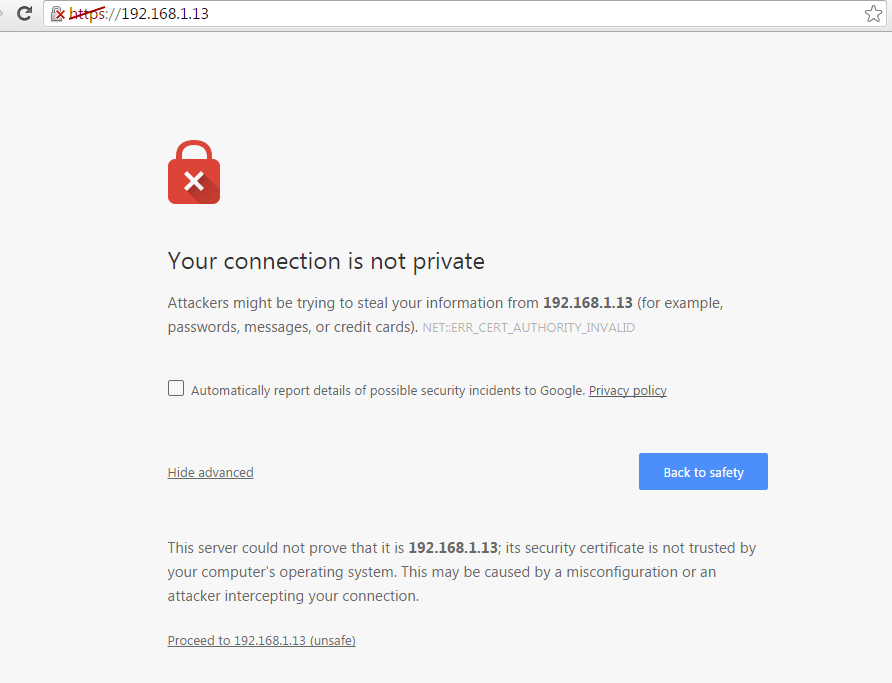
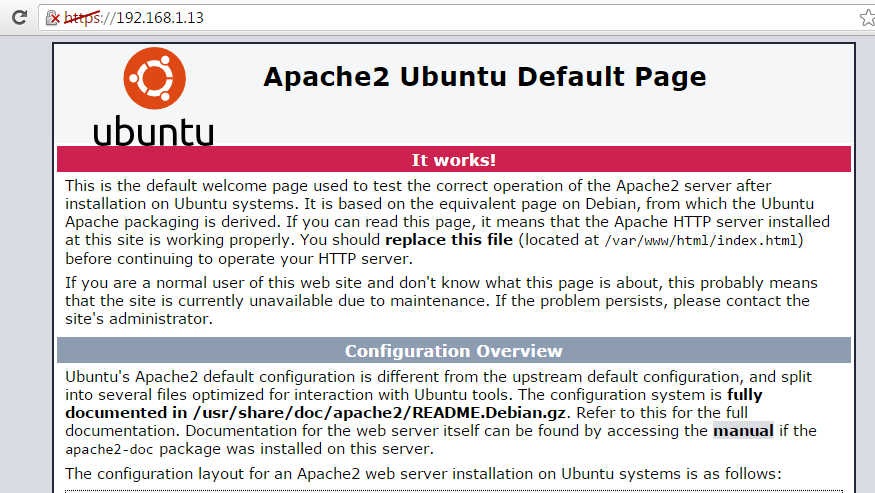
5. Also, verify the default informational apache web page using HTTP Secure Protocol by typing the below address in your browser:
https://your_server_IP_address
Due to the fact that apache is configured to run with a Self-Signed Certificate, an error should be displayed on your browser. Just accept the certificate to bypass the error and the page should be securely displayed.
Step 2: Install PHP 7 on Ubuntu 16.04
6. PHP is an Open Source dynamic programming language which can connect and interact with databases to process you code embedded in HTML code in order to create dynamic web pages.
To install the latest version of PHP 7, which is designed to run with speed improvements on your machine, first start by performing a search of existing PHP modules by issuing the below commands:
$ sudo apt search php7.0
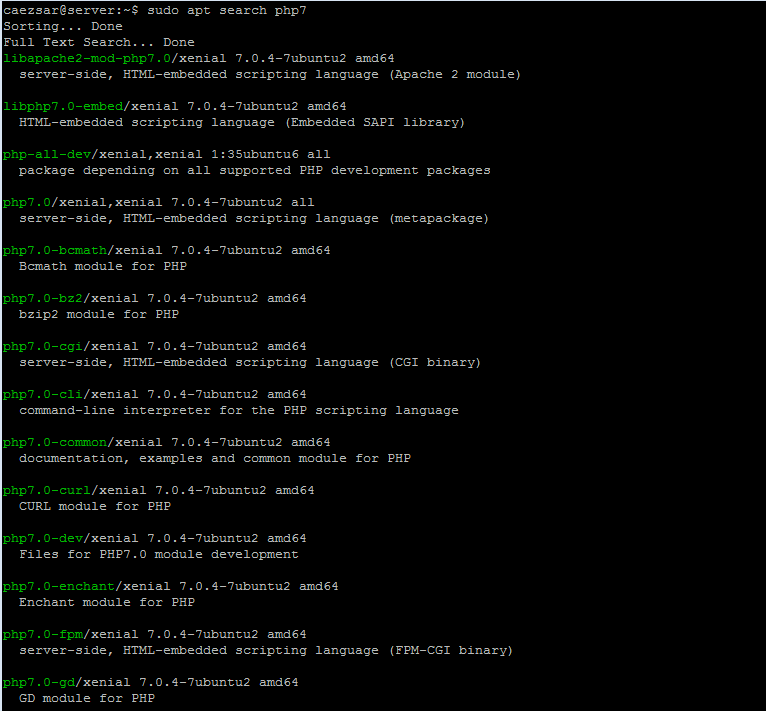
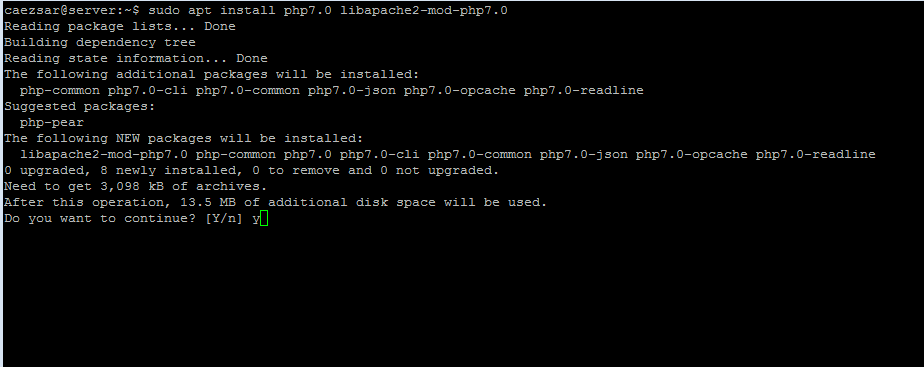
7. Next, once you found the proper PHP 7 modules required for your setup, use apt command to install the proper components so that PHP can execute code in conjunction with apache web server.
$ sudo apt install php7.0 libapache2-mod-php7.0
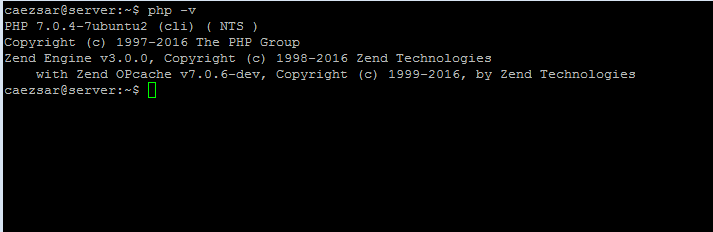
8. Once the PHP7 packages are installed and configured on your server, issue php -v command in order get the current release version.
$ php -v
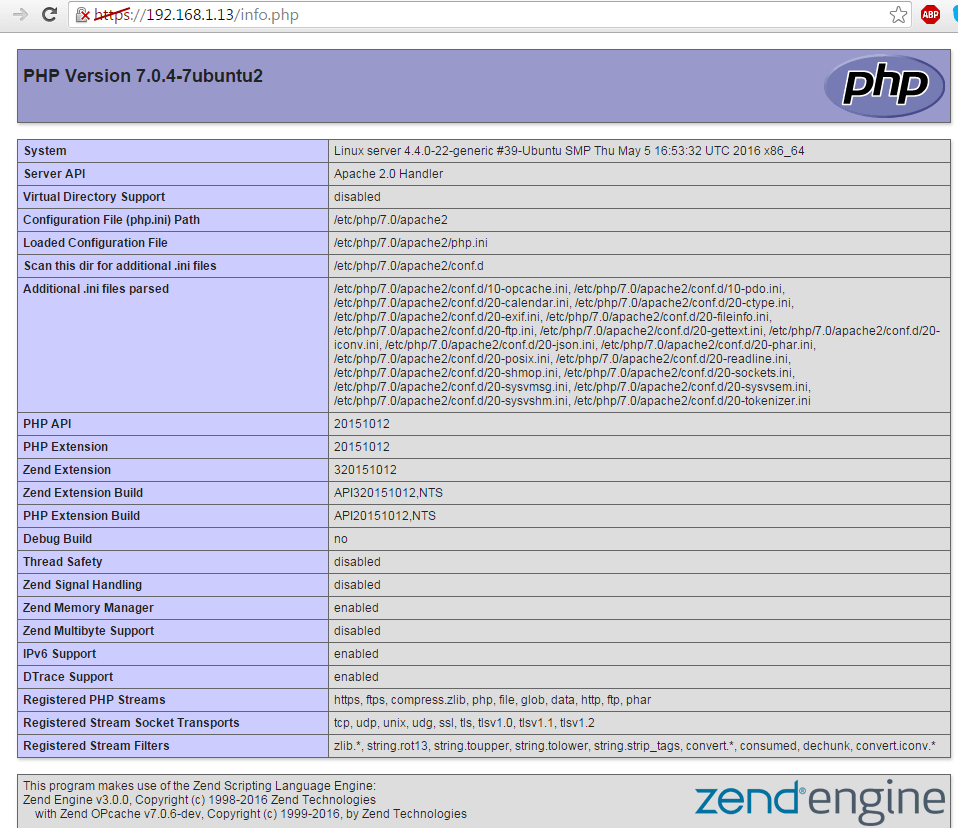
9. To further tests PHP7 configuration on your machine, create a info.php file in apache webroot directory, located in /var/www/html/ directory.
$ sudo nano /var/www/html/info.php
add the below lines of code to info.php file.
<?php
phpinfo();
?>
Restart apache service to apply changes.
$ sudo systemctl restart apache2
And navigate to your server IP address at the below URL to check the final result.
https://your_server_IP_address/info.php
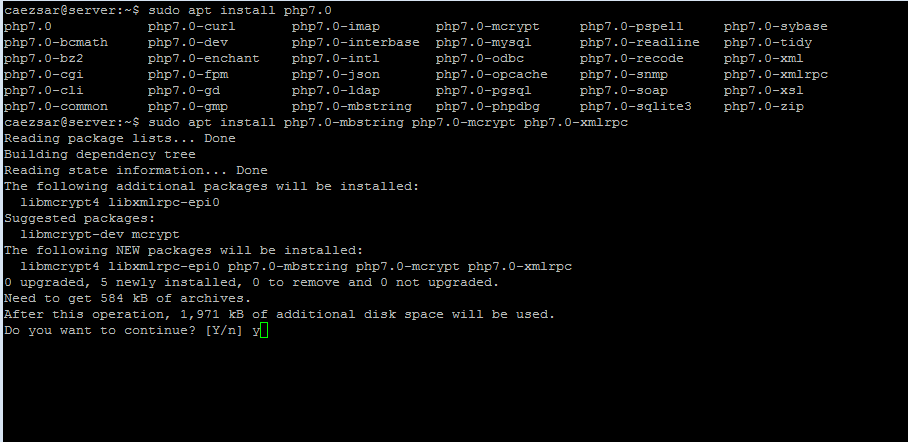
10. If you need to install extra PHP modules on your server, just press [TAB] key after php7.0 string when using apt command and the bash autocomplete option will automatically list all available modules for you.
Choose the proper module and install it as usual. We strongly advise you to install the following Php additional modules:
$ php7.0-mbstring php7.0-mcrypt php7.0-xmlrpc
$ sudo apt install php7.0[TAB]


Excellent tutorial – worked without issue on XUBUNTU 16.04 which is a rarety.
I got everything installed but phpmyadmin is in /etc instead of /var/www/html where it should have gone to I think. Also it didn’t accept my password for root. Can I reinstall phpmyadmin somehow? When I run the command for installing it, it tells me that it’s already the newest and cannot be upgreaded.
Thank you.
Use sudo dpkg-reconfigure phpmyadmin. No, by default, phpmyadmin installed from binaries does not use /var/ww/html directory for installation and uses /etc only for configuration . The source files reside in /usr/share/phpmyadmin usually.
I get the following error message when running the command you advised.
┌────┤ Configuring phpmyadmin ├─────────────┐
│ An error occurred while installing the database: │
│ │
│ ERROR 1045 (28000): Access denied for user ‘root’@’localhost’ (using password: NO) . Your options are: │
│ * abort – Causes the operation to fail; you will need to downgrade, │
│ reinstall, reconfigure this package, or otherwise manually intervene │
│ to continue using it. This will usually also impact your ability to │
│ install other packages until the installation failure is resolved. │
│ * retry – Prompts once more with all the configuration questions │
│ (including ones you may have missed due to the debconf priority │
│ setting) and makes another attempt at performing the operation. │
│ * retry (skip questions) – Immediately attempts the operation again, │
│ skipping all questions. This is normally useful only if you have │
│ solved the underlying problem since the time the error occurred. │
│ * ignore – Continues the operation ignoring dbconfig-common errors. │
│ This will usually leave this package without a functional database. │
│ │
│ Next step for database installation: │
│ │
│ abort │
│ retry │
│ retry (skip questions) │
│ ignore │
│ │
│ │
│ │
│ │
└───────────────────────────────────┘
Choose retry (skip questions). If there are still issues with phpmyadmin, then completley remove the package with sudo apt remove –purge phpmyadmin and manually install phpmyadmin from sources.
Found my problem , I did not execute this script because the purpose was not clear for me. After replacing the quote ’ by ‘ , I can execute those commands. Access to phpmyadmin is OK now, but I still don’t know why ;-)
$ sudo mysql
MariaDB> use mysql;
MariaDB> update user set plugin=’‘ where User=’root’;
MariaDB> flush privileges;
MariaDB> exit
Probably because you’ve used copy-paste the commands from here directly on mysql prompt. Always enter commands manually and pay attention to syntax, especially quotes.
Hi
For phpmyadmin, if you “choose No on Configure database for phpmyadmin with dbconfig-common ” , you cannot “setup a strong password for the web interface”. You have to say YES then you can enter password.
By the way, nice tutorial, even if I miss some explanation. At the end, just login into phpmyadmin gave me problem, as root or my user, can’t login.
I will have to restart and look what is the problem,
Thanks for your work
Philippe