The previous tutorial concerning SHOUTcast server, just covered the basic server setup on CentOS 7 Linux distribution, without any live media streaming.
This guide is not addressed for advanced Linux users and will guide you through the process of how you can use one of the most popular music player on Windows platforms, Winamp, to broadcast audio media online from remote points with the help of SHOUTcast DSP plugin and, also, how you can use the Mixxx DJ console, the most advanced music mixing DJing program in Linux, to put your mixed music on-air over Internet.
Requirements:
While Mixxx is available on all major Linux distributions, this guide will only cover Mixxx installation and configuration on Linux Mint 17, which is the best-suited platform for beginners who only need a free open source platform, with just few simple clicks or commands distance to install and configure all the pre-build debian packages for Mixxx player to stream their mixes over Internet.
Important: As I said, the following instructions are practically tested on Linux Mint 17, but the same instructions can also works on all other major Linux distributions, the only difference is Mixxx installation part, that too you can get it by doing yum or apt.
Step 1: Install and Configure Mixxx to Stream Audio Files to SHOUTcast Server
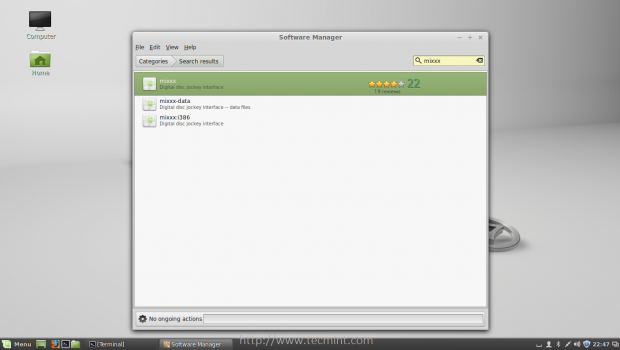
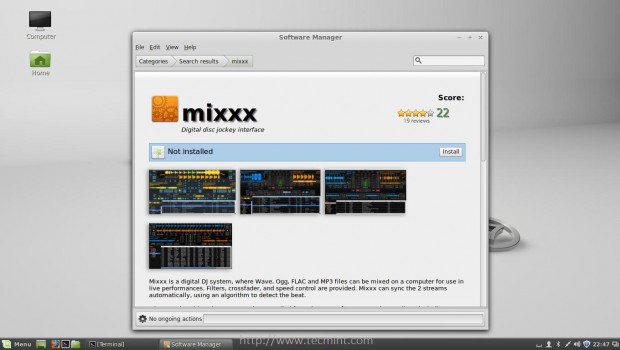
1. If you’re not an advanced Linux user and the command line sounds scary, you can install Mixxx program from a Graphical User Interface, by opening Linux Mint Software Manager.
Click on Linux Mint Menu, go to Software Manager, search for Mixxx software and install it on your system, as presented in the screenshots below.

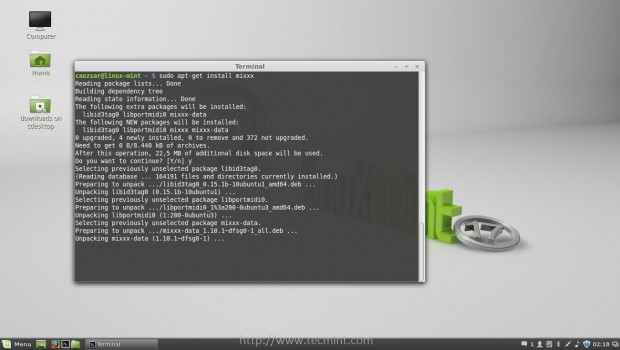
2. As an alternative to minimize time, you can use the command line to install Mixxx. Open an Terminal and type the following command to install Mixxx software.
$ sudo apt-get install mixxx
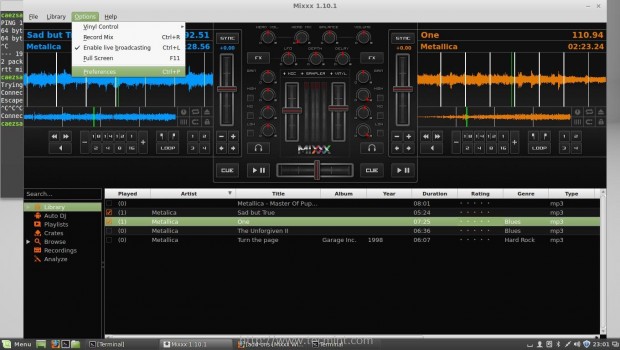
3. After Mixxx is installed on your system, you need to configure in order to be able to live broadcast audio to SHOUTcast server. Open Mixxx and add a
folder that contains audio samples in order to test configuration. Load your music samples to Mixxx consoles, then go to Options menu -> Preferences.
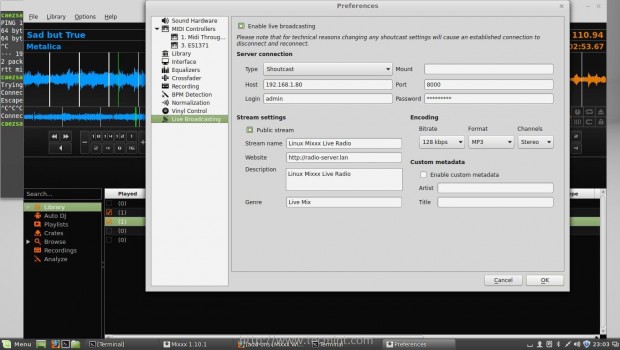
4. On Preferences menu navigate to bottom on Live Broadcasting and use the following settings (check the screenshot below as an example).
- Check Enable live broadcasting box.
- Choose Shoutcast Server connection
- Enter your SHOUTcast server IP Address or DNS name on Host filed.
- Enter your SHOUTcast server Port number (by default is 8000 if not changed ).
- Enter admin on Login fileld (default user for SHOUTcast server).
- On Password filed Enter your streampassword_1 configured in SHOUTcast server (sc_server.conf file ).
- Check Public stream box and enter your radio station information.
- If you steam MP3 choose this format on Encoding.
5. After you finish hit on OK button to apply settings and a new pop-up should appear if the connection to SHOTcast server was successfully established.
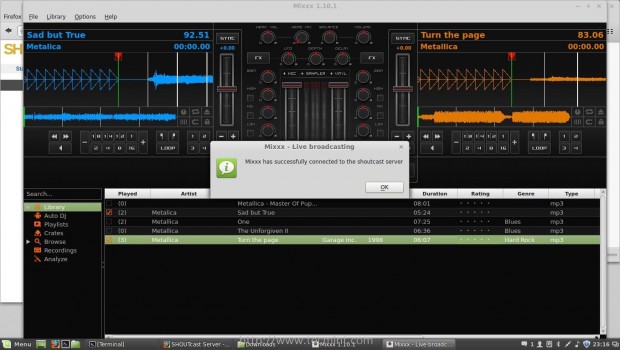
That’s all! Hit the Play button from Mixxx console and your audio should be now transmitted to the server which it will broadcast live on your networks or Internet.
6. If you want to test the server functionality, open a browser and type your SHOUTcast server IP Address or domain name with its port number on URL http://192.168.1.80:8000 and the live stream should be available for download by clicking on Listen.
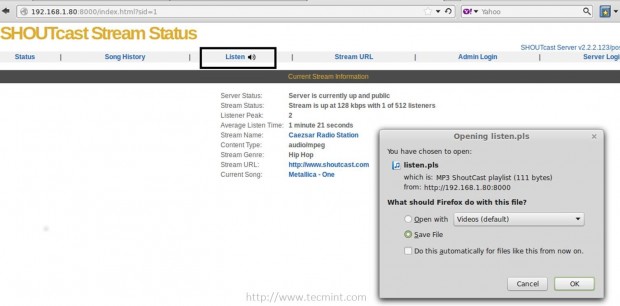
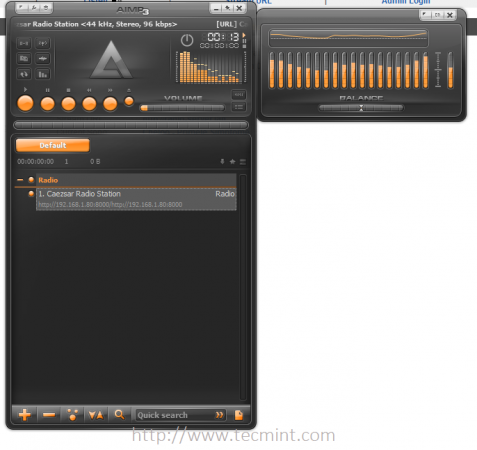
7. After the server’s stream playlist file was downloaded, use your favourite music player to open it and listen you radio station songs (in my case I use Audacious player on Linux and even on Windows to listen to Internet radio stations).
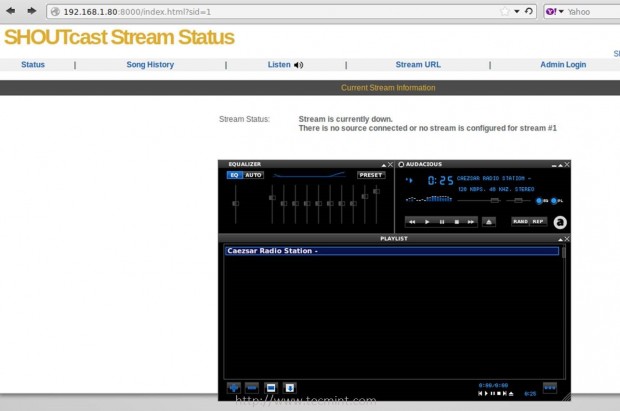
Also, try not to listen the radio station from the same host that you are streaming to server, but use a different computer to enter to SHOUTcast Steam webpage and download the playlist file.
Step 2: Configure Winamp on Windows to Stream Audio to SHOUTcast Server
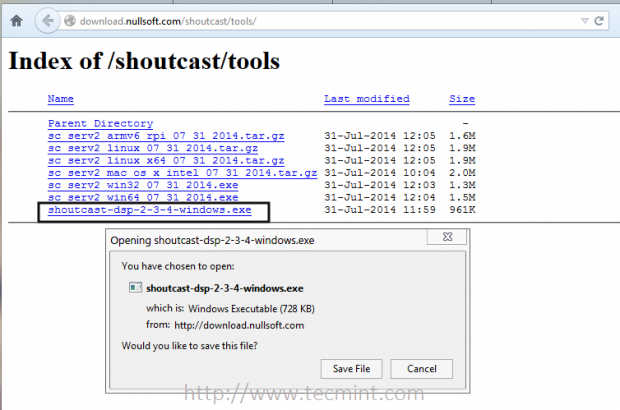
8. Winamp can be transformed into a powerful media streaming player with the help of SHOUTcast DSP Plug-in. First go to Nullsoft download page and grab the last version of SHOUTcast DSP.
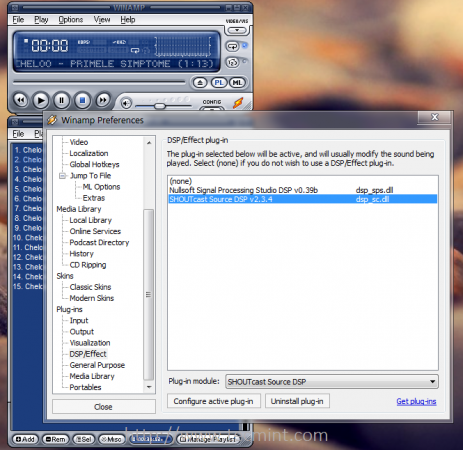
9. After you install this plugin, open Winamp player and move to Options -> Preferences. On Preferences menu navigate to Plug-ins, select on DSP/Effect, choose SHOUTcast Source DSP and hit on Configure active plug-in.
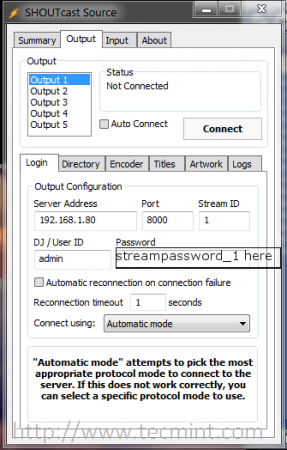
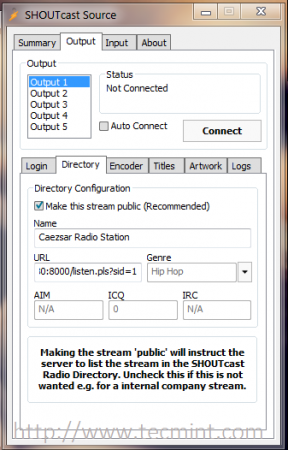
10. A new window named SHOUTcast Source should appear. Now it’s time to configure Winamp to broadcast audio media to SHOUTcast server on Linux. On the upper tabs click on Output and choose Output 1. Then move to bottom tabs, hit on Login menu and enter your SHOUTcast server IP Address or domain name, Port number.
Choose 1 for Stream ID and enter admin user for DJ/User ID followed by streampassword_1 configured on server (sc_serv.conf file) and Connect using Automatic mode.
11. Next, move to second bottom tab named Directory, check Make this stream public box, enter a Name for your radio station and a public URL address.
If you already have a website page for visitors (you can also put your SHOUTcast server IP address and Port on URL filed). – Optional step.
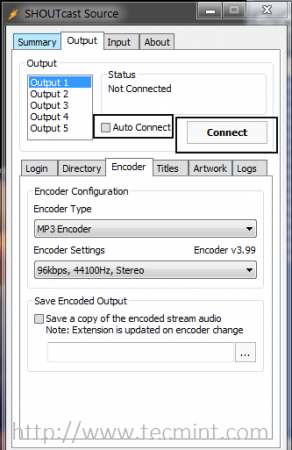
12. To configure the last setting, hit the Encoder tab, choose your favourite media Encoder Type (usually MP3), leave the default values for Encoder Settings and hit on Connect button.
If you want the DSP Plug-in to automatically start and connect to SHOUTcast server after you start Winamp player, also check Auto Connect box.
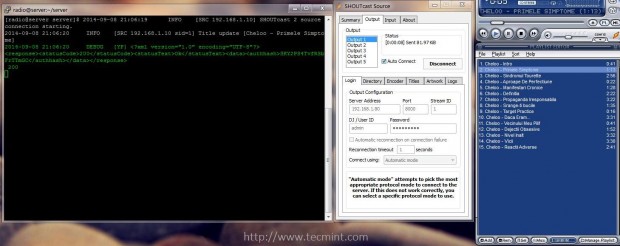
13. If the settings are correct, you will get a message on Status displaying the quantity of data sent to SHOUTcast server. Open a Putty and connect to remote SSH terminal connection to SHOUTcast server you should see some detailed information about the connection status.
14. You can also check your radio stream status and information by visiting SHOUTcast server IP Address on port 8000 from a different computer and download the server media playlist in order to listen music with your favourite audio player.
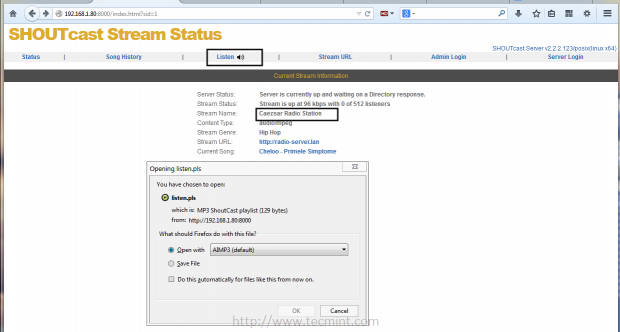
15. If you have an active Internet connection and you checked Make this stream public on DSP plug-in Directory tab configured in Winamp. Your radio station Name with its attached URL will be automatically hashed and displayed on http://www.shoutcast.comofficial page. which you can visit by clicking on Steam Name from SHOUTcast server web interface.

Step 3: Perform SHOUTcast Administrative Tasks
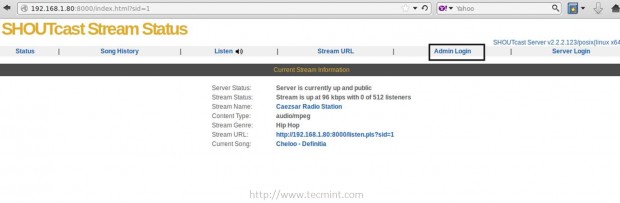
16. To manage your radio station stream go to SHOUTcast web interface at http://server_IP:8000, click on Admin Login hyperlink, enter your server stream credentials configured on sc_serv.conf file from Linux and you will be able to perform administrative tasks, such as viewing your Listeners, display Song History, Ban clients and more.
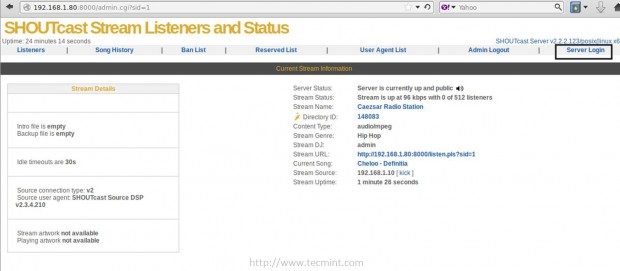
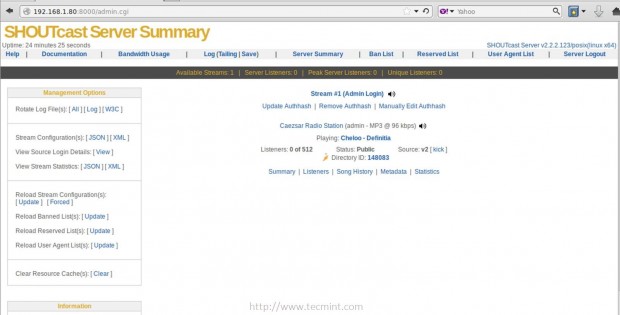
17. For more advanced SHOUTcast server settings, go to the same address as described above, hit on Server Login hyperlink, enter your server credentials
configured in the same sc_serv.conf file and the server web interface should appear.
On this page you can consult server Logs, get amount of Bandwidth Used, manage your Radio Steams or other settings.
That’s all you need to configure a simple Radio server to broadcast audio files over networks or Internet using a Linux server and media audio players from Linux or Windows. For more advanced settings please visit official SHOUTcast wiki page at
SHOUTcast Getting Started Guide
If you are planning to stream music or other media files in Internet you should be aware of copyright laws. We (Tecmint.com) website is not responsible in any way for what kind of media you will stream by setting-up your own radio server using this tutorial as guidance.

Nice but I have to use WINDOZE?!?! No thanks!!
Amazing guide.
I was able to get everything set up, but my encoder just does not connect.
Just times out saying “Unable to connect to socket”.