XenServer Virtual Guest Creation
20. The first step is to build a virtual machine to restore this newly image physical server. This is accomplished with a series of ‘xe’ commands. The first ‘xe’ command will be used to locate the necessary UUID’s for the storage repository.
# xe sr-list name-label="Tecmint Storage"
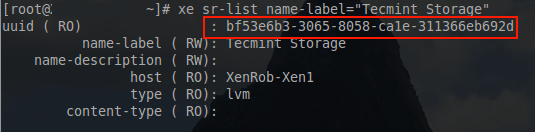
With the UUID of the storage repository available, the next task is the creation of the virtual guest from a template. The physical server that is being virtualized here is a Debian 8 system and as such, the Debian template will be utilized.
# xe vm-install template=”Debian Wheezy 7.0 (64-bit)” new-name-label="TecmintVM P2V" sr-uuid=bf53e6b3-3065-8058-ca1e-311366eb692d

Note: If virtualizing something that isn’t Debian, the following command can be used to see the list of templates available.
# xe template-list
It is always a good idea to confirm the creation/modification of technology items. To confirm the creation of this virtual guest issue the following command.
# xe vm-list name-label=Tecmint\ P2V\ VM

21. Now that the guest has been created, some of the boot parameters need to be adjusted. This particular guest will need to PXE boot first in order for Clonezilla to be able to recover the recently imaged physical server. Changing the virtual guest to boot via PXE can be accomplished and confirmed via the following ‘xe’ commands.
# xe vm-param-set uuid=<vm_uuid> HVM-boot-policy="BIOS order" HVM-boot-params:order=n
# xe vm-param-list uuid=b4d92a28-a836-32c5-0ea2-384245a7fdba | grep -i hvm

22. At this point the guest is set to boot via the network but the template didn’t provide a network interface for this virtual machine. A virtual interface (VIF) must be attached to this guest in order for the guest to boot via PXE. The first step is to locate the appropriate network for this virtual machine.
# xe network-list
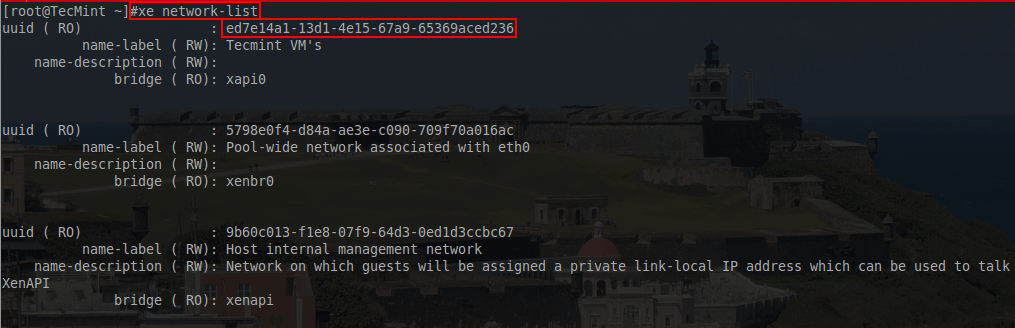
23. The network that this VM should use is the “Tecmint VM’s” network and the UUID output from this command is necessary to attach a VIF the the virtual machine. With the network UUID available, a VIF can be added to the guest for PXE booting using another ‘xe’ command.
# xe vif-create network-uuid=ed7e14a1-13d1-4e15-67a9-65369aced236 vm-uuid=b4d92a28-a836-32c5-0ea2-384245a7fdba device=1
# xe vif-list vm-uuid=b4d92a28-a836-32c5-0ea2-384245a7fdba

24. At this point the guest is ready to attempt PXE booting however in order to see the guest’s console, a ssh tunnel to the XenServer is necessary and xvncviewer will be needed to connect to the console over the SSH tunnel.
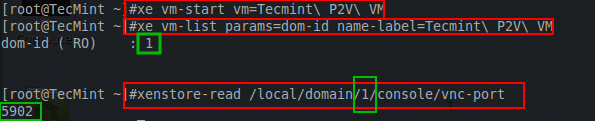
The first step is to power on the guest in order to determine the domain it was started within. The following series of commands are done on the XenServer host to determine the necessary information for the VNC client connection.
# xe vm-start vm=Tecmint\ P2V\ VM
# xe vm-list params=dom-id name-label=Tecmint\ P2V\ VM
# xenstore-read /local/domain/1/console/vnc-port
These commands will start the VM, locate the domain the the VM is running in, and then using that domain number, the VNC port will be determined for the xvnc client to connect.
This process must be accomplished quickly and on the XenServer host. If there are any problems booting, the VM will shutdown in approximately 30 seconds and a console session to the guest will not be available.
With the last green box, the information necessary to build the SSH tunnel to the XenServer host has been located. Now a SSH tunnel can be created using the following command.
# ssh -L <any_random_port>:localhost:<VNC_Port_Above> root@<server> -N
# ssh -L 5902:localhost:5902 root@<server_ip> -N
This sets up a SSH connection to the XenServer '<server>' from port 5902:localhost to port the VNC port on the XenServer determined above which in this example is also 5902. Now using Xvncviewer the console for this PXE booting VM can be viewed.
# xvncviewer localhost:5902
If all goes as planned, a small window should be presented that will contain the console session of the virtual guest on the XenServer host.
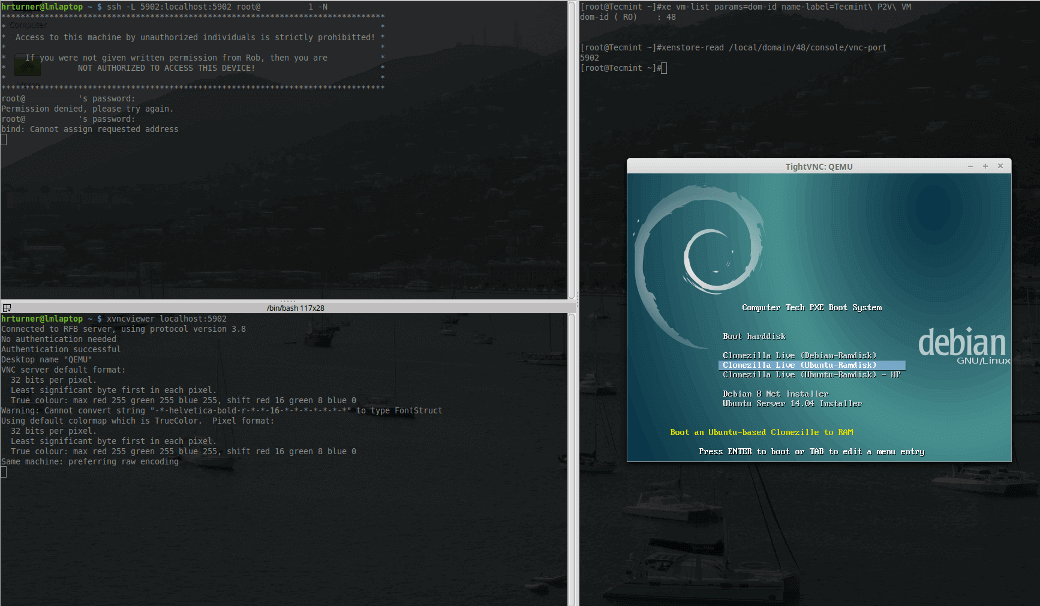
25. At this point the console session is established and the host can be PXE booted to Clonezilla in order to push the image previously taken to this new virtual host.
A couple of cautions before continuing:
- The xvnc client may disconnect from time to time if the guest changes the graphics resolution. If this happens simply reconnect using the xvncviewer command from earlier.
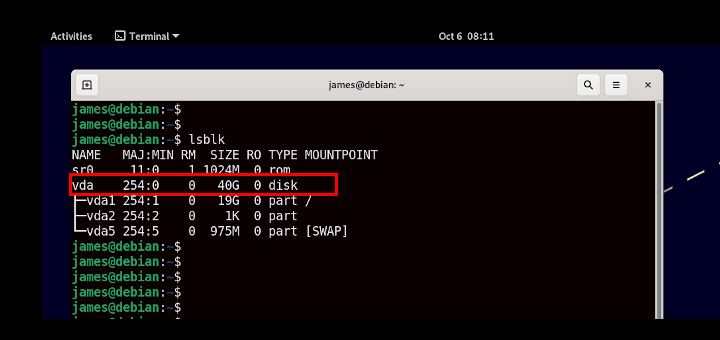
- Clonezilla will require that this virtual machine have as much or more disk space available in order to recover this image to the virtual host.
- This process will take close to, if not longer than, the same amount of time as the initial imaging from the beginning of the article. Be patient and allow the process to finish.
- For some unknown reason, XenServer appears to be very picky about the pxelinux.0 file it will use to boot guests. To get this process to work, Debian’s netboot files were used and can be downloaded from here: https://www.debian.org/distrib/netinst#netboot.

When restoring to Xenserver the message “target partition is smaller than the source” is displayed even when you turn off checking the partition table.
Not even sure how that makes sense when I’m restoring to a larger vDisk in Xenserver than the source Hard drive that was cloned.
XenServer is not an option to migrate PHYSICAL TO VIRTUAL… not while this loooooooong list of steps is required.
Have you seen how to migrate a PHY machine in VMWARE ?
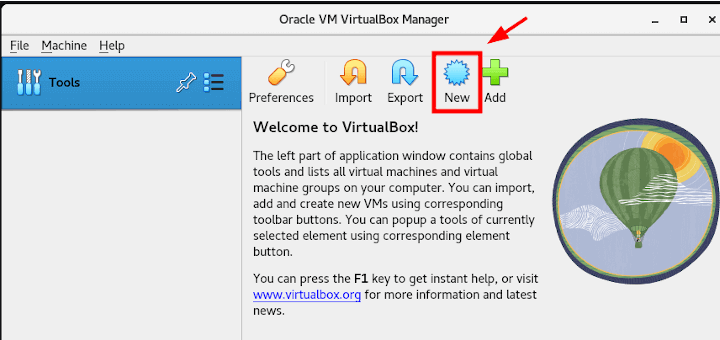
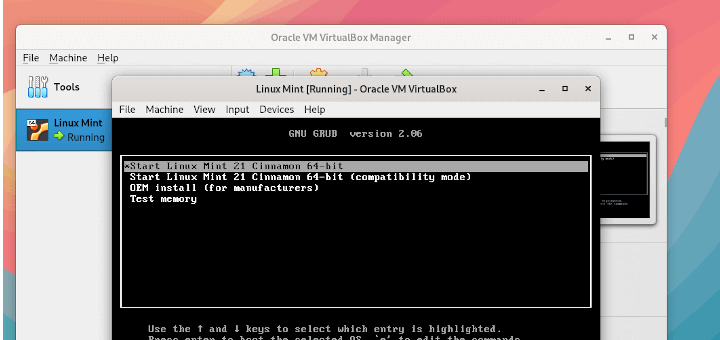
In Oracle VirtualBox you can use vmware procedure and just import results!
Jader,
This tutorial is lengthy due to the fact that it assumes zero knowledge of the process. If the reader is already familiar with Clonezilla and the processes involved, this article could have been reduced to about 3 paragraphs.
XenServer also has tool known as XenConvert which allows administrators to make quick virtual machines out of Windows physical hosts but again this article was doing a P2V migration on a Linux physical server (XenConvert is a windows only tool).
any possible procedure to monitor xenserver performance in cacti
Ramesh,
I don’t have a specific write up for that. I do know that they can be added to Nagios but it is technically considered a non-supported modification according to Citrix. I can add the topic to a list of future articles for this XenServer series!