Imaging the XenServer Virtual Guest with Clonezilla
26. At this point, the guest machine should be booted to Clonezilla via PXE and a console connection established to see the output of the process through xvncviewer.
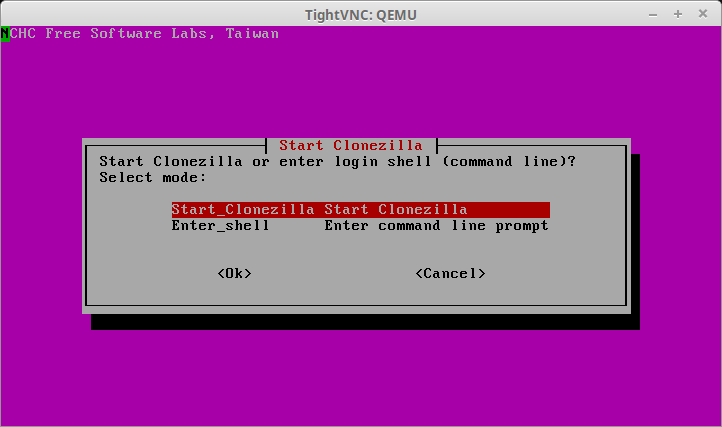
Clonezilla starts the installation process of asking the user to choose between starting Clonezilla or starting a shell. Select ‘Start_Clonezilla’ to begin the process.
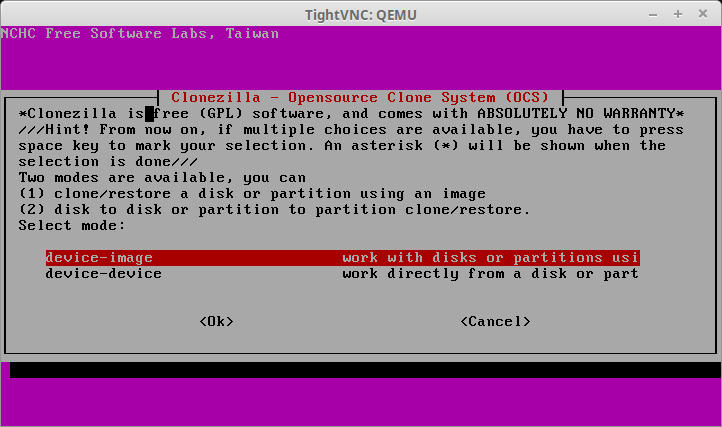
27. The following screen will determine the cloning method to be used for this particular session. Be sure to select ‘device-image’ at this prompt.
28. The next screen will ask how the image will be obtained. This article imaged the physical server to a SAMBA server and as such, the image will need to be retrieved from that same SAMBA server. To accomplish this, select the option ‘samba_server’.
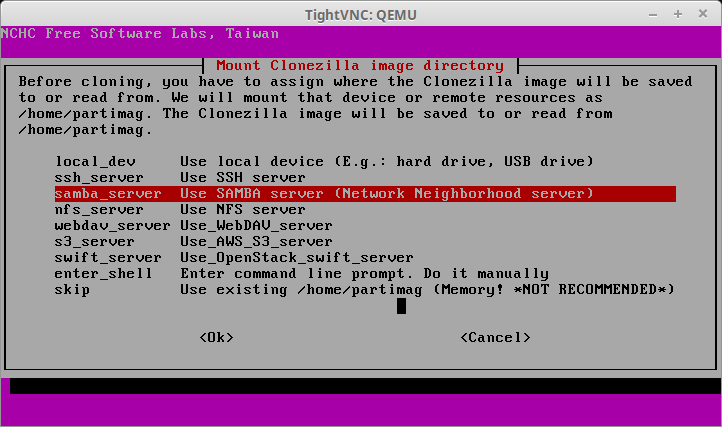
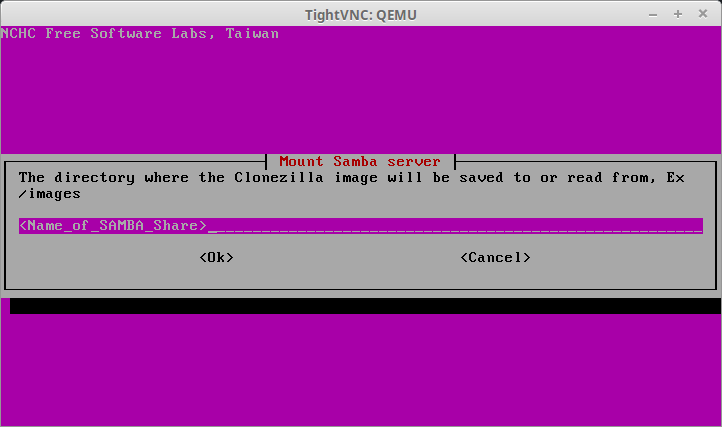
29. The next couple of screens will ask for information about the SAMBA server such as IP address, login information, and the directory where the images are stored (default is /images). Fill in the proper information for the environment.


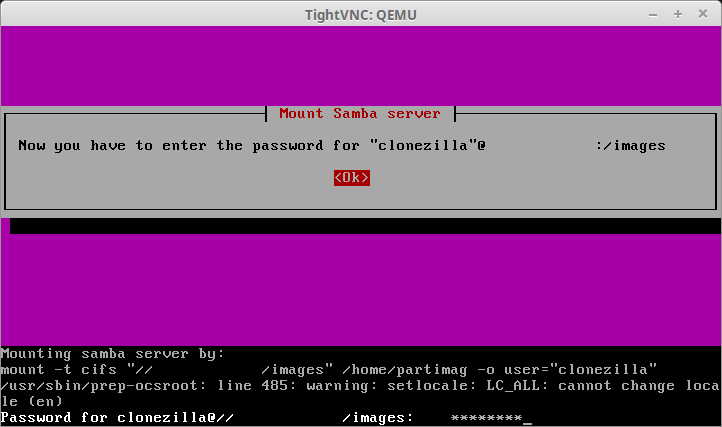
30. At this point, assuming that all information has been input correctly and the server is accessible, Clonezilla will successfully mount the remote SAMBA share to the system to retrieve the image of the physical server. The following screen shot shows a successful connection to the SAMBA server.
31. With the SAMBA share now mounted and accessible, the next step of this process is to instruct Clonezilla to recover from the image previously taken. With the first prompt, select ‘Beginner’ to start the process.
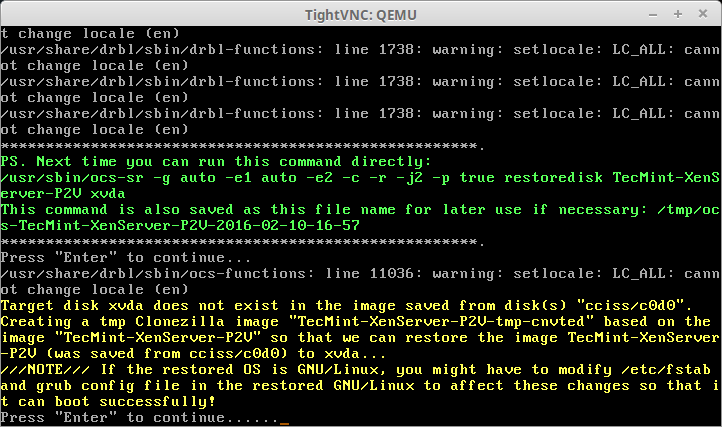
The screen that follows is the important screen. This screen is where Clonezilla will be instructed to recover the full disk image taken earlier in the article. The option needed here is ‘restoredisk’.

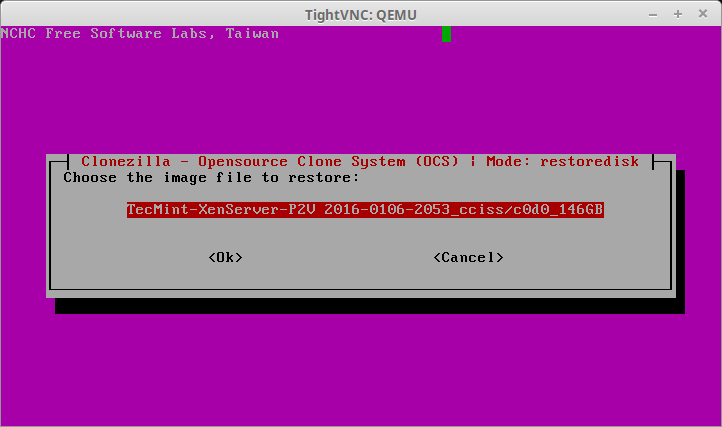
32. After hitting enter, Clonezilla will scan the SAMBA share for possible images to recover and present a list of options on the following screen. If this SAMBA share happens to have a lot of images, be sure to double check the proper image is being selected.
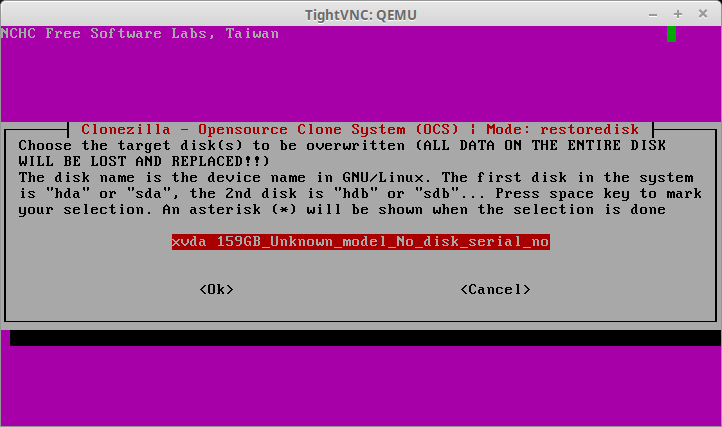
33. The next screen will ask the user to confirm the hard drive to restore the previously selected image. This will be the virtual machine’s hard disk. Be sure that this hard disk is as large as or larger than the drive space from the physical server! Clonezilla will fail if the device runs out of space.
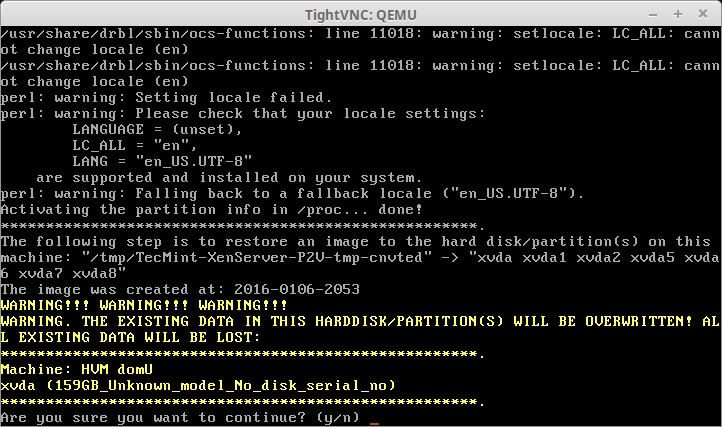
34. After selecting the appropriate hard drive, Clonezilla will prompt several times to confirm that the changes about to take place are correct. Be sure to double check that the image is correct, the drive to write the image to is correct, and that the hard disk to accept this image is as large as or larger than the drive in the physical server being virtualized.
35. This next prompt will provide some potential warnings to the user. In the case of this particular physical server, the unit had a special RAID device for the hard drives.
Clonezilla provides a warning to the user that the fstab file may need to be modified if device names were used in the file rather than UUID value for the partitions. This should be correctable after booting into the VM but it is something to take note of when virtualizing systems.
36. The last prompt is the final confirmation before Clonezilla will start the imaging process. Make sure that everything is completely accurate before confirming. Anything beyond this point will cause data loss on the virtual guest as the Clonezilla image will be recovered to this virtual guest’s hard disk.
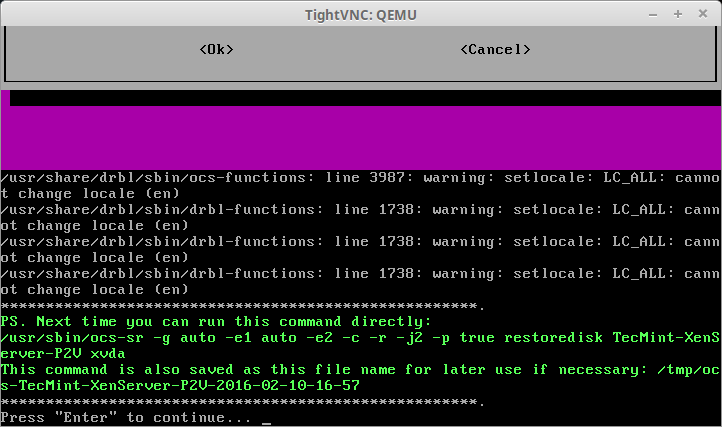
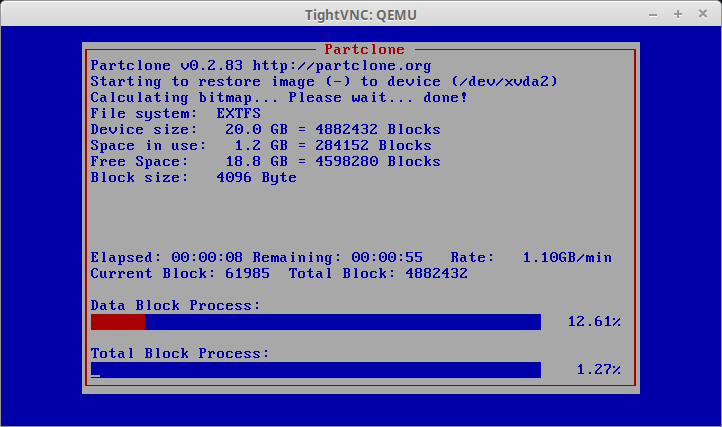
37. If Clonezilla start successfully, the next screen will be a progress indicator. A word of caution. If the physical server had multiple partitions, this screen will flash up multiple times for each partition being recovered.
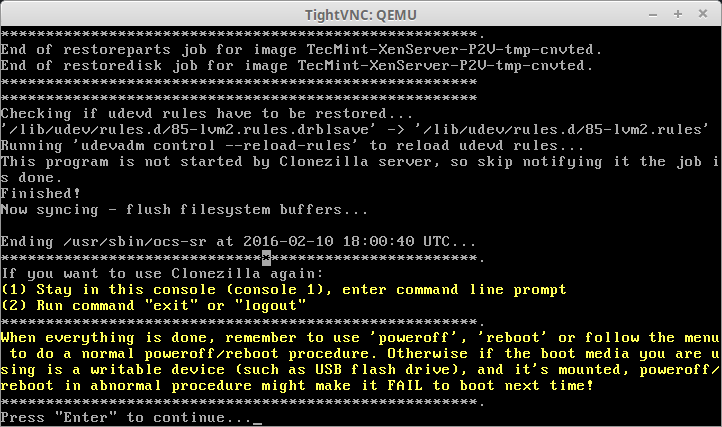
38. Once the process finishes, Clonezilla will indicate if the process was successful or not and prompt the user for what to do next. One thing to keep in mind if the physical server is still up and running, once the virtual server is up and running as well they may be using the same IP address and this could cause issues with access to both servers.
Use caution when booting the new virtual server on a production network. Another option is once the guest has been imaged, remove the VIF (virtual interface) from the guest so that it won’t have a network connection when it restarts (this won’t affect management of the server through the SSH tunnel). Removing the VIF can be accomplished with two commands.
# xe vif-list vm-uuid=<uuid_of_VM> | head -1
# xe vif-destroy uuid=<uuid_from_above_command>
When Clonezilla is done, it will alert the user as to whether or not the image was successfully copied to the virtual guest.
39. The next screen will provide the option to restart the virtual guest but from earlier in this article, the boot device was set to network boot and as such it needs to be changed back to the virtual guests hard disk first and network second. This is easily accomplish on the XenServer host by modifying the xe command from earlier.
# xe vm-param-set uuid=<uuid_of_VM> HVM-boot-params:order=cn
Once the command above has been entered, the guest can be rebooted from the next menu presented by Clonezilla.

40. Rebooting will restart the virtual machine and disconnect the VNC session. There is a slight chance that the domain that the virtual machine starts up in or the VNC-port may change upon rebooting the virtual host.
It is suggested to have a SSH connection to the XenServer host open already so that command from earlier can be used to quickly determine the domain id and VNC-port again. Having this ready will make it easier to quickly re-establish a SSH tunnel to the XenServer host as well.
Upon rebooting, hopefully you’ll be presented with the wonderful boot screen of a physical server that is now a bona fide virtual host running on a XenServer system!
There it is, a successful physical to virtual migration on a XenServer host. The physical server used for this virtualization had some special network configurations that will require further configuration in order to get it completely back up and running but once the host boots, these issues can be corrected.
Thanks for having the patience to read through this entire article and hopefully it will provide some insight into physical to virtual migrations within XenServer!
The next article in this series will cover XenCenter (Citrix’s approved GUI application method of managing XenServers) as well as an open source web based alternative known as Xen Orchestra.

When restoring to Xenserver the message “target partition is smaller than the source” is displayed even when you turn off checking the partition table.
Not even sure how that makes sense when I’m restoring to a larger vDisk in Xenserver than the source Hard drive that was cloned.
XenServer is not an option to migrate PHYSICAL TO VIRTUAL… not while this loooooooong list of steps is required.
Have you seen how to migrate a PHY machine in VMWARE ?
In Oracle VirtualBox you can use vmware procedure and just import results!
Jader,
This tutorial is lengthy due to the fact that it assumes zero knowledge of the process. If the reader is already familiar with Clonezilla and the processes involved, this article could have been reduced to about 3 paragraphs.
XenServer also has tool known as XenConvert which allows administrators to make quick virtual machines out of Windows physical hosts but again this article was doing a P2V migration on a Linux physical server (XenConvert is a windows only tool).
any possible procedure to monitor xenserver performance in cacti
Ramesh,
I don’t have a specific write up for that. I do know that they can be added to Nagios but it is technically considered a non-supported modification according to Citrix. I can add the topic to a list of future articles for this XenServer series!