CentOS is a widely used Linux distribution in the Enterprise Linux family, because of many reasons, including being stable and manageable. This CentOS 6.10 release is based on the upstream release Red Hat Enterprise Linux 6.10 comes with bug fixes, new functionalities & updates.
It’s highly recommended to go through release notes as well as the upstream technical notes about the changes before an installation or up-gradation.
Download CentOS 6.10 DVD ISO’s
CentOS 6.10 Torrent files for the DVD‘s are available at:
- CentOS-6.10-i386-bin-DVD1to2.torrent [32-bit]
- CentOS-6.10-x86_64-bin-DVD1to2.torrent [64-bit]
Upgrade CentOS 6.x to CentOS 6.10
CentOS Linux is created to automatically upgrade to a new major version (CentOS 6.10) by running the following command that will upgrade your system seamlessly from any earlier CentOS Linux 6.x release to 6.10.
# yum udpate
We strongly recommend you to perform a fresh installation rather than upgrading from other major CentOS versions.
In this article, we will show how to install a fresh CentOS 6.10 using the DVD ISO image, with a graphical user interface (GUI) or desktop environment by default.
CentOS 6.10 Installation Guide
1. First start by downloading the CentOS 6.10 DVD ISO and then burn it to a DVD or create a bootable USB stick using LiveUSB Creator called Rufus, Unetbootin or terminal based Bootiso.
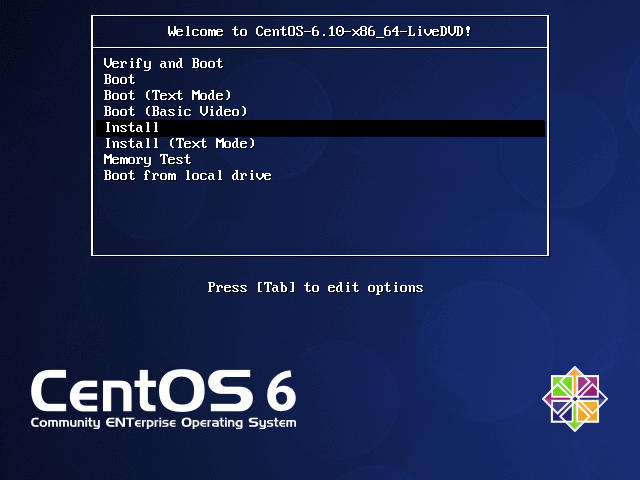
2. Next, boot your computer using the bootable USB or CD, press any key to access the Grub menu, then select Install and click Enter.
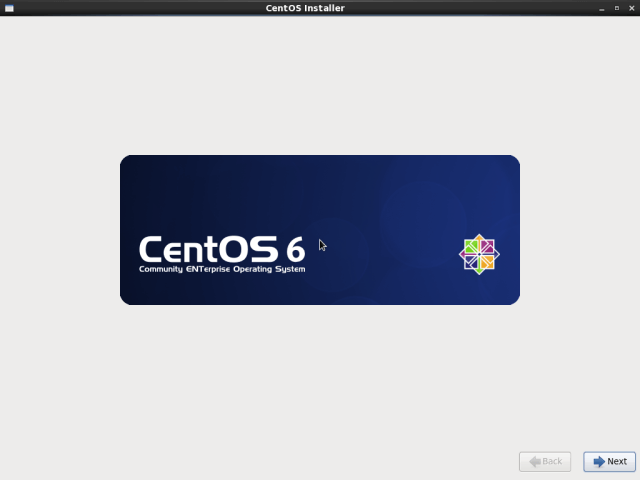
3. After all services and start scripts have been started, the CentOS Graphical Installer will be launched, as shown in the following screenshot. Click on Next to proceed.
4. Choose the installation language you wish to use, and click on Next.

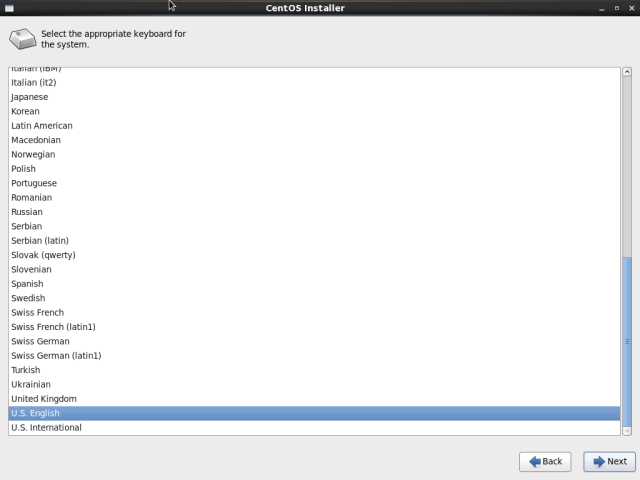
5. Choose the keyboard layout you wish to use and click on Next.
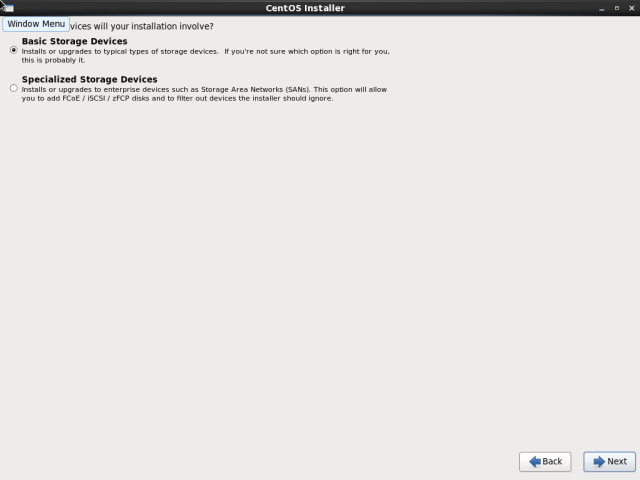
6. Choose the type of storage devices (basic or specialized) to be used for the installation and click Next.
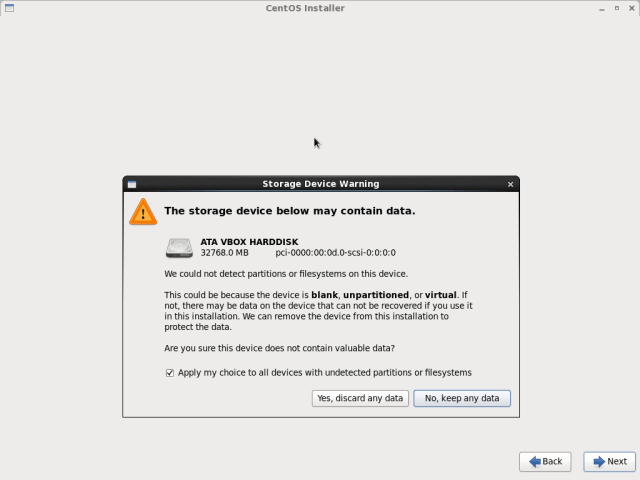
7. Next, select the option to clear data on the storage disk by selecting Yes, discard any data and click Next.
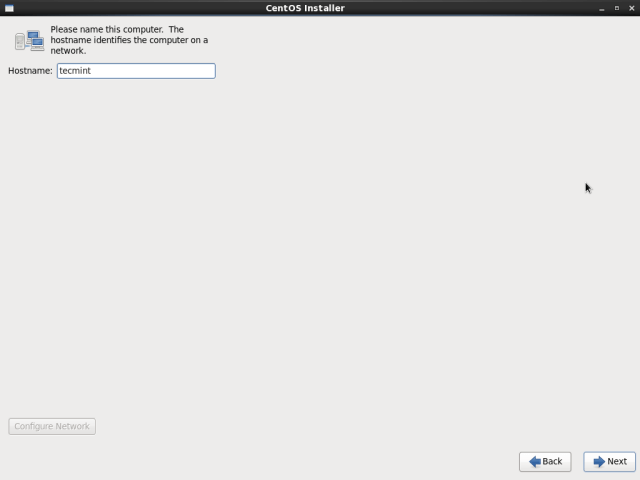
8. Now set the Hostname and click Next.
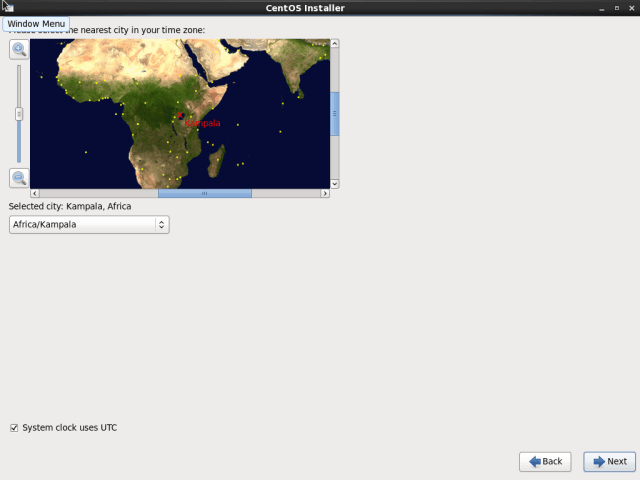
9. Set the Timezone for your location and click Next to proceed.
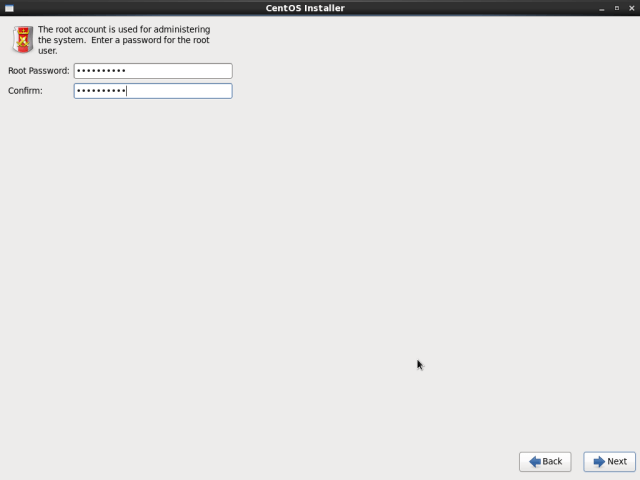
10. Afterwards, set the root user password and confirm it and click Next to continue.
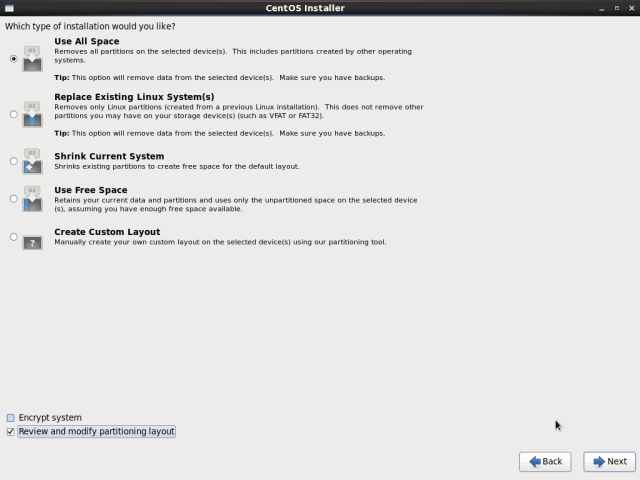
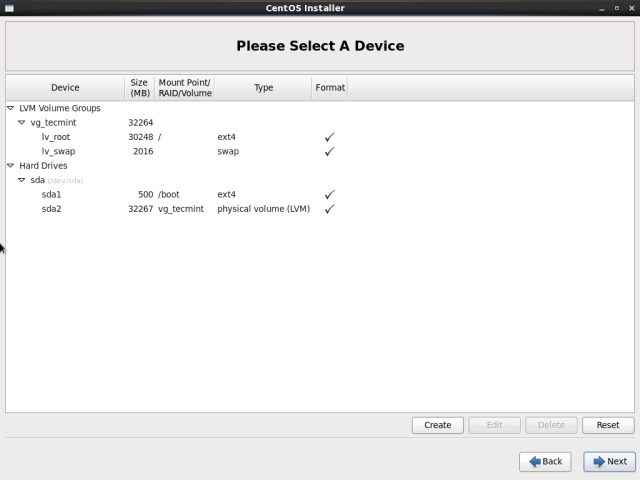
11. Next, you need to define the type of installation you want. Read the descriptions of the options carefully and select the appropriate one. If you want to use the whole disk space, choose Use All Space, but to perform a custom installation, choose Create Custom Layout.
12. The installer will review and modify partition layout. You can select a device to edit or delete, but if everything is ok, click Next.
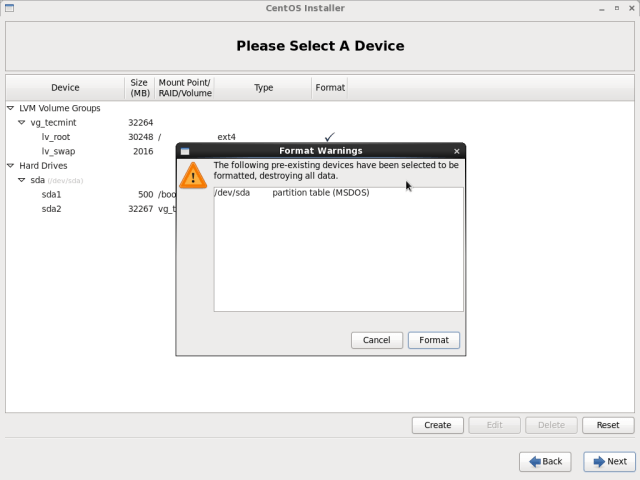
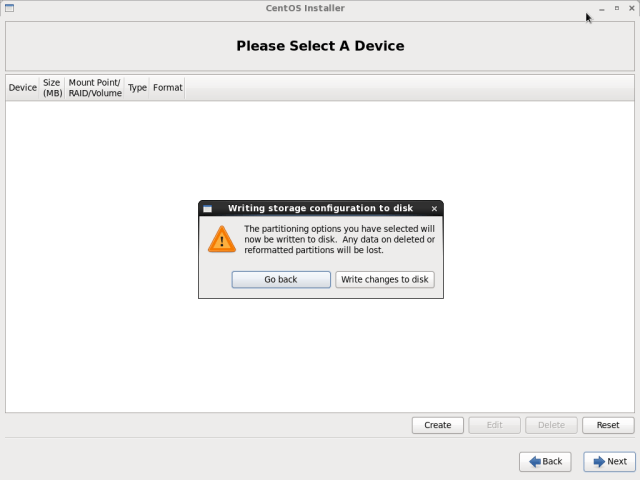
13. Then permit the installer to apply the recent setup to disk by selecting Write changes to disk and then click Next to proceed.
14. Now tell the installer to install the boot loader, (remember you can specify a different device other than the default selected), and click Next to start actual installation of files (copy of ISO image to disk).

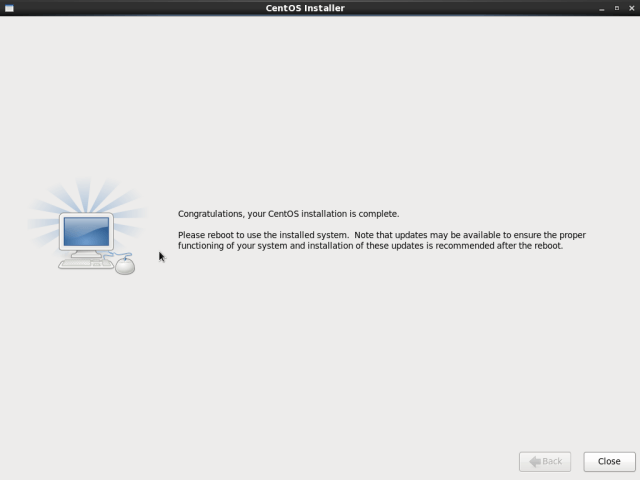
15. When the installation is complete, click on Close to reboot the system.
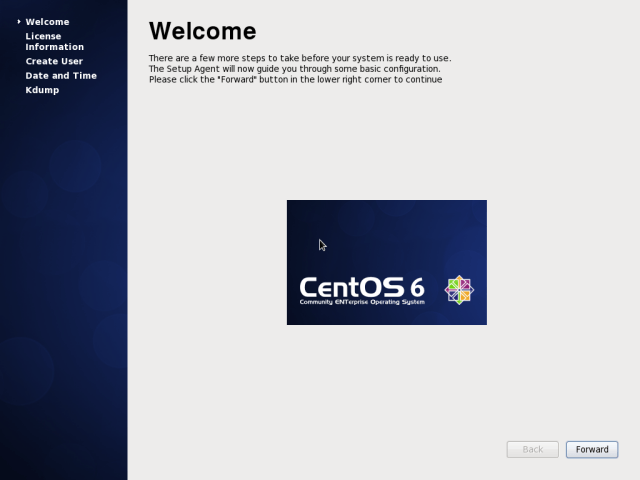
16. After rebooting and starting all services, you will land at the Welcome screen, click on Forward to continue.
17. Agree to the CentOS License Agreement and click on Forward.

18. Now create an additional user, enter the username, full name and set for it a password and confirm the password and click Forward to proceed.

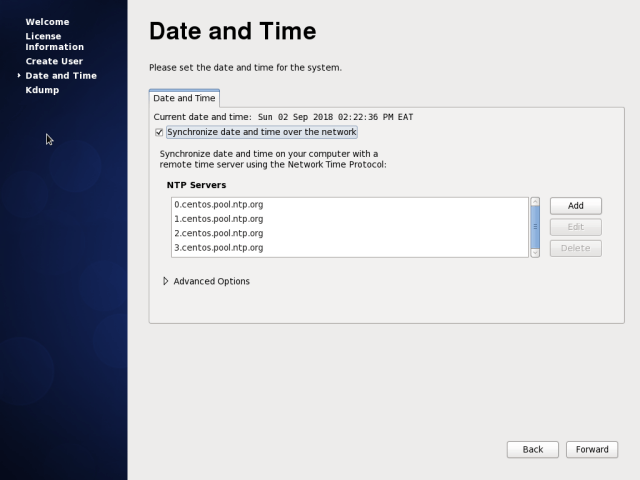
19. Next, set the Date and Time for your system. It is recommend to synchronize data and time over network. Once your are done, click Forward.
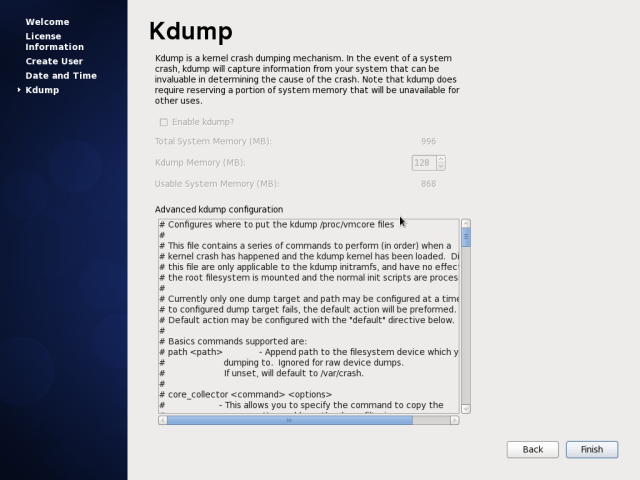
20. Now configure Kdump and click on Finish.
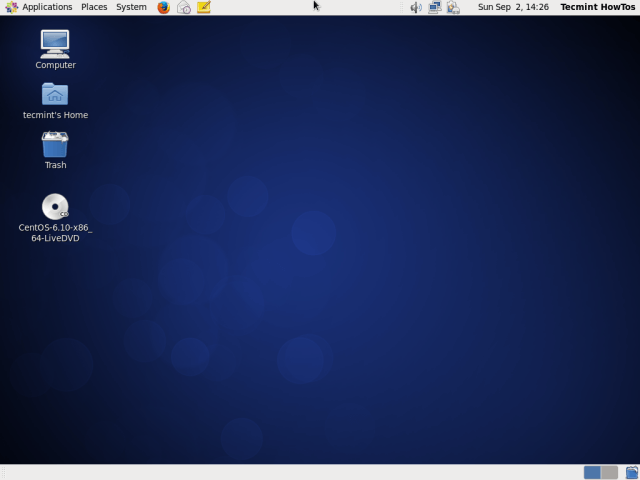
21. Finally, log into your new CentOS 6.10 system as shown.
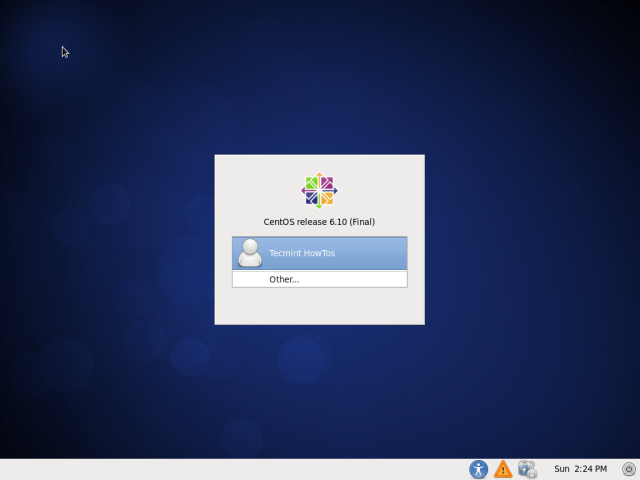
Congratulations! You have successfully installed CentOS 6.10 operating system on your computer. If you have any questions or thoughts to share, use the feedback from below to reach us.