CentOS is a most popular and widely used Linux distribution from the RedHat Enterprise family. This CentOS 6.10 release is based on the upstream release Red Hat Enterprise Linux 6.10 comes with bug fixes, new functionalities & updates.
It is strongly recommended to read the release notes as well as the upstream technical notes about the changes before an installation or up-gradation.
Upgrade CentOS 6.x to CentOS 6.10
Those who looking to upgrade from previous CentOS 6.x to a new major CentOS 6.10 version, they can simply run the following yum command to upgrade their system seamlessly from any earlier CentOS Linux 6.x release to 6.10.
# yum udpate
We highly suggest you to perform a fresh CentOS 6.10 installation rather than upgrading from other older CentOS versions.
In this article, we will take you through the steps of performing a minimal CentOS 6.10 network installation, where you install a very minimum set of software, necessary for booting the kernel and performing basic functions on your server, without a graphical user interface (GUI). It allows you to set a foundation for building a future customizable server platform.
Download CentOS 6.10 Net Install
If you’re looking for fresh CentOS 6.10 installation, then download the .iso images from the links provided below and follow the installation instructions with screenshots mentioned below.
- CentOS-6.10-i386-netinstall.iso [32-bit]
- CentOS-6.10-x86_64-netinstall.iso [64-bit]
CentOS 6.10 Network Installation Guide
1. First start by downloading the CentOS 6.10 Network Install ISO and then create a bootable USB stick using LiveUSB Creator called Rufus, Unetbootin or terminal based Bootiso.
2. Next boot your system using the bootable USB or CD, at the Grub menu, select Install or upgrade existing system and hit enter.
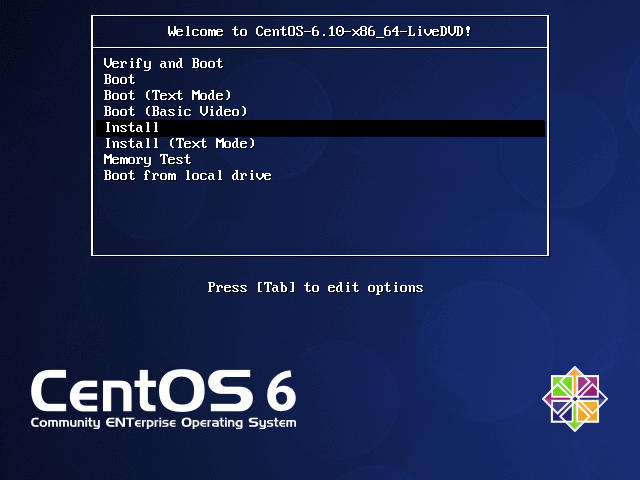
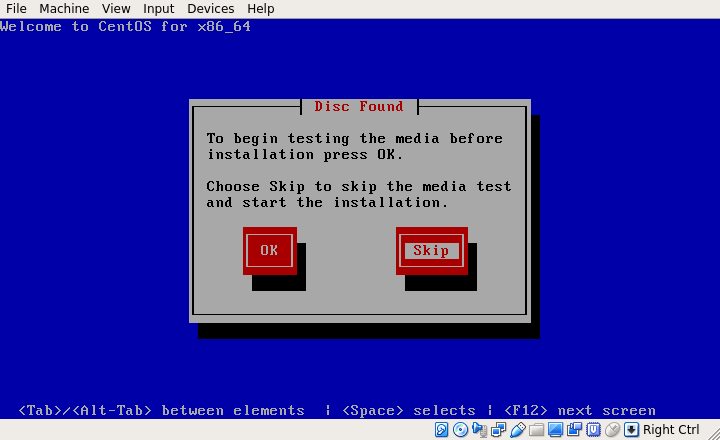
3. Next, skip testing of the installation media to start the installation of the system.
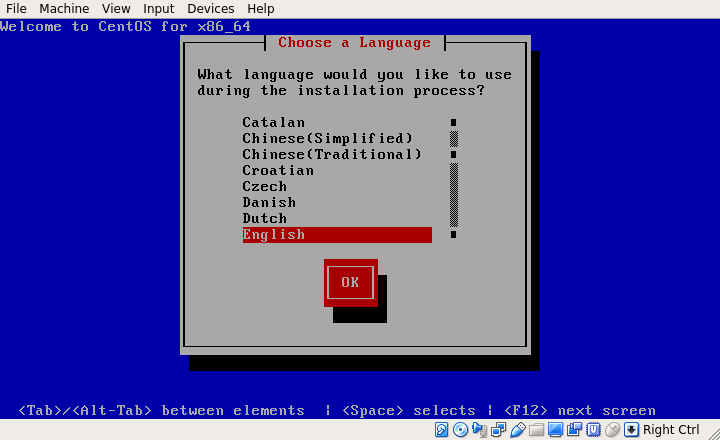
4. Choose the language you would like to use for the installation process, and press Enter.
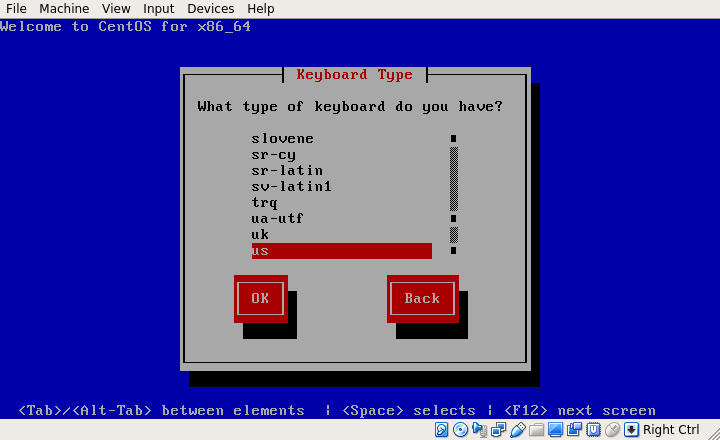
5. Select the keyboard layout you would like to use, and use the right arrow key select OK, and press Enter.
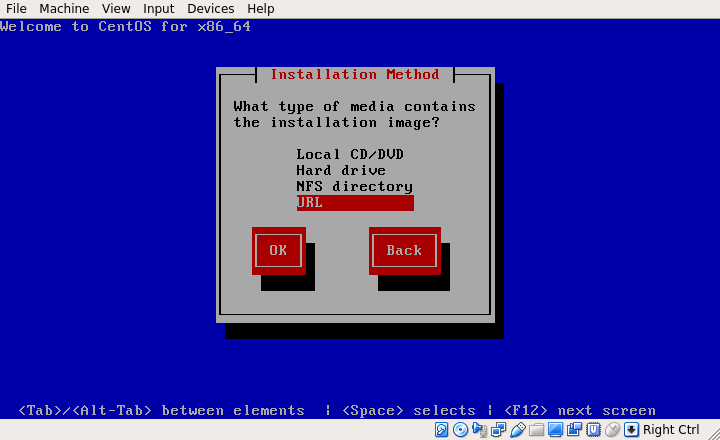
6. Now specify the installation method, since it is a network installation, choose URL and then press OK and hit Enter.
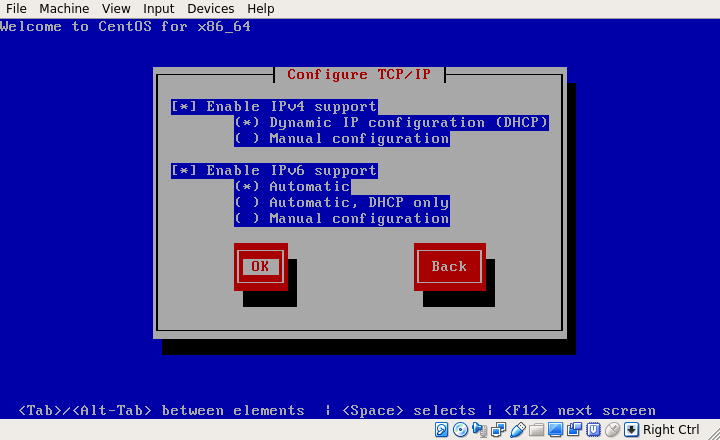
7. Next, configure TCP/IP for connections as shown in the screenshot below.
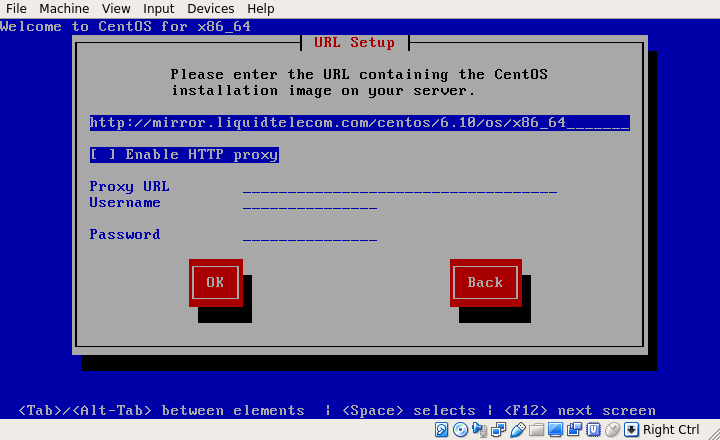
8. Now configure the CentOS 6.10 Netinstall URL, it is recommended to choose a nearest mirror from the available CentOS mirrors list.
Example mirror.liquidtelecom.com
- http://mirror.liquidtelecom.com/centos/6.10/os/i386/ – [32-bit]
- http://mirror.liquidtelecom.com/centos/6.10/os/x86_64/ – [64-bit]
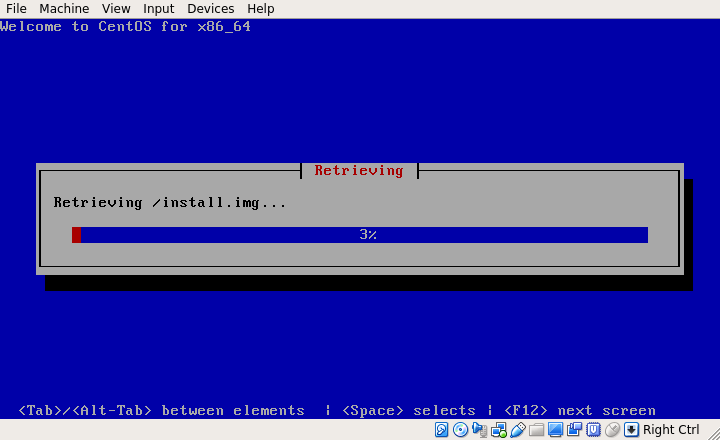
9. After providing the URL and clicking OK, wait for the installer to retrieve the ISO image (this may take sometime, but it should be fast with a good internet connection).
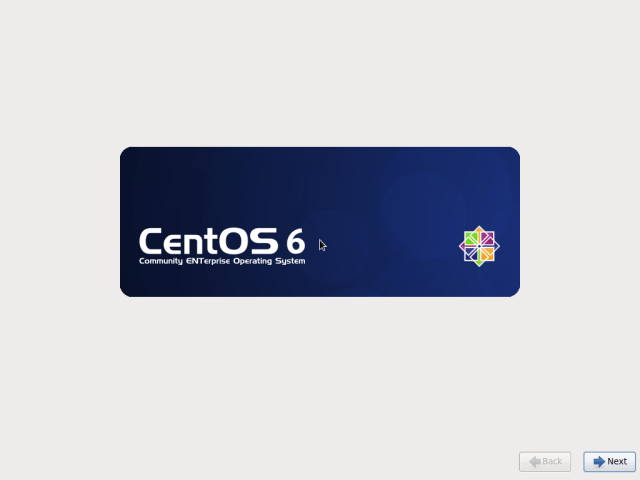
10. After successfully retrieving the ISO image, the CentOS Graphical Installer will be launched, as shown in the following screenshot. Click on Next to proceed.
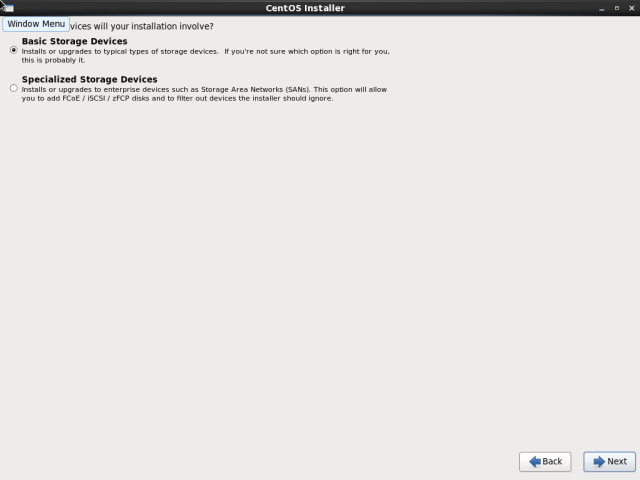
11. Next, choose the type storage devices (basic or specialized) to be used for the installation and click Next.
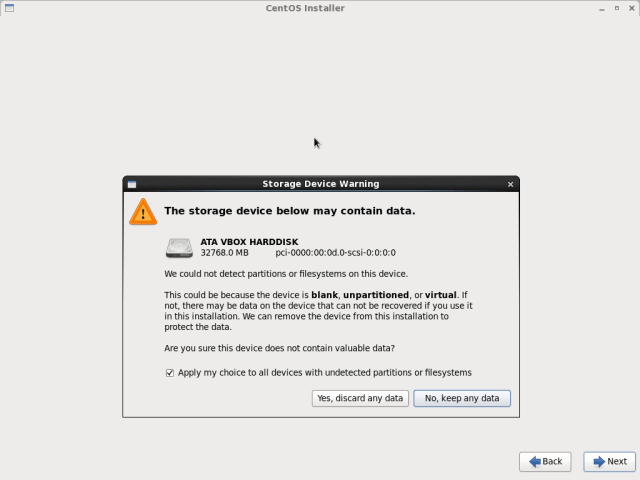
12. Next, select the option to clear data on the storage disk by selecting Yes, discard any data and click Next.
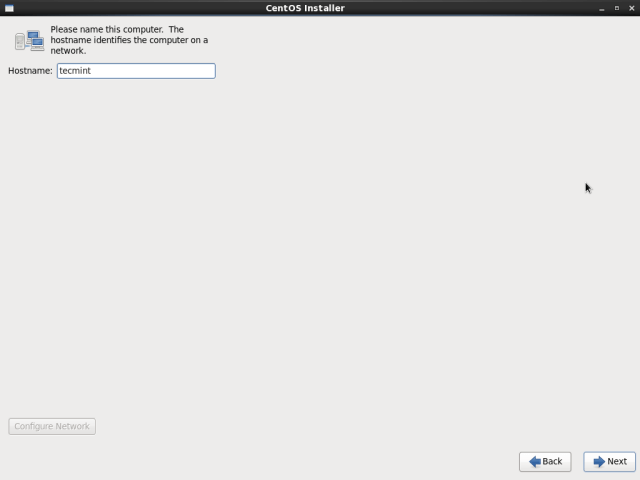
13. Set the Hostname and click Next.
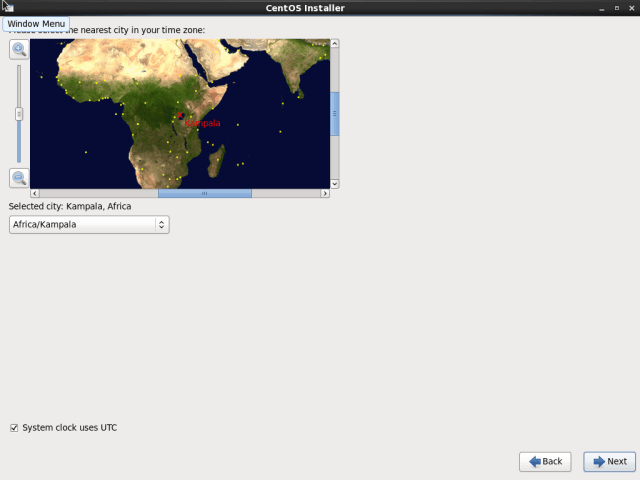
14. Set the Timezone for your location and click Next to proceed.
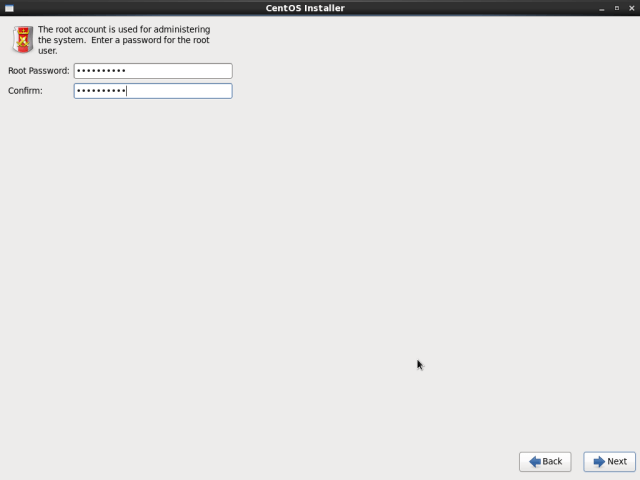
15. Set the root user password and click Next to continue.
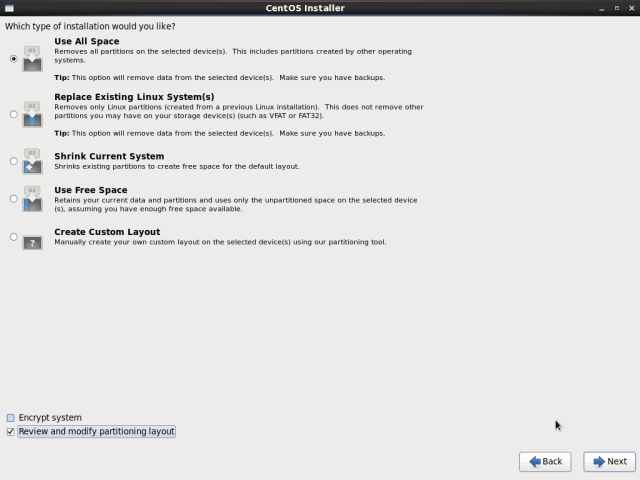
16. Now you need to specify the type of installation you want. Read the descriptions of the options carefully and select the appropriate one. If you want to use the whole disk space, choose Use All Space, but to perform a custom installation, choose Create Custom Layout.
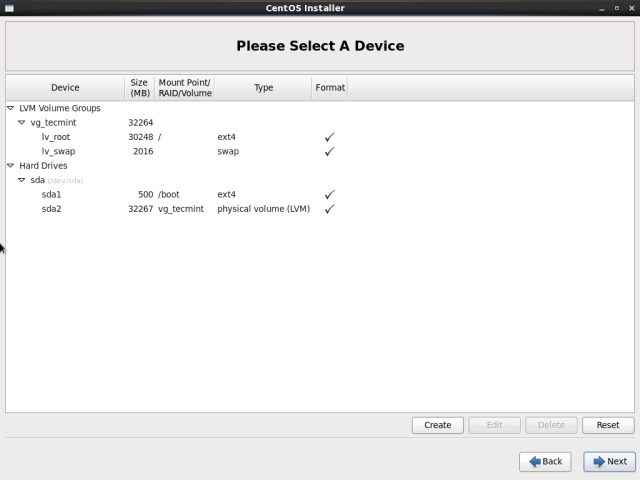
17. The installer will review and modify partition layout. If everything is ok, clik Next.
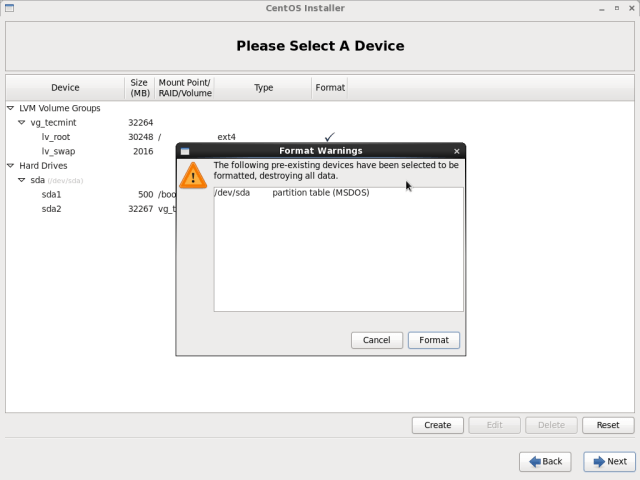
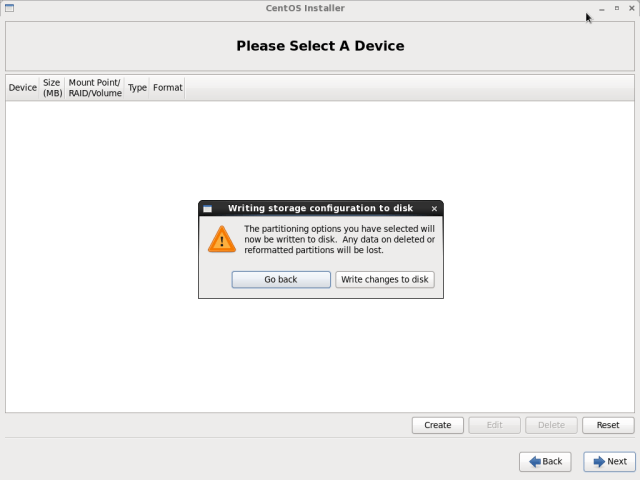
18. Next, apply the disk partitioning scheme created by selecting Write changes to disk and then click Next to proceed.
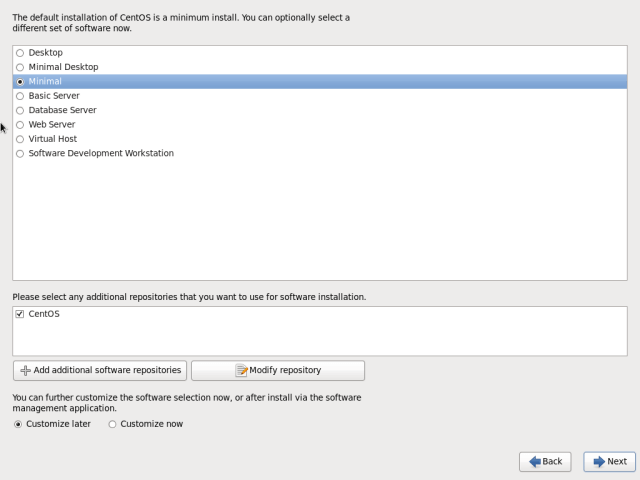
19. In this step, you need to choose the default set of software to be installed on your system. For the purpose of this guide, we will use Minimal and click Next. Thereafter, the installation process will be started.
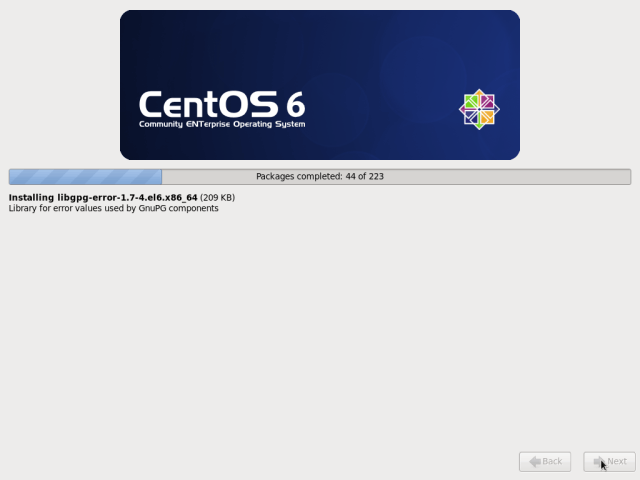
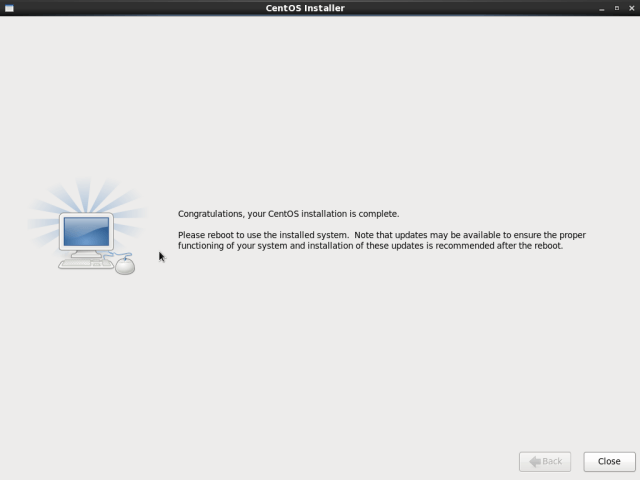
20. At this point, the actual installation of the system (copying of files) to disk will now start. When it is done, click on Reboot.
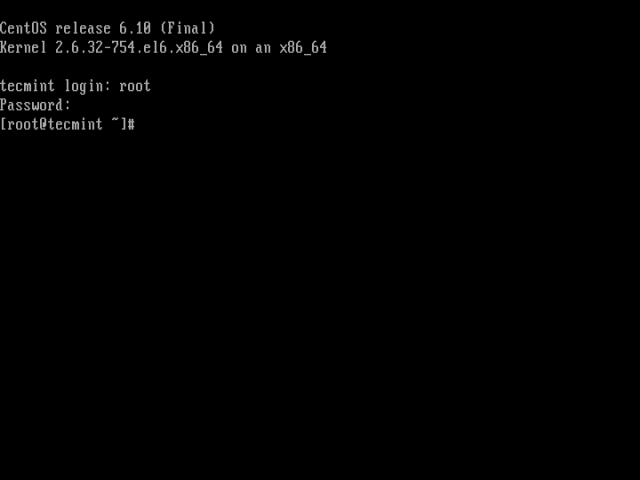
21. Once you have rebooted the system, you will land at login page as shown in the screenshot below. Finally, log into your CentOS 6.10 server with the root credentials.
Congratulations! You have successfully installed CentOS 6.10 server using network installation media. If you have any questions or thoughts to share, use the feedback from below to reach us.