A software repository or “repo” is a central location for keeping and maintaining RPM software packages for Redhat Linux distribution, from which users can download and install packages on their Linux servers.
Repositories are generally stored on a public network, which can be accessed by multiple users on the internet. However, you can create your own local repository on your server and access it as a single user or allow access to other machines on your local LAN (Local Area Network) using HTTP web server.
The advantage of creating a local repository is that you don’t require an internet connection to install software packages or updates.
YUM (Yellowdog Updater Modified) or DNF (Dandified YUM) is a widely used software package management utility for RPM (RedHat Package Manager) based Linux systems, which makes software installation easy on Red Hat/CentOS Linux.
In this article, we will explain how to setup a local YUM/DNF repository on RHEL 8 using the installation DVD or ISO file. We will also show you how to find and install software packages on client RHEL 8 machines using Nginx HTTP server.
Our Testing Environment
Local Repository Server: RHEL 8 [192.168.0.106]
Local Client Machine: RHEL 8 [192.168.0.200]
Step 1: Install Nginx Web Server
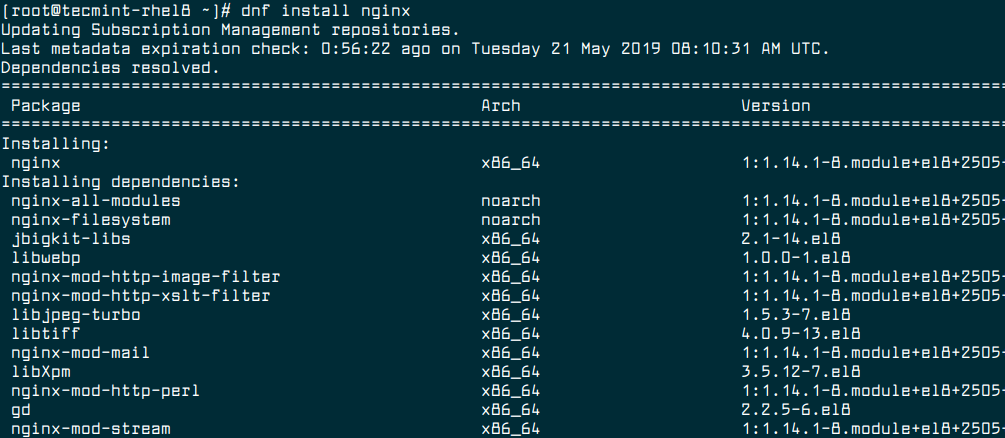
1. First, install the Nginx HTTP server using the DNF package manager as follows.
# dnf install nginx
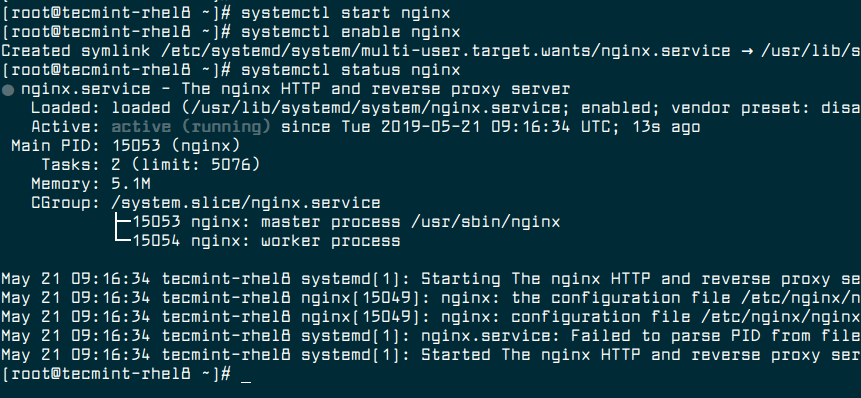
2. Once Nginx installed, you can start, enable the service to auto start at boot time and verify the status using the following commands.
# systemctl start nginx
# systemctl enable nginx
# systemctl status nginx
3. Next, you need to open Nginx ports 80 and 443 on your firewall.
# firewall-cmd --zone=public --permanent --add-service=http
# firewall-cmd --zone=public --permanent --add-service=https
# firewall-cmd --reload

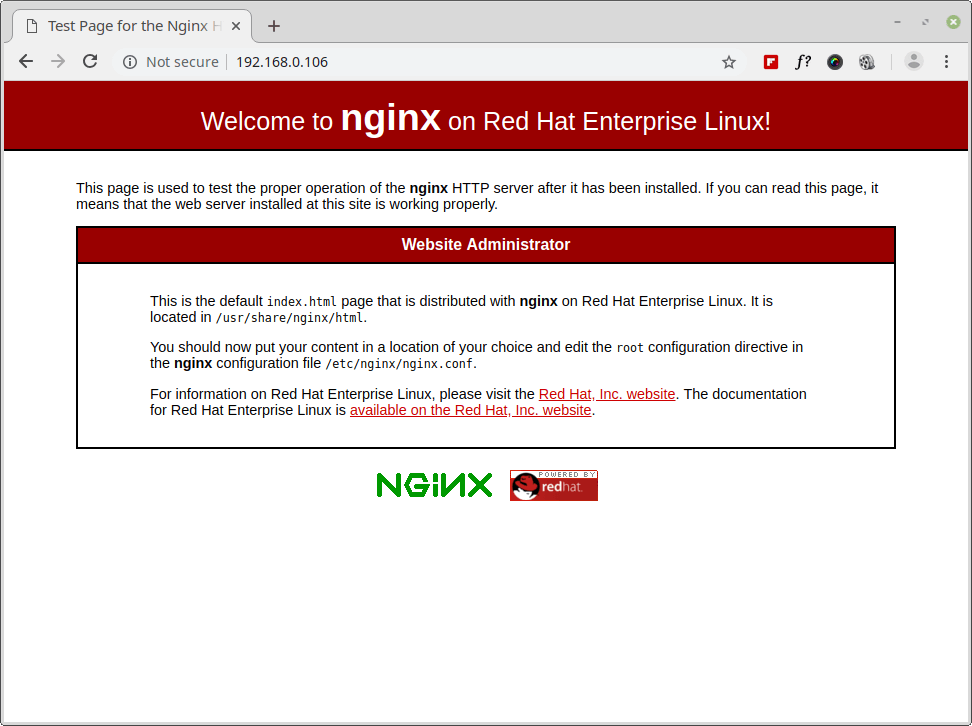
4. Now you can verify that your Nginx server is up and running by going to the following URL on your web browser, a default Nginx web page will be displayed.
http://SERVER_DOMAIN_NAME_OR_IP
Step 2: Mounting RHEL 8 Installation DVD/ISO File
5. Create a local repository mount point under Nginx document root directory /var/www/html/ and mount the downloaded RHEL 8 DVD ISO image under /mnt directory.
# mkdir /var/www/html/local_repo
# mount -o loop rhel-8.0-x86_64-dvd.iso /mnt  [Mount Download ISO File]
# mount /dev/cdrom /mnt                       [Mount DVD ISO File from DVD ROM]
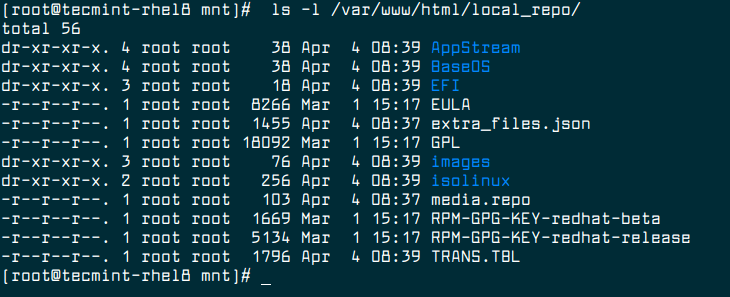
6. Next, copy ISO files locally under /var/www/html/local_repo directory and verify the contents using ls command.
# cd /mnt
# tar cvf - . | (cd /var/www/html/local_repo/; tar xvf -)
# ls -l /var/www/html/local_repo/
Step 3: Configuring Local Repository
7. Now it is time to configure the local repository. You need to create the local repository configuration file in the /etc/yum.repos.d/ directory and set the appropriate permissions on the file as shown.
# touch /etc/yum.repos.d/local-rhel8.repo
# chmod  u+rw,g+r,o+r  /etc/yum.repos.d/local-rhel8.
8. Then open the file for editing using your favorite command line text editor.
# vim /etc/yum.repos.d/local.repo
9. Copy and paste the following content in the file.
[LocalRepo_BaseOS]
name=LocalRepo_BaseOS
metadata_expire=-1
enabled=1
gpgcheck=1
baseurl=file:///var/www/html/local_repo/
gpgkey=file:///etc/pki/rpm-gpg/RPM-GPG-KEY-redhat-release

[LocalRepo_AppStream]
name=LocalRepo_AppStream
metadata_expire=-1
enabled=1
gpgcheck=1
baseurl=file:///var/www/html/local_repo/
gpgkey=file:///etc/pki/rpm-gpg/RPM-GPG-KEY-redhat-release
Save the changes and exit the file.
10. Now you need to install required packages for creating, configuring and managing your local repository by running the following command.
# yum install createrepo  yum-utils
# createrepo /var/www/html/local_repo/
Step 4: Testing Local Repository
11. In this step, you should run a cleanup of temporary files kept for repositories by using the following command.
# yum clean all
OR
# dnf clean all
12. Then verify that the created repositories appear in the list of enabled repositories.
# dnf repolist
OR
# dnf repolist  -v  #shows more detailed information

13. Now try to install a package from the local repositories, for example install Git command line tool as follows:
# dnf install git
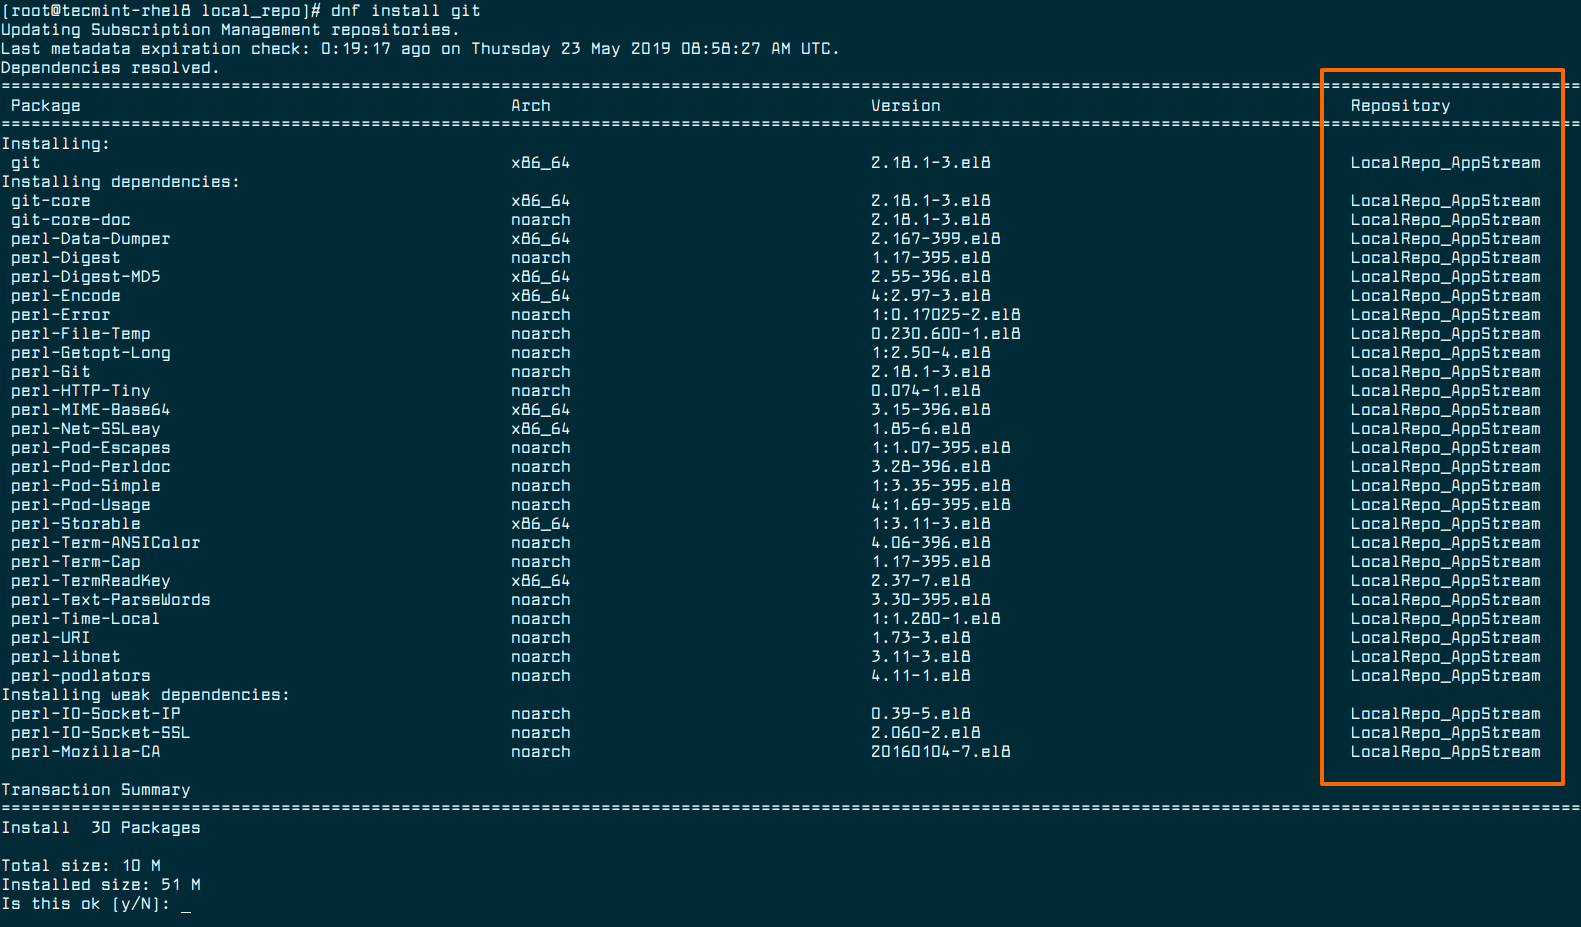
Looking at the output of the above command, the git package is being installed from the LocalRepo_AppStream repository as shown in the screenshot. This proves that the local repositories are enabled and are working fine.
Step 5: Setup Local Yum Repository on Client Machines
14. Now on your RHEL 8 client machines, add your local repos to the YUM configuration.
# vi /etc/yum.repos.d/local-rhel8.repo
Copy and paste the configuration below in the file. Make sure to replace baseurl with your server IP address or domain.
[LocalRepo_BaseOS]
name=LocalRepo_BaseOS
enabled=1
gpgcheck=0
baseurl=http://192.168.0.106

[LocalRepo_AppStream]
name=LocalRepo_AppStream
enabled=1
gpgcheck=0
baseurl=http://192.168.0.106
Save the file and start using your local YUM mirrors.
15. Next, run the following command to see your local repos in the list of available YUM repos, on the client machines.
# dnf repolist

That’s all! In this article, we have shown how to create a local YUM/DNF repository in RHEL 8, using the installation DVD or ISO file. Do not forget to reach us via the feedback form below for any questions or comments.


Step 9 is wrong. At the end of baseurl, you need /BaseOS and /AppStream. You are missing this from both repos in the .repo file.
I was using centos 8, in docker container, should not matter.
Issue 1:
Ngnix default directory for me was
Issue 2: was getting error:
– Status code: 404 for http://192.168.1.96/BaseOS/repodata/repomd.xml (IP: 192.168.1.96)
Error: Failed to download metadata for repo ‘LocalRepo_BaseOS’: Cannot download repomd.xml: Cannot download repodata/repomd.xml: All mirrors were tried
Also was getting error:
No available modular metadata for modular package ‘python36-3.6.8-2.module_el8.1.0+245+c39af44f.x86_64’, it cannot be installed on the system
Read below for Fix
Thanks
Error 1 : rm: cannot remove ‘index.html’: No such file or directory
Error 2:
Running transaction check
No available modular metadata for modular package 'python36-3.6.8-2.module_el8.1.0+245+c39af44f.x86_64', it cannot be installed on the system
No available modular metadata for modular package 'python36-devel-3.6.8-2.module_el8.1.0+245+c39af44f.x86_64', it cannot be installed on the system
The downloaded packages were saved in cache until the next successful transaction.
You can remove cached packages by executing 'yum clean packages'.
Error: No available modular metadata for modular package
Service side:
I created the repo metadata using following command, after rebuilding it
Client side:
I had to specifically list each of the directories for the Base repo and the AppStream Repo
How do we keep our local repo up to date?
It seems we missing one step: GPG-key generate?
I got the error [Errno 14] PYCURL ERROR 22 – “The requested URL returned an error: 403 Forbidden” may be related to this
How do you keep your local repo up-to-date? Under RHEL6 is was sane and logical. Under RHEL7 it was a mess. I’ve considered moving to Debian even before they were bought by IBM.
I am using CentOS 8.
I am at step “3. Next, you need to open Nginx ports 80 and 443 on your firewall.” I ran the first command “firewall-cmd –zone=public –permanent –add-service=http” but get the following error message. What went wrong? Thanks.
"Traceback (most recent call last): File "/usr/bin/firewall-cmd", line 31, in from firewall.client import FirewallClient, FirewallClientIPSetSettings, \ File "/usr/lib/python3.6/site-packages/firewall/client.py", line 33, in from firewall.core.base import DEFAULT_ZONE_TARGET ModuleNotFoundError: No module named 'firewall.core'"@JQ,
Please install the following missing module.
Great! Problem solved. Thanks!
JQ
I was able to setup the YUM repo on a server VM and then added the path in the repo file in the client VM.
Now, on the server side, i can install any package and groups.
On the client side however, only packages can be installed using YUM but listing or installing groups fail.
ex:
yum install httpdworks flawlessly on the Client Side.However,
yum groups listfails andyum group install "Server with GUI"and any other group fails as well.Here is the error that i get when i try to list groups on the client VM
https://imgur.com/q2DVkBE
What am i missing here?
@Som,
First, register your RHEL 8 to RedHat Subscription, to get the package information.
Is the issue of “warning: no environments/groups match” related to subscription?
I ask cause i was referring RedHat advisory https://access.redhat.com/solutions/3009581 and this is what i found
Root Cause
A comps file was not downloaded with reposync command.
A comps file was not specified in createrepo command.
Resolution
Confirm that
--downloadcompoption is used for reposync command, since the comps file is used for createrepo command.Confirm that
-goption is used to specify the downloaded comps file in createrepo command.Since i copied all the files using the RHEL ISO, i did not use the reposync CMD to download the comps file, nor did i specify the comps file in the createrepo CMD
Can you suggest how i can download the comps file and then attach it using createrepo?
The exact syntax/CMD would be great.
Thanks :)
@Som,
Try to set
group_command=compatin/etc/yum.conffor the command'yum group list'to show the installed groups.At the server or client end? or Both?
This tip work in centos and fedora?
Thanks.
@Wilson,
Yes these instructions will work on any CentOS and Fedora versions..