Livecode is a programming language first appeared in 1993, it’s main goal is to allow everybody to code, it allows you to create large applications easily using a simple high level, English-like programming language that is dynamically typed.

Using Livecode, You can write the same application for all available platforms like Windows, Mac, Linux, iOS, Android, BSD, Solaris and the code will work on all of those platforms without the need to change anything in the code, same code on all.
You can even create Web applications using Livecode, It’s developers call it “The Revolution programming language” since it allows everybody to code because of its high-level language, Livecode is also used a lot in schools to teach students how to code easily.
There are two versions of Livecode, one is commercial and closed-source, and one is open-source and free, the open-source version was introduced in 2013 after a successful Kickstarter campaign raised more than 350000£.
However, there are some core features that are only included in the closed version like building the applications for iOS (This is because Apple doesn’t allow GPL software to be uploaded to the App Store, and all programs that are made by Livecode runtime must be licensed under GPL), but most of the features are available in the free & open-source version, which we’ll be talking about in this post.
Livecode Features
- High level programming language.
- So easy to install and use.
- The installer works on any Linux distribution.
- You can develop the same applications for all platforms with the same code.
- Windows, Linux, Mac, Android are supported.
- Large documentation and tutorials and howto’s available for free.
- Free support from the LiveCode community.
- Many other features that you will see yourself.
Step 1: Installing Livecode in Linux
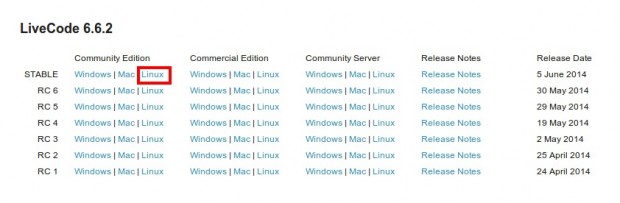
Today we’ll be talking about the open-source version and how to install it on all Linux distributions, first of all you need to download Livecode from the link provided below. Make sure you download LiveCode 6.6.2 stable version (i.e. LiveCodeCommunityInstaller-6_6_2-Linux.x86).
The installer will work on any Linux distribution that you use, no matter of it was based on Debian or RedHat or any other Linux distribution.
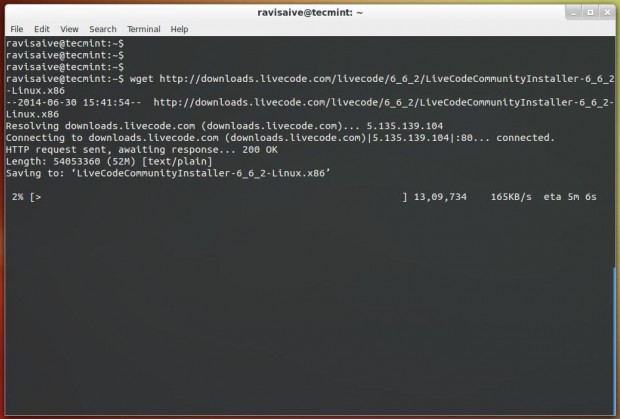
Alternatively, you may also use ‘wget’ command to download LiveCode package directly in the terminal.
# wget http://downloads.livecode.com/livecode/6_6_2/LiveCodeCommunityInstaller-6_6_2-Linux.x86
Now take the downloaded file and put it in your home folder, apply execute permission and run it as shown.
$ chmod 755 LiveCodeCommunityInstaller-6_6_2-Linux.x86
$ ./LiveCodeCommunityInstaller-6_6_2-Linux.x86
NOTE: Replace “LiveCodeCommunityInstaller-6_6_2-Linux.x86” with the name of the file if it was different, Open the file to start the installer.
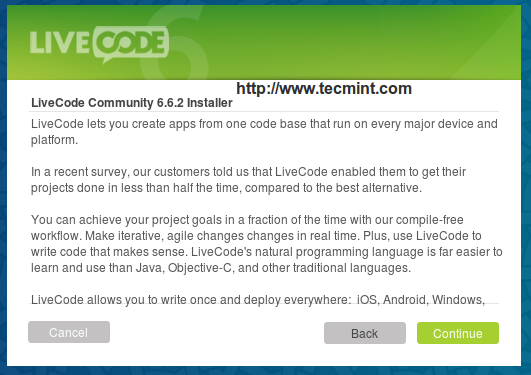
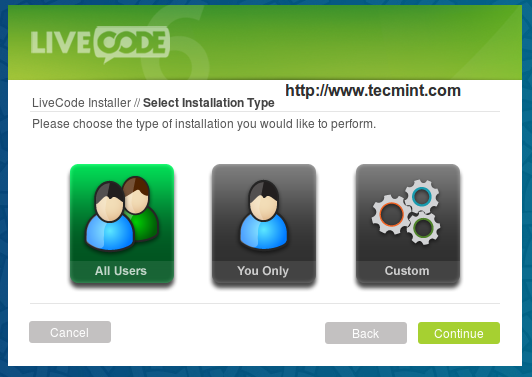
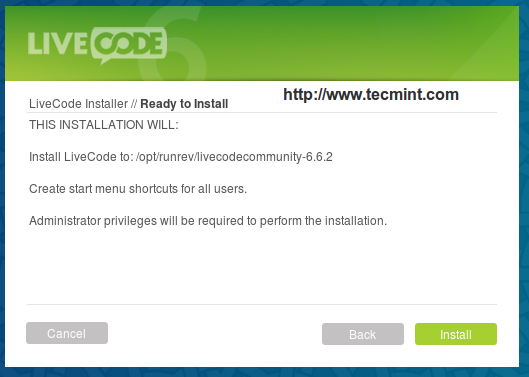
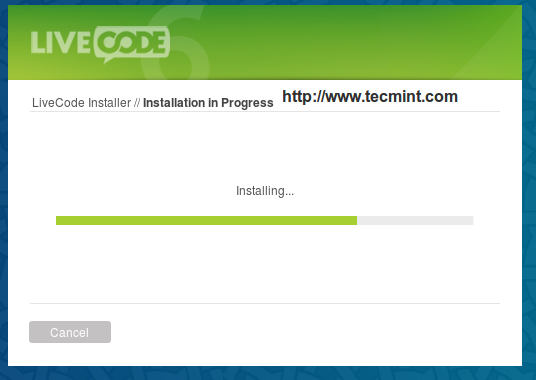
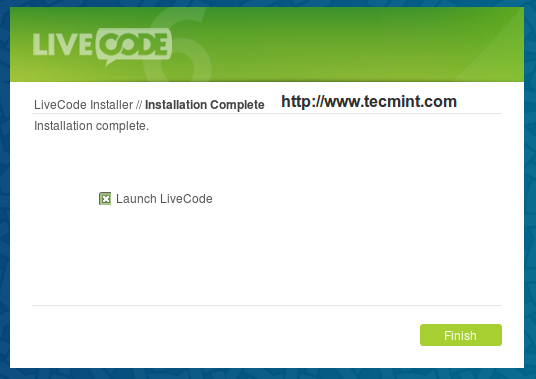
Here are some screenshots of the installation process.
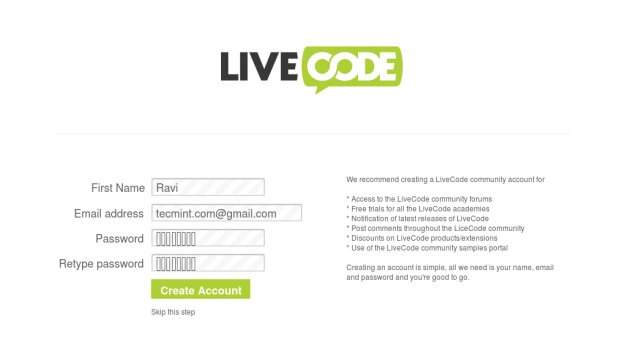
You can create an account if you want on Livecode runtime, creating an account will give you:
- Access to the community forums.
- Free trails for all the academies.
- Notification of latest releases of Livecode.
- Post comments throughout the community.
- Discounts on products/extensions.
- Use of the Livecode community simplest portal.
Simply, you can skip this step if you don’t want to create an account at Livecode community, but it won’t take time through and finally, your Livecode will be ready to go Live.
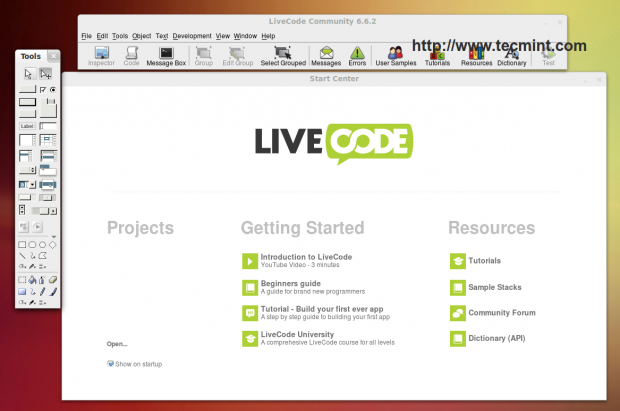
Step 2: How to Use LiveCode
You can do many things now:
- View the User Samples that are created by another user, download them and study them to understand how to do specific things in Livecode.
- Open the LiveCode Lessions online learning site and start applying them, those lessons are written by development team and are really good to start.
- Open the Resources Center and start viewing the tutorials , there are a tons of those tutorials in the Resources Center which explain everything you may need in LiveCode.
- Open the Dictionary to view syntax.
To create a new program, open File menu and choose “New Mainstack”, drag & drop a button to it like this.
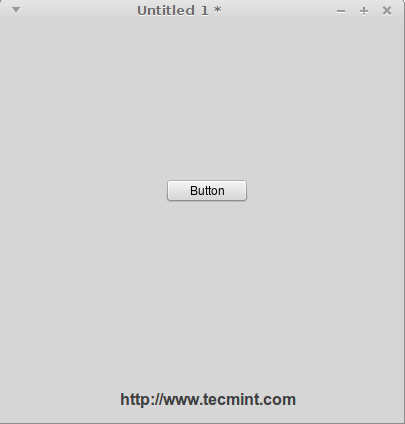
Now select the button, and click on the “Code” button in the toolbar to open the code editor.

Once code editor opens, start writing code.
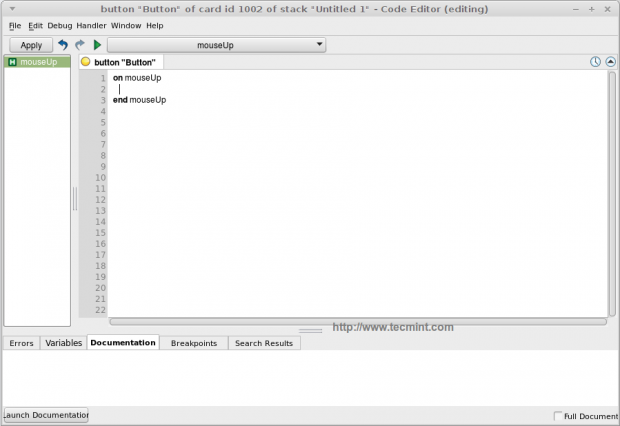
Now replace the code that you see with this code.
on mouseUp
   answer "Hello, World!"
end mouseUp
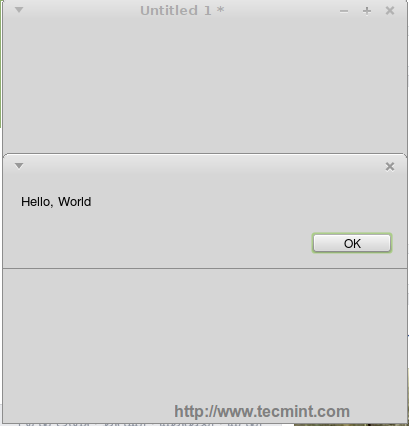
Next, click on the run button, and your first Hello World program is ready.
Now to save your program as a standalone program, open the File menu, choose “Standalone Application Settings”, and choose the platforms that you want to build your app for, and then, again from the File menu, choose “Save as Standalone Application” and choose where to save the project, and you will be done.
You can now run you application easily by right-clicking it. We recommend that you view the tutorials and the howto’s, they are very useful to start with.
Reference Links:


I have exact same issue on linux fedora 29
I have managed to install LiveCode on my Mac with no problems but have tried to follow your instructions for Linux and I get the following error… I am using Linux Mint 17… any ideas please or am I doing something really silly?
steveellis@lenovo-b560 ~ $ chmod 755 LiveCodeCommunityInstaller-6_6_2-Linux.x86 steveellis@lenovo-b560 ~ $ ./LiveCodeCommunityInstaller-6_6_2-Linux.x86
bash: ./LiveCodeCommunityInstaller-6_6_2-Linux.x86: No such file or directory
steveellis@lenovo-b560 ~ $ dir
Desktop LiveCodeCommunityInstaller-6_6_2-Linux.x86 Public
Documents Music Templates
Downloads Pictures Videos
steveellis@lenovo-b560 ~ $
Hi Steve.
As i see, you were able to set the permissions to the file successfully, now all what you have to do is to open your home folder (using any file manager) and run the LiveCode installer in your home folder, this is the easiest way to do it.
Thanks.
Hanny, Thanks for the response, but I thought I had tried that. I have followed the instructions above but it does not work so is something missing from the instructions?
Hi Steve.
The instructions are full, tested on many computers and it worked good, in fact it is just to download the file, give it the right permissions and click on it to run.
If it still doesn’t work with you, Please open a terminal, drag and drop the livecode file to the terminal window and click on Enter, and give us the output to see where the problem is.
Thanks.
As requested….
steveellis@lenovo-b560 ~ $ ‘/home/steveellis/LiveCodeCommunityInstaller-6_6_2-Linux.x86’
bash: /home/steveellis/LiveCodeCommunityInstaller-6_6_2-Linux.x86: No such file or directory
steveellis@lenovo-b560 ~ $
That sounds like an architecture mismatch. If you’re on a 64bit machine you should be using the …-Linux.x64 installer. If that’s not the problem, run ldd against the installer file to see if you’re missing needed libraries.