Many Fedora users are unaware of the fact that you do get an option to choose other Desktop Environments apart from the default GNOME which we are used to downloading directly from their download page.
Apart from the default GNOME, you do get an option of KDE Plasma, Xfce, LXQT, MATE, Cinnamon, LXDE, SOAS, and even i3.
So through this guide, we will be showing you how you can install XFCE Fedora spin on your system in the easiest way possible but before that, let’s discuss why you should even consider using XFCE instead of GNOME.
What Makes Xfce Desktop Environment So Special?
There are various reasons why you should consider Xfce instead of GNOME or any other DE and we will be discussing some of them.
- Lightweight – Compared to GNOME which is known as resource-hungry DE, Xfce is one of the lightest yet capable enough to carry whatever you throw at it. So if you are someone with limited system resources, Xfce will make sure your system runs as smoothly as possible.
- Simplicity – For various users, Desktop Environment such as KDE is not simple and does not follow the KIS (Keep It Simple) principle. On the other hand, Xfce from its core promotes simplicity. From the placement of icons to the menu bar, everything can be understood in a short period so if you are someone who prefers a simple yet powerful Desktop Environment, Xfce should be your next choice.
- Stability – In terms of stability, Xfce easily beats some of the popular options such as GNOME and KDE and there is a strong reason behind it. Instead of releasing a new version every six months, the team behind Xfce believes in a more reliable experience and this is the only reason why Xfce is often paired with Debian because they both bring the same vibe of stability.
- Customization – By default, Xfce does not look enough? No worries, there are tons of customization options by which you can make your desktop as you like. Sure you can’t compare customization options to KDE Plazma but if you are switching from GNOME then you’ll surely love what Xfce has to offer.
So if you are looking for something lightweight yet stable and configurable, then you must try Xfce. Luckily, Xfce is one of the official Fedora spins, and if you are convinced of what it has to offer then let’s jump to the installation process.
Installing XFCE Desktop in Fedora Linux
As always, we are going to cover this guide in the simplest manner possible so that even if you are a beginner, you can benefit from what we are offering here. So let’s start with the first and most obvious step.
Step 1: Download Fedora XFCE and Create Bootable Drive
You can easily download Fedora Xfce spin by vising their official spins page. While downloading ISO, make sure you are fetching files only from the official source.
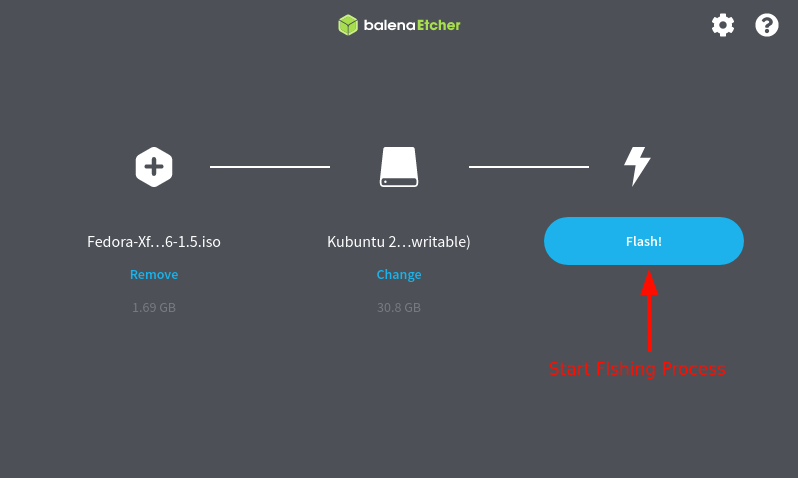
Once we are done downloading the ISO file, it’s time for creating a bootable drive by which we will start the installation process. There are various bootable tools available and we will be using balenaEtcher which is a cross-platform open-source tool.
After installing balenaEtcher, insert a USB/DVD drive into your system and open balenaEtcher. Click on the Flash option and select Fedora Xfce ISO.
Now, click on Select target and choose external USB/DVD drive. Make sure that your selected drive does not contain any important data as everything will be formatted.
Now, click on the Flash button and it will handle all the process behind the scenes and will get you a bootable drive in no time.
Step 2: Boot Fedora XFCE from Bootable Drive
To boot from the recently created bootable drive, we have to change the order of boot sequence, and to do that will have to get into the BIOS settings of our system.
Reboot your system and when you see the logo of the computer or motherboard manufacturer, press F2 or F10, or F12 to get into the BIOS settings.
Once you get into BIOS, click on the Boot menu which will allow us to configure the boot process. Now, choose your USB/DVD drive as the #1 Boot option and save changes.
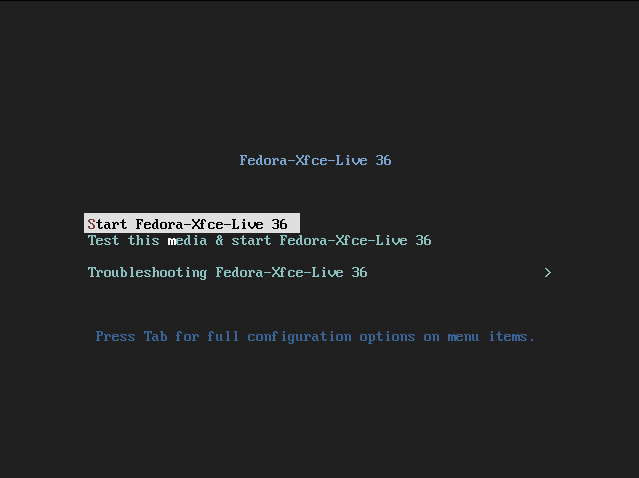
Once you save changes, the system will reboot itself and will give us several options to choose from. Choose the first option labeled “Start Fedora-Xfce-Live 36” and Hit Enter.
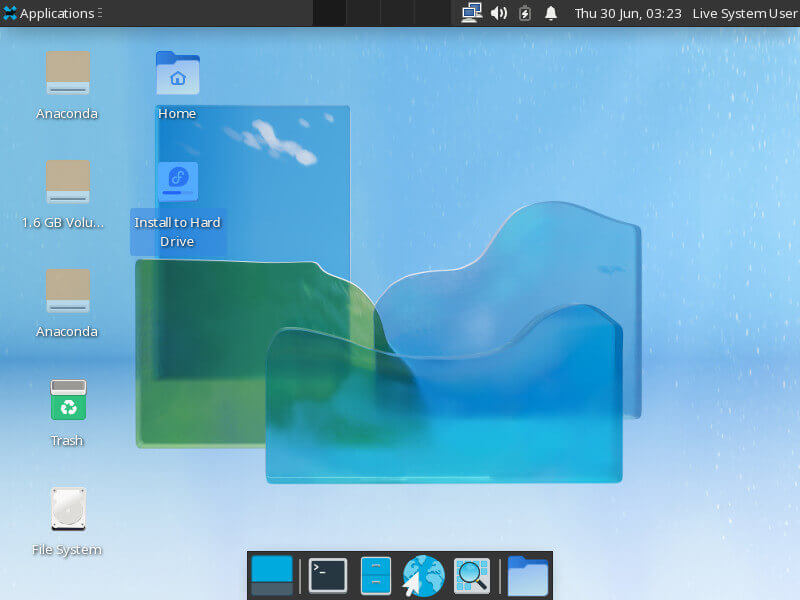
After booting from the external drive, we have to start the installer to start the installation process. You will find an icon on your home screen saying “Install to Hard Drive” and you are supposed to double click on that icon to start the installer.
Fedora uses the Anaconda installer which is one of the few installers which asks users to choose installer language before going any further. Once you select your preferred installer language, click on the Continue button.

We will start with choosing the appropriate keyboard layout as in the later part, we are required to create users, create passwords, etc. Click on Keyboard to choose your keyboard layout.
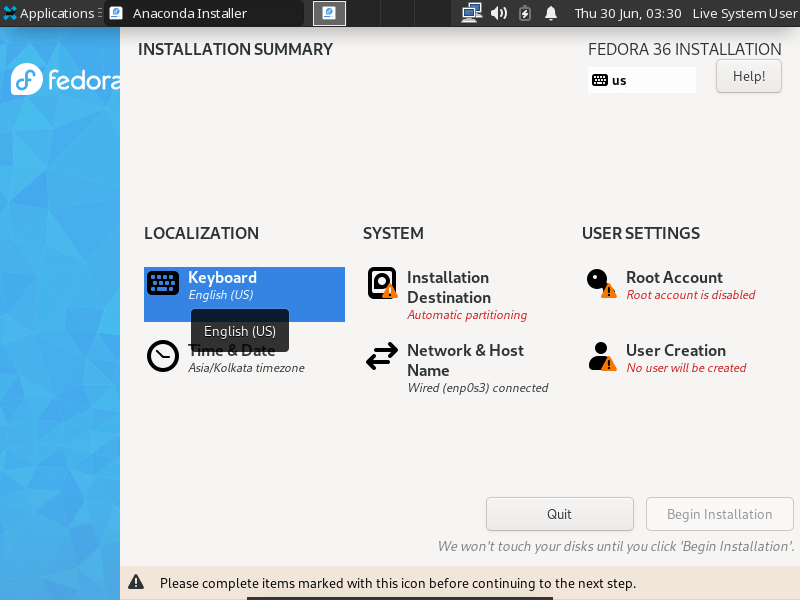
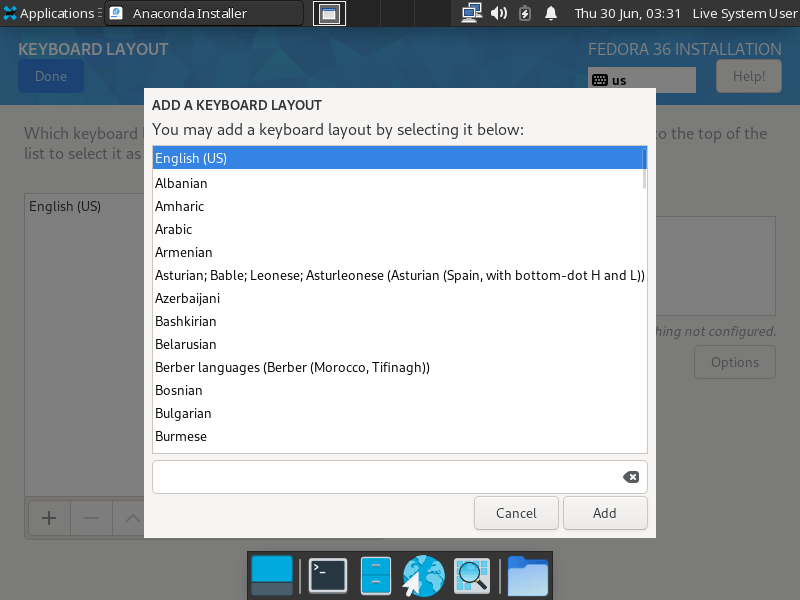
Click on the + button and it will bring the list of available keyboard layout options. From here, you can choose your preferred one (I am choosing English US) and click Done to go back.
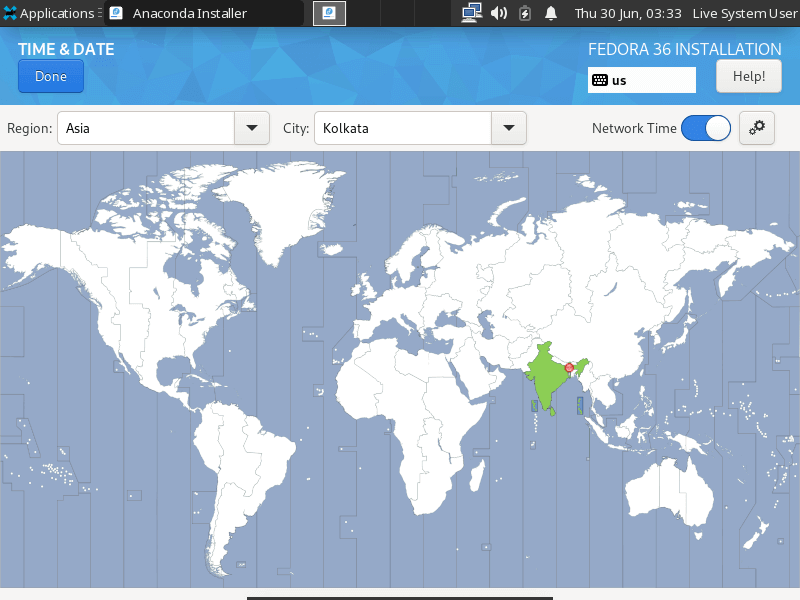
Now, let’s configure the date and time according to our region. Click on Time & Date and it will allow us to configure time according to our region.
Step 3: Configure Fedora Installation Partitions
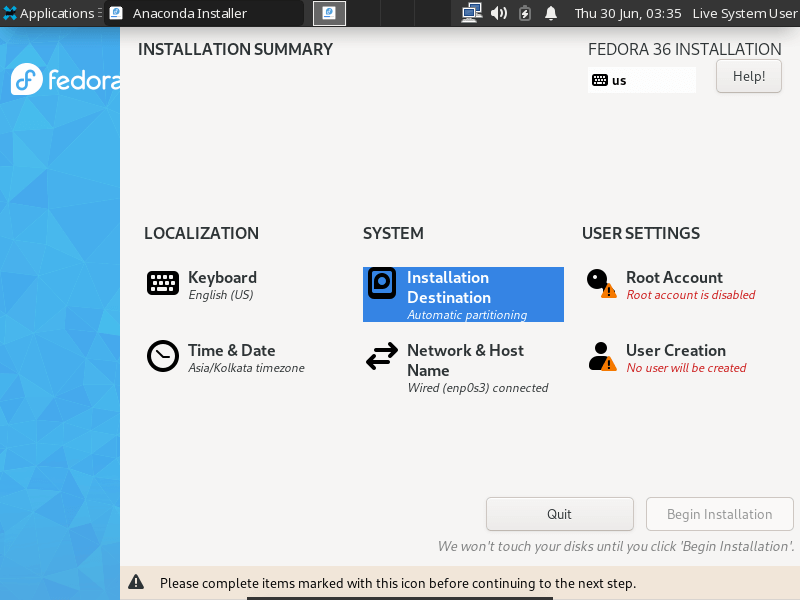
In this step, we will be selecting the drive on which we are going to install Fedora and how we are going to deal with partitions. We will show you how you can choose automatic and manual partitions with configuration. Click on Installation Destination to proceed further.
For Automatic Partitioning
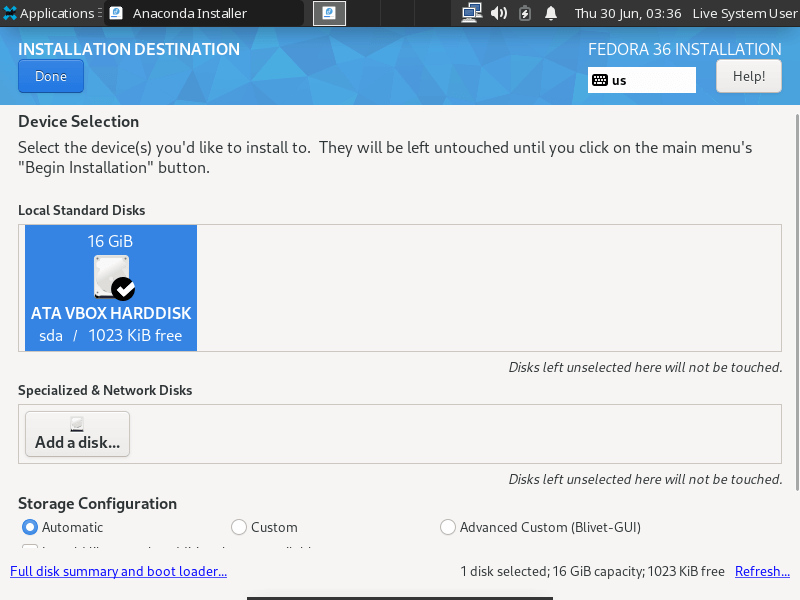
Trust me, for most of the users, default partitions are the way to go and the Anaconda installer does a fine job in automatic partitions. Click on the drive on which you want to install Fedora and choose the Automatic option under Storage Configuration and that’s it.
For Manual Partitioning
Unless you know what you are doing, don’t use this option. To start manual partitioning, select the Custom option under Storage Configuration and click on Done and it will bring a prompt to partition the selected drive manually.

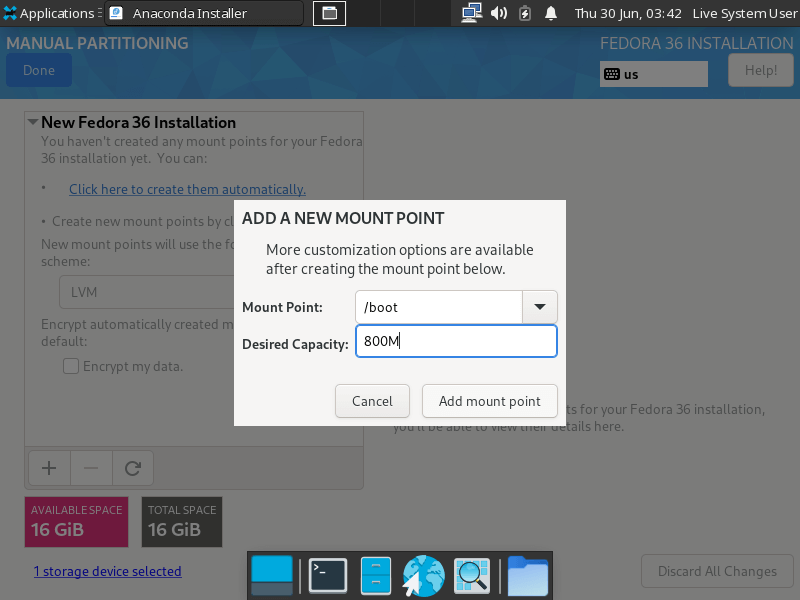
Select LVM as a partitioning scheme and click on the + button to create partitions manually.

First, we will create the following partitions with the mounting points and sizes:
Mount Point: /boot - Size 800M
Mount Point: swap - Size 4GB
Mount Point: /root - Size 10GB
Mount Point: /home - Allocate the remaining size
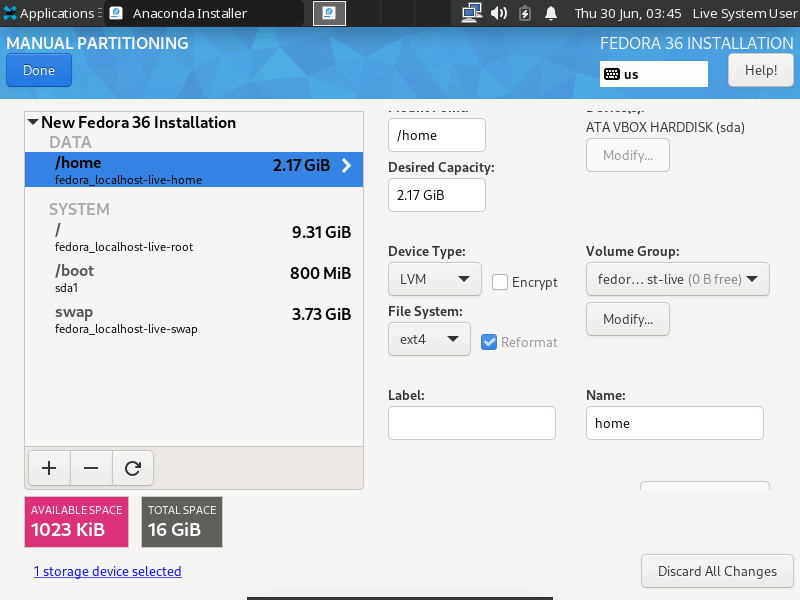
Repeat the same for all other portions, the result after configuring partitions will look like this:
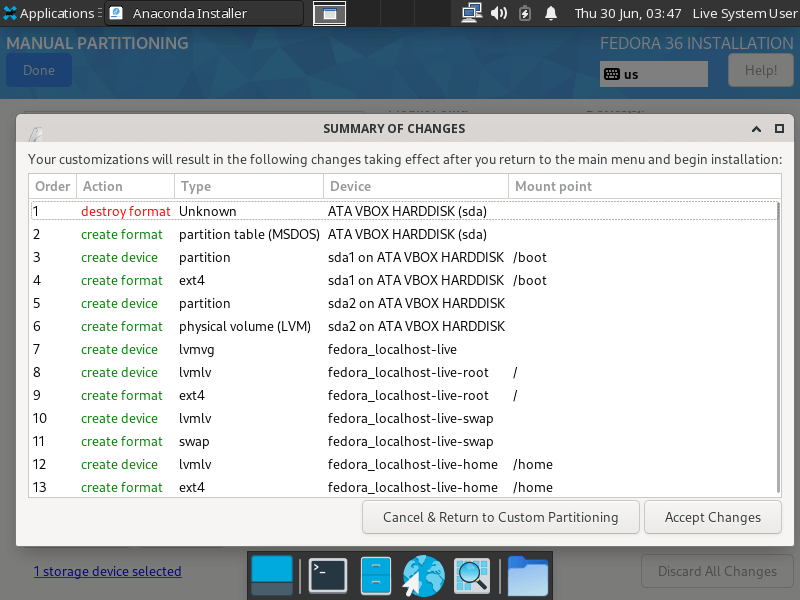
Click on the Done button and it will show you the summary of changes. Click on Accept changes and we are done with partitions.
Step 4: Configure Network & Host Name
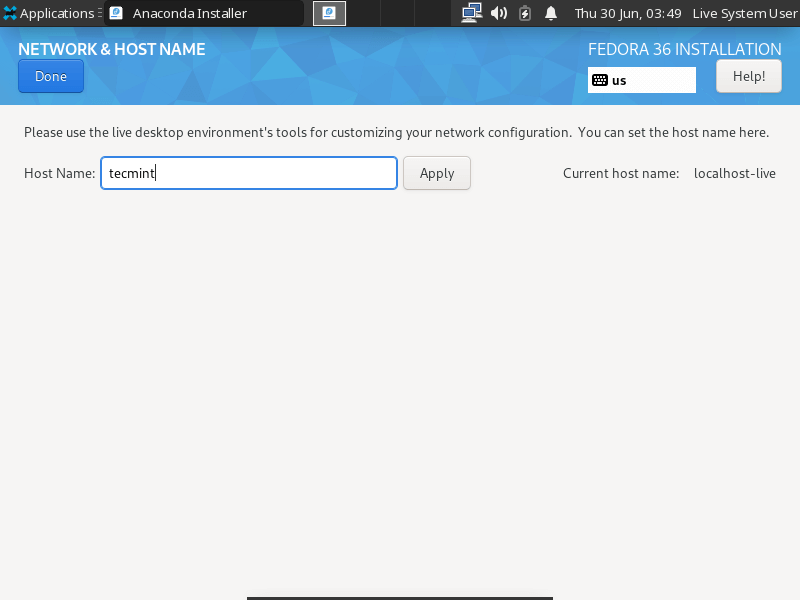
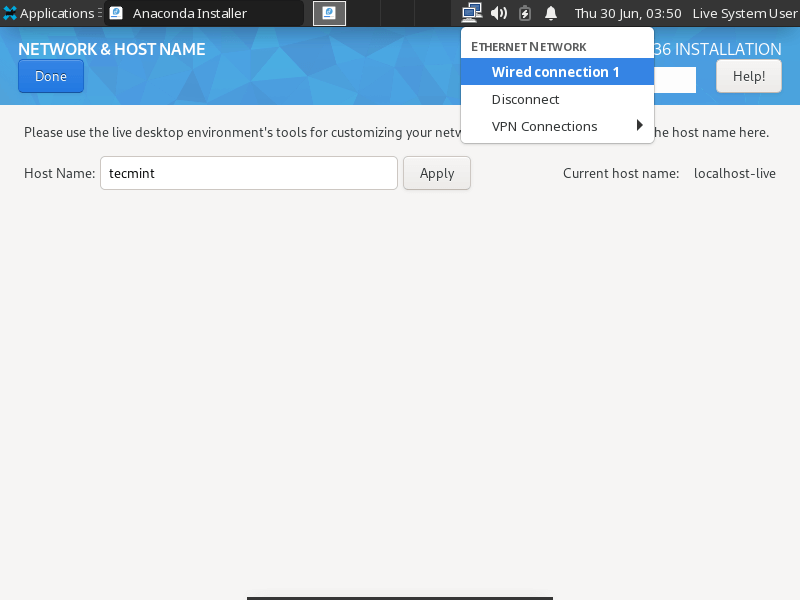
If you are connected through Ethernet and have no interest in changing the hostname, you can skip this step. To configure the hostname, click on Network & Host Name option.

Here, you can change your default hostname from localhost-live to anything you desire.
If you are using a wireless connection and want to connect your system with WIFI, click on the network manager applet located in the top left corner and it will bring a list of all devices.
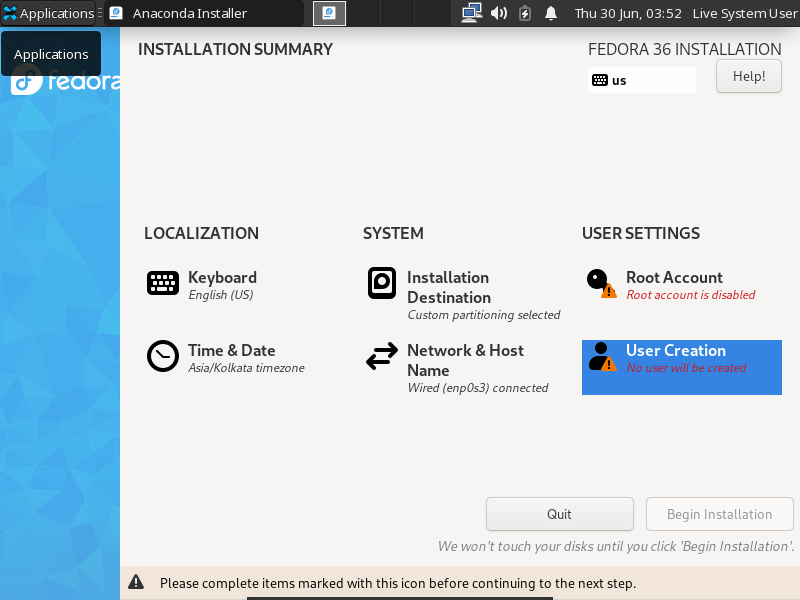
Step 5: Create Users and Root Account
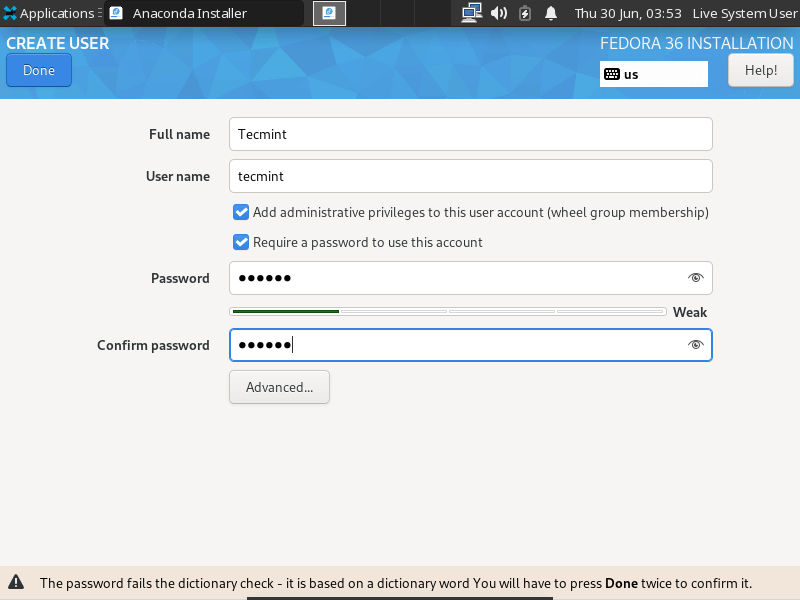
Before creating a user and root account, make sure you come up with different strong passwords. Once you are ready with them, click on the User Creation option.
Enter your desired username with a strong password and make sure to add this user to the wheel group by which we can elevate root privileges for certain commands.
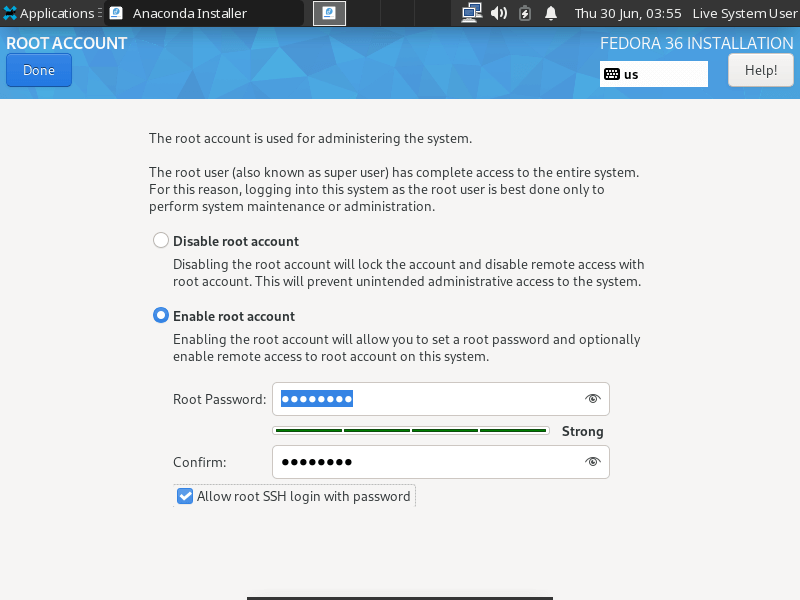
Now, let’s create a password by clicking on the Root Account option.
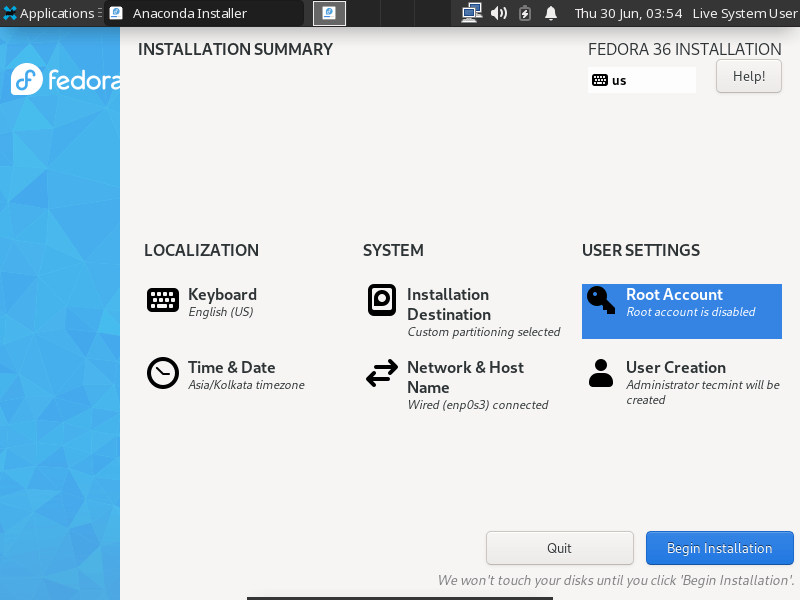
To create a root password, we have to enable a root account that allows us to enable remote access to the root account on this system. Enable root account and enter a strong password and that’s it.
Important: Make sure you use different passwords for the user and root account.
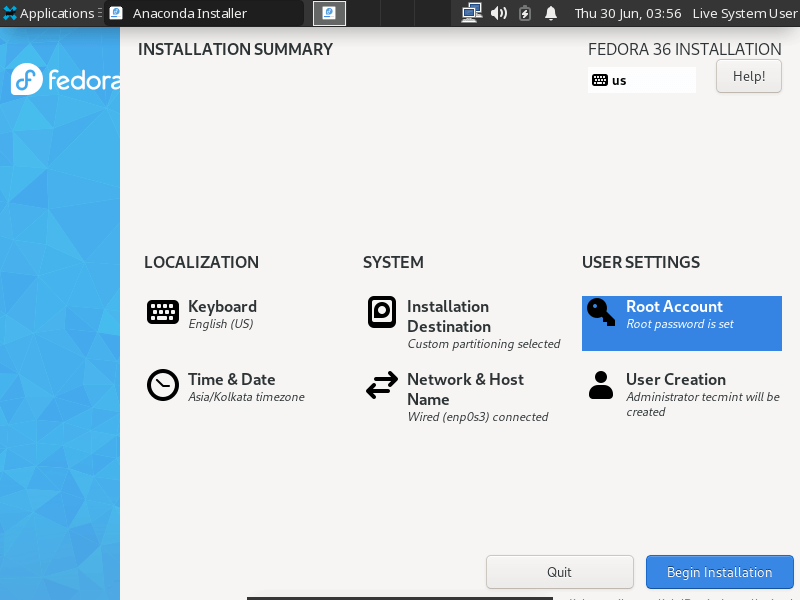
Finally, we can click on Begin Installation to start the installation.
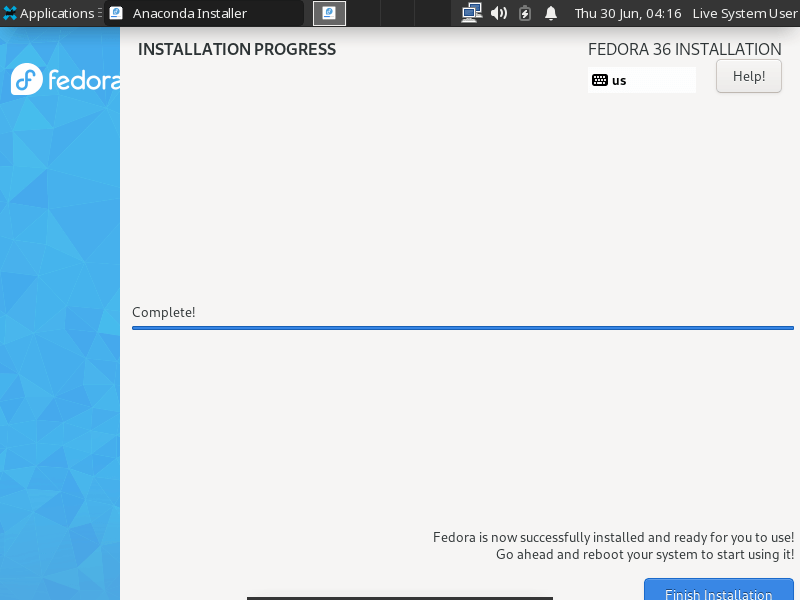
Once the installation is complete, click on Finish installation and reboot your system.
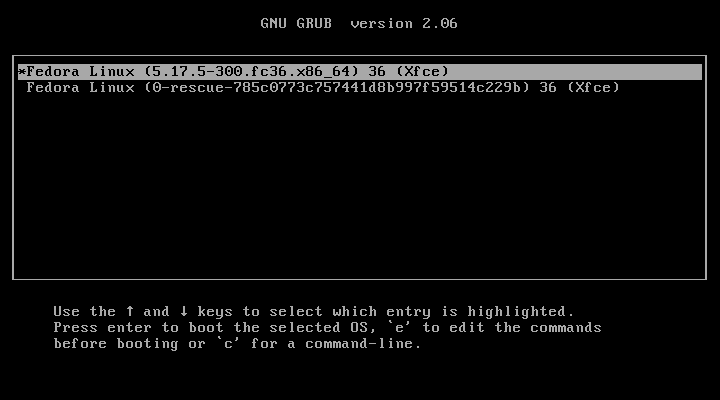
So if you went through the given steps carefully, you will be welcomed with the GRUB screen. Hit enter and you will be booted into the newly installed system.

While making this tutorial, we tried to cover almost every option that the installer has to offer which can be helpful for beginners and also advanced users. But if we missed something or you have any queries, let us know in the comments.


Thanks for this! I have installed F18 and was using the Gnome 3 desktop environment…..but I’ve just been given someone’s “old” Dell….(it was bought two years ago and they went “tablet”!) so now I’m going to try this DE on it. I am hoping I don’t run into any issues or problems!