In an earlier article, we have explained the installation of Cloudera Manager, in this article, you will learn how to install and configure CDH (Cloudera Distribution Hadoop) in RHEL/CentOS 7.
While installing the CDH parcel, we have to ensure the Cloudera Manager and CDH compatibility. Cloudera version is having 3 parts – <major>.<minor>.<maintenance>. Cloudera Manager major and minor version must be the same as CDH major and minor version.
For Example, we are using Cloudera Manager 6.3.1 and CDH 6.3.2. Here 6 is major and 3 is the minor version. Major and Minor must be the same to avoid compatibility issues.
Requirements
- Best Practices for Deploying Hadoop Server on CentOS/RHEL 7 – Part 1
- Setting Up Hadoop Pre-requisites and Security Hardening – Part 2
- How to Install and Configure the Cloudera Manager on CentOS/RHEL 7 – Part 3
We will take the below 2 nodes for installing CDH. Already we have installed Cloudera Manager in master1, also we are using master1 as a repo server.
master1.tecmint.com
worker1.tecmint.com
Step 1: Download CDH Parcels on Master Server
1. First, connect to master1 server and download CDH Parcels files in the /var/www/html/cloudera-repos/cdh directory . We have to download below mentioned 3 files which should be compatible with RHEL/CentOS 7.
CDH-6.3.2-1.cdh6.3.2.p0.1605554-el7.parcel
CDH-6.3.2-1.cdh6.3.2.p0.1605554-el7.parcel.sha1
manifest.json
2. Before download these files, make sure to create a cdh directory under /var/www/html/cloudera-repos/ location.
$ cd /var/www/html/cloudera-repos/
$ sudo mkdir cdh
$ cd cdh
3. Next, download the above mentioned 3 files using the following wget command.
$ sudo wget https://archive.cloudera.com/cdh6/6.3.2/parcels/CDH-6.3.2-1.cdh6.3.2.p0.1605554-el7.parcel
$ sudo wget https://archive.cloudera.com/cdh6/6.3.2/parcels/CDH-6.3.2-1.cdh6.3.2.p0.1605554-el7.parcel.sha1
$ sudo wget https://archive.cloudera.com/cdh6/6.3.2/parcels/manifest.json
Step 2: Setup Cloudera Manager Repo On Worker Clients
4. Now, connect to worker servers and copy the repo file (cloudera-manager.repo) from repo server (master1) to all the remaining worker server. This repo file ensures the servers that all the required parcels and RPMs will be downloaded from the repo server while installing.
cat >/etc/yum.repos.d/cloudera-manager.repo <<EOL
[cloudera-repo]
name=cloudera-manager
baseurl=http://104.211.95.96/cloudera-repos/cm6/
enabled=1
gpgcheck=0
EOL
5. Once the repo added, list the enabled repositories to make sure the cloudera-manager repo is enabled.
$ yum repolist

Step 3: Install Cloudera Manager Daemons and Agent on Worker Servers
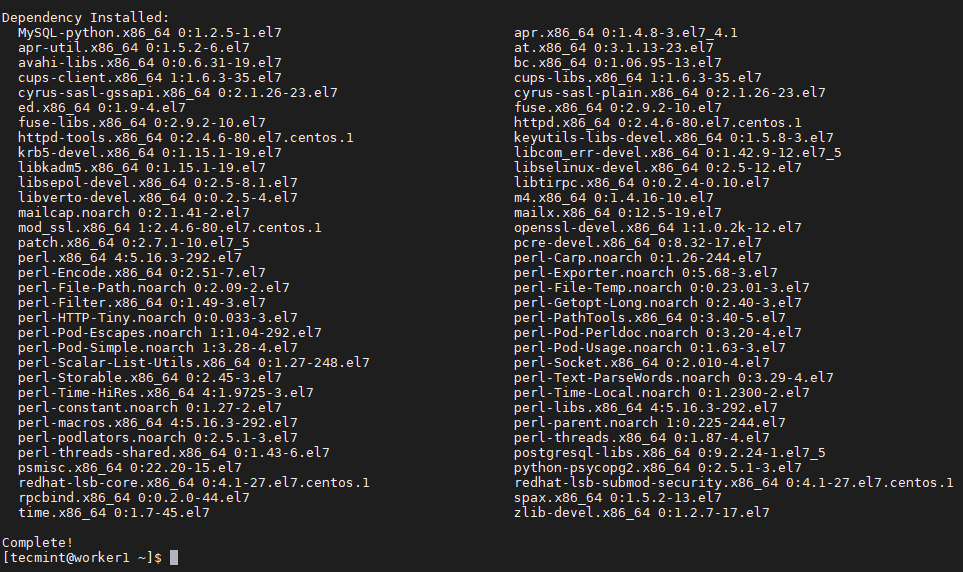
6. Now, we need to install cloudera-manager-daemons and cloudera-manager-agent in all the remaining servers.
$ sudo yum install cloudera-manager-daemons cloudera-manager-agent
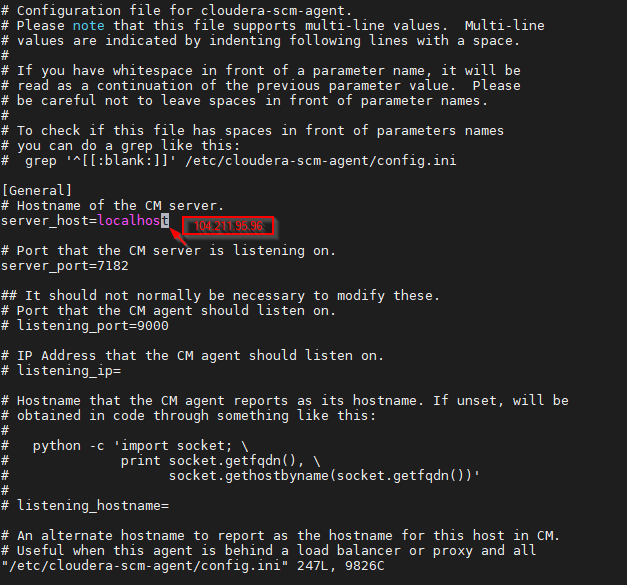
7. Next, you need to configure the Cloudera Manager agent to report the Cloudera Manager server.
$ sudo vi /etc/cloudera-scm-agent/config.ini
Replace the localhost with Cloudera Manager server IP address.
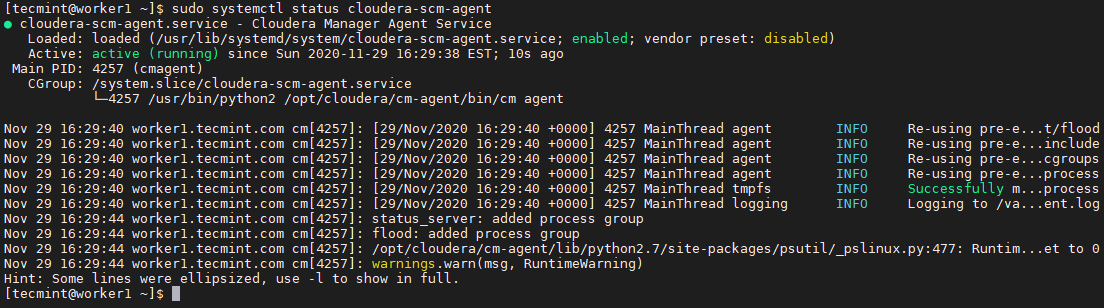
8. Start Cloudera Manager Agent and verify the status.
$ sudo systemctl start cloudera-scm-agent
$ sudo systemctl status cloudera-scm-agent
Step 4: Install and Setup CDH
We have CDH parcels in master1 – repo server. Make sure all the servers are having Cloudera Manager repo file in /etc/yum.repos.d/ if you follow automatic installation using Cloudera Manager.
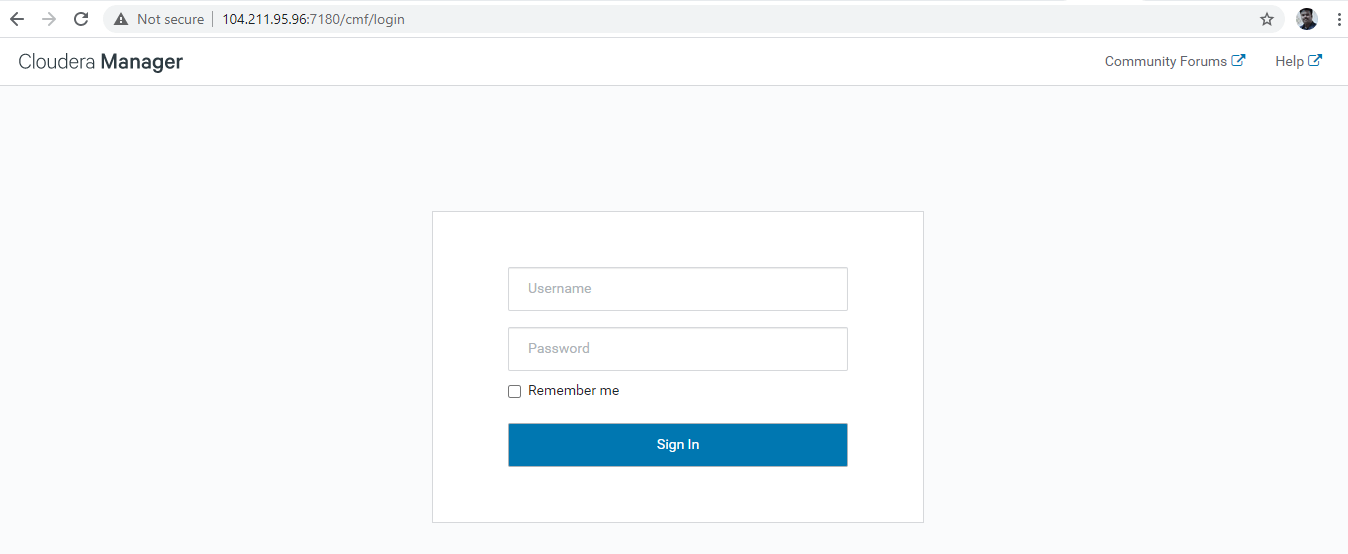
9. Log in to Cloudera Manager using the below URL at port 7180 and use the default username and password of Cloudera Manager.
http://104.211.95.96:7180/cmf/login
Username: admin
Password: admin
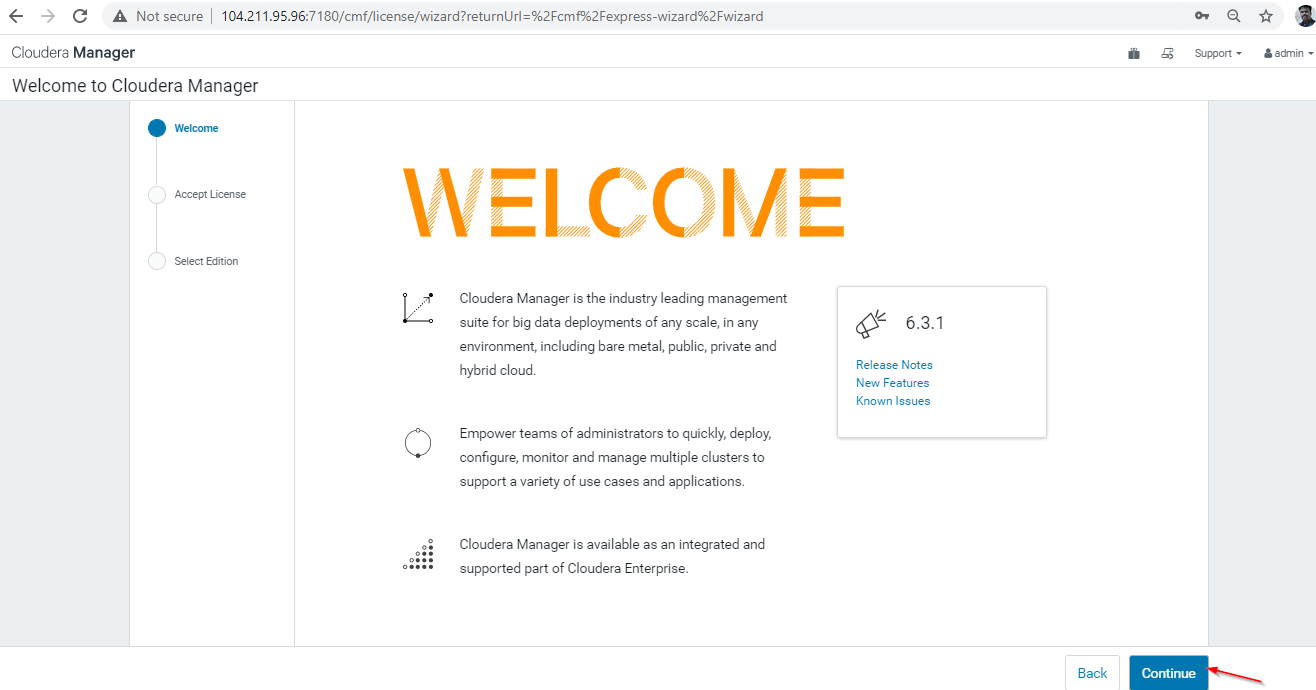
10. Once you log in, you will be greeted with the Welcome page. Here you can find Release notes, New Features of Cloudera Manager.
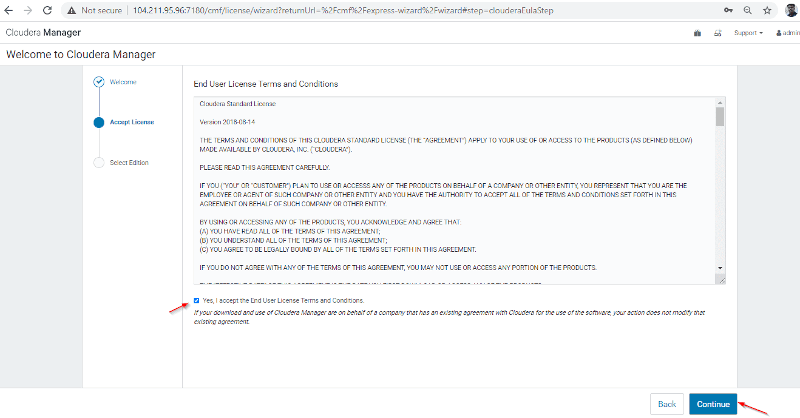
11. Accept the License and Continue.
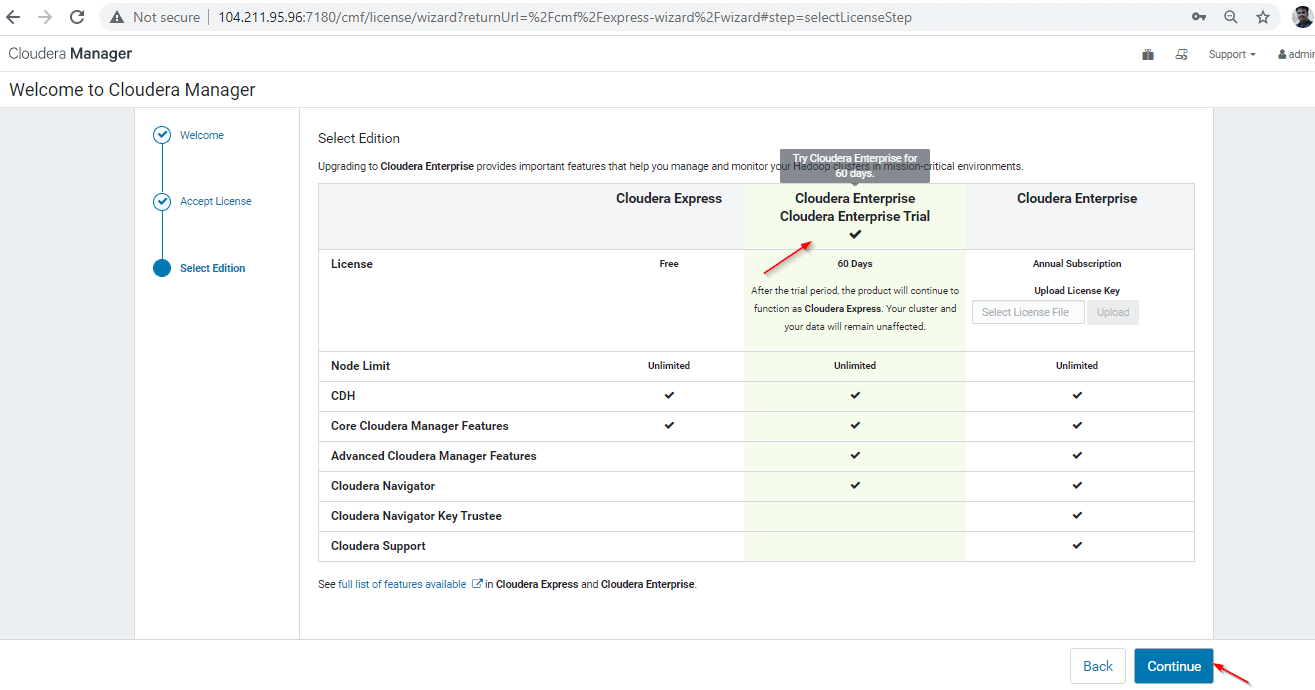
12. Select the Edition. The trial version is been selected by default, we can proceed with that.
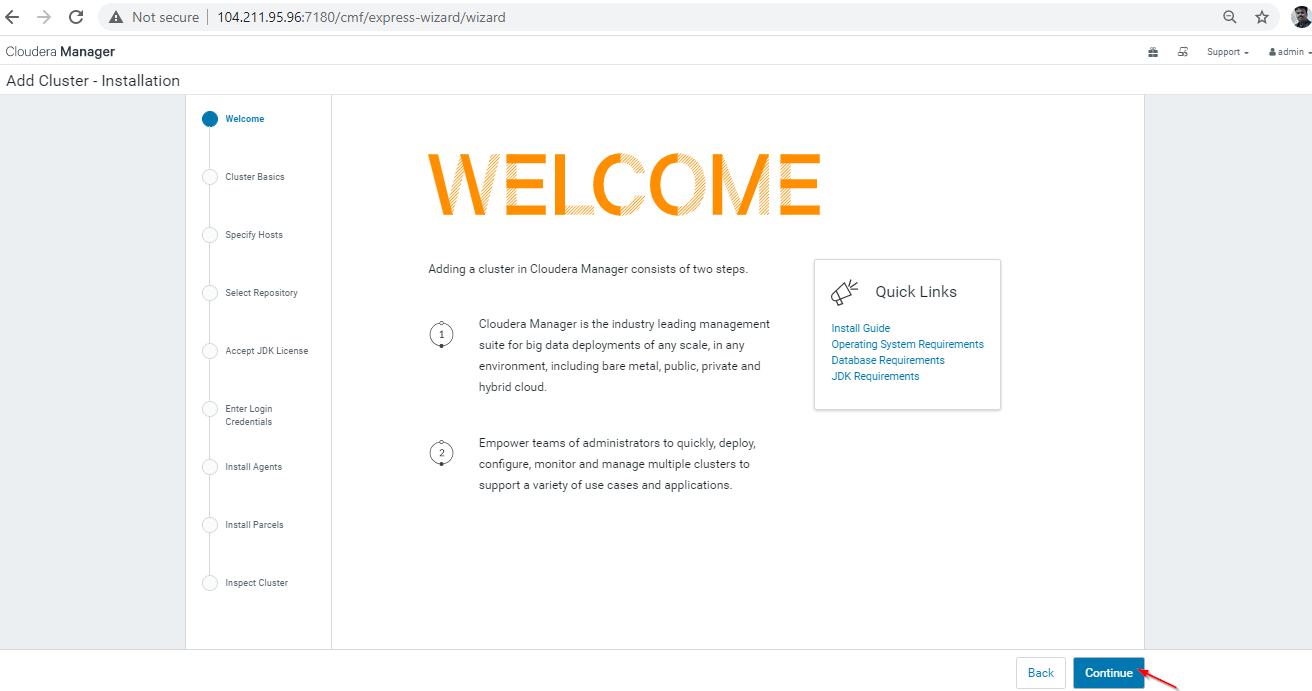
13. Now, follow the Cluster Installation steps. Continue the Welcome Page.
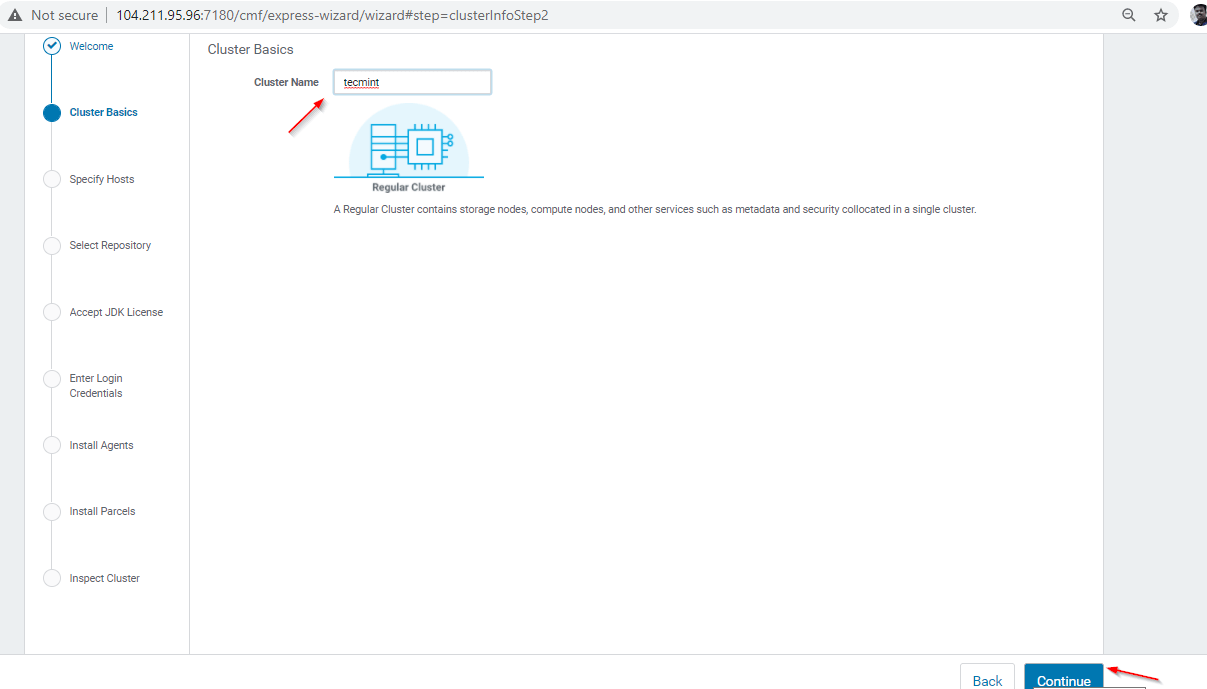
14. Name the Cluster and continue, we have named as “tecmint”. There are 2 types of Cluster you can define. We are proceeding with Regular Cluster.
- Regular Cluster: Will consist of storage nodes, compute nodes, and other necessary services.
- Compute Cluster: Will consist only of compute nodes. External storage can be used for storing data.
15. We have already installed Cloudera Manager Agents in all the servers. You can find those servers in “Currently Managed Hosts”. For automatic installation, you have to enter the FQDN or IP of the servers in the “New Hosts” option and search. Cloudera Manager will automatically detect the hosts on which we need to install CDH.
Here, click the “Currently Managed Hosts”, select all hosts by selecting ‘Hostname’ and continue.

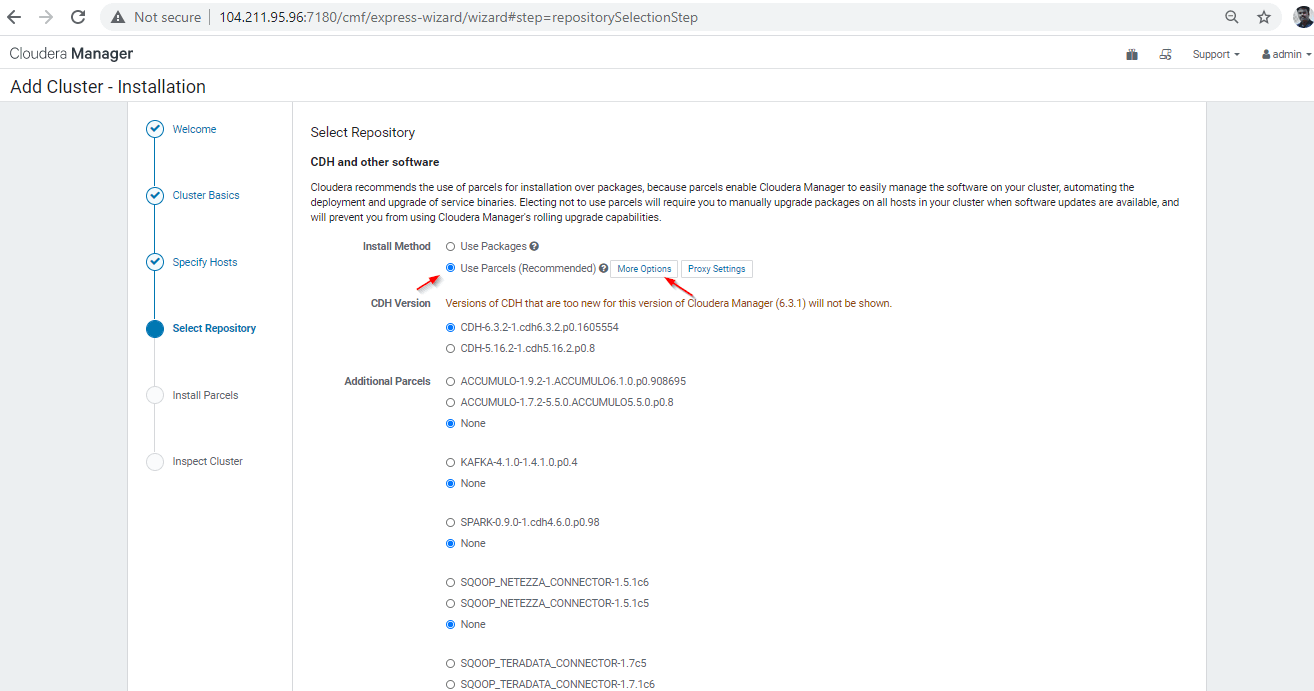
16. Select Repository – using Parcel is the recommended way. Click ‘More Options’ to configure the repository.
17. Enter the local repository URL as mentioned below. Remove all the remaining public repositories which pointing Web (Cloudera Repositories).
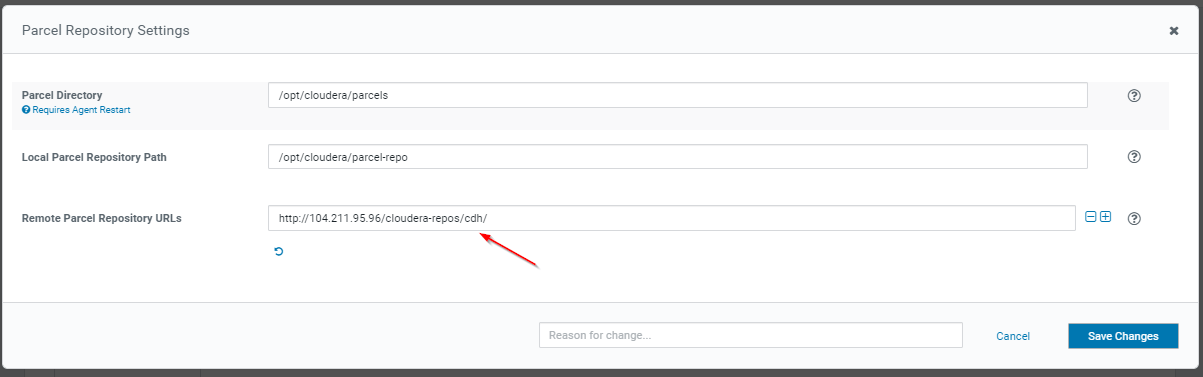
This is the CDH local repository URL that we are having in master1.
http://104.211.95.96/cloudera-repos/cdh/

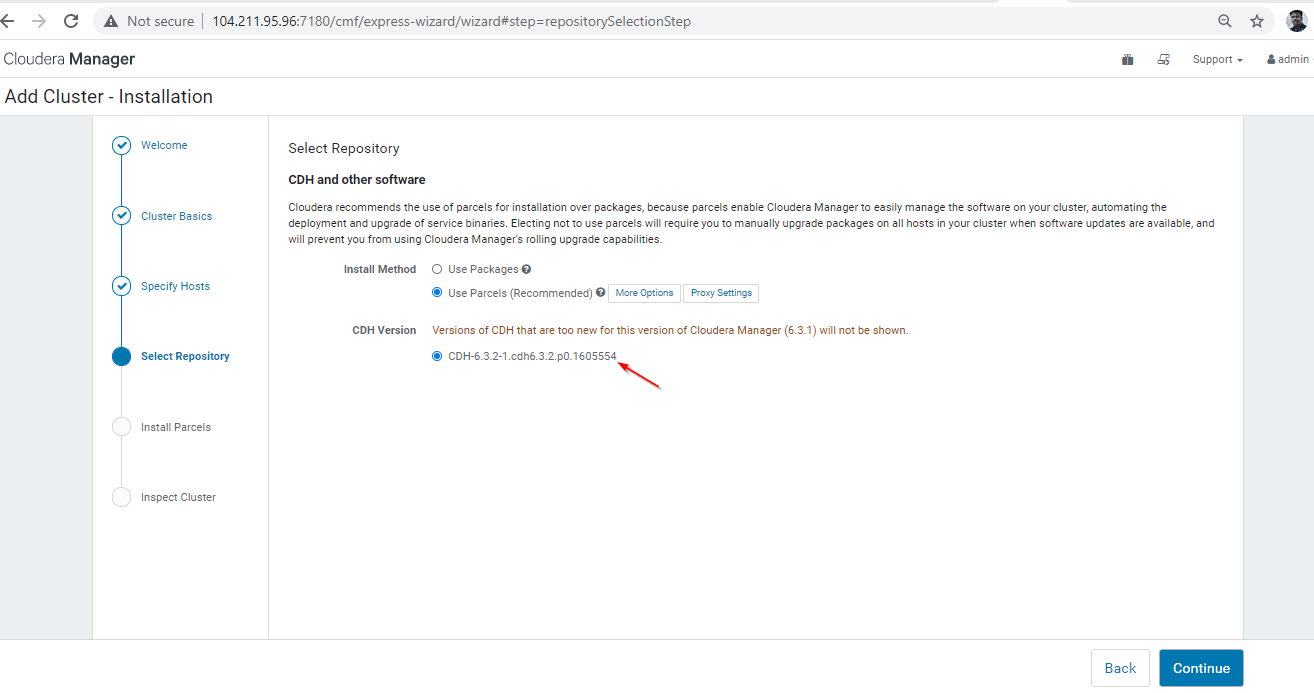
18. Once the repository URL entered, this page will show only available parcels. Continue this step.
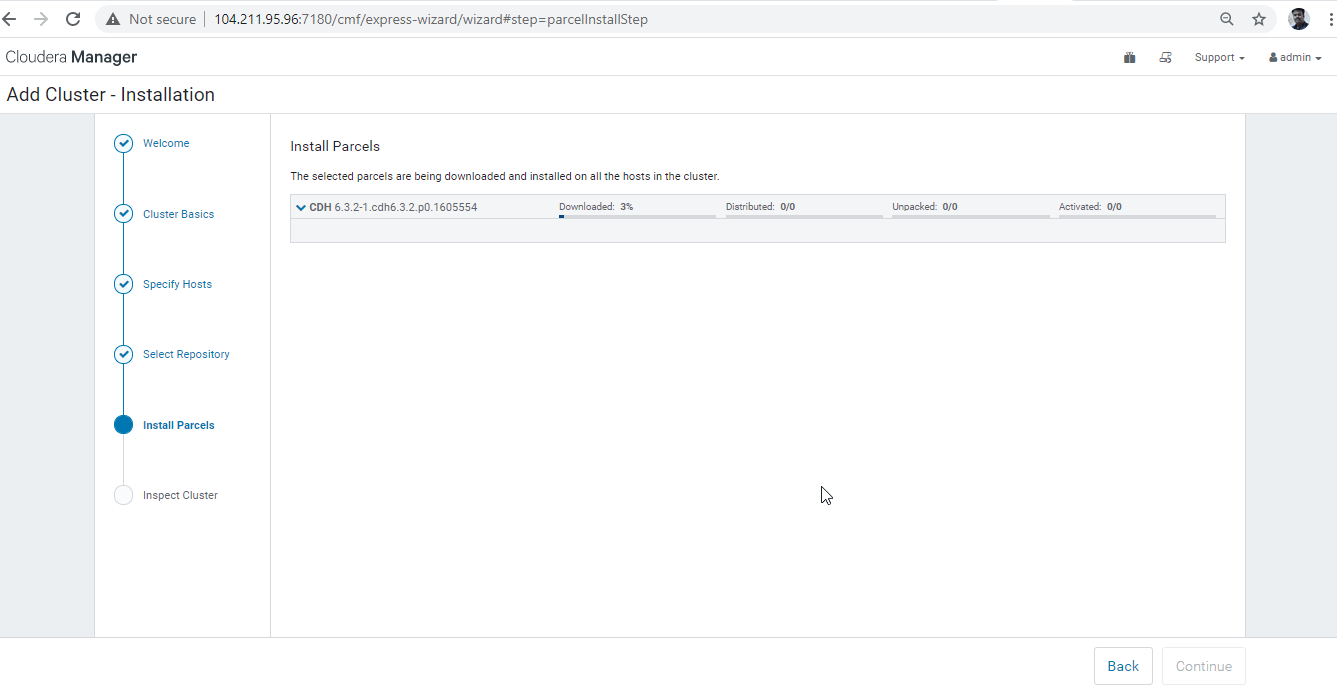
19. Now the parcels are being downloaded, distributed, unpacked, and activated in all the available servers.
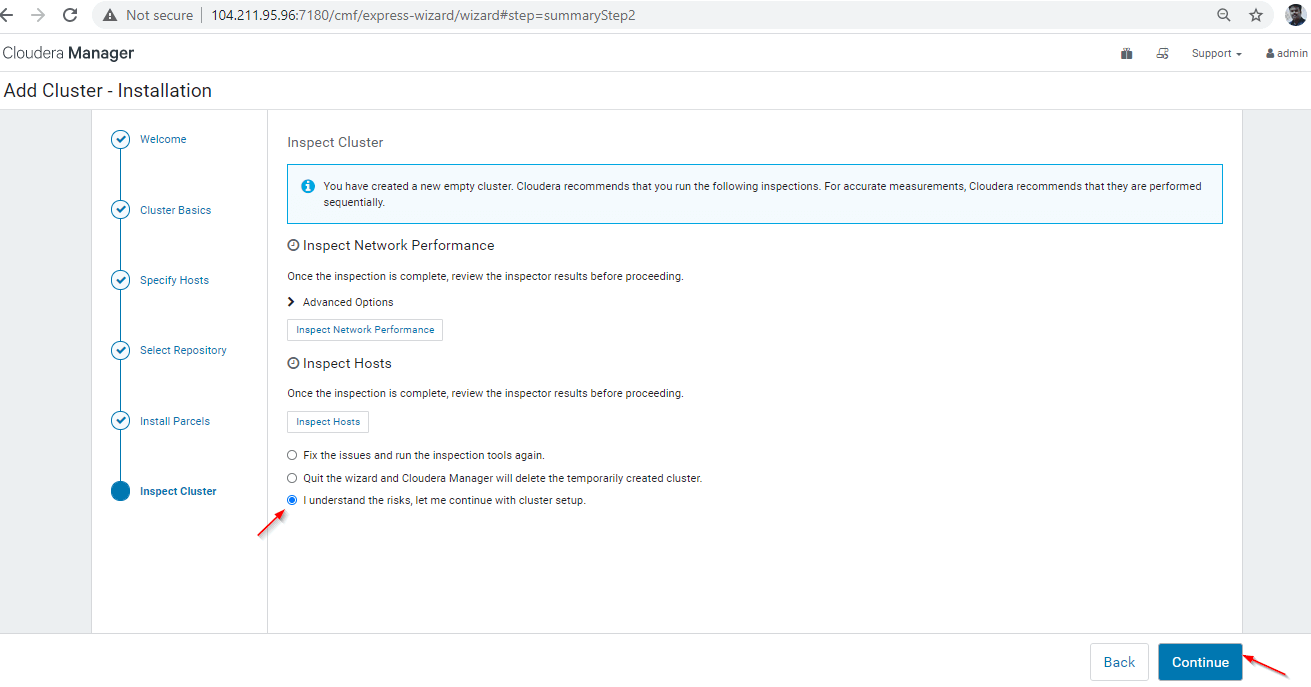
20. Once the CDH Parcels are Activated, inspect the Cluster. This step will do a health checkup of the cluster. Here we are skipping and Continuing.
Step 5: Cluster Configuration
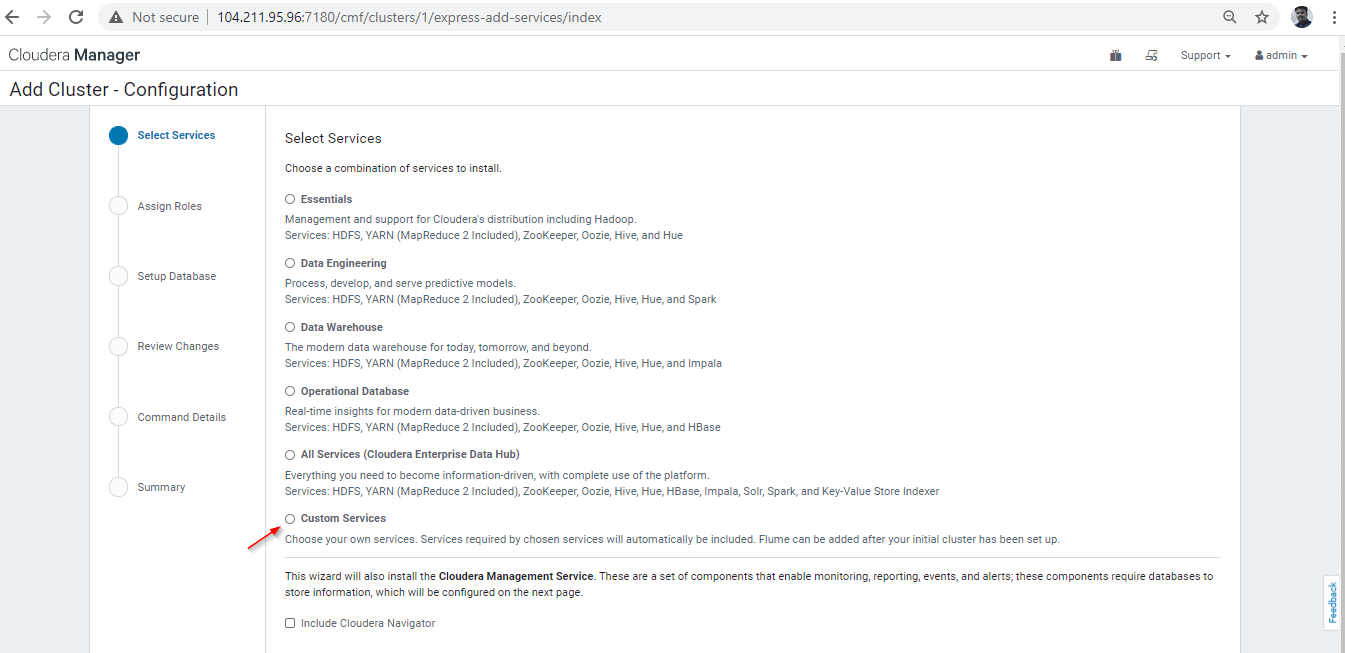
21. Here we need to select the Services to be installed in Cluster. Some packed combinations will be available by default, we are going with Custom Services.
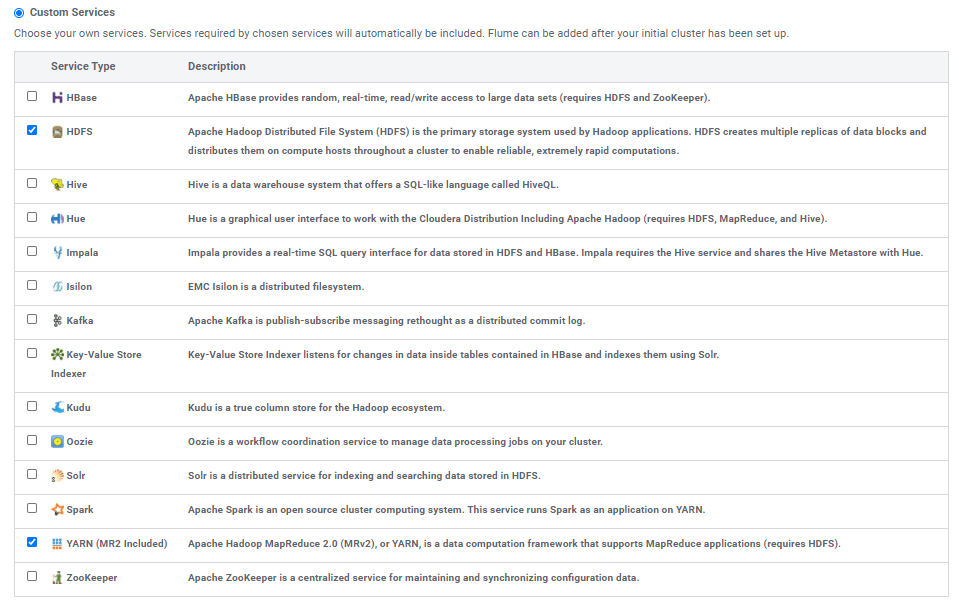
22. In Custom Services, we are installing only Core Components (HDFS and YARN) for this demo purpose.
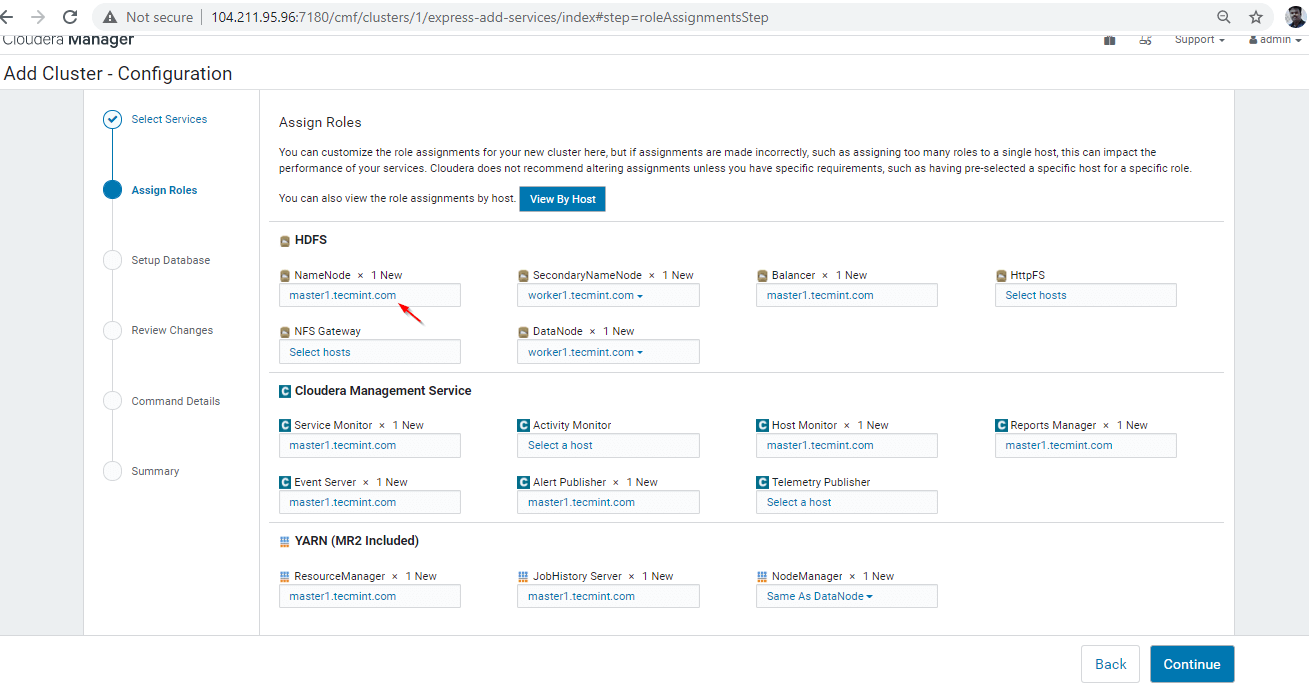
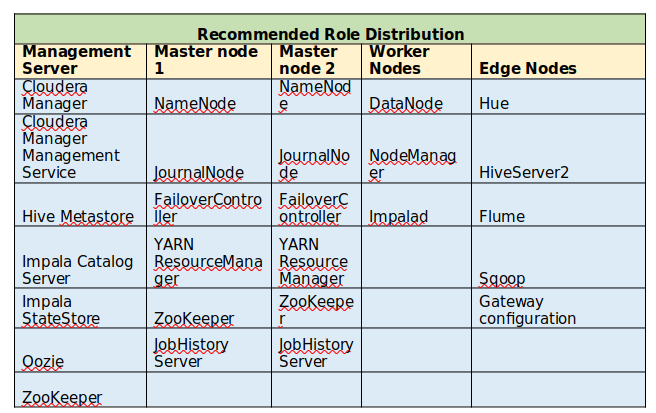
23. Assign the roles to the server. We can customize according to our requirements. Find the below chart which describes the recommended Role Distribution for a basic small cluster with 5 to 20 nodes with High Availability.
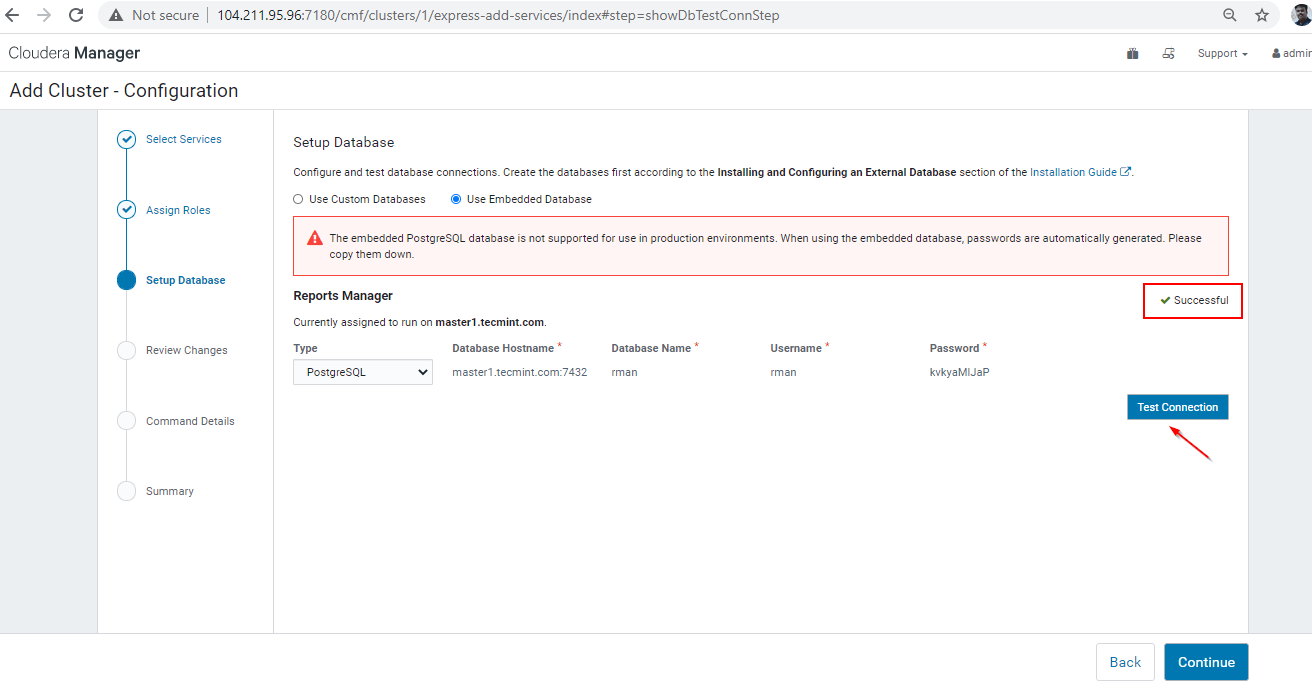
24. Select the Database type, hostname, DB Name, Username, and Password. As we are using Embedded PostgreSQL, it will be selected by default. Test the connection, it should be successful.
25. This page will show the default configuration parameters of HDFS and Yarn, including data directories. Review all the configuration details and you can make changes if required. Then Continue with this.

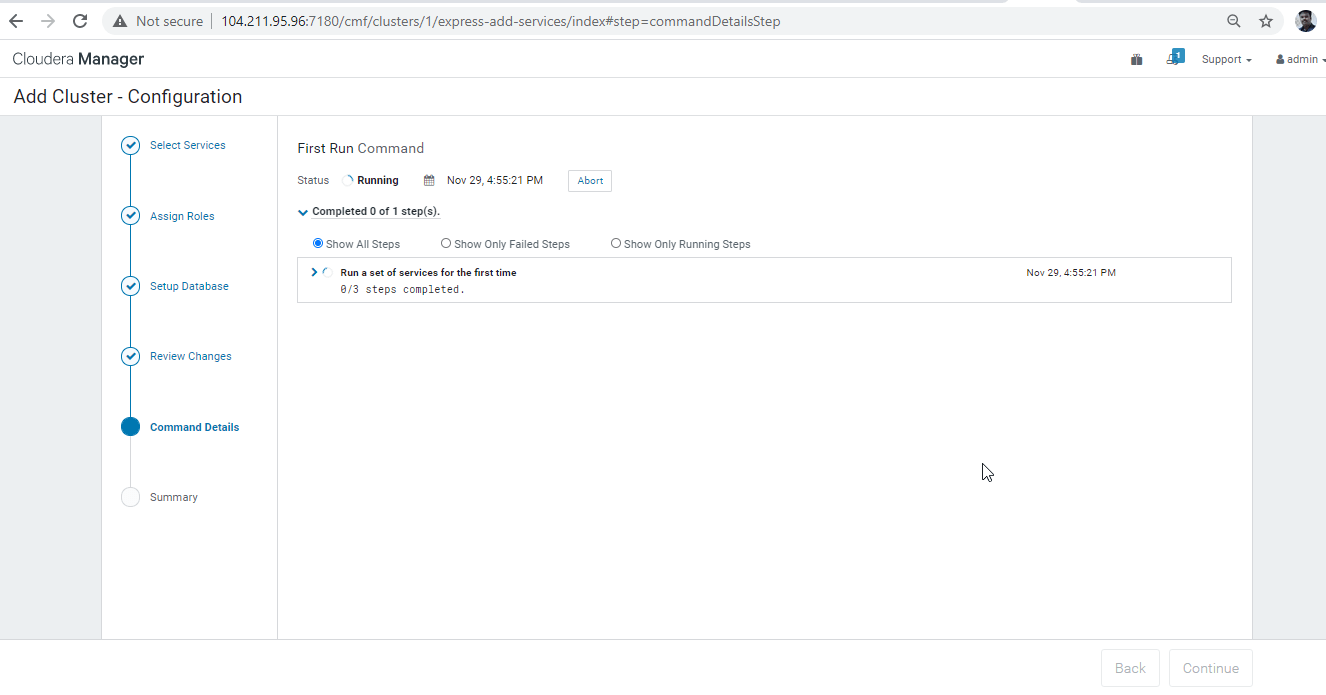
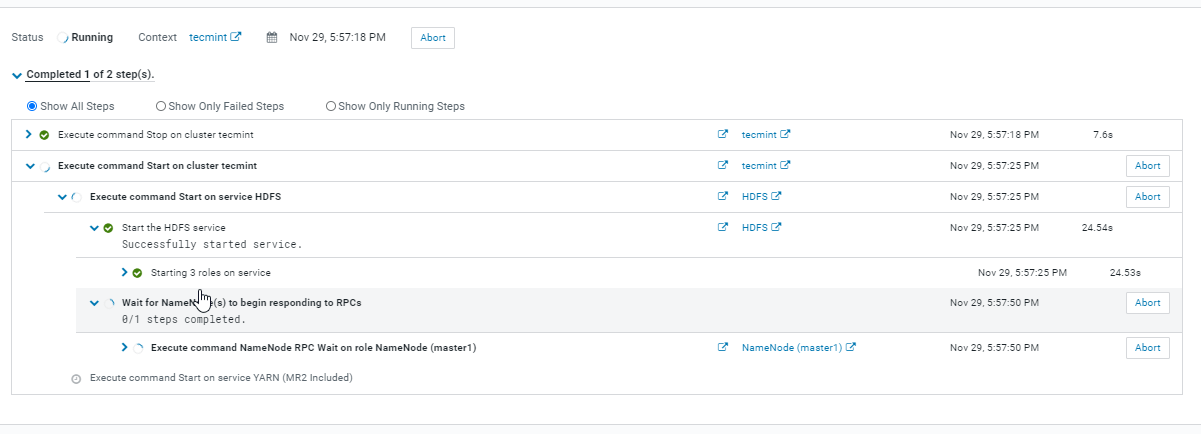
26. This page will show the details of the ‘First Run’ command. You can expand it to see the details of running commands. If there are any network or permission issues in the cluster, this step will get fail. Usually, this step decides the smooth installation of the Cluster Building.
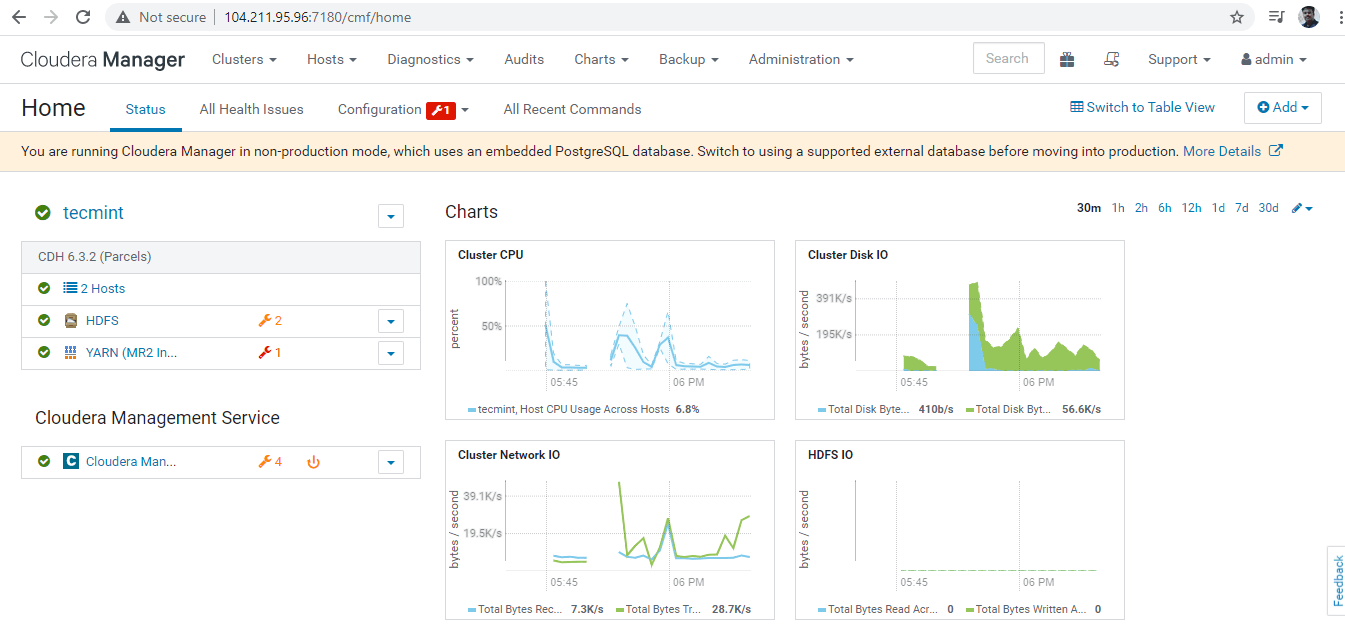
27. Once the above step completed, Click ‘Finish’ to complete the installation. This is the Dashboard of Cloudera Manager after installing CDH.
http://104.211.95.96:7180/cmf/home
Conclusion
We have completed the Cloudera Manager and CDH installation successfully. In the Cloudera Manager Dashboard, you can find a pre-defined set of charts where you can monitor Cluster CPU, Disk IO etc. We can manage the entire Cluster using this Cloudera Manager. We will see all the administrative operations in the upcoming articles.