Often, when we want to have a local repository for our RHEL 8 system to install packages without internet access for extra safety and using RHEL 8 ISO is the easiest way to do that.
In this guide, we will be showing you how you can configure and use locally downloaded RHEL 8 ISO images as a repository for installing packages in RHEL 8 Linux.
[ You might also like: How to Create Local RHEL 9 Repository ]
But before that, let’s have a look at what are the advantages of using RHEL 8 ISO as a local repository.
Benefits of Using RHEL 8 ISO as a Local Repository
- Allows you to apply offline patches.
- You can update your server in critical cases where you don’t have an internet connection.
- Using local repo, you can create an ultra-secure RHEL 8 environment that will never be connected to the internet and still be updated with the most frequent packages.
- You can also upgrade the server from RHEL 8.x to RHEL 8.y.
Installing Packages on RHEL 8 Locally Using ISO
While making this guide, we have made sure that it can be understood by everyone so even if you are new to Linux, just follow the demonstrated steps with care and you will have a local repo of RHEL 8 in no time.
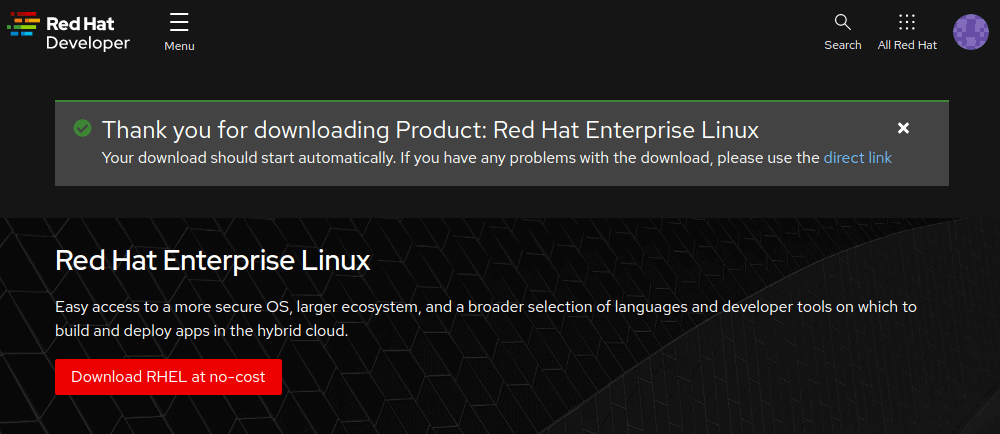
Step 1: Download RHEL 8 ISO Image
You can easily download RHEL 8 ISO file from Red Hat’s official download page. While downloading ISO, make sure you avoid boot ISOs as they don’t include packages that are less than 1GB in size.
Step 2: Mount RHEL 8 DVD ISO
Once we are done downloading the ISO file, we have to create a mounting point for mounting the recently downloaded ISO file on our system. We will be creating a mounting point under the /mnt directory by using the given command:
$ sudo mkdir -p /mnt/disc
$ sudo mount -o loop rhel-8.6-x86_64-dvd.iso /mnt/disc

Make sure you change the name of the ISO file before mounting or it will bring an error! You might be wondering about the warning it gave us while we mounted our ISO but don’t worry, we will change permissions in the latter part of this guide.
But if you are willing to use DVD media for the further process? You just have to create a mounting point and mount your media by given commands:
$ sudo mkdir -p /mnt/disc
$ sudo mount /dev/sr0 /mnt/disc
While mounting, make sure you change sr0 with your drive name.
Step 3: Creating Local RHEL 8 Repository
After mounting RHEL 8 ISO file at /mnt, we need to get a copy of the media.repo file and paste it to our system directory located at /etc/yum.repos.d/ with the name of rhel8.repo.
$ sudo cp /mnt/disc/media.repo /etc/yum.repos.d/rhel8.repo
As we mentioned earlier, our drive is write-protected. But for our purpose, we have to change permissions of rhel8.repo file to 0644 which will allow us to read and make changes accordingly.
$ sudo chmod 644 /etc/yum.repos.d/rhel8.repo
Once we are done with changing permissions, we have to make some changes to make our local repository work. First, let’s open rhel8.repo file by utilizing the given command:
$ sudo nano /etc/yum.repos.d/rhel8.repo
Or
$ sudo vi /etc/yum.repos.d/rhel8.repo
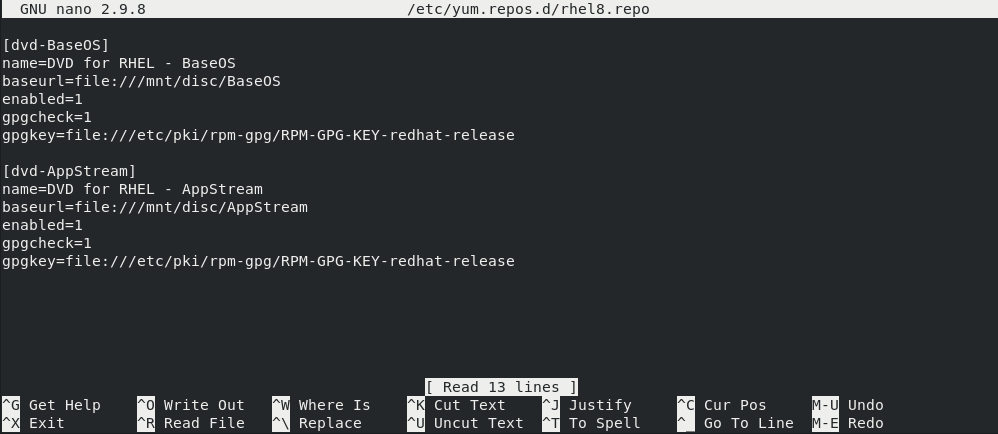
Clear the default configuration and paste new instructions in the config file as given below:
[dvd-BaseOS]
name=DVD for RHEL - BaseOS
baseurl=file:///mnt/disc/BaseOS
enabled=1
gpgcheck=1
gpgkey=file:///etc/pki/rpm-gpg/RPM-GPG-KEY-redhat-release

[dvd-AppStream]
name=DVD for RHEL - AppStream
baseurl=file:///mnt/disc/AppStream
enabled=1
gpgcheck=1
gpgkey=file:///etc/pki/rpm-gpg/RPM-GPG-KEY-redhat-release
The final result config file will look like this:
After configuring the file, we need to clear the YUM cache by using the given yum or dnf command:
$ sudo yum clean all
or
$ sudo dnf clean all
Now, let’s list the enabled repositories on our system by the given command:
$ sudo yum repolist enabled
or
$ sudo dnf repolist enabled

So if you went through the process as we mentioned, you will get the output listing two additional repositories named “dvd-AppStream” and “dvd-BaseOS” which means we have successfully converted our ISO into a local repository.
Now, let’s update the repository index by using the given command:
$ sudo yum update
or
$ sudo dnf update
Step 4: Installing Packages from RHEL 8 ISO
Now, it’s time for us to install packages using the local repository which we have just configured recently. Using the given command, we will be disabling other enabled repositories (will be only valid till the execution of the single command) and using the “dvd-AppStream” repository for installing the desired package.
$ sudo yum --disablerepo="*" --enablerepo="dvd-AppStream" install cheese
or
$ sudo dnf --disablerepo="*" --enablerepo="dvd-AppStream" install cheese
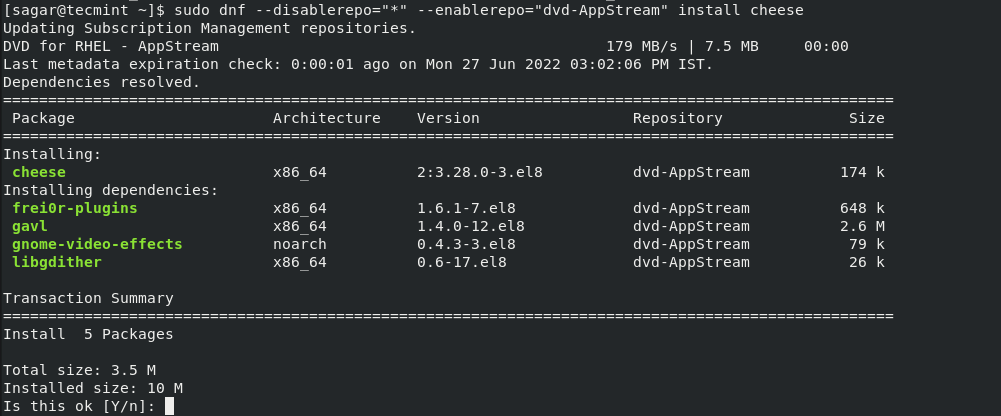
As you can see, our local repository is working as we intended, and also installed Cheese using it.
Important: Local repository might not resolve dependencies so before using it, make sure you have an idea of what are the required dependencies.
Through this guide, we explained how you can use the local ISO of RHEL 8 as a local repository in the easiest way possible. But if you have any queries, let us know in the comments.