Android Studio, Android’s official IDE, is a powerful and popular, feature-rich IDE for building apps for all Android compatible devices. It is specifically designed for Android platform to speed up building of apps and help users develop top-quality, reliable and efficient apps from scratch, for every type of Android device.
Android Studio Features:
- It runs instantly
- Has a fast and feature-rich emulator.
- Provides an intelligent code editor.
- It is designed for teams.
- It is also optimized for all Android devices.
- Provides code templates as well as sample apps.
- Offers testing tools and frameworks.
- Has C++ and NDK support.
- Supports firebase and cloud integration.
- Provides GUI tools such as layout editor, APK analyzer, vector asset studio and translation editor and much more.
Requirements:
- 64-bit distribution that also run 32-bit applications.
- Desktop environment: GNOME or KDE, but most desktops should work.
- GNU C Library (glibc) 2.19 or newer.
- At least 2 GB of available disk space, but 4 GB Recommended (500 MB for IDE + 1.5 GB for Android SDK and emulator system image).
- At least 3 GB RAM, but 8 GB RAM recommended, the Android Emulator consumes 1 GB of RAM.
- At least 1280 x 800 screen resolution.
How to Install Android Studio in Linux Systems
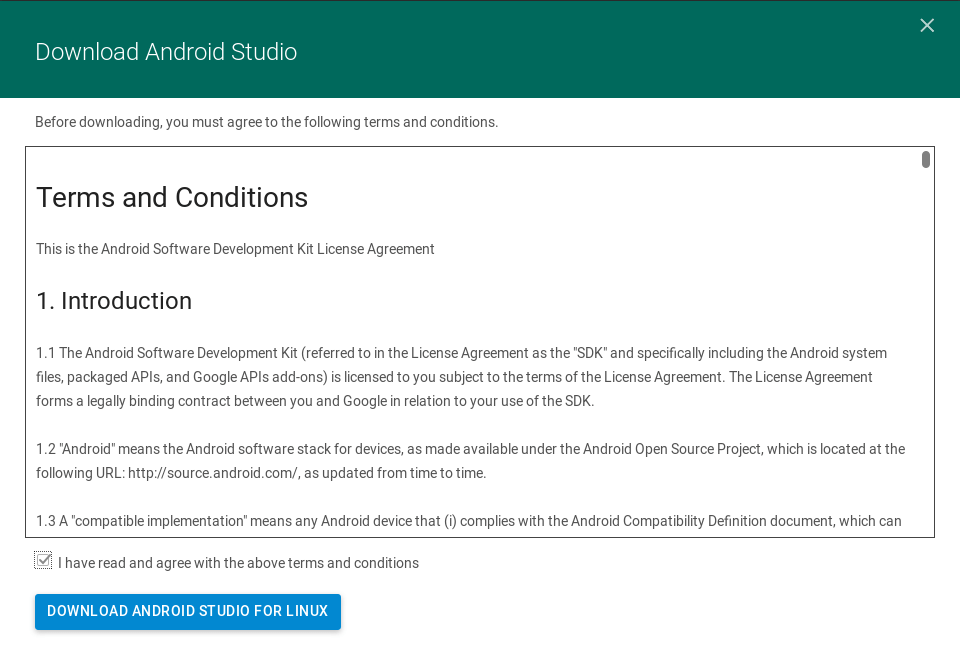
First, you need to download Android Studio package for Linux. Accept the terms and conditions before you can access the download link, as shown in the screenshot below.
Alternatively, you can use wget command to download the Android Studio package from your terminal, then unpack the Android Studio distribution archive and move into the extracted directory, as follows
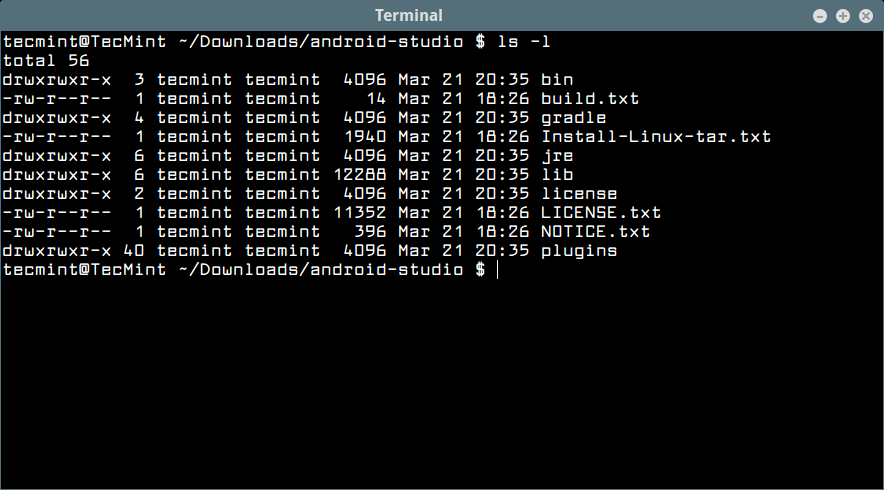
$ cd Download
$ unzip android-studio-ide-173.4670197-linux.zip
$ cd android-studio/
$ ls
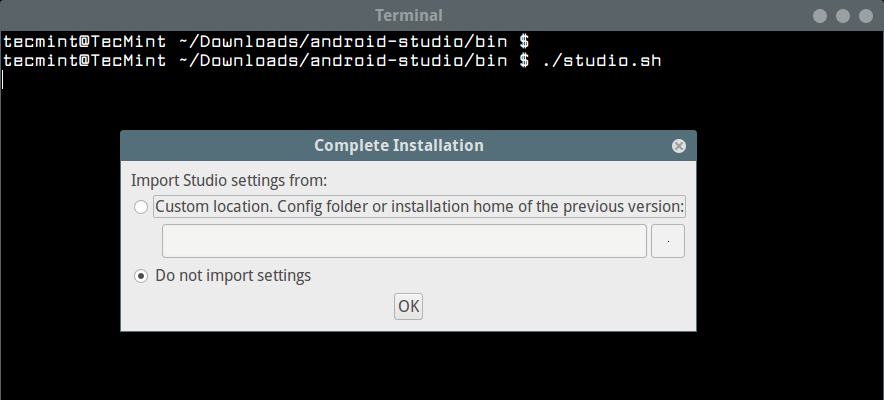
To launch Android Studio, navigate to the android-studio/bin/ directory, and execute studio.sh. This application initializer script will create several configuration files in the ~/.AndroidStudio3.1 directory.
$ cd bin
$./studio.sh
Once you run script, it will ask you to import previous Android Studio settings or not, then click OK.
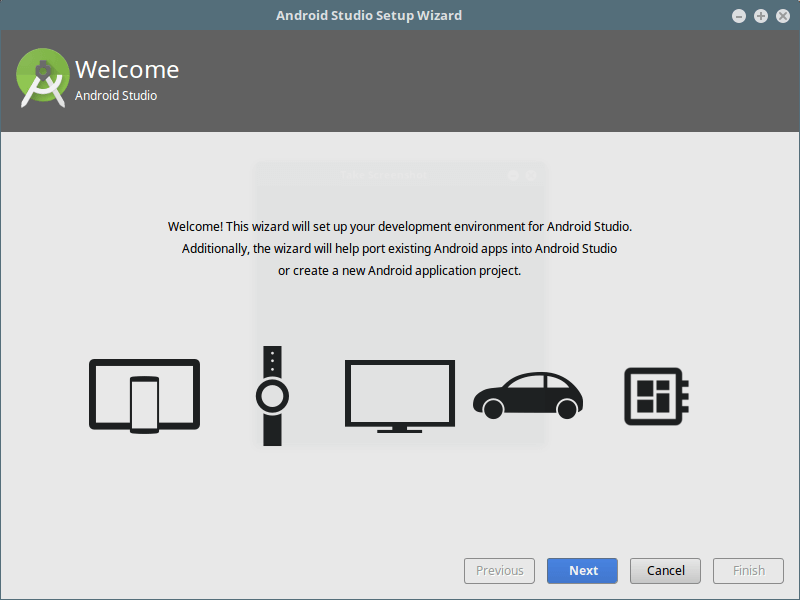
After the applications download and loads a number of components, you will see the setup wizard shown in the screen shot below. Click Next to proceed.
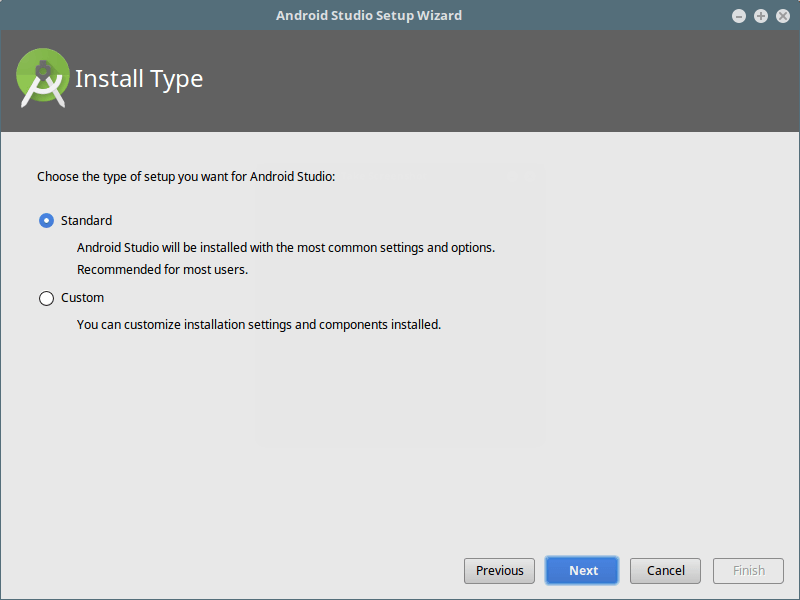
Next, select the type of installation you want and click Next.
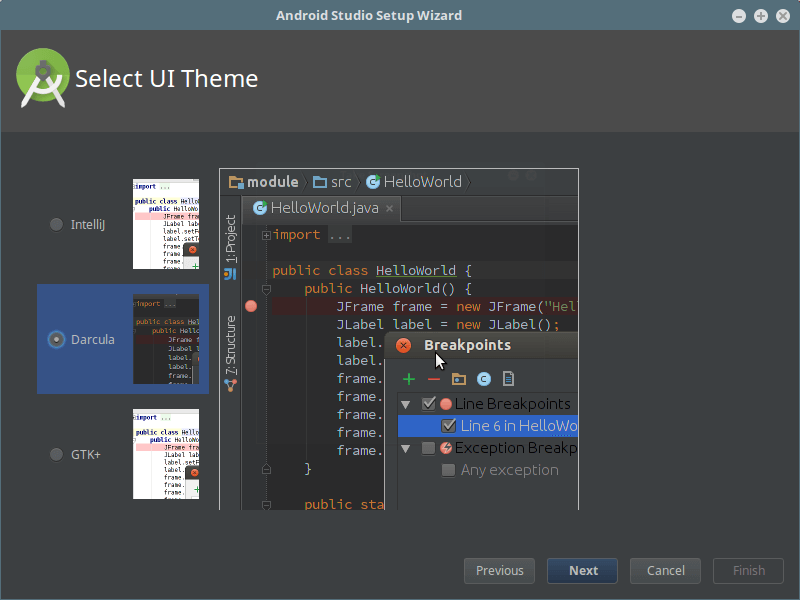
Then, choose a UI theme and click Next.
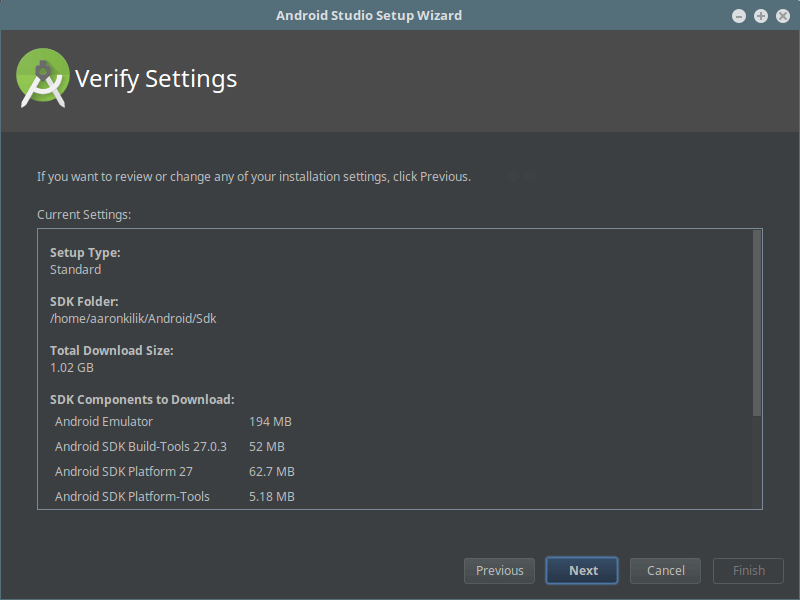
Now verify settings and click Next to continue.
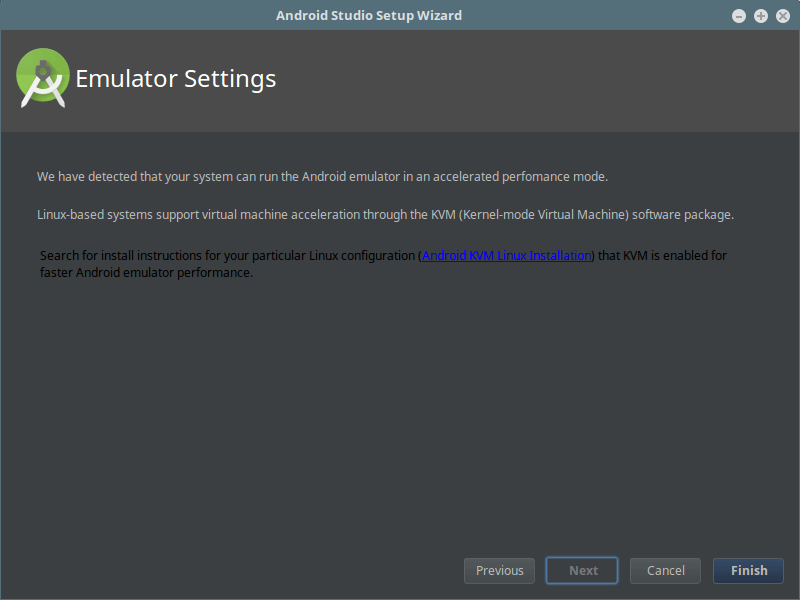
At this point, you should check emulator settings and click Finish to complete the setup process.
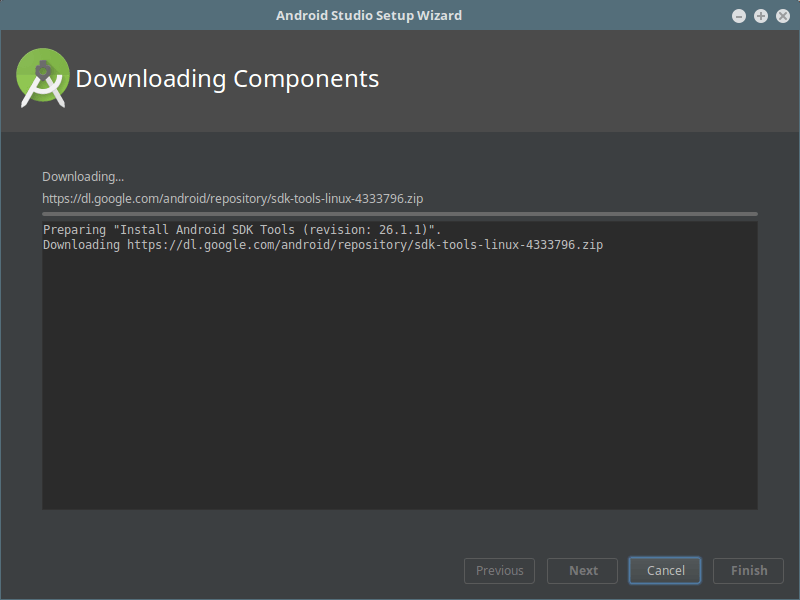
Next, the application will download several components as shown. Once all the necessary components have been downloaded, your Android studio will be up to date. Click Finish to start using Android Studio.
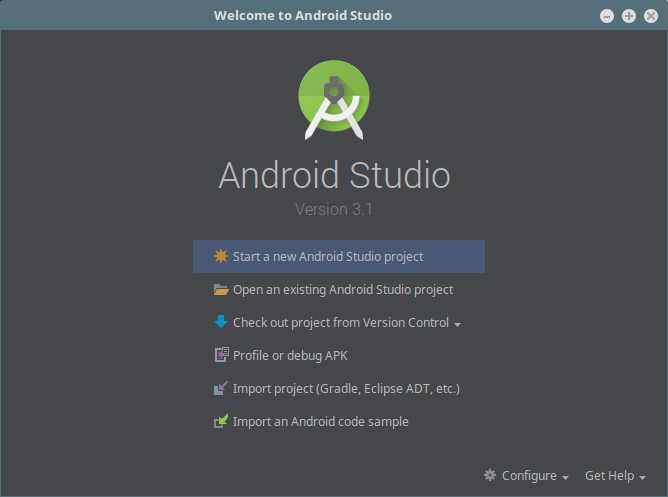
Now create your first project or open an existing one.
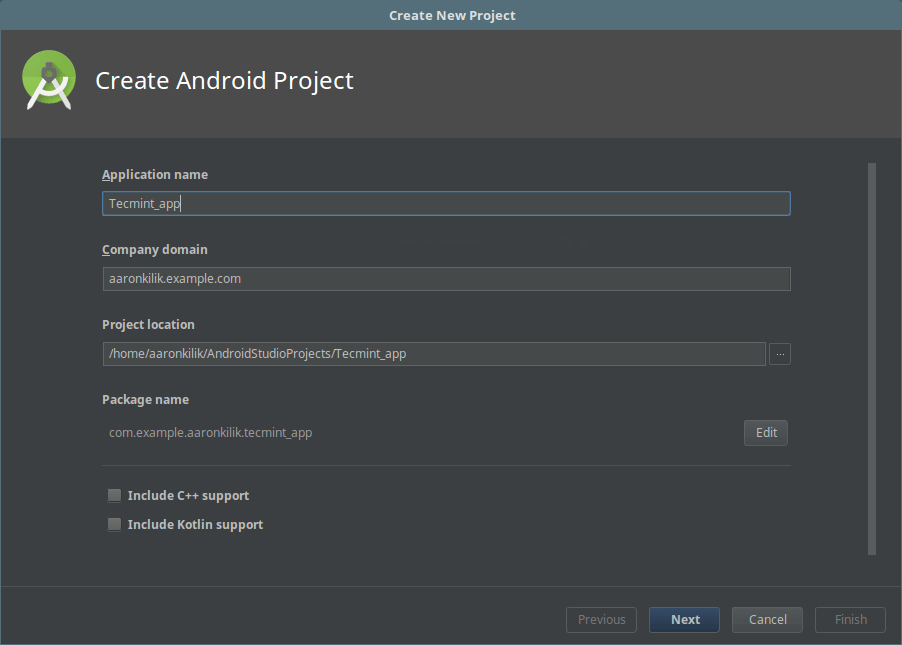
For example, if you choose to start a new project (a mobile phone app), define its settings as shown below and click Next.
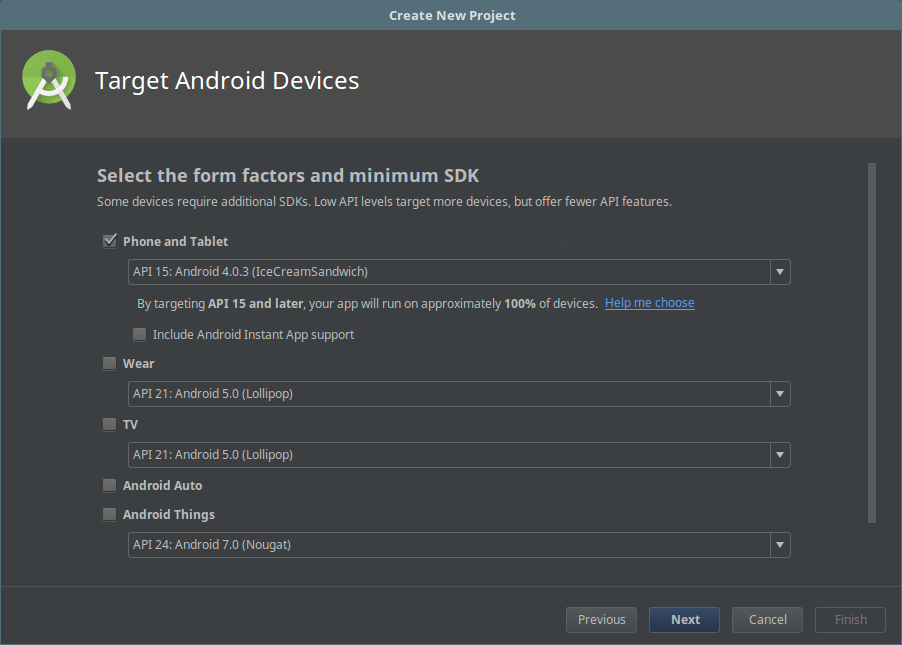
Then select the form factor and minimum SDK for your app and click Next.
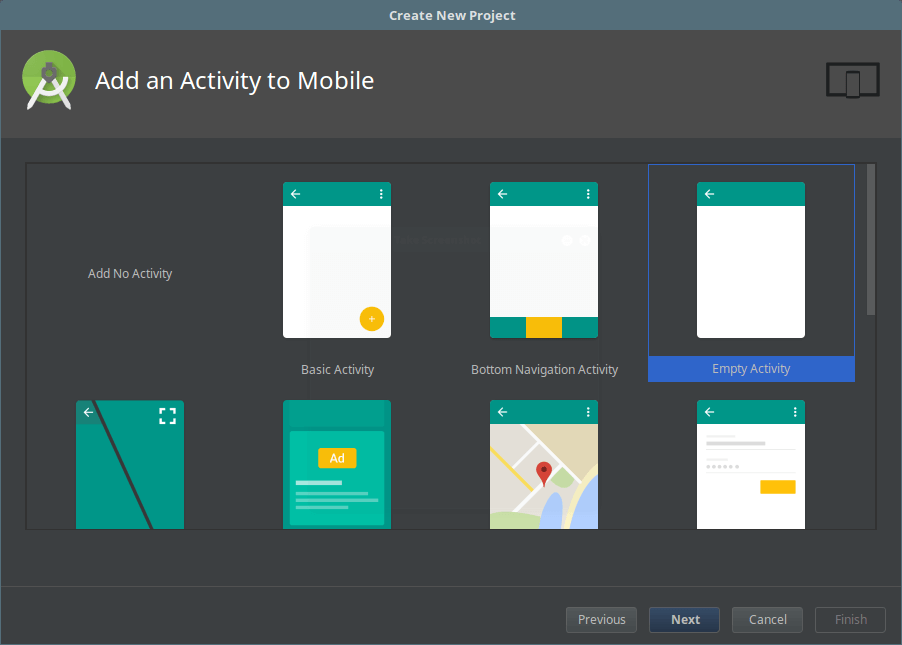
Next, choose an activity for mobile and click Next to continue.
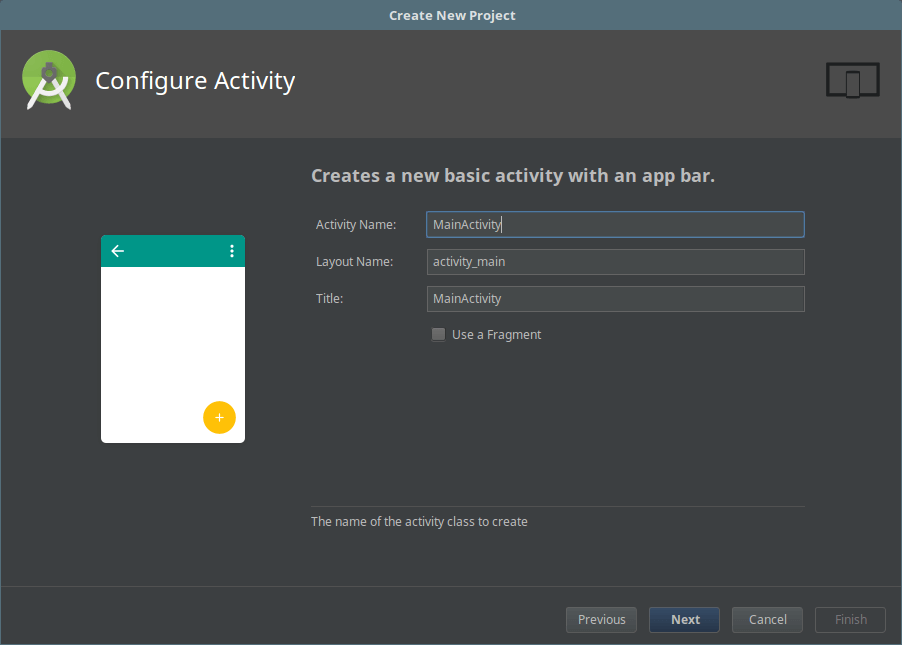
Afterwards, create a new basic activity with an app bar. Then click Next to continue.
Then the application will install the requested components, one it has done that, click on Finish.

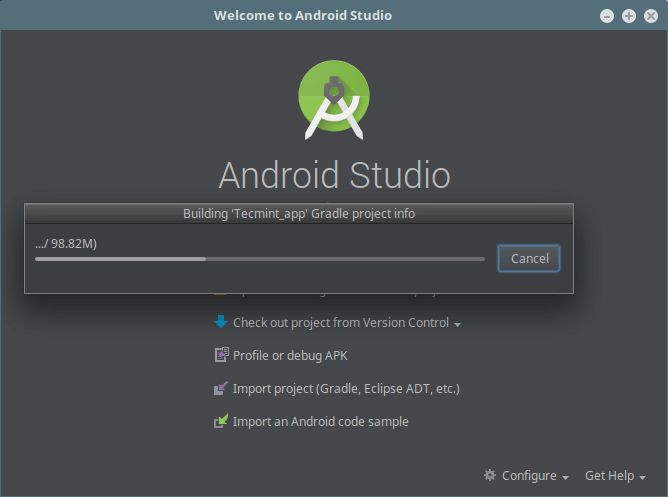
Next, the application will also build the gradle project info for your app, as shown, this may take a few minutes.
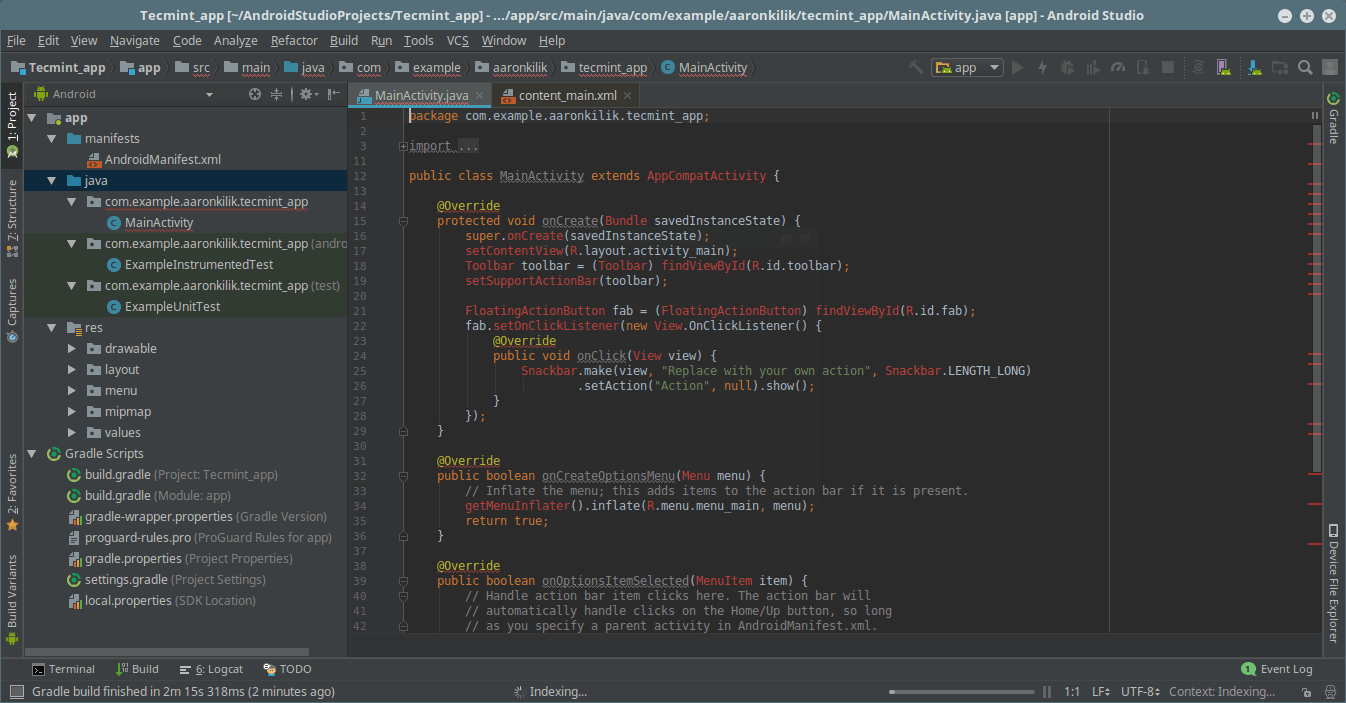
After building the gradle project info, you should be set, you can now work on your project.
Conclusion
Android Studio is a powerful and feature-rich IDE for building apps for all android compatible devices. It offers the fastest tools for building apps, and most importantly, it is Android’s official IDE. Use the comment from below to share your thoughts or queries about it, with us.