These days social networking sites have become more powerful for interacting people to people. It has been estimated that more than 80% of students rely on such kind of social networking sites in their daily communication such as surfing online, social activities, discussion etc. In most of the university social networks are considered as a communication method among teachers and students. Social networks improves performance of the students. A wide range of educational institutions have started using open source network application “Elgg“.
Elgg is an open source social network web application that build all kind of social environment from business to education. Create and manage your own social networking site with this open source tool. It runs on LAMP (Linux, Apache, MySQL, PHP) platform. It offers file sharing, blogging, social networking and groups. It provided you with a personal web blog, online profile, RSS reader, file repository. In addition all user content can be tagged with keywords. This way you can connect to people with same interest and can create a personal learning network. However Elgg is different from other social network, each profile item, uploaded file etc, can be assign to its own restrictions. It is integrated with Drupal, Webct, Mediawiki and Moodle and it also supports most of the open standards along with RSS, LDAP for authentication and XML-RPC for integrating most of the third party web blogging clients. Its very easy to create and manage your own web blog with full customization.
Requirements of Elgg
- Elgg runs on dedicated LAMP based server. Usually needs Apache, MySQL, PHP scripting language.
- Apache mod_rewrite module Multibyte String support for internationalization.
- GD for graphics processing.
- JSON (included in PHP 5.2+).
- XML
Elgg Features
Elgg is packed with bundle of features that you wish to have in your networking website. Here’s a full feature list:
- Elgg allows you to integrate with other web based tools like wikis and blog.
- It offers a large number of links between blog and community or users. That can be used to examine the actives and system of users once it finds exact start point.
- Elgg helps you to manage user and fulfill their requirement.
- It gives you a powerful data model which can make the creation simple and flexible.
- With the help of granular activity stream API your plugins pushes the required content to all your users.
- API plugin allows you to build and add required features like create video, edit, add title, tags descriptions of a video.
- In Elgg you can find files repositories for communities as well as individual.
However it is highly recommended to increase PHP memory limit to 128MB or 256MB, and increase upload file size to 10MB. By default, these settings are already added in the .htaccess file in the Elgg directory.
This article shows a depth instructions on how to install and setup Elgg on RHEL, CentOS, Fedora, Scientific Linux and Ubuntu, Linux Mint and Debian systems.
Installing Elgg
To install Elgg, you must have Apache, MySQL and PHP installed on your system. If not, install them using the following command as shown below.
On RHEL/CentOS/Fedora/Scientific Linux
# yum install mysql mysql-server httpd php php-mysql php-gd php-imap php-ldap php-odbc php-pear php-xml php-xmlrpc wget unzip
Turn on Apache “mod_rewrite” module. Open the following file.
# vi /etc/httpd/conf/httpd.conf
Change “AllowOverride None” to “AllowOverride All“.
# AllowOverride controls what directives may be placed in .htaccess files.
# It can be "All", "None", or any combination of the keywords:
# Options FileInfo AuthConfig Limit
#
AllowOverride All
Finally, restart Apache and MySQL service.
# /etc/init.d/httpd restart
# /etc/init.d/mysqld restart
On Debian/Ubuntu/Linux
# apt-get install apache2 mysql-server php5 libapache2-mod-php5 php5-mysql wget unzip
Next Turn on the Apache “rewrite” module by running the following command.
# a2enmod rewrite
Once you’ve Turn on “rewrite” module, now enable it for “.htaccess” processing. Open the following file with your choice of editor.
# vi /etc/apache2/sites_available/default
Change “AllowOverride None” to “AllowOverride All”
<Directory /var/www/>
                Options Indexes FollowSymLinks MultiViews
                AllowOverride All
                Order allow,deny
                allow from all
</Directory>
Finally, restart Apache and Mysql service.
# /etc/init.d/apache2 restart
# /etc/init.d/mysql restart
Creating Elgg MySQL Database
Login to your MySQL server with root password.
# mysql -u root -p
Once you in MySQL shell, create “elgg” database as shown.
mysql> create database elgg;
Create a “elgg” user for MySQL and set password.
mysql> CREATE USER 'elgg'@'localhost' IDENTIFIED BY 'abc';
Grant “All” privileges on “elgg” database to “elgg” user and exit.
mysql> GRANT ALL PRIVILEGES ON elgg.* TO 'elgg' IDENTIFIED BY 'abc';
mysql> flush privileges;
mysql> exit;
Downloading and Installing Elgg
Elgg 1.8.15 is the latest recommended version, download it using wget command and extract it.
# wget http://elgg.org/download/elgg-1.8.15.zip
# unzip elgg-1.8.15.zip
Next, move “elgg” directory to your web server document root directory. For example, “/var/www/html/elgg” (For Red Hat distro’s) and “/var/www/elgg” (For Debian distro’s).
# mv elgg-1.8.15 /var/www/html/elgg
OR
# mv elgg-1.8.15 /var/www/elgg
Go to “elgg” directory and then “engine” directory.
# cd /var/www/html/elgg
# cd engine
OR
# cd /var/www/elgg
# cd engine
Copy “settings.example.php” to “settings.php“.
cp settings.example.php settings.php
Open the settings.php file with your choice of editor.
# vi settings.php
Enter the dbuser, dbpass, dbname, dbhost and dbprefix parameters as shown below.
/**
 * The database username
 *
 * @global string $CONFIG->dbuser
 * @name $CONFIG->dbuser
 */
$CONFIG->dbuser = 'elgg';

/**
 * The database password
 *
 * @global string $CONFIG->dbpass
 */
$CONFIG->dbpass = 'abc';

/**
 * The database name
 *
 * @global string $CONFIG->dbname
 */
$CONFIG->dbname = 'elgg';

/**
 * The database host.
 *
 * For most installations, this is 'localhost'
 *
 * @global string $CONFIG->dbhost
 */
$CONFIG->dbhost = 'localhost';

/**
 * The database prefix
 *
 *
 * This prefix will be appended to all Elgg tables.  If you're sharing
 * a database with other applications, use a database prefix to namespace tables
 * in order to avoid table name collisions.
 *
 * @global string $CONFIG->dbprefix
 */
$CONFIG->dbprefix = 'elgg_';
Elgg needs a different directory called “data” to keep uploaded photos and profile icons. So, you need to create this directory outside of your web document root directory for security reason.
# mkdir data
# chmod 777 data
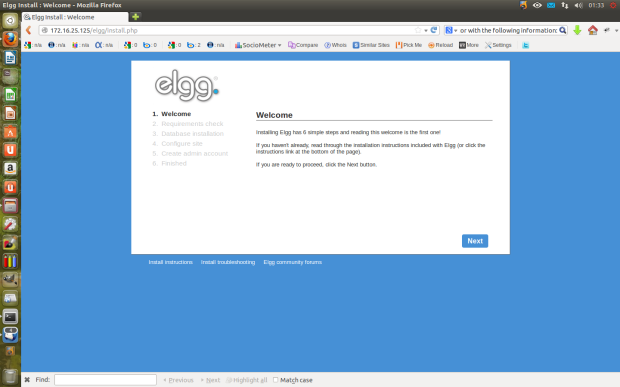
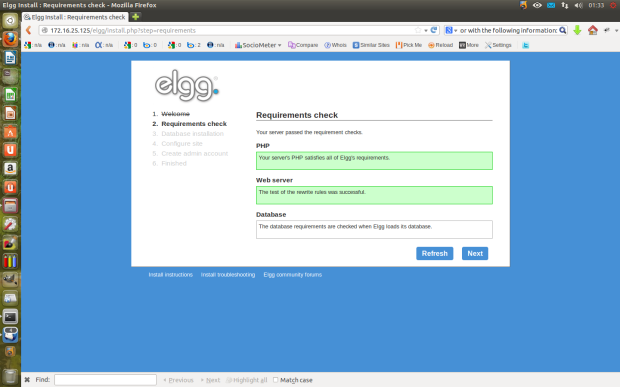
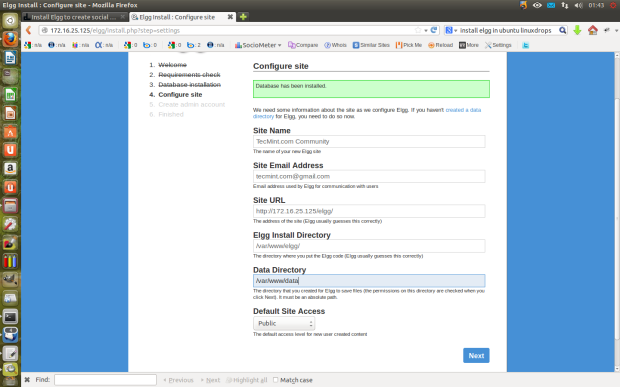
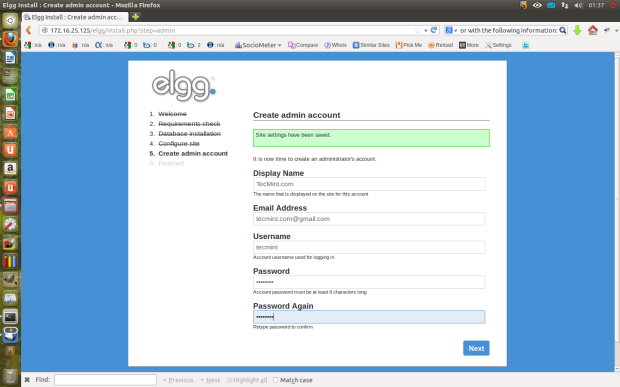
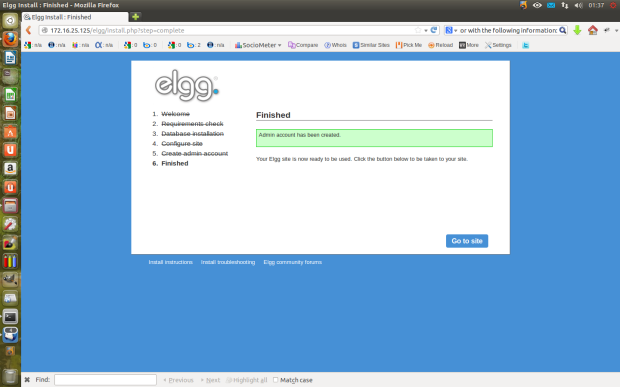
Finally, Open the web browser and navigate to “http://localhost/elgg/install“. Follow the installation wizard instructions as shown below.