Laravel is the most popular, free, and open-source PHP framework in the world, known for its expressive and elegant syntax. Laravel is accessible, powerful, and offers some of the best web development tools required for large, robust, and modern applications.
In this article, you will learn how to install the Laravel PHP Framework on Ubuntu 20.04 server running on the Nginx web server.
Prerequisites
Step 1: Installing Required PHP Modules
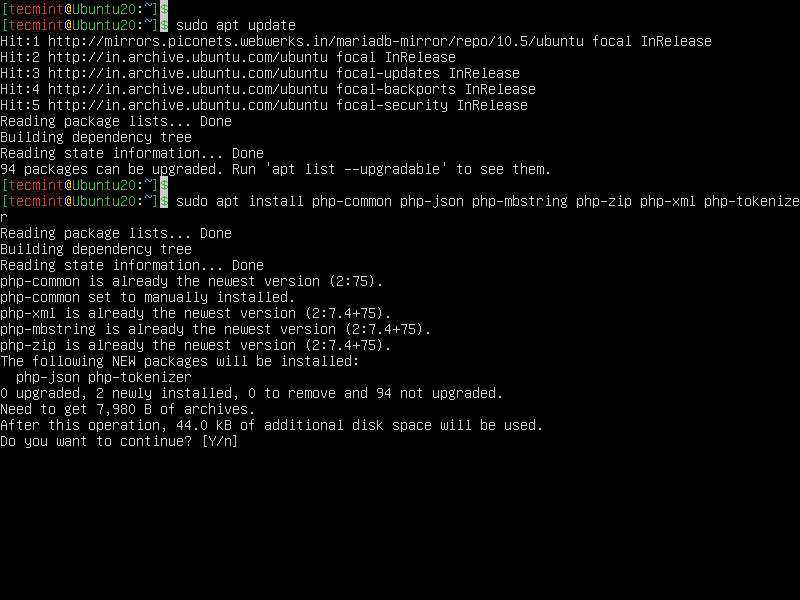
After setting up the LEMP stack on your Ubuntu 20.04 server as described in the guide in the link above, you need to install additional PHP extensions required by Laravel as follows:
$ sudo apt update
$ sudo apt php-common php-json php-mbstring php-zip php-xml php-tokenizer
Step 2: Creating a Database for Laravel
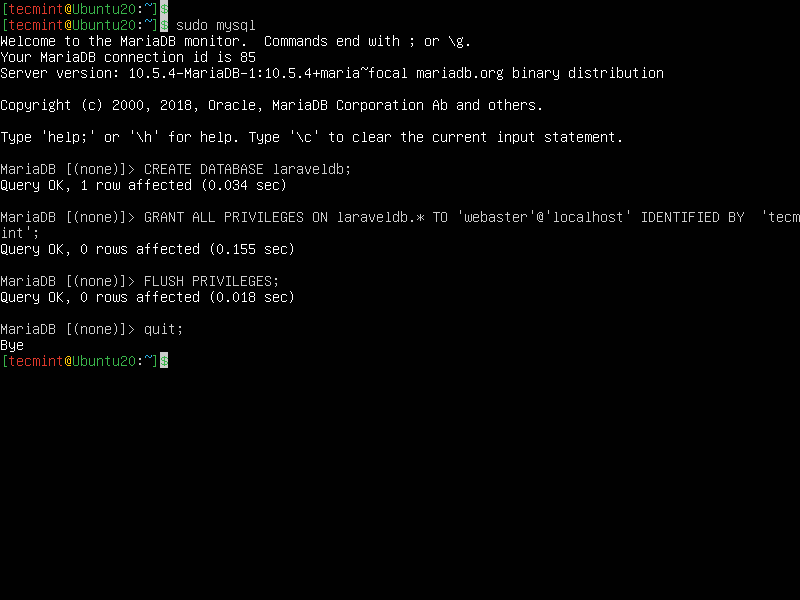
Next, you need to create a MySQL database for your Laravel application. So, log into your mysql shell and create the database as follows.
$ sudo mysql
MariaDB [(none)]> CREATE DATABASE laraveldb;
MariaDB [(none)]> GRANT ALL ON laraveldb.* to 'webmaster'@'localhost' IDENTIFIED BY 'tecmint';
MariaDB [(none)]> FLUSH PRIVILEGES;
MariaDB [(none)]> quit
Step 3: Installing Composer in Ubuntu 20.04
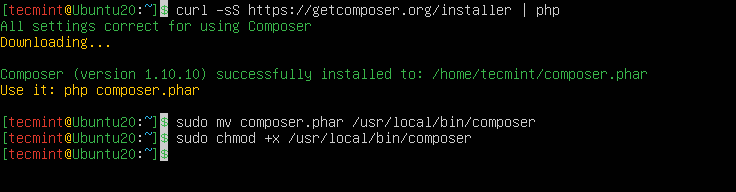
Laravel utilizes the composer (a dependency manager for PHP) to manage its dependencies. Therefore, before using Laravel, ensure you have Composer installed on your system as shown.
$ curl -sS https://getcomposer.org/installer | php
$ sudo mv composer.phar /usr/local/bin/composer
$ sudo chmod +x /usr/local/bin/composer
Step 4: Installing Laravel in Ubuntu 20.04
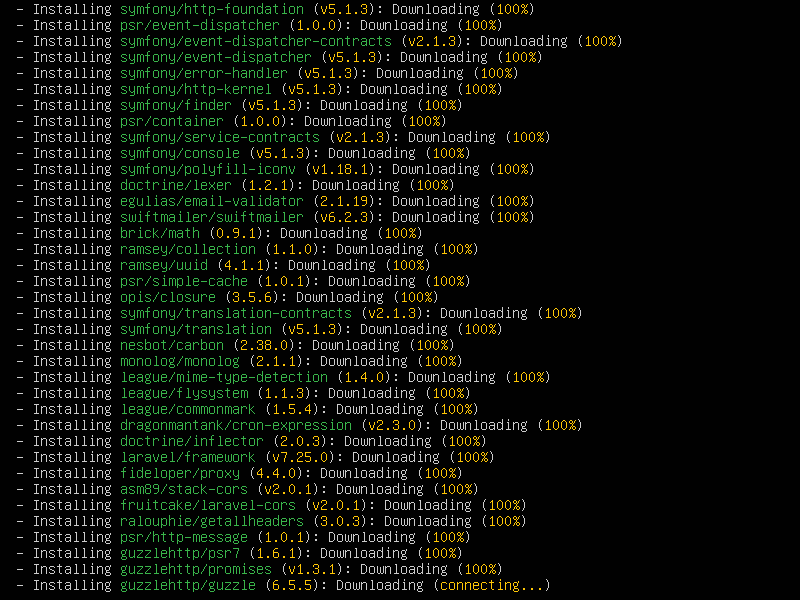
After installing the composer, use it to install the Laravel files. Move into your /var/www/html directory where web files are stored, then install Laravel using the composer as shown. Remember to replace example.com with the name of the directory where the Laravel files will be stored.
$ cd /var/www/html
$ composer create-project --prefer-dist laravel/laravel example.com
/var/www/html/example.com/publics.Step 5: Configuring Laravel in Ubuntu 20.04
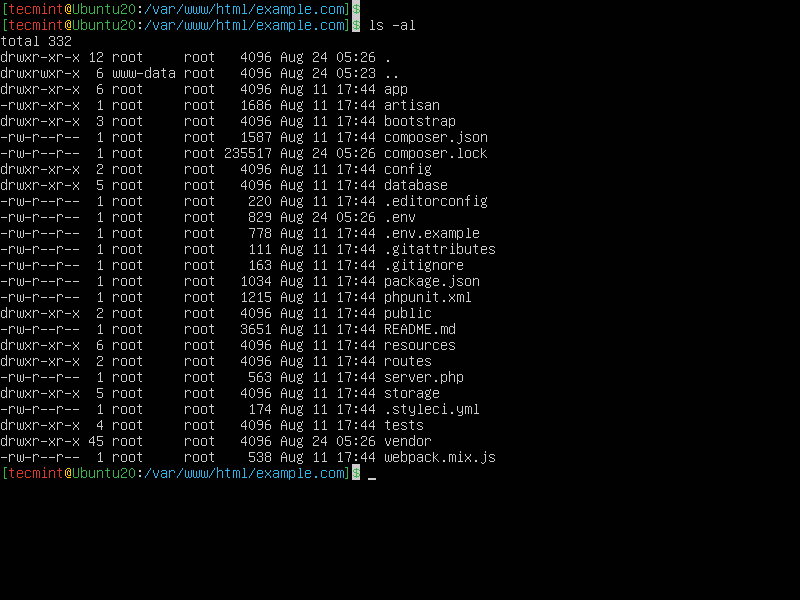
To list the contents of the new Laravel installation, run the following ls command. You will notice that a .env file has been automatically created, which in the past, would have to be manually created.
$ ls -la /var/www/html/example.com/
Next, set the appropriate permissions on the Laravel directory as follows.
$ sudo chown -R :www-data /var/www/html/example.com/storage/
$ sudo chown -R :www-data /var/www/html/example.com/bootstrap/cache/
$ sudo chmod -R 0777 /var/www/html/example.com/storage/
$ sudo chmod -R 0775 /var/www/html/example.com/bootstrap/cache/
Next, Laravel uses an application key to secure user sessions and other encrypted data. The default .env contains a default application key but you need to generate a new one for your laravel deployment for security purposes.
$ sudo php artisan key:generate
The generated key will be appended in the .env file as the value of the APP_KEY. You can view the appended key using grep command.
$ grep -i APP_Key /var/www/html/example.com/.env

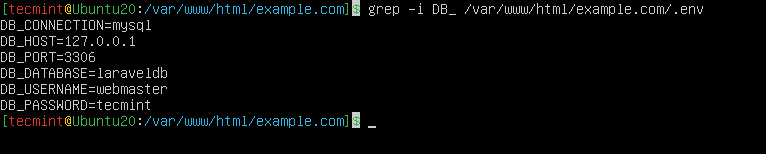
You also need to configure the Laravel database connection details in .env as shown in the following screenshot.
$ sudo nano /var/www/html/example.com/.env
Step 6: Configuring NGINX to Serve Laravel Application
For NGINX to serve your new application, you need to create a server block for it within the NGINX configuration, under the /etc/nginx/sites-available/ directory.
$ sudo nano /etc/nginx/sites-available/example.com.conf
In the configuration below, update the root directive to the Laravel application’s public directory and make sure to replace www.example.com with the domain name of your website as shown.
Also, set the fastcgi_pass directive should point to the medium PHP-FPM is listening on for requests (for example fastcgi_pass unix:/run/php/php7.4-fpm.sock):
server{
        server_name www.example.com;
        root        /var/www/html/example.com/public;
        index       index.php;

        charset utf-8;
        gzip on;
        gzip_types text/css application/javascript text/javascript application/x-javascript  image/svg+xml text/plain text/xsd text/xsl text/xml image/x-icon;
        location / {
                try_files $uri $uri/ /index.php?$query_string;
        }

        location ~ \.php {
                include fastcgi.conf;
                fastcgi_split_path_info ^(.+\.php)(/.+)$;
                fastcgi_pass unix:/run/php/php7.4-fpm.sock;
        }
        location ~ /\.ht {
                deny all;
        }
}
Save the file and then enable the Laravel site configuration by creating a link from /etc/nginx/sites-available/example.com.conf to the /etc/nginx/sites-enabled/ directory. Besides, remove the default server block configuration.
$ sudo ln -s /etc/nginx/sites-available/example.com.conf /etc/nginx/sites-enabled/
$ sudo rm /etc/nginx/sites-enabled/default
Next, check if the NGINX configuration syntax is correct by running the following command before restarting the service.
$ sudo nginx -t
$ sudo systemctl restart nginx
Step 7: Accessing Laravel Application from a Web Browser
At this stage, you need to test if your Laravel deployment is working fine and whether it can be accessed from a browser. To use the dummy domain, example.com, let’s use the /etc/hosts file on your local computer to create local DNS.
Run the following commands to get the IP address of the Laravel server and add it to the /etc/hosts file (replace the value according to your settings).
$ ip ad
$ echo “192.168.56.11 example.com” | sudo tee -a /etc/hosts
Now open a web browser on the local computer and use the following address to navigate.
http://www.example.com/
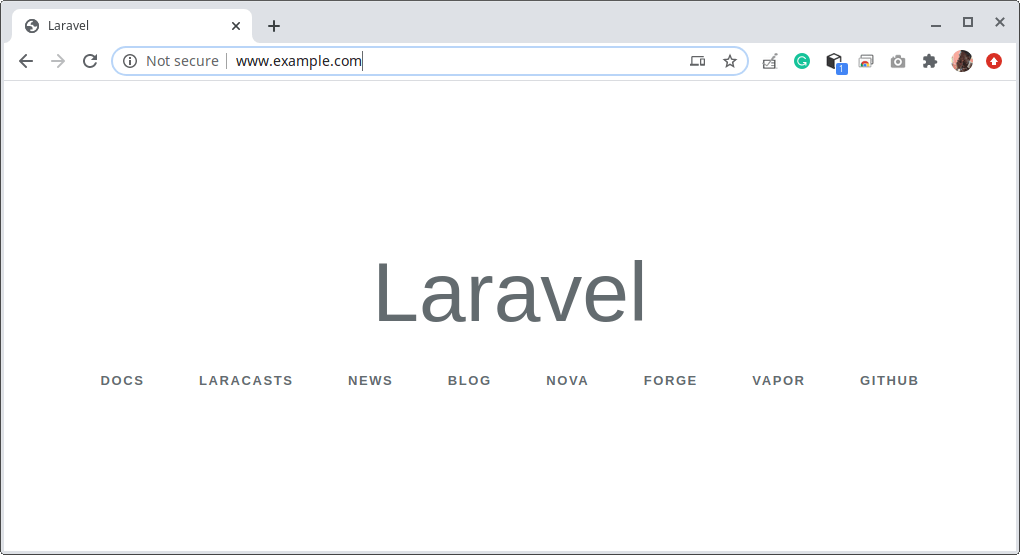
Now that you have Laravel installed, you can start building your web application or site. For more information, see the Laravel documentation.