Observium is a PHP/MySQL driven Network Observation and Monitoring application, that supports a wide range of operating systems/hardware platforms including, Linux, Windows, FreeBSD, Cisco, HP, Dell, NetApp and many more. It seeks to present a robust and simple web interface to monitor health and performance of your network.

Observium gathers data from devices with the help of SNMP and display those data in graphical pattern via a web interface. It makes hefty use of the RRDtool package. It has a number of thin core design goals, which includes collecting as much historical information about devices, being totally auto-discovered with slight or no manual interruption, and having a very simple yet powerful interface.
Observium Demo
Please have a quick online demo of the Observium deployed by the developer at the following location.
This article will guide you on how to install Observium on RHEL, CentOS and Scientific Linux, the supported version is EL (Enterprise Linux) 6.x. Currently, Observium unsupported for EL release 4 and 5 respectively. So, please don’t use following instructions on these releases.
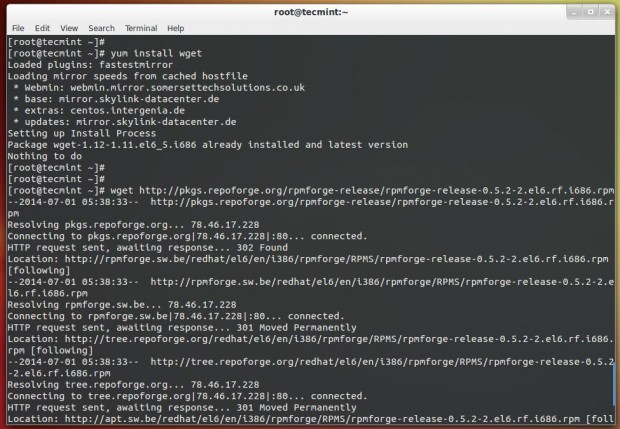
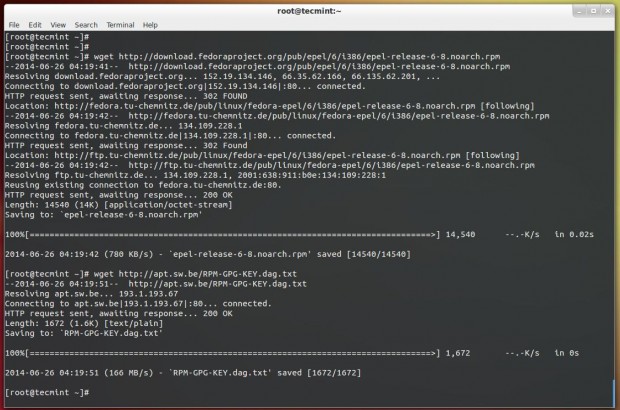
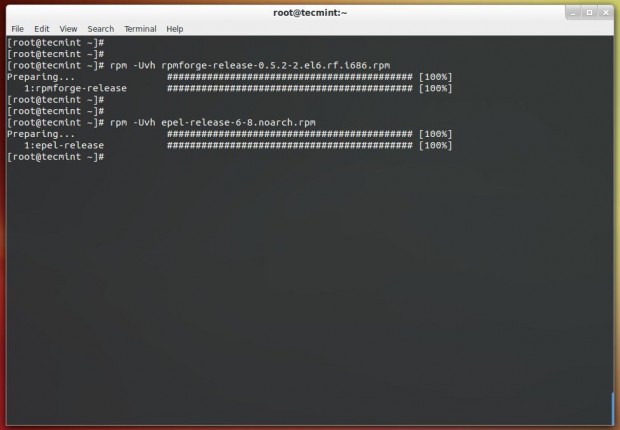
Step 1: Adding RPM Forge and EPEL Repositories
RPMForge and EPEL is a repository that provides many add-on rpm software packages for RHEL, CentOS and Scientific Linux. Let’s install and enable these two community based repositories using the following serious of commands.
On i386 Systems
# yum install wget
# wget http://pkgs.repoforge.org/rpmforge-release/rpmforge-release-0.5.3-1.el5.rf.i386.rpm
# wget http://download.fedoraproject.org/pub/epel/6/i386/epel-release-6-8.noarch.rpm
# wget http://apt.sw.be/RPM-GPG-KEY.dag.txt
# rpm --import RPM-GPG-KEY.dag.txt
# rpm -Uvh rpmforge-release-0.5.3-1.el5.rf.i386.rpm
# rpm -Uvh epel-release-6-8.noarch.rpm
On x86_64 Systems
# yum install wget
# wget http://packages.sw.be/rpmforge-release/rpmforge-release-0.5.2-2.el6.rf.rpm
# wget http://epel.mirror.net.in/epel/6/x86_64/epel-release-6-8.noarch.rpm
# wget http://apt.sw.be/RPM-GPG-KEY.dag.txt
# rpm --import RPM-GPG-KEY.dag.txt
# rpm -Uvh rpmforge-release-0.5.2-2.el6.rf.rpm
# rpm -Uvh epel-release-6-8.noarch.rpm
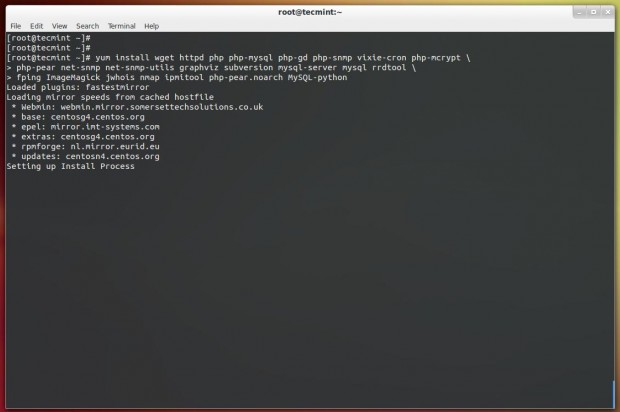
Step 2: Install Needed Software Packages
Now let’s install the required software packages needed for Observium.
# yum install httpd php php-mysql php-gd php-snmp vixie-cron php-mcrypt \
php-pear net-snmp net-snmp-utils graphviz subversion mysql-server mysql rrdtool \
fping ImageMagick jwhois nmap ipmitool php-pear.noarch MySQL-python
If you wish to monitor virtual machines, please install ‘libvirt‘ package.
# yum install libvirt
Step 3: Downloading Observium
For your information, Observium has two following editions
- Community/Open Source Edition: This edition is freely available for download with less features and few security fixes.
- Subscription Edition: This edition is comes with additional features, rapid feature/fixes, hardware support and easy to use SVN-based release mechanism.
Firstly navigate to the /opt directly, here we will going to install Observium as default. If you wish to install somewhere else, please modify commands and configuration accordingly. We strongly suggest you to first deploy under /opt directory. Once you verify that everything works perfectly, you can install at your desired location.
If you have a active Observium subscription, you can use SVN repositories to download most recent version. A valid subscription account only valid for a single installation and two testing or development installations with daily security patches, new features and bug fixes.
To download most recent stable and current version of Observium, you need to have a svn package installed on the system, in order to pull the files from the SVN repository.
# yum install svn
Development Version
# svn co http://svn.observium.org/svn/observium/trunk observium
Stable Version
# svn co http://svn.observium.org/svn/observium/branches/stable observium
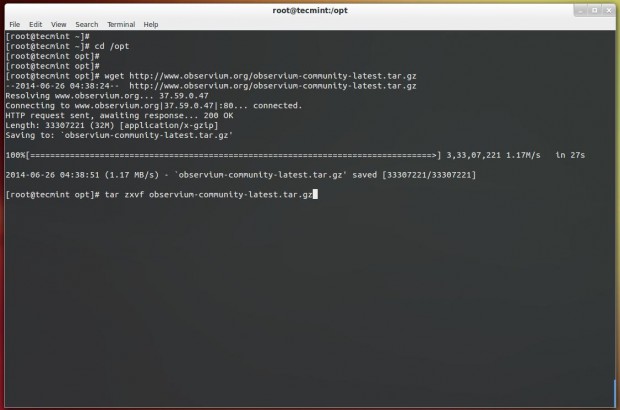
We don’t have a valid subscription, So we we are going to try out Observium using the Community/Open Source Edition. Download the latest ‘observium-community-latest.tar.gz’ stable version and unpack it as shown.
# cd /opt
# wget http://www.observium.org/observium-community-latest.tar.gz
# tar zxvf observium-community-latest.tar.gz
Step 4: Creating Observium MySQL Database
This is a clean installation of MySQL. So, we are going to set a new root password with the help of following command.
# service mysqld start
# /usr/bin/mysqladmin -u root password 'yourmysqlpassword'
Now login into mysql shell and create the new Observium database.
# mysql -u root -p

mysql> CREATE DATABASE observium;
mysql> GRANT ALL PRIVILEGES ON observium.* TO 'observium'@'localhost' IDENTIFIED BY 'dbpassword';
Step 5: Configure Observium
Configuring SELinux to work with Observium is beyond the scope of this article, so we disabled SELinux. If you are familiar with SELinux rules, then you can configure it, but no guarantee that the Observium work with active SELinux. So, better disable it permanently. To do, open ‘/etc/sysconfig/selinux‘ file and change the option from ‘permissive‘ to ‘disabled‘.
# vi /etc/sysconfig/selinux
SELINUX=disabled
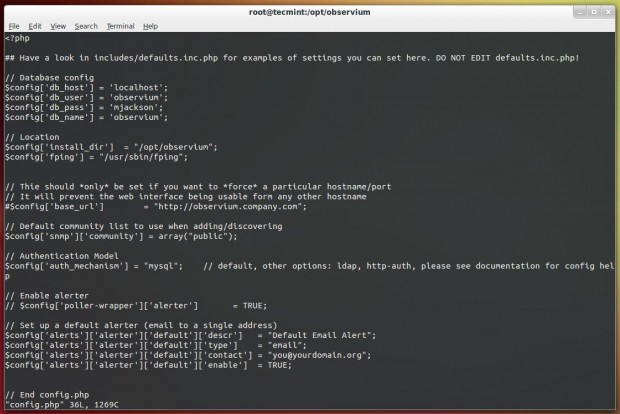
Copy the default configuration file ‘config.php.default‘ to ‘config.php‘ and modify the settings as shown.
# /opt/observium
# cp config.php.default config.php
Now open ‘config.php‘ file and enter MySQL details such as database name, username and password.
# vi config.php
// Database config
$config['db_host'] = 'localhost';
$config['db_user'] = 'observium';
$config['db_pass'] = 'dbpassword';
$config['db_name'] = 'observium';
Then add an entry for fping binary location to config.php. In RHEL distribution the location is different.
$config['fping'] = "/usr/sbin/fping";
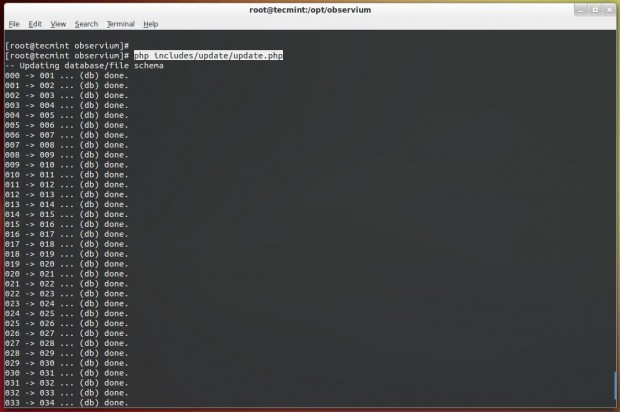
Next, run the following command to setup the MySQL database and insert the database default file schema.
# php includes/update/update.php
Step 6: Configure Apache for Observium
Now create a ‘rrd‘ directory under ‘/opt/observium‘ directory for storing RRD’s.
# /opt/observium
# mkdir rrd
Next, grant Apache ownership to ‘rrd‘ directory to write and store RRD’s under this directory.
# chown apache:apache rrd
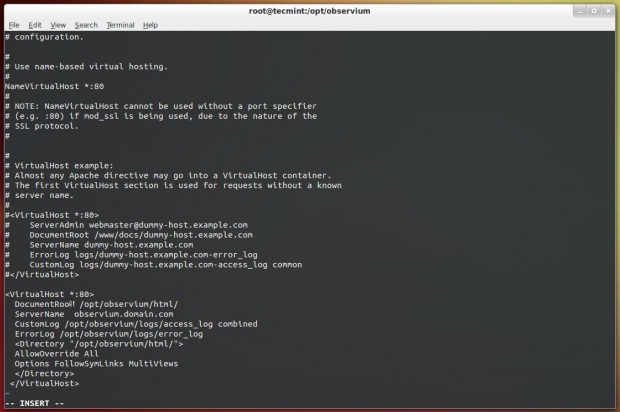
Create a Apache Virtual Host directive for Obervium in ‘/etc/httpd/conf/httpd.conf‘ file.
# vi /etc/httpd/conf/httpd.conf
Add the following Virtual Host directive at the bottom of the file and enable Virtualhost section as shown in the screenshot below.
<VirtualHost *:80>
  DocumentRoot /opt/observium/html/
  ServerName  observium.domain.com
  CustomLog /opt/observium/logs/access_log combined
  ErrorLog /opt/observium/logs/error_log
  <Directory "/opt/observium/html/">
  AllowOverride All
  Options FollowSymLinks MultiViews
  </Directory>
  </VirtualHost>
To maintain observium logs, create a ‘logs‘ directory for Apache under ‘/op/observium‘ and apply Apache ownership to write logs.
# mkdir /opt/observium/logs
# chown apache:apache /opt/observium/logs
After all settings, restart Apache service.
# service httpd restart
Step 7: Create Observium Admin User
Add a first user, give level of 10 for admin. Make sure to replace username and password with your choice.
# cd /opt/observium
# ./adduser.php tecmint tecmint123 10

User tecmint added successfully.
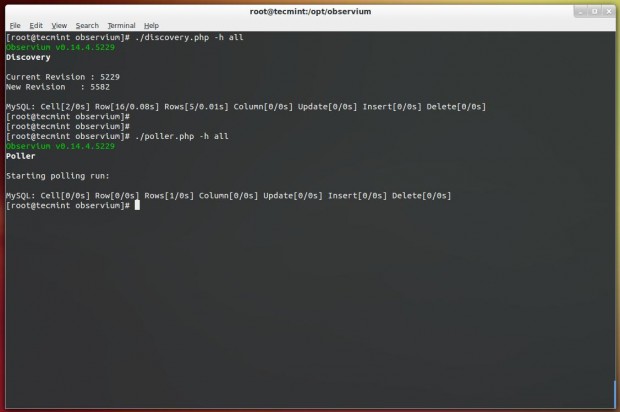
Next add a New Device and run following commands to populate the data for new device.
# ./add_device.php <hostname> <community> v2c
# ./discovery.php -h all
# ./poller.php -h all
Next set a cron jobs, create a new file ‘/etc/cron.d/observium‘ and add the following contents.
33  */6   * * *   root    /opt/observium/discovery.php -h all >> /dev/null 2>&1
*/5 *      * * *   root    /opt/observium/discovery.php -h new >> /dev/null 2>&1
*/5 *      * * *   root    /opt/observium/poller-wrapper.py 1 >> /dev/null 2>&1
Reload cron process to take new entries.
# /etc/init.d/cron reload
The final step is to add httpd and mysqld services system-wide, to automatically start after system boot.
# chkconfig mysqld on
# chkconfig httpd on
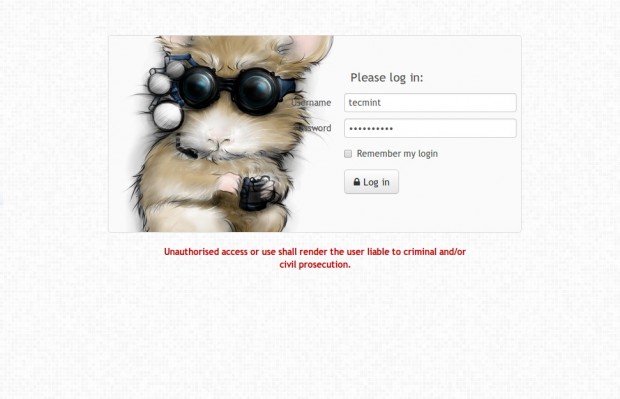
Finally, open your favourite browser and point to http://Your-Ip-Address.
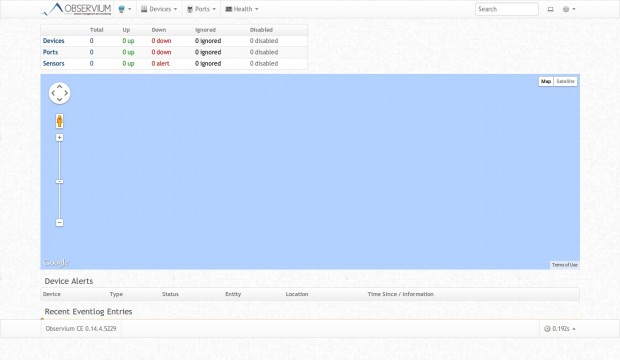
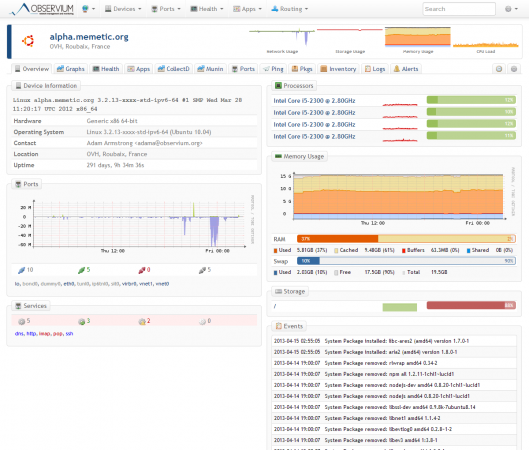
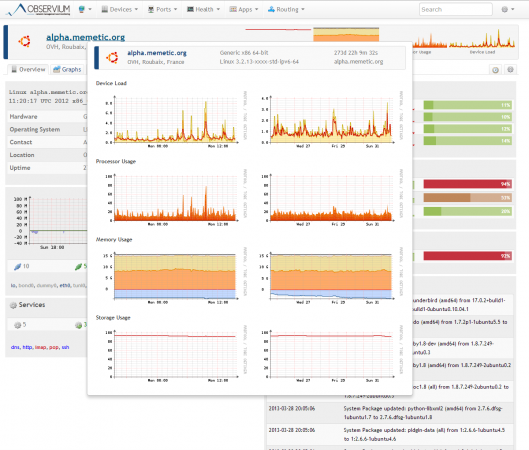
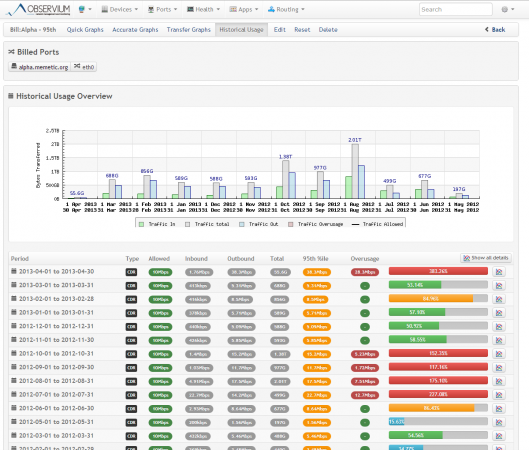
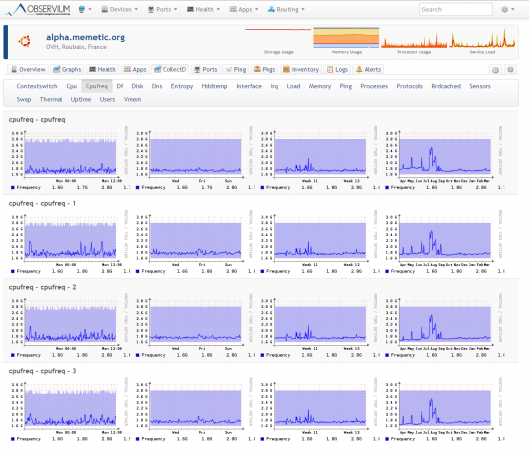
Observium Screenshot Tour
Following are the screen grabs of last mid-2013, taken from the Observium website. For up-to-date view, please check live demo.
Conclusion
Observium doesn’t mean to completely remove other monitoring tools such as Nagios or Cacti, but rather to addition them with terrific understanding of certain devices. For this reason, its important to deploy Observium with Naigos or other monitoring systems to provide alerting and Cacti to produce customized graphing of your network devices.
Reference Links: