WordPress is an open source and free blogging application and a dynamic CMS (Content Management System) developed using MySQL and PHP.
It has a huge number of third-party plugins and themes. WordPress is currently one of the most popular blogging platforms available on the internet and is used by millions of people across the globe.
In this tutorial we are going to explain how to install the popular content management system – WordPress using LAMP (Linux, Apache, MySQL/MariaDB, PHP) on RHEL-based distributions such as CentOS Stream, Fedora, Rocky Linux, and AlmaLinux distributions.
Requirements
- Installation of RHEL 9 Server
- Installation of RHEL 8 Server
- Installation of CentOS Stream 9 Server
- Installation of CentOS 8 Server
- Installation of AlmaLinux 9 Server
- Installation of AlmaLinux 8 Server
- Installation of Rocky Linux 8 Server
- Installation of Fedora Server
Installing EPEL and Remi Repository
The installation that we will perform will be on Rocky Linux, but the same instructions also work on RHEL, CentOS Stream, Rocky Linux, and AlmaLinux distributions.
First, install and enable EPEL and Remi repository using the following commands.
------------------- On RHEL 9 Based Distributions -------------------
# dnf install https://dl.fedoraproject.org/pub/epel/epel-release-latest-9.noarch.rpm
# dnf install http://rpms.remirepo.net/enterprise/remi-release-9.rpm

------------------- On RHEL 8 Based Distributions -------------------
# dnf install https://dl.fedoraproject.org/pub/epel/epel-release-latest-8.noarch.rpm
# dnf install http://rpms.remirepo.net/enterprise/remi-release-8.rpm

------------------- On Fedora 36/35 -------------------
# dnf install https://rpms.remirepo.net/fedora/remi-release-36.rpm
# dnf install https://rpms.remirepo.net/fedora/remi-release-35.rpm
Since we are going to use PHP 8, we will need to reset the default PHP and enable the PHP 8 version using the following commands.
# yum install dnf-utils
# dnf module list php
# dnf module reset php
# dnf module enable php:remi-8.0

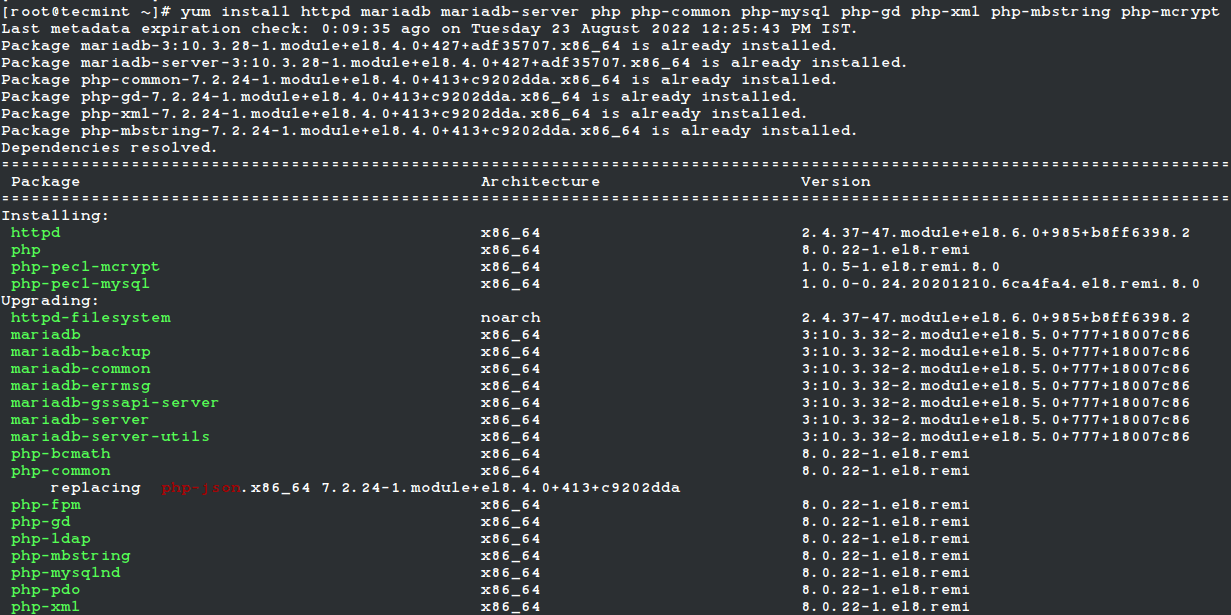
Installing LAMP Stack for WordPress
Now we are ready to install all the required packages related to our LAMP stack using the following command.
# yum install httpd mariadb mariadb-server php-gd php-soap php-intl php-mysqlnd php-pdo php-pecl-zip php-fpm php-opcache php-curl php-zip php-xmlrpc wget
Now that the installation is complete, we will need to start and secure our MariaDB installation.
# systemctl start mariadb
# mysql_secure_installation
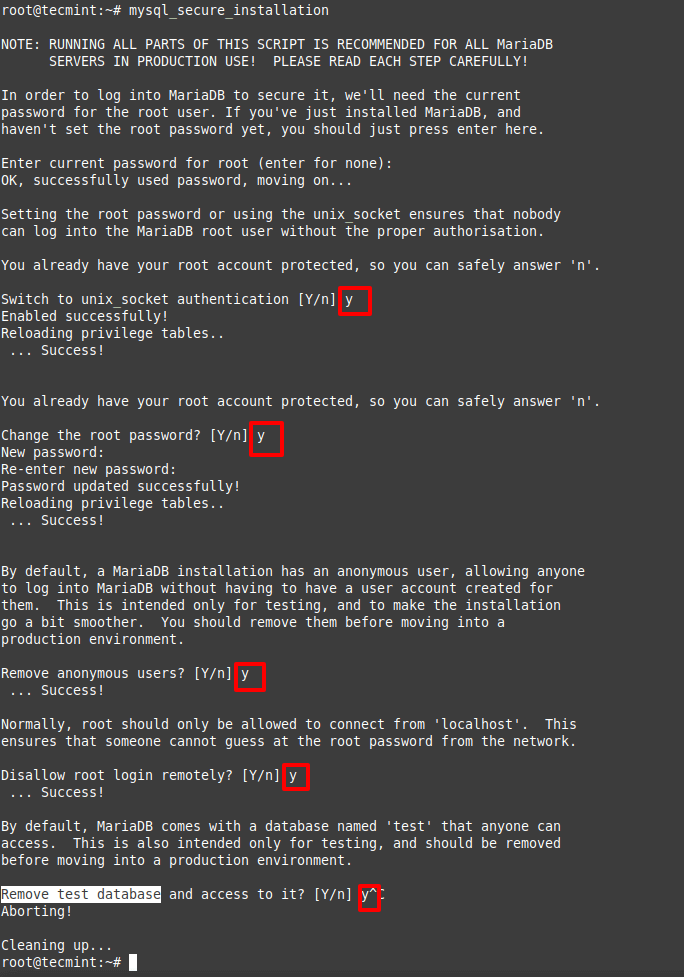
Follow the instructions on the screen to answer the questions related to your MariaDB server security.
Then we will configure MariaDB to start automatically on system boot:
# systemctl enable mariadb
Next, we will do the same for the Apache web server:
# systemctl start httpd
# systemctl enable httpd
Creating WordPress MySQL Database
Our WordPress will require a database and a database user. To create one, simply use the following commands. Feel free to replace the database name, user, and password as per your preferences:
# mysql -u root -p
Enter password:

## Create database ##
CREATE DATABASE wordpress;

## Creating new user ##
CREATE USER wordpress@localhost IDENTIFIED BY "secure_password";

## Grant privileges to database ##
GRANT ALL ON wordpress.* TO wordpress@localhost;

## FLUSH privileges ##
FLUSH PRIVILEGES;

## Exit ##
exit
Preparing WordPress Installation
Now we are ready to download the latest WordPress archive using the following wget command:
# cd /tmp && wget http://wordpress.org/latest.tar.gz
Next extract the archive in our web directory:
# tar -xvzf latest.tar.gz -C /var/www/html
The above will create the following directory, which will contain our WordPress script:
/var/www/html/wordpress
Now change the ownership of that directory to user “apache” and set appropriate permissions:
# chown -R apache:apache /var/www/html/wordpress
# chmod -R 775 /var/www/html/wordpress
Next, configure the SELinux context for the directory and its contents.
# dnf install policycoreutils-python-utils
# semanage fcontext -a -t httpd_sys_rw_content_t "/var/www/html/wordpress(/.*)?"
# restorecon -Rv /var/www/html/wordpress
Creating Apache Virtual Host for WordPress
We will create a separate virtual host for our WordPress install. Open /etc/httpd/conf/httpd.conf with your favorite text editor:
# vi /etc/httpd/conf/httpd.conf
And add the following code at the bottom of the file and replace the marked text with the information related to your installation:
<VirtualHost *:80>
ServerAdmin [email protected]
DocumentRoot /var/www/html/wordpress/
ServerName tecminttest.com
ServerAlias www.tecminttest.com

<Directory "/var/www/html/wordpress">
Options Indexes FollowSymLinks
AllowOverride all
Require all granted
</Directory>

ErrorLog /var/log/httpd/tecminttest_error.log
CustomLog /var/log/httpd/tecminttest_access.log common
</VirtualHost>
Save your changes and restart Apache:
# systemctl restart httpd
Installing WordPress on Website
Now we are ready to run our WordPress installation. To start the installation you can access either your server’s IP address at http://ip-address or if installing locally you can use http://localhost or if you are using a real domain, you can use the domain instead. You should see the following page:
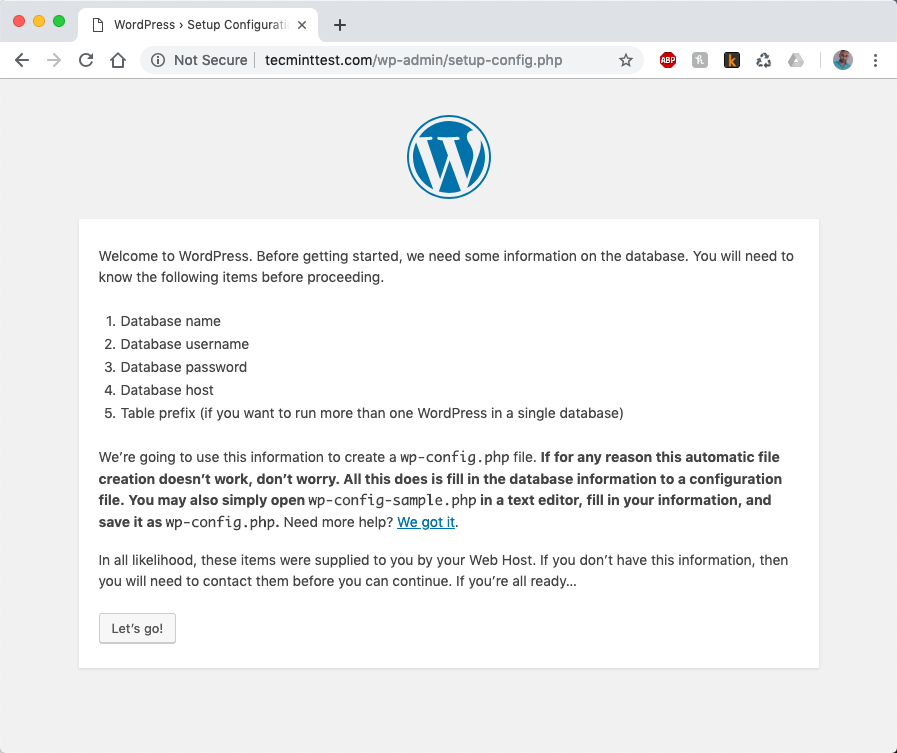
When you click on Let’s Go button, you will be redirected to the next page of the installation, where you will have to enter the database details we created earlier.
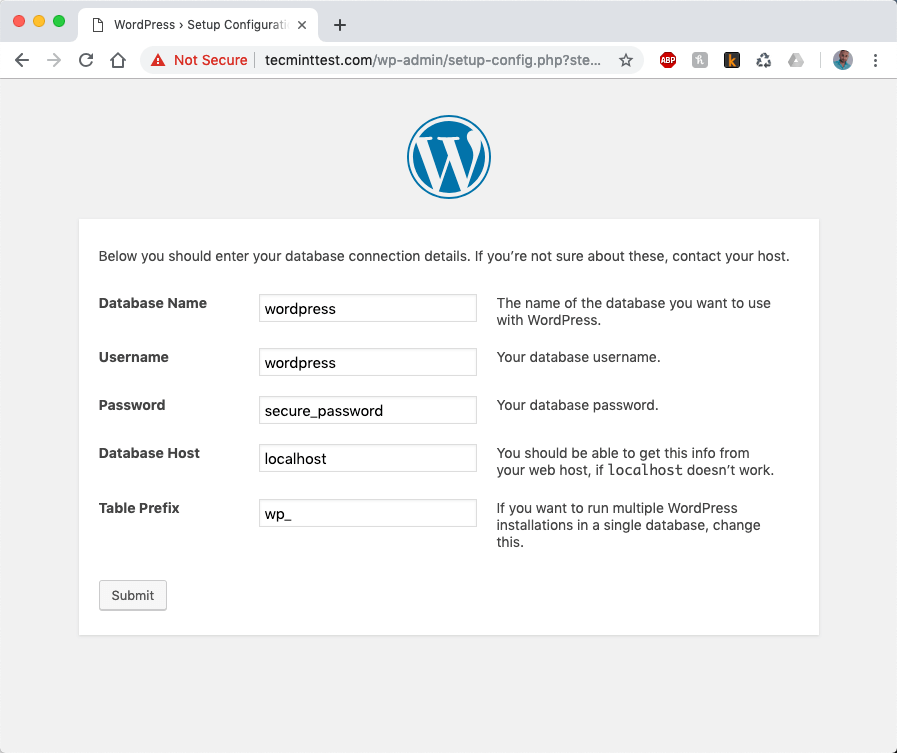
When you have entered the details, click the submit button. WordPress will attempt to create its configuration file called wp-config.php. If everything is fine you should see the following page:
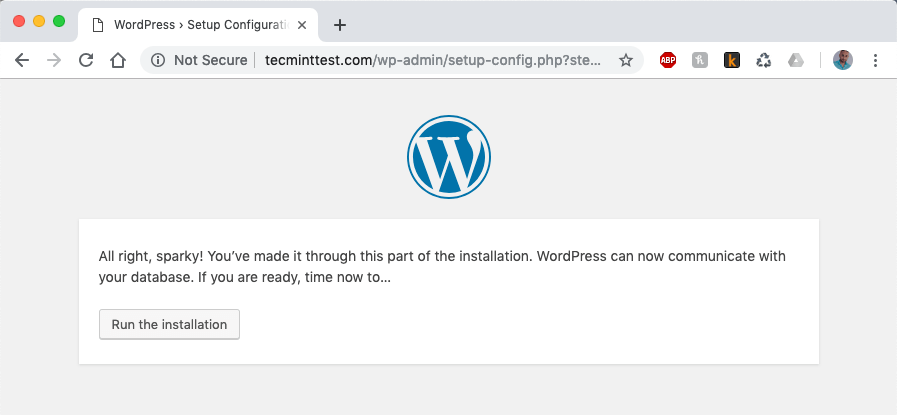
Once you click the “Run the installation” button, you will be asked to enter some details about your website: Site Title, Username, Password, and Email address.
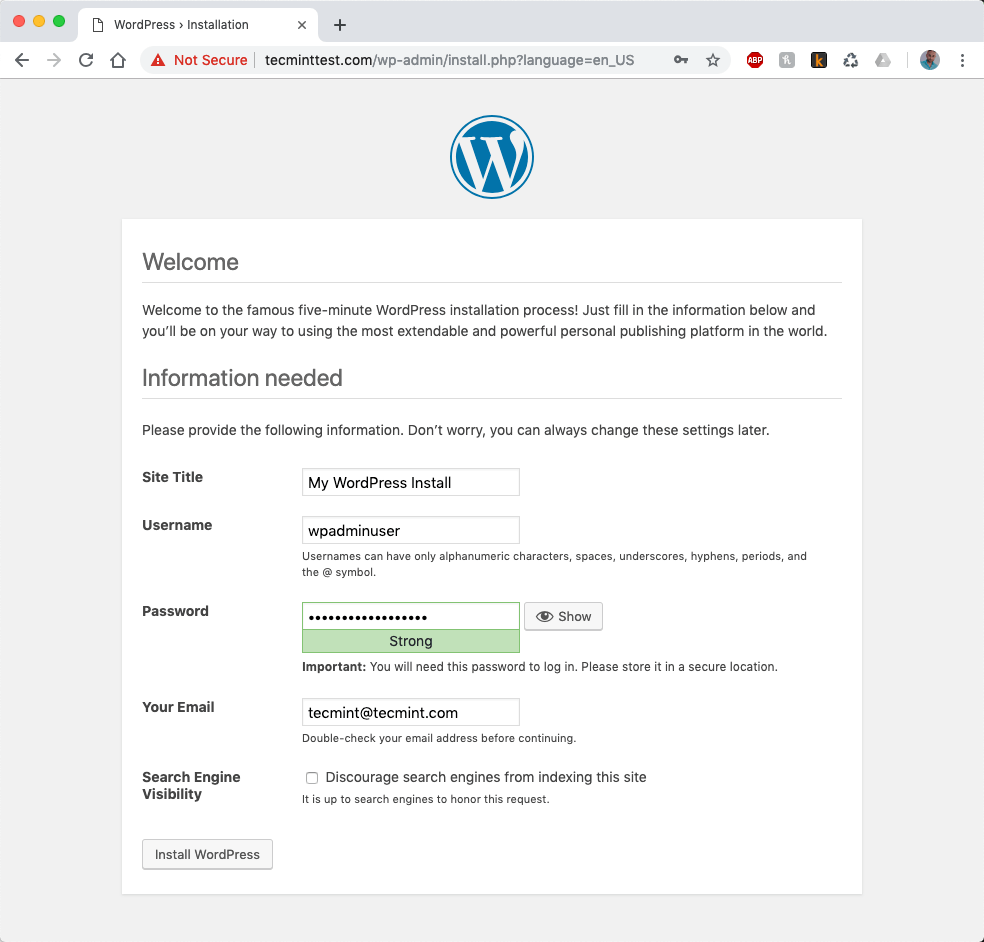
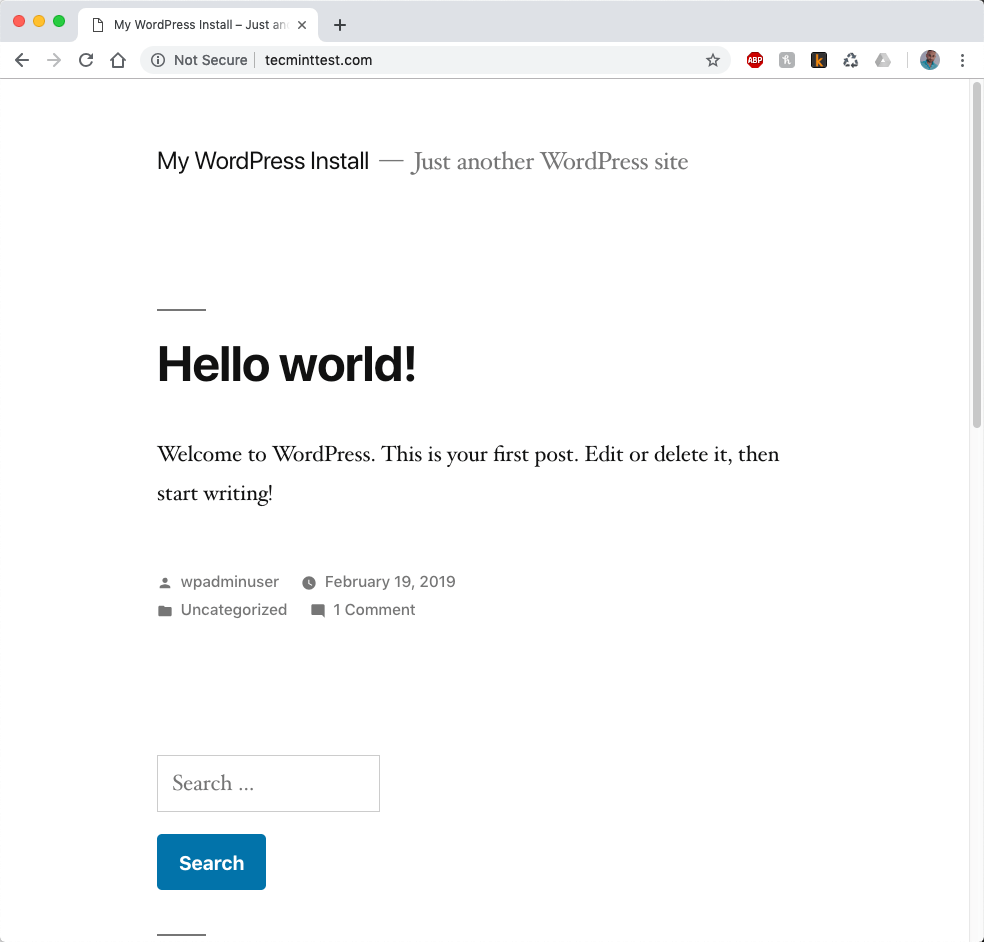
When you have filled in all the required information finalize the installation by clicking the button at the bottom. Your installation is now complete. Your front page should look something like the image below:
And the WordPress dashboard looks as follows:
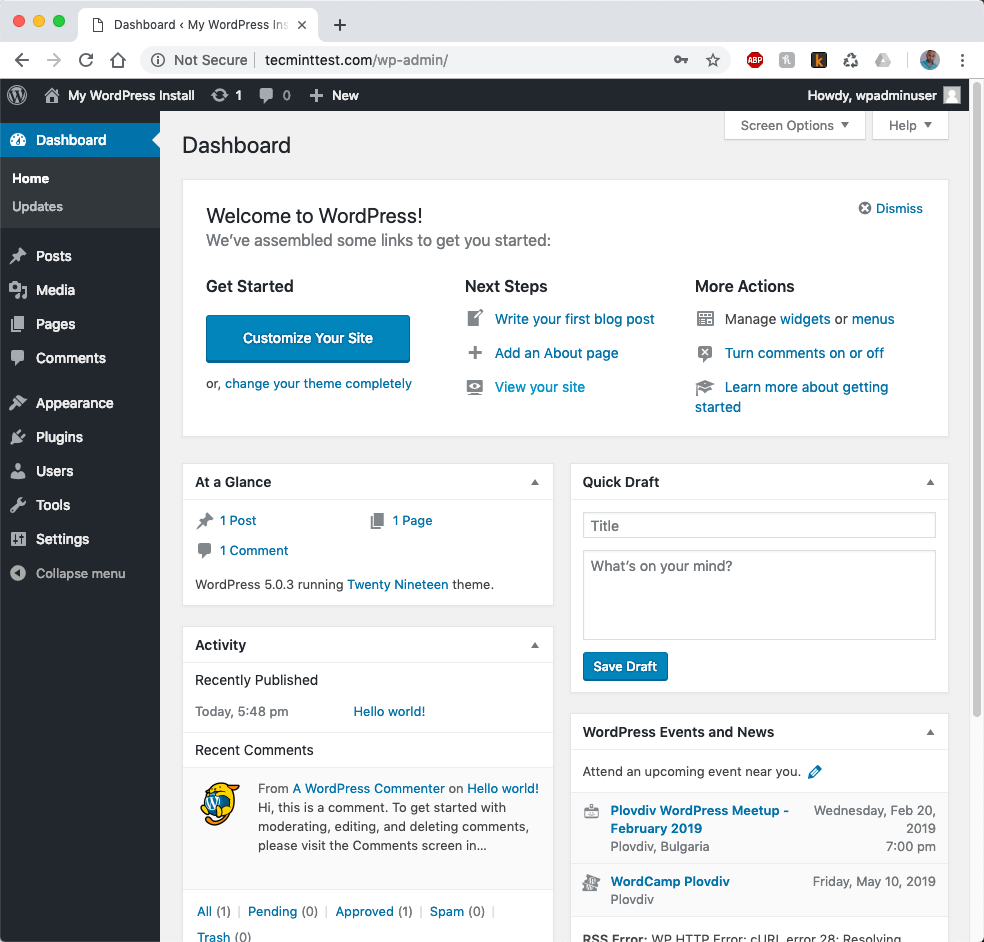
You can now start managing your WordPress website.
Conclusion
You have successfully completed the installation of WordPress using LAMP on CentOS 7. If you had any difficulties or questions, please submit them in the comment section below.