Created by Facebook, Yarn is the coolest and latest package manager for NodeJS which has come to replace npm. While npm works just okay, Yarn ships with some improvements that give it a competitive edge over npm. In fact, developers are now migrating their Node.JS projects over to Yarn.
Recommended Read: 18 Best NodeJS Frameworks for Developers in 2019
So, why are developers so giddy about Yarn?
Firstly, Yarn dwarfs npm in terms of speed of package installation. Yarn is much faster than npm and installs packages simultaneously making it a better choice than npm.
Additionally, when a package is installed, a global cache is installed containing all the dependencies. This does away with the need to going back online to download them again and makes subsequent installation much faster
Secondly, Yarn is considered more secure than npm. This is because it installs packages from the package.json or yarn.lock files.
Yarn.lock guarantees that the same package is installed across all the devices thereby keeping away bugs arising from the installation of different versions. In contrast, npm installs packages from dependencies that raise security concerns due to inconsistencies in the package versions installed.
In this tutorial, you will learn how to install Yarn on CentOS 8. Let’s get started.
Step 1: Install NodeJS in CentOS 8
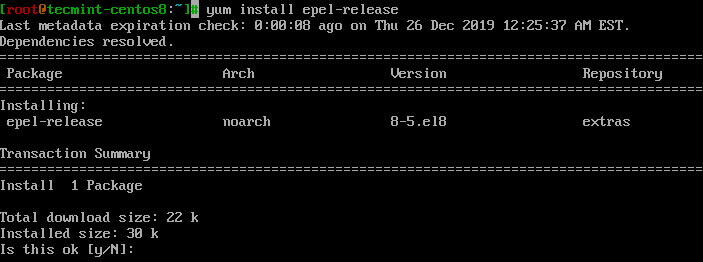
To begin with log in to your CentOS 8 system as a root user and install the EPEL repository as shown.
# yum install epel-release
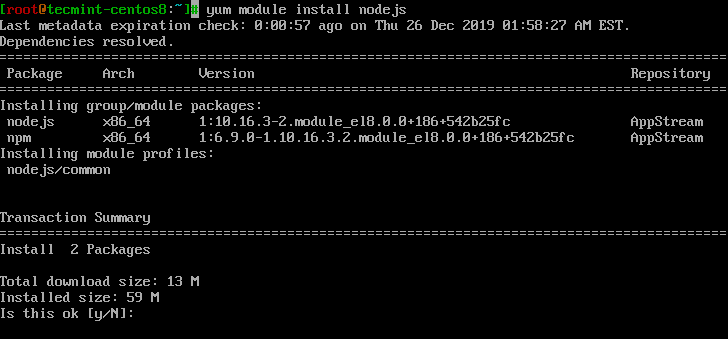
Next, install NodeJS on CentOS 8 using the command.
# yum module install nodejs
To confirm the installation of Node.JS run.
# node -v
# node --version
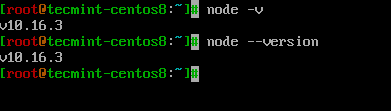
From the output, we have installed Node version 10.16.3.
Step 2: Enable Yarn Repository
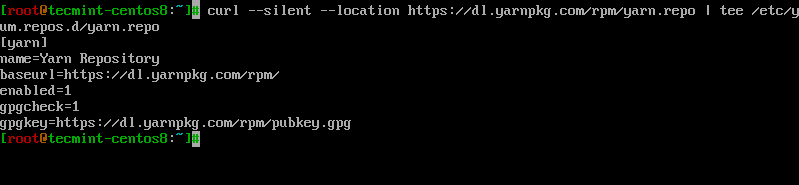
After successfully installing Node.js in the previous step, we need to enable the Yarn repository using the following curl command.
# curl --silent --location https://dl.yarnpkg.com/rpm/yarn.repo | tee /etc/yum.repos.d/yarn.repo
Next, add the GPG key using rpm command.
# rpm --import https://dl.yarnpkg.com/rpm/pubkey.gpg
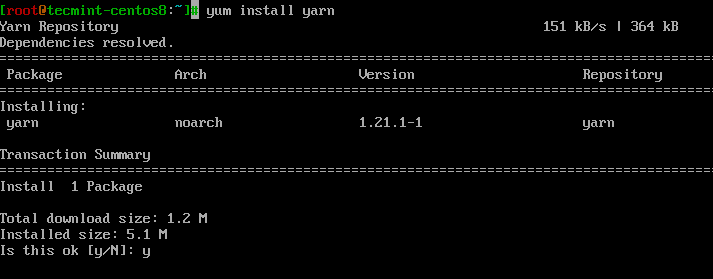
Step 3: Install Yarn in CentOS 8
Now install Yarn using the command.
# yum install yarn
To check the version of Yarn that we have installed, run.
# yarn --version

1.21.1
From the output, we can see that the latest version of Yarn installed is Yarn v. 1.21.1.
Step 4: Create a New Project in Yarn
You can create a new project using the yarn init command and later followed by the project’s name. For example:
# yarn init my_first_project
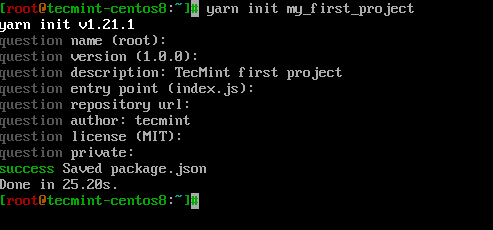
You will be prompted to answer a couple of questions. You can decide to answer Yes or No or simply hit ENTER to proceed to the next question.
A package.json file is created at the end and you can confirm it using ls command as shown.
# ls -l package.json

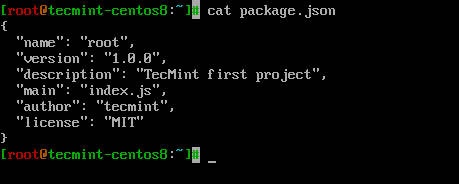
This file contains all the info you have just provided, and you view the contents of it using cat command.
# cat package.json
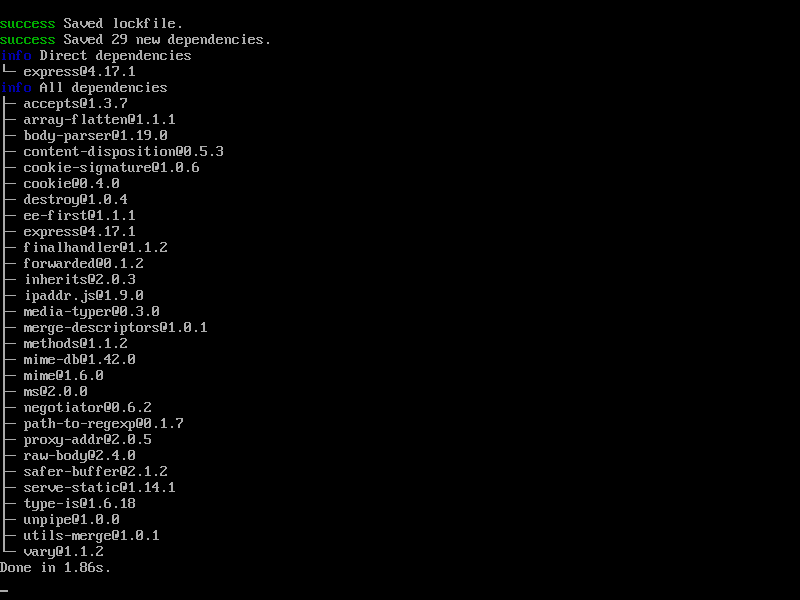
Step 5: Install Packages Using Yarn
To install package, simply use the syntax.
# yarn add [package_name]
For example,
# yarn add express
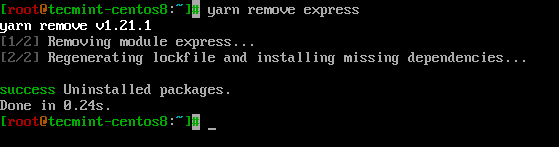
To remove the package, simply run.
# yarn remove express
Conclusion
Yarn comes with useful benefits that seek to compensate for npm’s shortcomings. It’s much faster, secure and is gradually overtaking npm as Node’s favorite package manager.
With Yarn, you can deploy your projects with ease and comfort while avoiding the inconveniencies that are occasioned with npm. In a nutshell, Yarn is the better of the two. Give it a try and let us know your experience!


Hi,
Very useful article
Thanks a lot…