Continuing the series regarding installing Windows 7 over RHEL/CentOS 7 PXE Network Boot, where in the first part I have only covered setting up prerequisites on PXE Server, now in this article will be going to discuss how to build WinPE ISO image with the help of Windows Automated Installation Kit on Windows and then move the build image to PXE Server TFTP default location to access and install Windows 7 over PXE network.

Requirements
Step 1: Download and Install Windows Automated Installation Kit
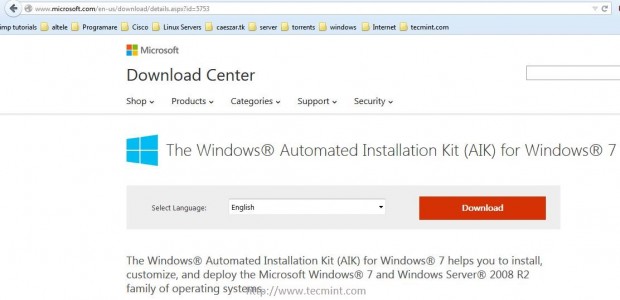
1. On this second part, logon to a Windows 7 Operating System computer, go to Microsoft Download Center and download Windows Automated Installation Kit ISO image file by using the following link.
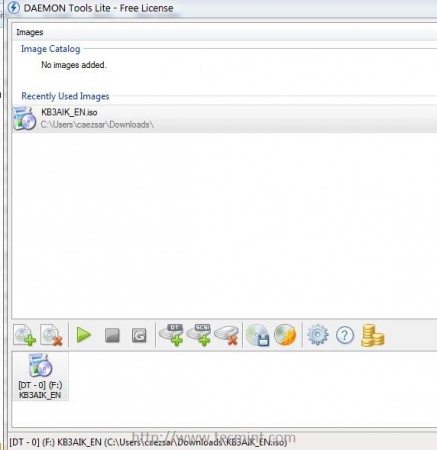
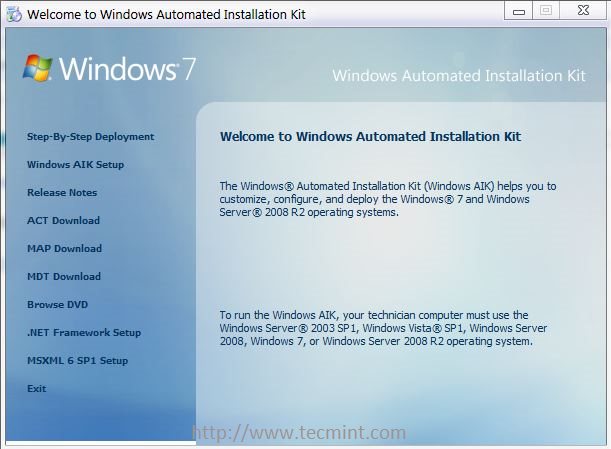
2. After AIK ISO image finishes downloading, mount the image using a Windows mount software (Daemon Tools Lite Free Edition will do the job) and install Windows Automated Installation Kit software.
Step 2: Create WinPE ISO Image on Windows 7
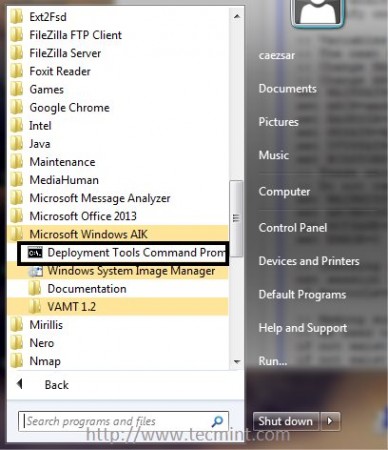
3. After Windows AIK software is installed on your system go to Windows Start -> All Programs -> Microsoft Windows AIK -> right click on Deployment Tools Command Prompt and select Run as Administrator and a new Windows Shell console should open on your screen.
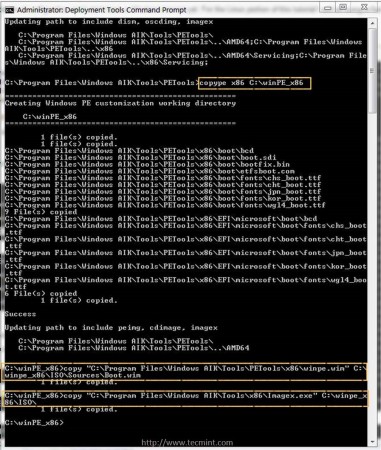
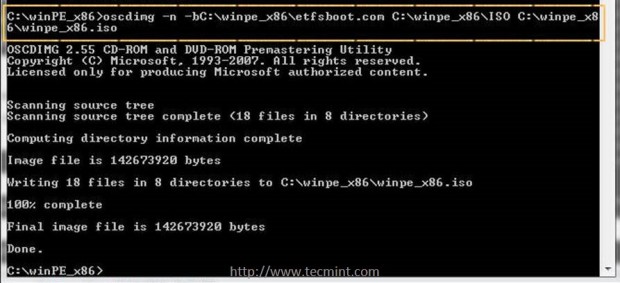
4. Now it’s time to build the Windows 7 Preinstallation Environment (WinPE) x86 boot image by issuing the following commands on Deployment Tools Command Prompt.
copype x86 C:\winPE_x86
copy "C:\Program Files\Windows AIK\Tools\PETools\x86\winpe.wim" C:\winpe_x86\ISO\Sources\Boot.wim
copy "C:\Program Files\Windows AIK\Tools\x86\Imagex.exe" C:\winpe_x86\ISO\
oscdimg -n -bC:\winpe_x86\etfsboot.com C:\winpe_x86\ISO C:\winpe_x86\winpe_x86.iso
5. Although for this tutorial just the WinPE x86 Boot ISO Image is required, below you can find the commands to build PE Images for Windows 7 64-bit and Windows 8 architectures also.
To build WinPE Boot images for Windows 7 64-bit use the following commands:
copype amd64 C:\winPE_amd64
copy "C:\Program Files\Windows AIK\Tools\PETools\amd64\winpe.wim" C:\winpe_amd64\ISO\Sources\Boot.wim
copy "C:\Program Files\Windows AIK\Tools\amd64\Imagex.exe" C:\winpe_amd64\ISO\
oscdimg -n -bC:\winpe_amd64\etfsboot.com C:\winpe_amd64\ISO C:\winpe_amd64\winpe_amd64.iso
To build Windows 8 32-bit WinPE bootable images run the following commands:
copype x86 C:\Win8PE_x86
MakeWinPEMedia /ISO C:\Win8PE_x86 C:\Win8PE_x86\WinPE_x86.iso
To build Windows 8 64-bit WinPE bootable images run the following commands:
copype amd64 C:\Win8PE_amd64
MakeWinPEMedia /ISO C:\Win8PE_amd64 C:\Win8PE_amd64\Win8PE_amd64.iso
Step 3: Copy WinPE ISO Image to CentOS PXE Server
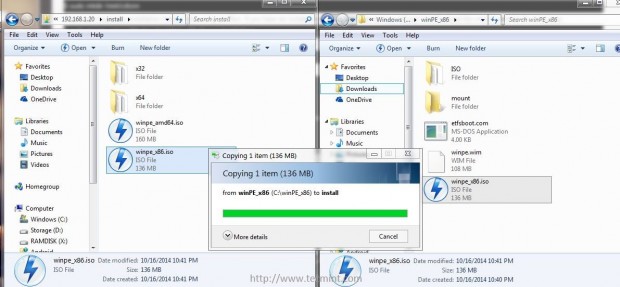
6. After Windows 7 Preinstallation Environment (WinPE) x86 boot image has been created, use Windows Explorer to copy winpe_x86.iso image located in C:\winpe_x86\ windows path to PXE Samba shared directory at \\192.168.1.20\install network location.
7. After WinPE x86 ISO file is completely transferred to Samba “install” shared directory go back to PXE Server console and move this image from root’s /windows directory to TFTP windows directory path to complete the entire installation process.
# mv /windows/winpe_x86.iso /var/lib/tftpboot/windows/
Step 4: Boot and Install Windows 7 over PXE Network on Client Side
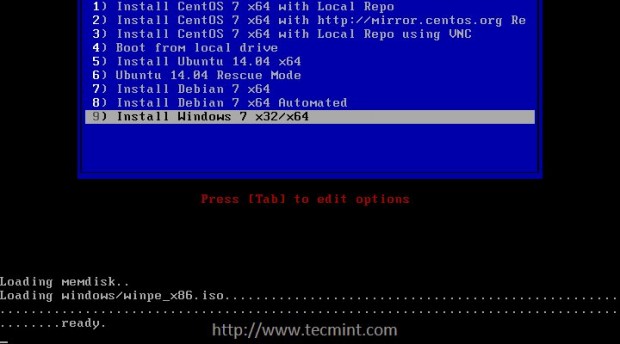
8. In order to boot and install Windows 7 via network and PXE server, first instruct the clients machines to boot over network by modifying BIOS device boot order or hit a custom key during BIOS post to select a network boot device.
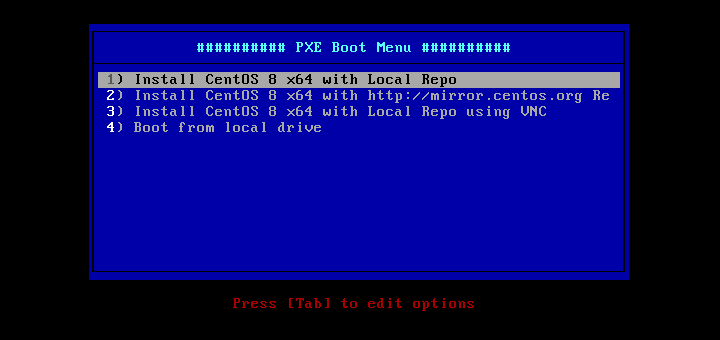
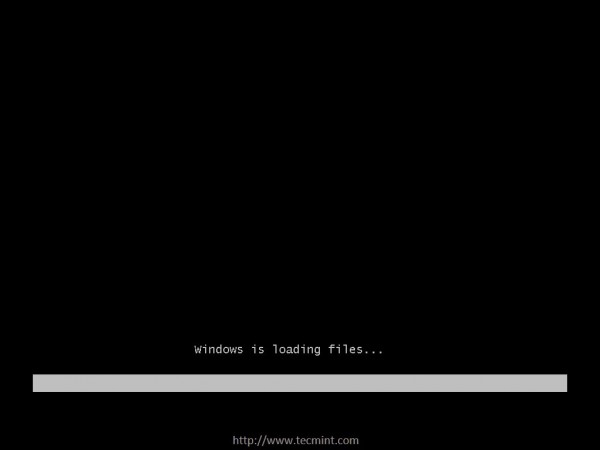
After the first PXE prompt appears press F8 and Enter keys to continue and then select Install Windows 7 from PXE menu.
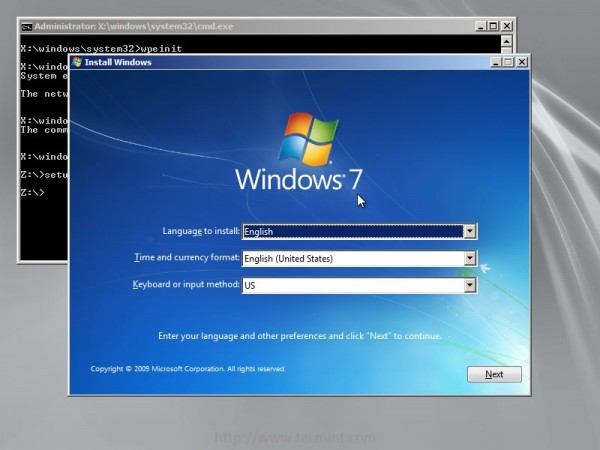
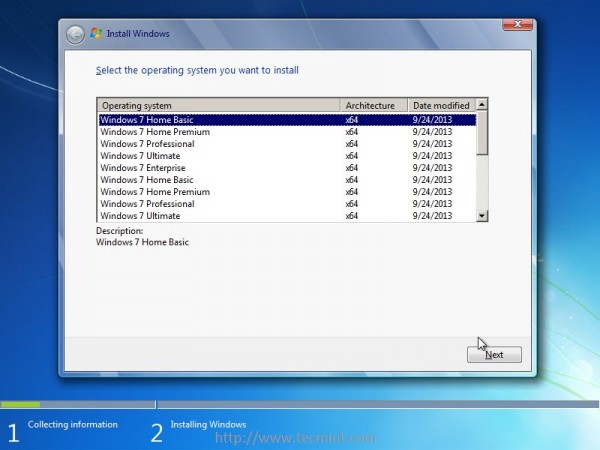
9. After WinPE image finishes loading, a customized minimal image of windows starts and a Command Prompt window will be displayed on screen.
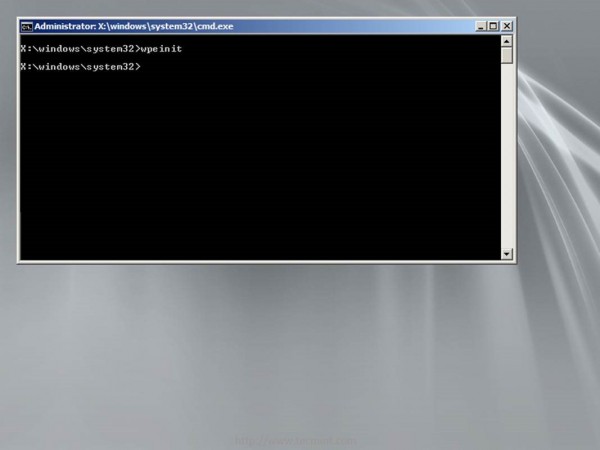
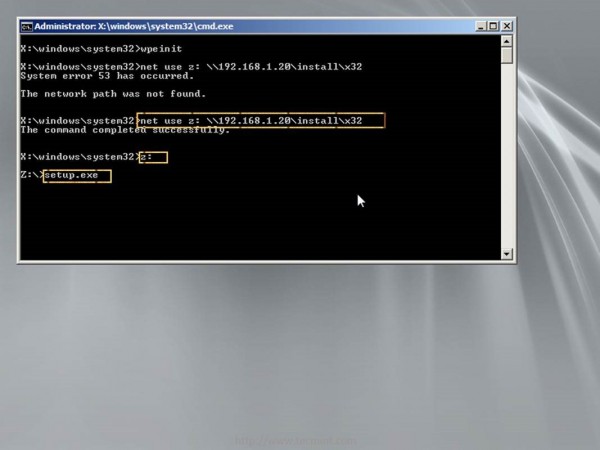
10. In order to install Windows 7 over a Network Share, in the Command Prompt window, map the Windows installation sources (use the architecture
path you want to install), configured on PXE Samba share directory, as a Network drive.
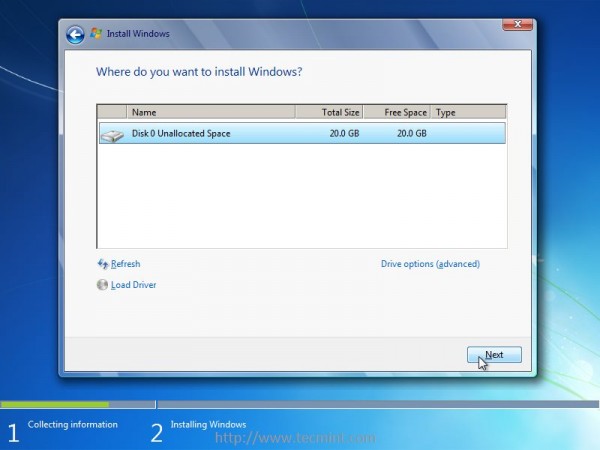
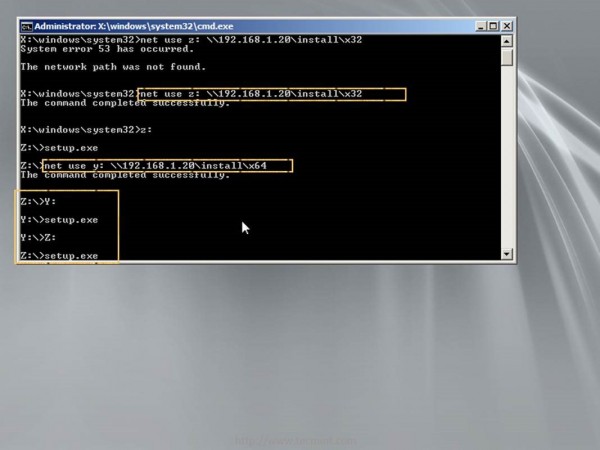
Then enter network drive share, by specifying the drive letter, and run setup.exe utility. Use the following commands to start the installation process (replace the samba network address location and network drive letter accordingly) and continue with the installation process as you normally do it from a local DVD media.
net use z: \\192.168.1.20\install\x32
Z:
setup.exe
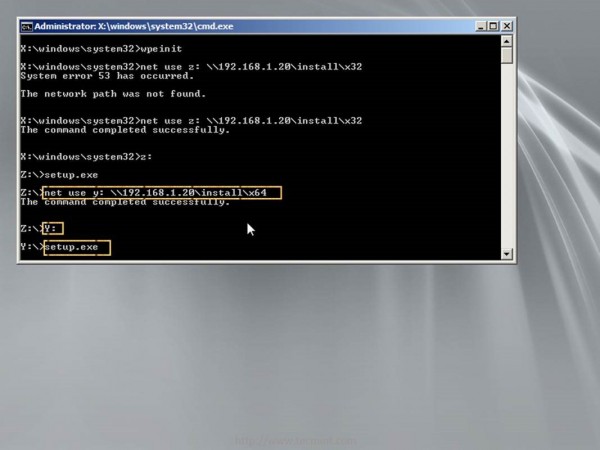
11. If you want to install the 64-bit architecture, map the specific 64-bit network path using a different letter and continue the installation procedure by following the same steps explained above.
net use y : \\192.168.1.20\install\x64
Y:
setup.exe
12. In case the installation sources are configured with authentication use the following command switch to specify the username.
net use y : \\192.168.1.20\install\x64 /user:samba_username
13. After both architectures installation sources had been mapped you can change between them by switching to the designated network drive letter as presented in the screenshot below.
Thats all! Performing Windows installations over PXE and network has a lot of advantages, such as cutting down the installation time drastically, allowing the installation process to take place the same time on multiple machines without the need to use a physical installation media.
You can also setup multiple Windows Installation Sources (using Windows or Samba shares) on different machines over your network to avoid a bottleneck on RHEL/CentOS PXE Server, in case you install Windows on multiple machines the same time, and direct the network drive maps to use those specific network sources on installation process.