Brief: This article describes the basic instructions on installing GhostBSD using the graphical installer using DVD / USB method.
GhostBSD is an open-source Unix-like desktop operating system created upon the most recent release version of FreeBSD. GhostBSD purpose is to make the experience of FreeBSD easy and obtainable for the regular computer user by providing MATE and XFCE as the default desktop environment, but as of now, MATE is the only official DE.
GhostBSD comes with a graphical application to install software and updates, and most of the multimedia codes are pre-installed. The installer advantage OpenZFS makes it easy to install GhostBSD on ZFS with another operating system on the same disk and is appropriate for beginners who are new to FreeBSD.
With modest hardware requirements, GhostBSD is excellent for modern workstations and 64-bit single-board computer hardware.
Recently, the GhostBSD project has announced the availability of GhostBSD 22.06.18, which is the new release that comes with a number of new improved features, better Nvidia driver support, and a number of desktop utilities.
System Requirements
The following are the recommended requirements.
- 64-bit processor
- 4 GB of RAM
- 15 GB of free hard drive space
- Network access
Let’s get started…
Installation of GhostBSD Operating System
1. First go to the official GhostBSD site and download the Mate Desktop installer for your system architecture, the installer media comes in iso format. So, select and download the installer image as per your choice and proceed further with the installation.
2. After downloading the GhostBSD installer image, create a bootable DVD using any third-party bootable software, or if you’re using a USB stick for this installation, you can create a bootable USB stick by using Unetbootin LiveUSB Creator or using any of these bootable USB creator tools.
3. After making bootable DVD / USB media, insert the GhostBSD Desktop installer and boot the system using DVD or USB and make sure to set boot priority as DVD or USB in BIOS. After a successful boot, you will be greeted with a boot screen.
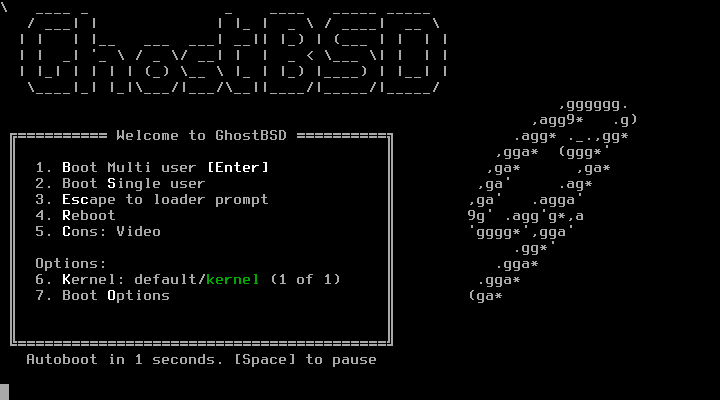
Here you will get options to choose from. If nothing is selected, it will load the graphical installer default. Here we’re using graphical installation, so choose “Install GhostBSD“.

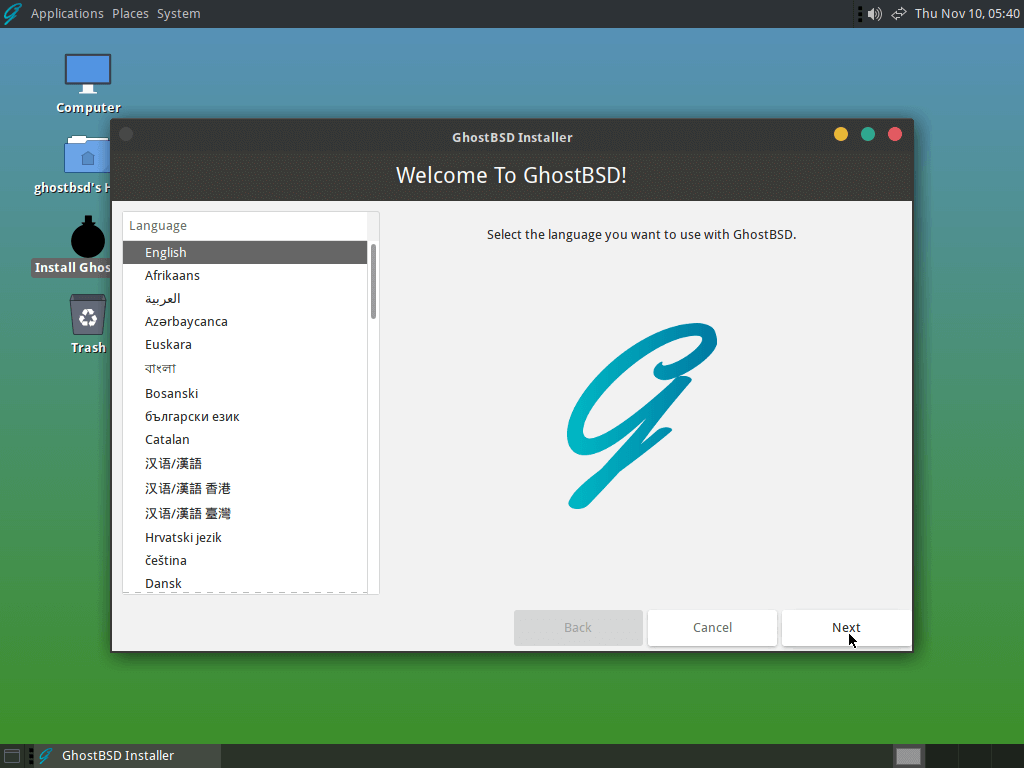
4. The first initial screen shows the default language as English, you can use the drop-down menu to set the desired language for your installation and click next to continue.
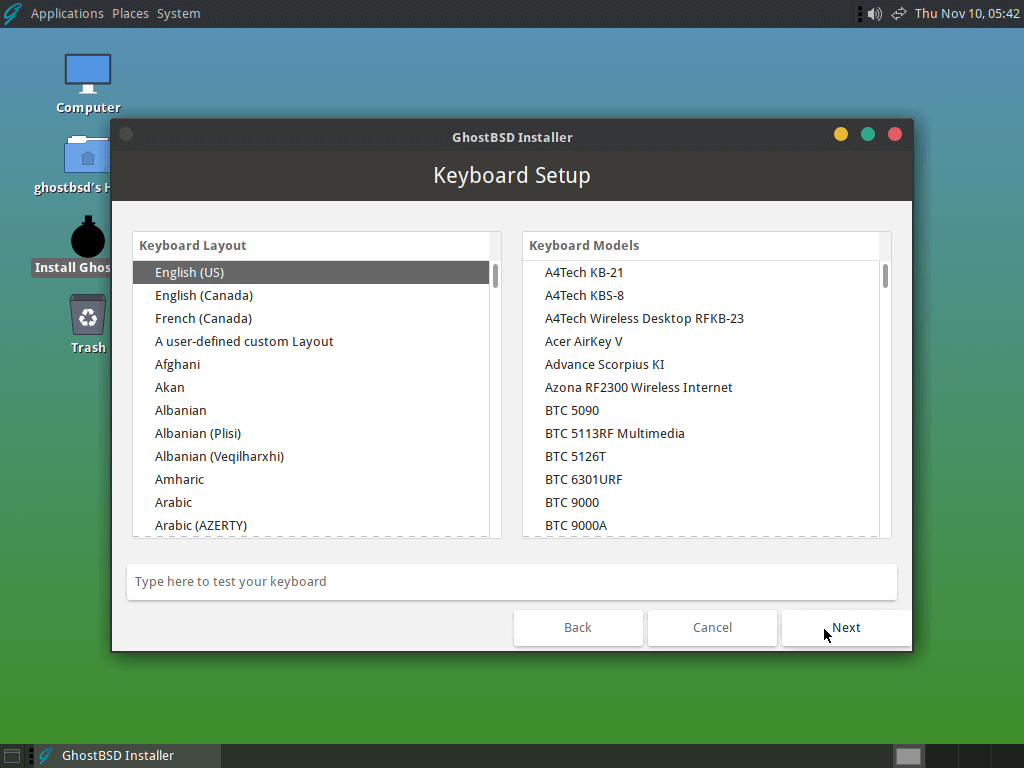
5. Next select a keyboard layout and a model from the menu.
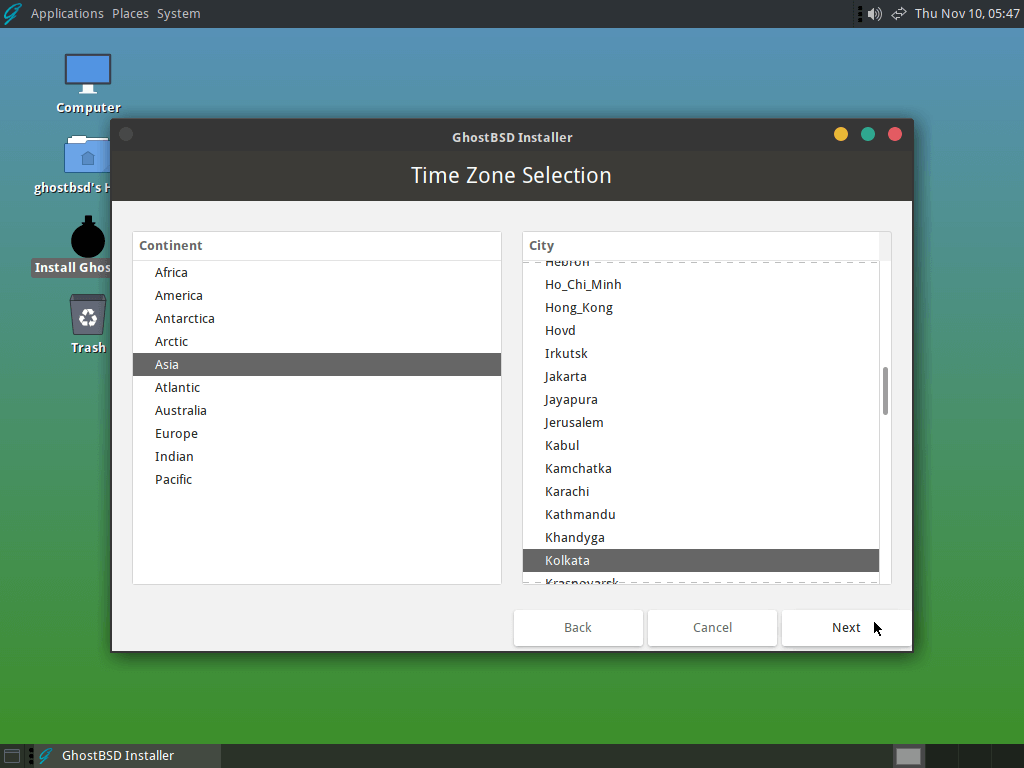
6. Setting the correct time zone for your system as per your location will allow it to automatically correct for any regional time changes and carry out other time zone-related functions properly.
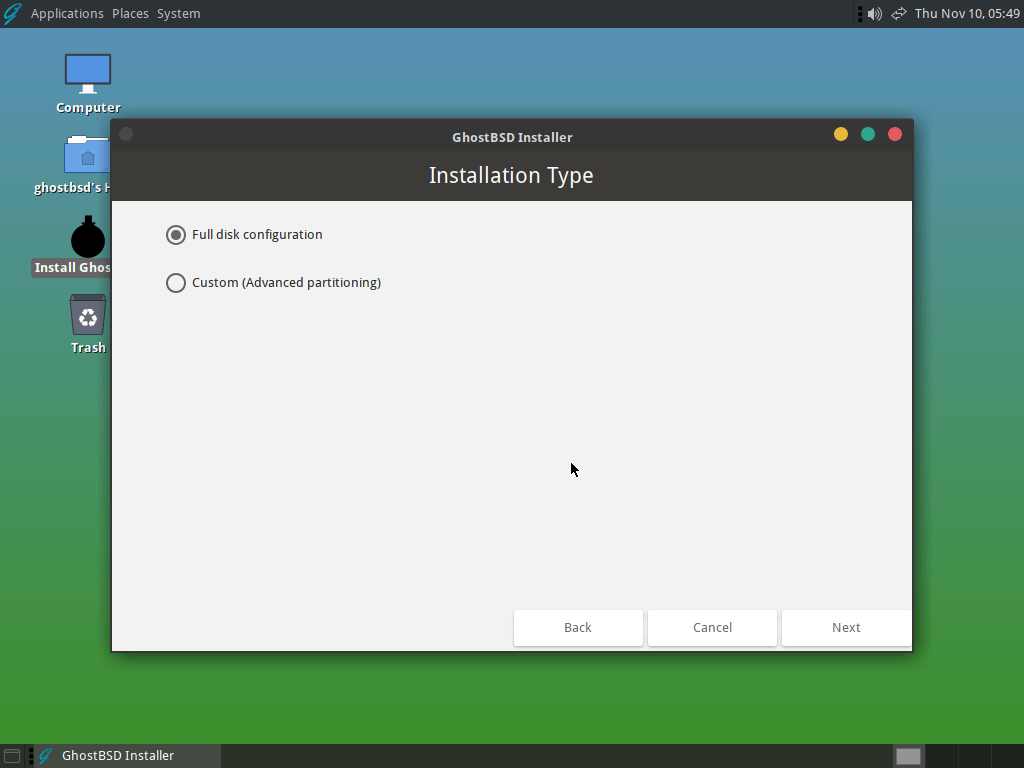
7. Select the installation type by choosing “full disk configuration“.
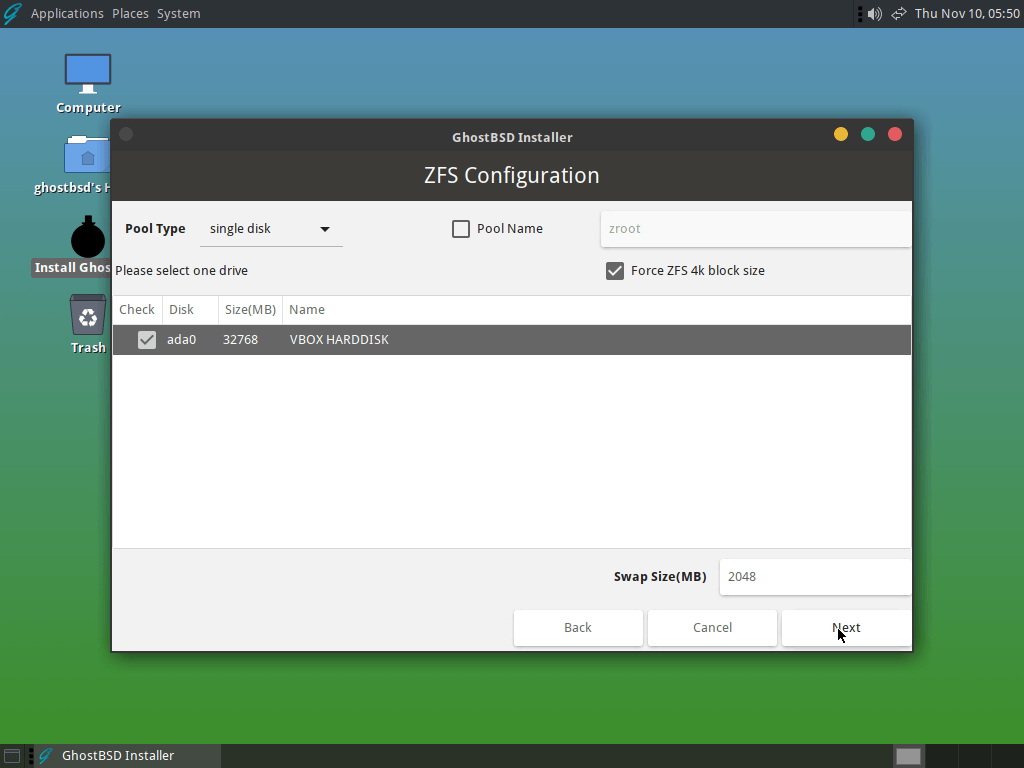
8. Choose the disk where GhostBSD is to be installed.
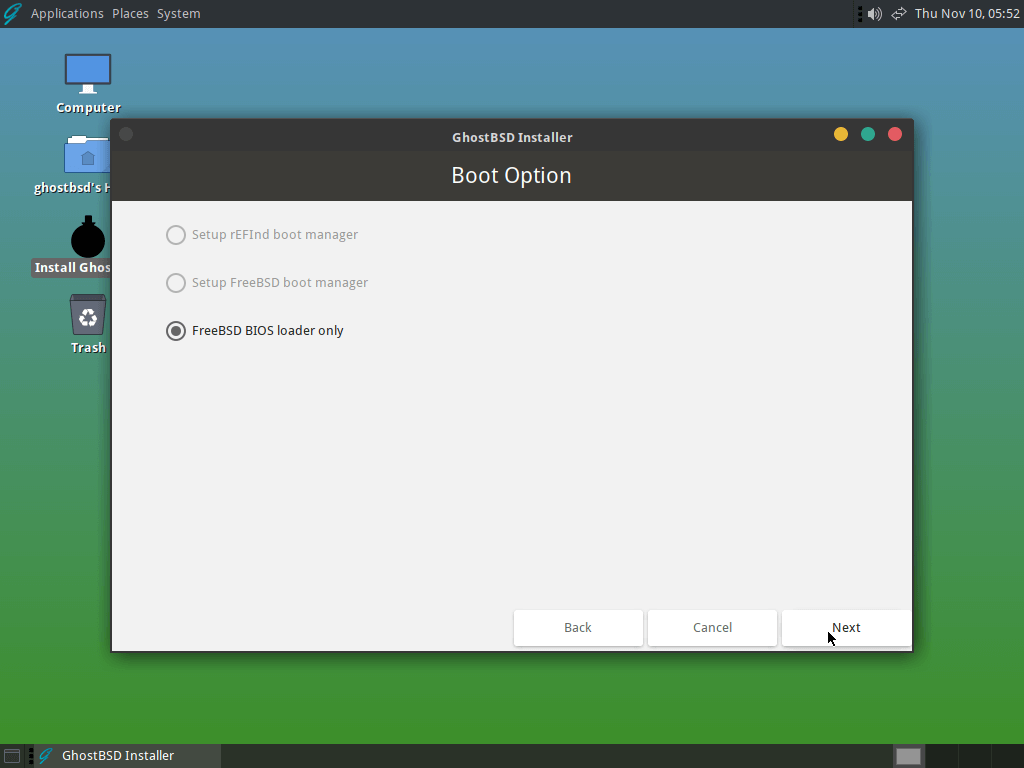
9. Select an available boot option.
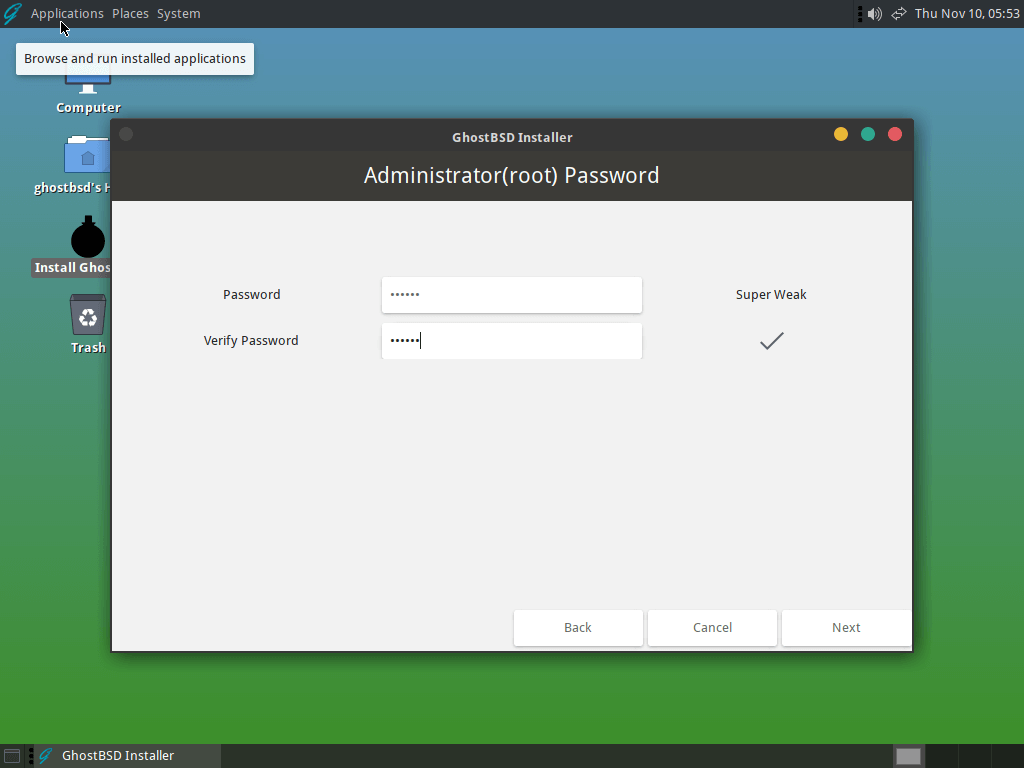
10. Next, set your system root password which is required for system administration tasks such as installing software, configuring the system, and changing user settings.
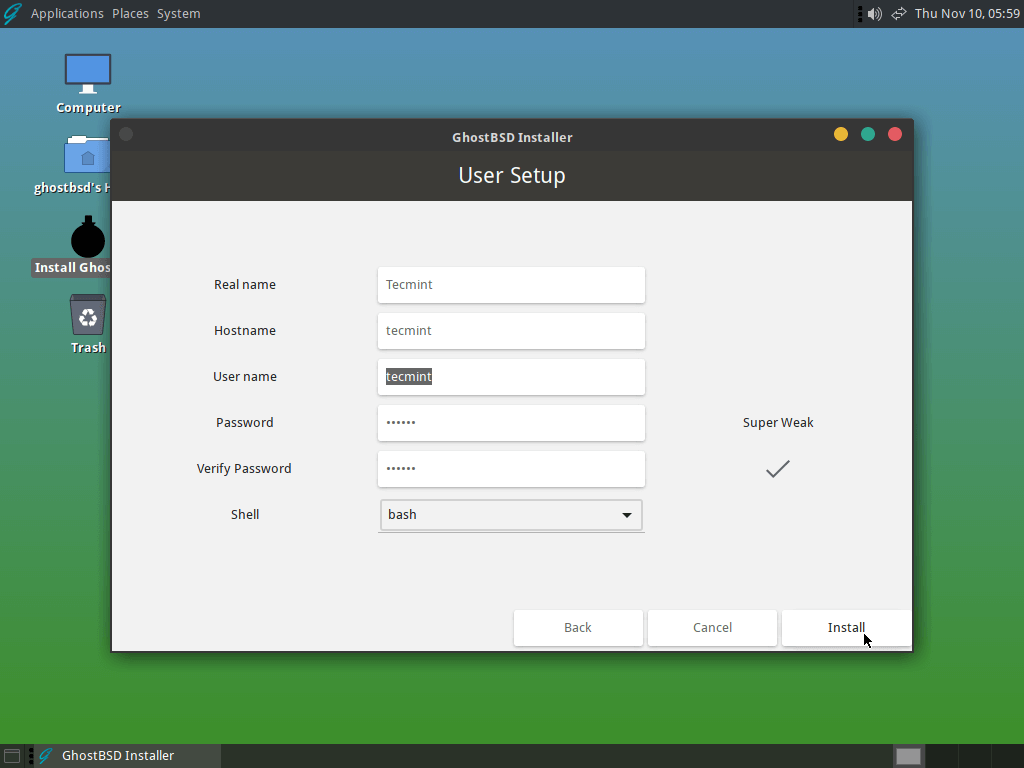
11. Adding a user, setting system hostname and shell.

Once everything seems perfect, you can click Next to Start the installation.
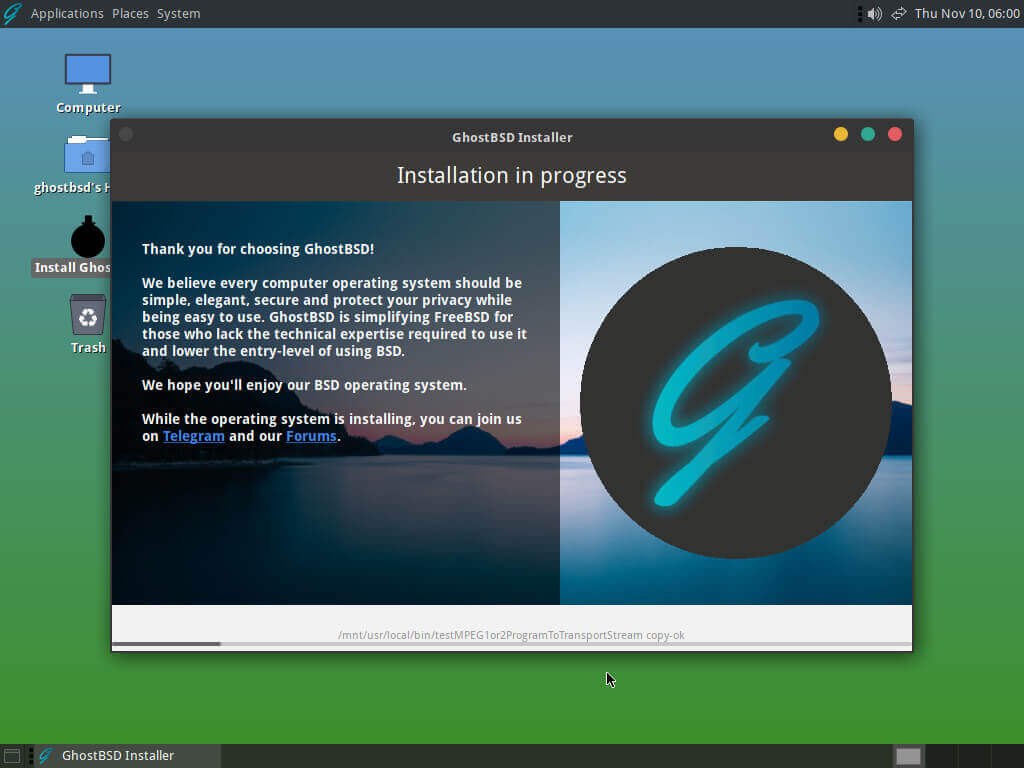
12. Once installation finishes, click the Restart button to reboot your GhostBSD installation.

That’s it! we’ve successfully installed the GhostBSD operating system.
Conclusion
In a Unix-like operating system, it’s very rare to see a good mint look like a desktop environment, GhostBSD has fulfilled our need for Unix based desktop environment under an open-source license.
GhostBSD comes with lots of packages that can be installed offline and online from the GhostBSD repository. If you’ve any issues with setup, feel free to leave your comments using our comment box below.


Ready to embark on your GhostBSD journey? Get your copy of “Getting Started with GhostBSD, 2nd Edition” today and unlock a whole new world of possibilities.
Visit Leanpub now to purchase your copy of Getting Started with GhostBSD –
https://leanpub.com/getting-started-with-ghostbsd-2nd-edition.