Red Hat Enterprise Linux commonly but not officially abbreviated as RHEL is a Linux distribution developed from commercial point of view. Red Hat Enterprise Linux provides their source code for free but keep check on free re-distribution of their officially supported version of Red Hat Enterprise Linux. All the third party derivatives and community supported distributions be it CentOS, Oracle Linux and Scientific Linux build and redistribute their distribution by removing non-free components and Trade mark of Red Hat.
Red Hat releases its distribution under various editions viz., Server, Desktop, Academic, Entry-level server (ES), Advanced Server (AS), Work Station (WS), etc. Since the product is commercial-centric it is free as in speech but not free as in beer.
Red Hat Enterprise Linux 7, codename “Maipo” was released on June 10, 2014. It is based on Fedora core 19, upstream Linux Kernel 3.10, Gnome 3.8 and Systemd 108. The life cycle of Red Hat Enterprise Linux is 10 years.
The first point update of latest stable release was released on march 06, 2015. Red Hat Enterprise Linux 7.1 has enhanced interoperability, improved development and deployment tools as well as security and performance of next level, stability, Red Hat Support, functionality improvement for Active directory environment and access to Microsoft windows file and print server adds to the list.
Features of RHEL 7.1
The world’s leading enterprise operating system gets several improvement and enhancement. Here is the list of most important improvements that is useful for industry use case:
- Available for architectures x86_64 AMD, x86_64 Intel, IBM Power 7, Power 8 and System z. Red Hat Enterprise Linux 7.1 installation is supported only on x86_64 box though it can run on x86 processor as virtual machines.
- Network boot and Installation media is powered with GRUB2 boot loader.
- Turbostat tool which is a part of kernel is updated to support new processors.
- Installer Anaconda has been updated to improve installation.
- Kdump which is used for kernel crash dumping is now configurable from the installation screen. Previously it could be configured on first boot and not before that. Also kdump will have large memory upto 6TB in Red Hat Enterprise Linux.
- Manual Partitioning has been improved with a little change in the location of controls.
- Network bridge is now configurable from the Network and Hostname interface.
- Get help for Anaconda in command line by using # anaconda -h option.
- Secure Encrypted Partitions and logical volumes with 256 bits of random data.
- Get help in Graphical installation screen.
- LVM cache supported – use small fast device to create Logical volume that act as cache for larger, slower devices.
- Btrfs file system supported as technical preview thus offering advanced, reliable, manageable and scalable feature.
- Kpatch introduced. A dynamic kernel patching utility introduced as technology preview.
- Booting crashkernel enabled with more than 1 CPU, supported as technology preview.
- dm-era, Device Mapper target is introduced as technology preview. It keep track of which block were written within user defined period, ‘era’.
- Scheduler Load-Balancing Performance Improvement.
- Deterministic random bit generator, updated to work on x86 based machine.
- Increased number of virtual CPUs (vCPUs) in KVM uptop 240.
- USB 3.0 support enabled in KVM as Technology Preview.
- FreeOTP supported for two-factor authentication applicationfor one time password authentication.
- Red Hat High Availability improved to next stage.
- Open JDK 8 supported in parallel of existing java-1.7.0-openjdk.
- Trusted Network Connect feature has been added as Technology Preview.
- Updated Network Manager
- Virtual Tunnel Interface (VTI) support included.
- Red Hat Enterprise Linux is shipped with Docker Project Version 1.4.1– Deploy Application within Linux Container.
- SSSD is integrated for Common Internet File System (CISF).
- Restricted domain access for unauthorized users.
- SELinux policy has been updated.
- OpenSSH updated and improved systemd suppor.
- Mozilla Thunderbird – an alternative to Evolution has been added.
- Next Level security implementation by use of AD sudo provider along with LDAP provider.
Download RHEL 7.1 DVD ISO Images
Red Hat Enterprise Linux being a commercial distribution is not free to download and use. You have to pay for the subscription. Different editions have different subscription charge. If you have an active subscription you may login to the official website and download your distribution from there.
Here is the link to login and download from official site.
If you don’t have a subscription and want to buy one, you may refer to the below link.
Alternatively, you may download and test a 30 day evaluation edition for free from the link below.
Installation of Red Hat Enterprise Linux 7.1
1. After downloading RHEL 7.1 DVD Binary ISO image, then burn it to a CD/DVD media or create a bootable USB media using Unetbootin LiveUSB Creator.
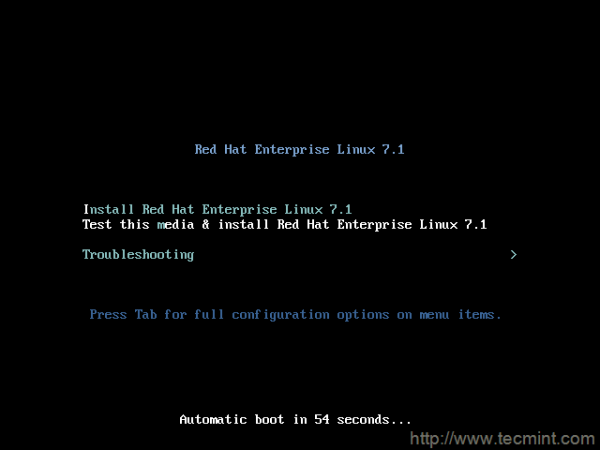
2. Insert the Red Hat Enterprise Linux 7.1 boot-able DVD or USB to your system and choose to boot from DVD or USB from BIOS. You will be greeted with welcome screen.
3. Checking the installation media by default. You may cancel this by pressing ‘ESC‘ key.
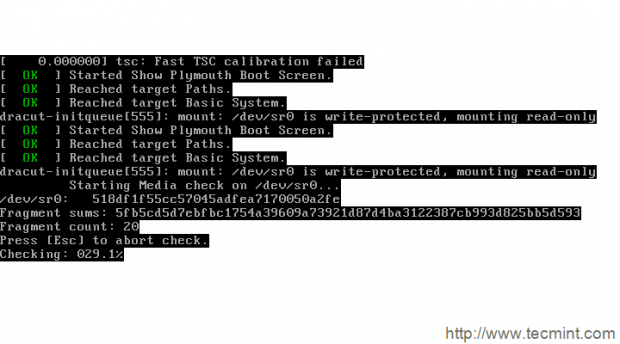
4. After Interrupted/Successful installation media checking, Installer will be started.
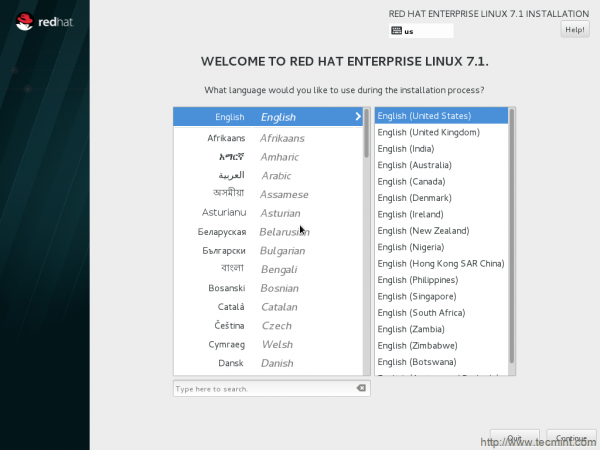
5. Time to choose language of Installation. Choose any language you are comfortable with. Though it is always a good idea to stick to English. Click Continue…
6. Installation Summary Interface. Here you can modify Date and Time, Keyboard, Language Support, Installation Support, Software Selection, Installation Destination, Kdump, Network and Hostname.

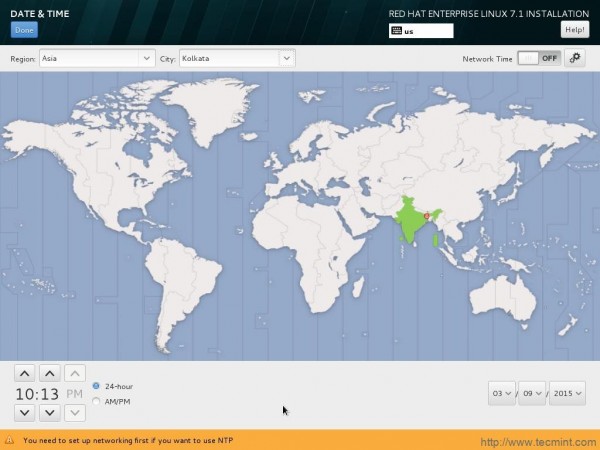
7. Set Date and Time, as per you Geographical Location and click Done.
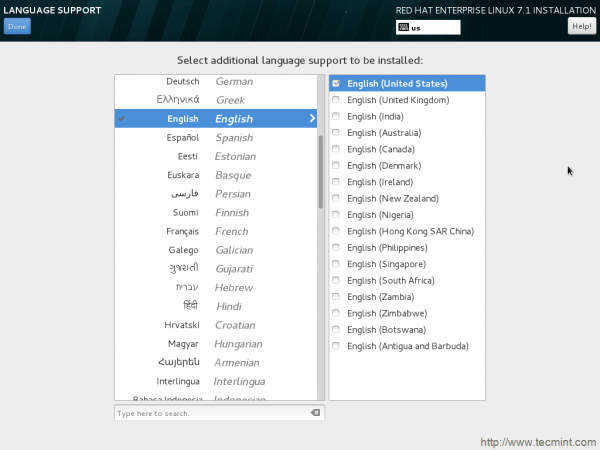
8. Select Additional language to be installed and click Done.
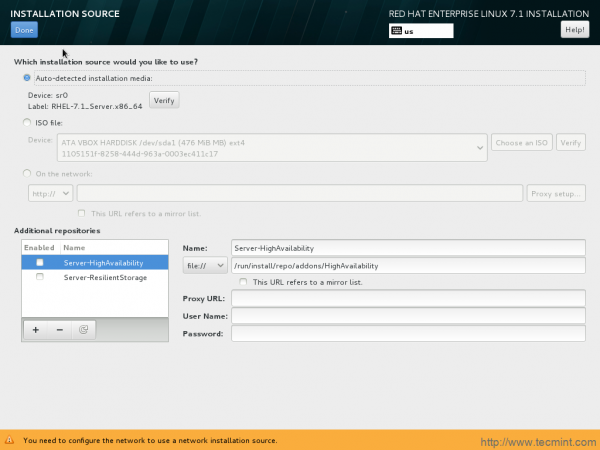
9. Time to modify (not necessary) installation source. Add additional repositories here, and other repositories over http. If you are not sure about these better stick to ‘Auto-detected installation Media‘ and Click Done.
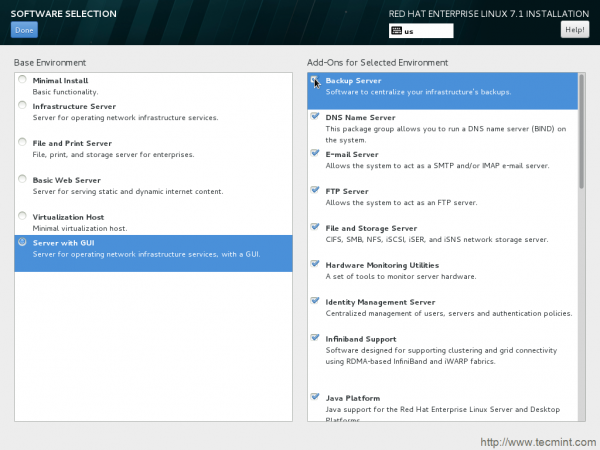
10. Software Selection Interface. In production you should always select ‘Minimal Install‘ which installs your system with basic installation. This way you may choose which software to install and nothing extra thus higher level of customization.
Here in the example, I choose to install with GUI because I don’t wanted to give my time on GUI installation later moreover I am not going to use this installation in production. It is just a test drive. To proceed Click Done.
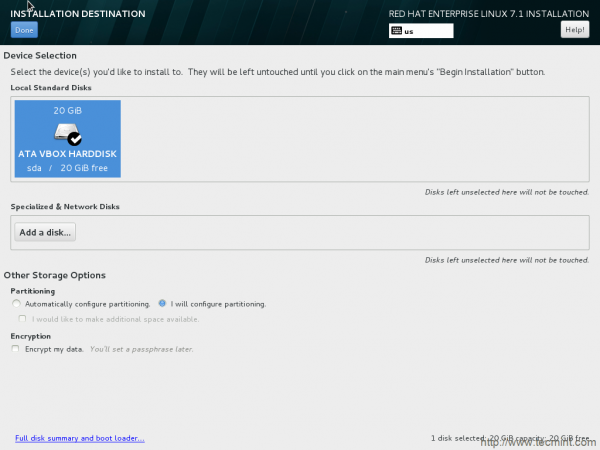
11. choose the device to install the OS. You have the option to encrypt your data from this interface. Also option to automatic configure partitioning as well as manual partitioning.
Automatic partitioning will do everything for you, but it won’t give you that level of customization as manual partitioning would. I chose “I will Configure Partitioning” aka Manual Partitioning. Select device and click done.
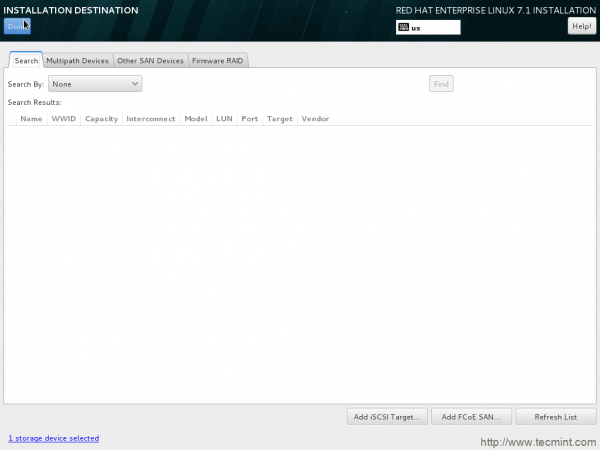
12. You may add multiple partitioning, RAID and SAN Devices. If not required, you may click done.
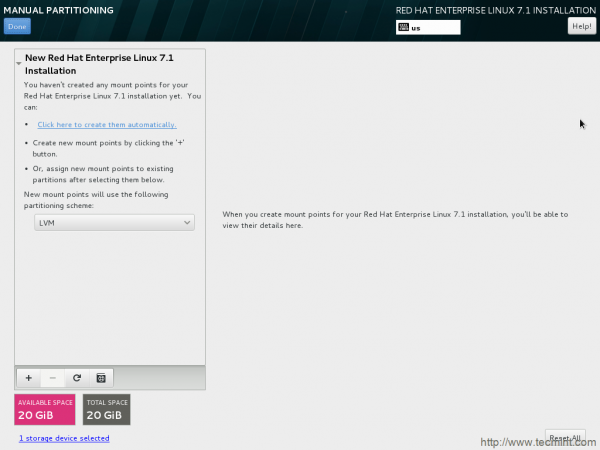
13. Time to partition disk manually.
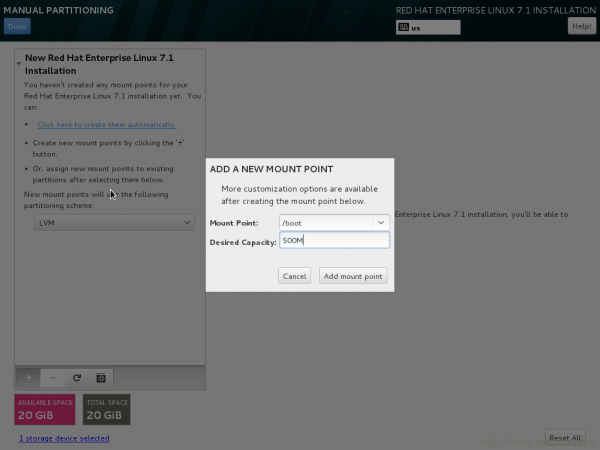
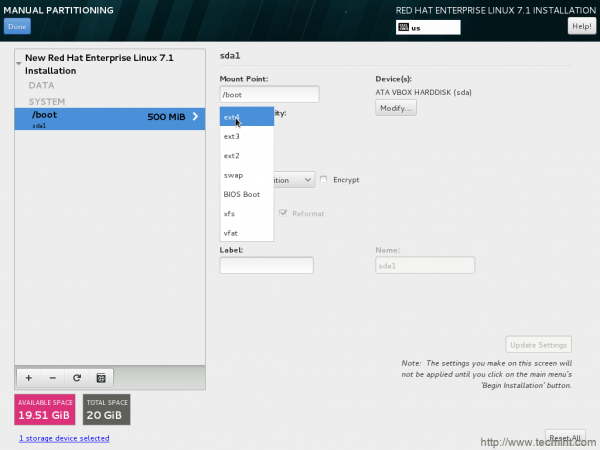
14. Add a new mount point (/boot) by clicking on + symbol. Input desired capacity and click to Add mount point.
15. Next is the /boot partition settings window. Change file system from xfs to ext4.
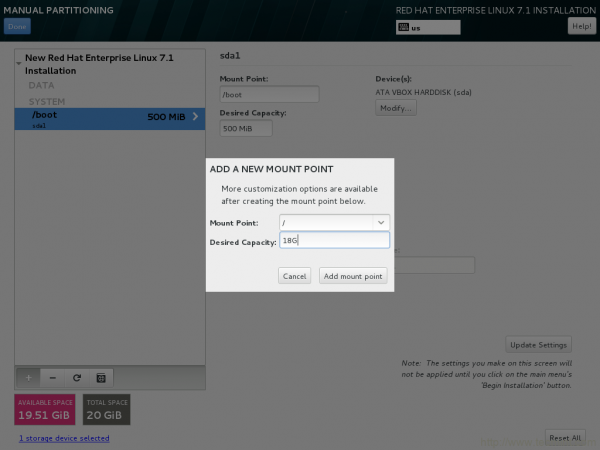
16. Add another mount point (/) by clicking + symbol and add Desired Capacity to it. Finally Click Add mount Point.
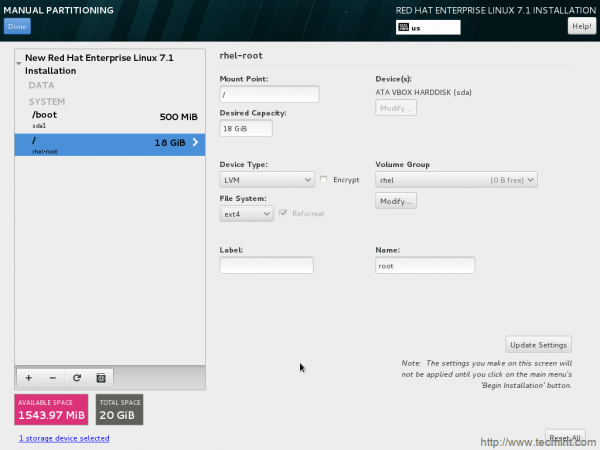
17. Change file system to ext4 again and update settings.
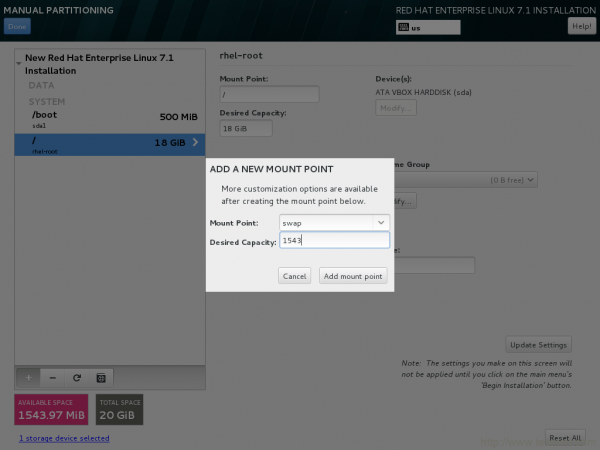
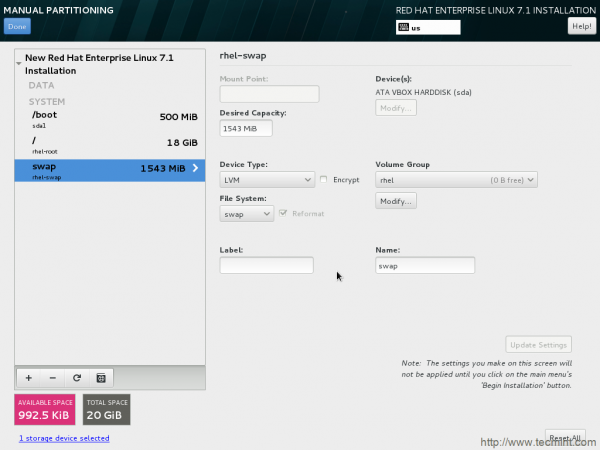
18. Time to create Swap mount point. Click on + icon to add swap as mount point and input desired Capacity. Finally click Desired Capacity.
19. Update swap partition settings, if required from this window.
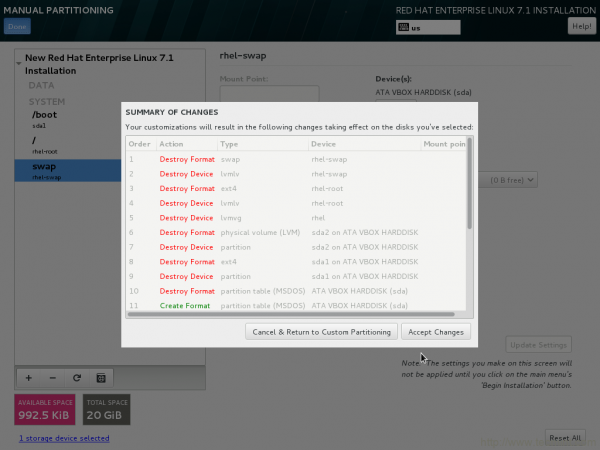
20. Time to Accept changes you have made to the disk.
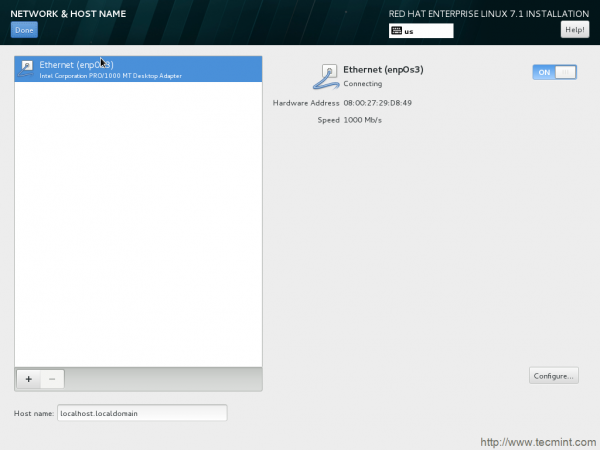
21. Enable Network and Host name from this window. You may configure the connection if required.
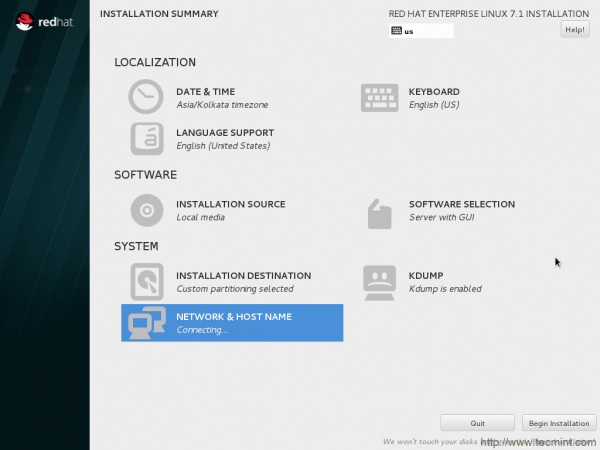
22. Back to Installation Summary windows. Everything looks Okay. Time to begin installation.
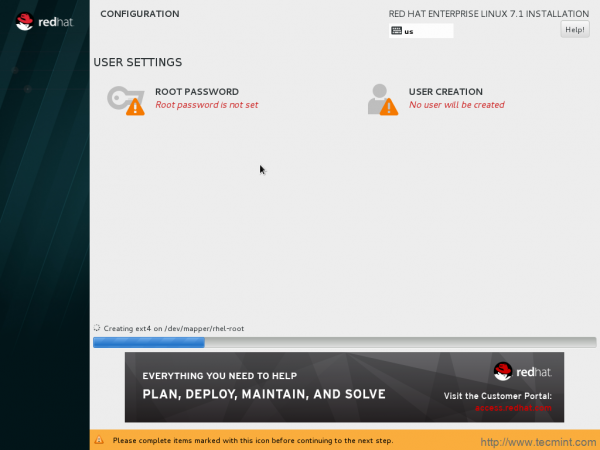
23. Packages are being installed. The windows points at ROOT PASSWORD is not set and no user is created as of now.
24. You may always get help (yelp browser) at any point of installation which is very well documented.

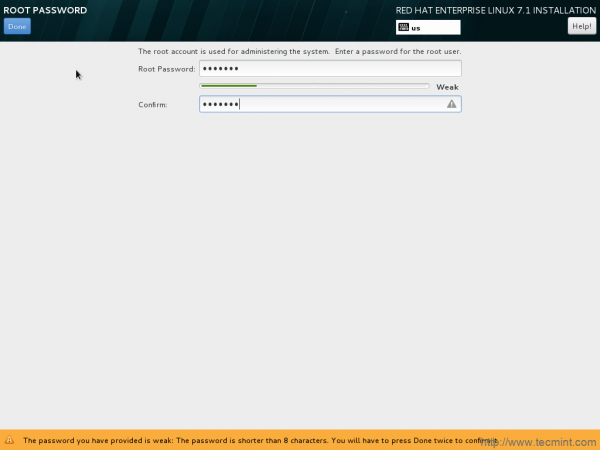
25. Create Root Password.
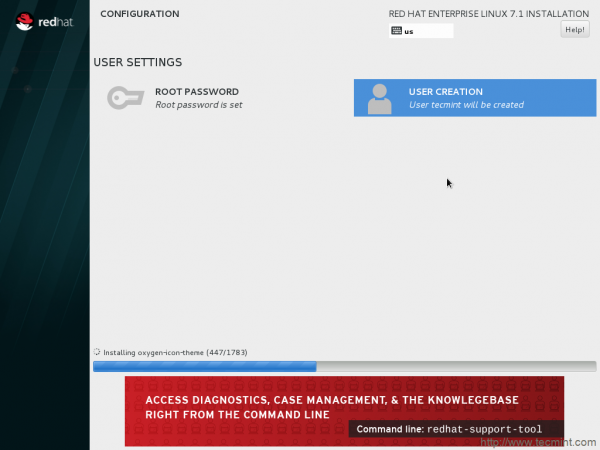
26. Create User account and password.

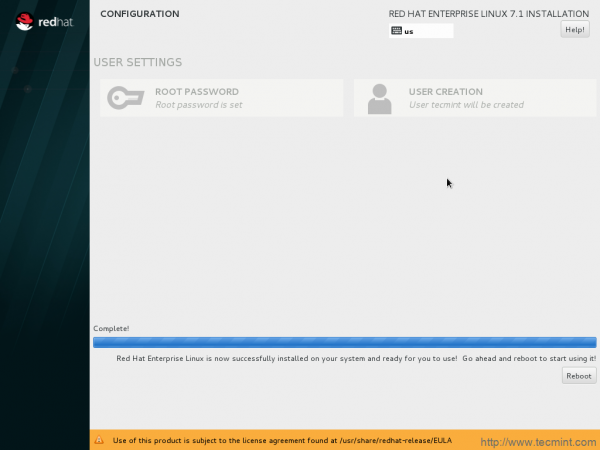
27. Back to configuration window. Now no issue is visible.
28. Installation successfully completed! Reboot.
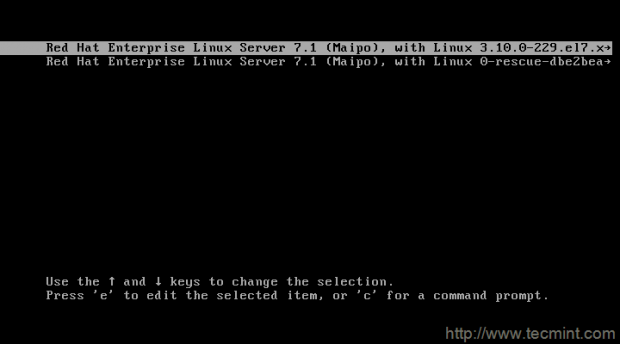
29. After Successful Installation, boot screen.
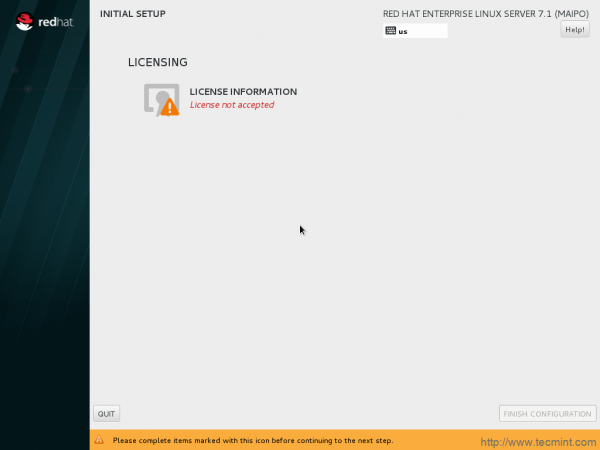
30. At first boot – License not accepted. You need to accept the License.
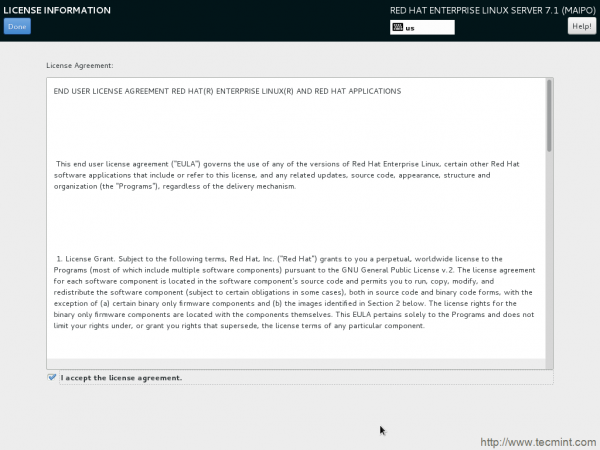
31. Click “I Accept the License Agreement” and then done.
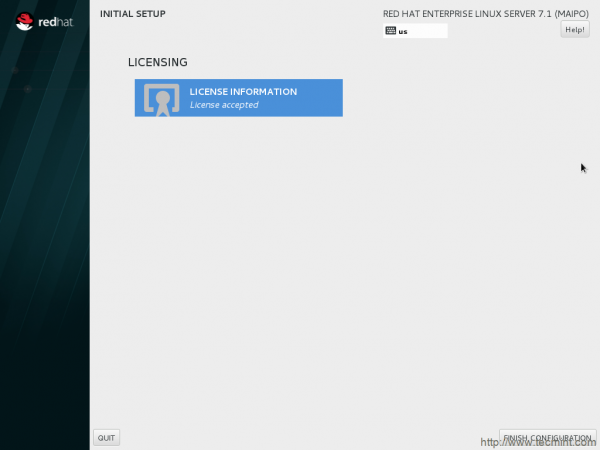
32. Back to License Information window and now it says License accepted. We can move forward from here.
33. If you have subscription, you can register here or click no, I prefer to register at a later time.

34. The login window of Red Hat Enterprise Linux 7.1.
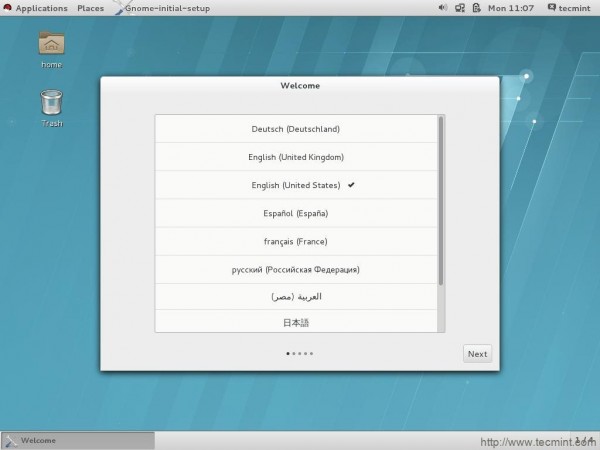
35. After successful log-in, you are greeted by a very small setup screen to set up language of your choice.

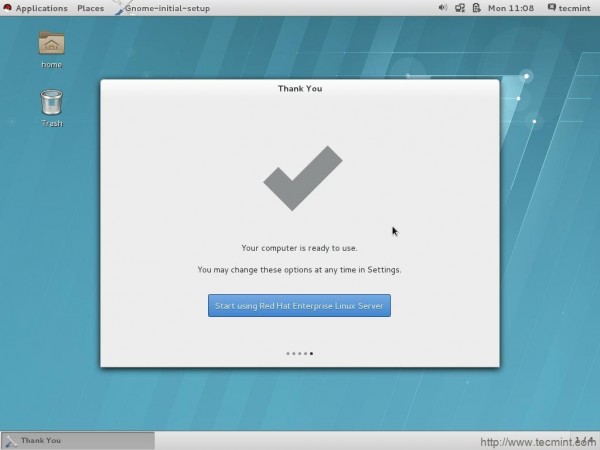
And finally “Thank You” Message. Click – Start using Red Hat Enterprise Linux Server.
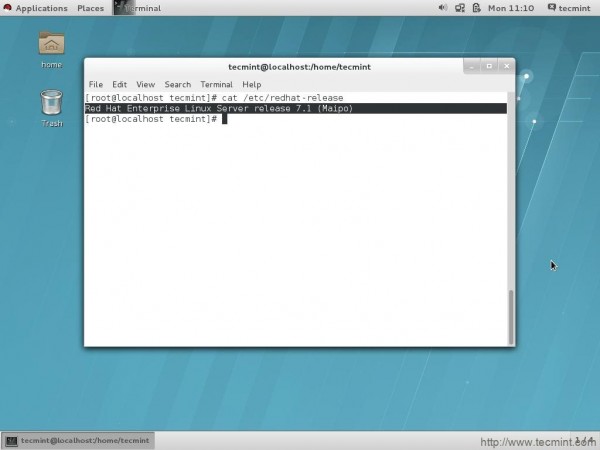
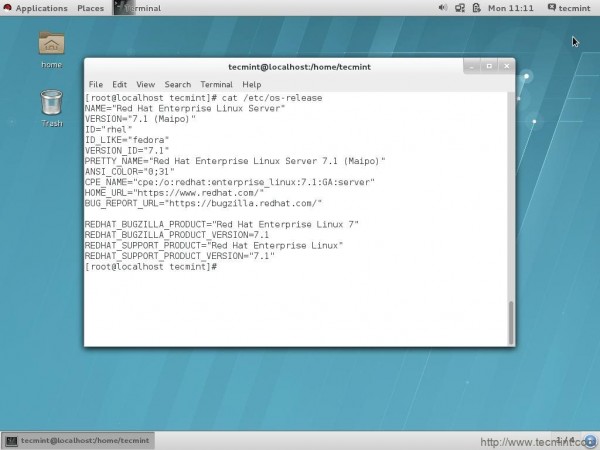
36. The Desktop – Clean and Effective..check Red Hat Release and OS release.

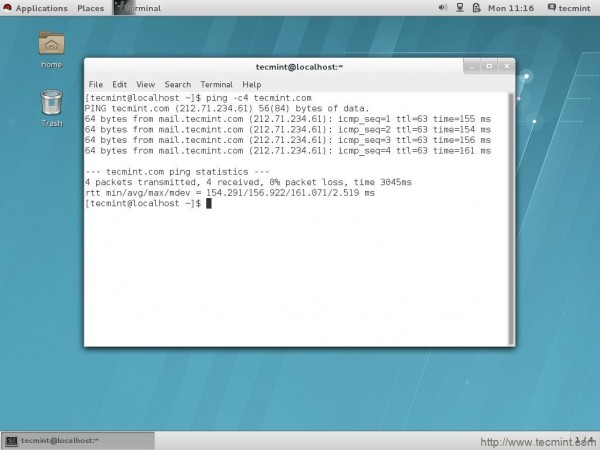
37. Connected to Network (Pinging).
Some Bugs Faced During Testing
- While installing from DVD or ISO image, not all IP addresses are shown in network spoke once network connectivity is configured and enabled, under certain conditions.
- Network devices are not enabled automatically unless network method requires connectivity.
- IPv6 only configuration does not bring up network interface after manual graphical installation from IPv6 source.
- An installation system having multiple iSCSI storage targets connected over physical network interfaces, the installation hangs.
- In manual installation having a screen resolution less than 1024×768, certain controls become unaccessible.
- Non-memory Access Feature of kernel do not work correctly, under certain circumstances.
- Changing certain parameters when NIC is down makes the system unresponsive.
- Setting only full name or no user name in text install requires no root password to be set. As a result neither user nor root is able to log-in.
- Back button control on first boot don’t work as it should be.
- Nesting more than 7 PCI bridges is known to cause segmentation fault error.
- Systemct1 don’t output if the service has been started, stopped or restarted successfully.
- Spice-server sometimes fail to recognize video stream.
- A bug makes X.Org and X server crashes on certain model of Lenevo laptop.
- Icedtea-web java plugin does not load in Firefox.
Conclusion
Red Hat Enterprise Linux 7.1 presents several features that work out-of-the-box. The next level of security implementation, fine configuration, stability, reliability and performance improvement along with reliable Red Hat Support. Developers, Administrators and System architects is able to manage their resource more efficiently in innovative way.


Redhat seem to difficult with repository and package installation
Hello,
I have windows 7 Laptop and I had installed Redhat 7 without using any Virualbox.
I am facing problems selection of boot options & unable to do LVM partition due to less space available as per the system. But I have 1TB hard disk, please suggest
Hello,
I am using ‘RHEL-7.1x86_64’ iso to install on windows 7 (AMD PRO A10), using VMware workstation pro 12.
I followed all the steps and installation got successful, but after ‘Subscription Management’ window, it shows a error as ‘Oh no! something has gone wrong, System cant recover’
Can you guide what is going wrong here? Is it compatible to use rhel on my windows(amd) with vmware workstation 12?
@Pradeep,
I never worked with VMWare workstation so no idea, but I’ve installed RHEL 7 many times on Virtualbox without any glitches. I suggest you to Install Virtualbox and give a try on it..
Hi,
What is qemu version on RHEL7.1? Is it qemu-2.1+?
Please let me know.
Have problem installing CentOS 7.1 from DVD.
Won’t accept my root password despite I follow the requirements and recommendation for creating a strong password. I am stuck in the mud here. Have tried different variants but no one will work. How to go on?
Thanks in foreward. OE.
okay! this is some kind of bug, even i faced. I entered correct root password at installation but it does not work post-installation. To overcome this, i reset the root password.
to reset root password on RHEL/CENTOS 7.xy, you may follow the below link:
https://www.tecmint.com/reset-forgotten-root-password-in-centos-7-rhel-7/
Keep Connected!
can i update rhel 7 without subscription?
No u can’t.
Without Subscription you can not update rhel 7. You may like to use CentOS 7 which is a clone of RHEL 7 and don’t requires subscription.
Nice Info…
Welcome @ Prabhjot Singh