Written in PHP, WordPress is one of the most popular and widely used CMS (Content Management Systems). It is free and open-source and is used for creating stunning websites by providing prebuilt feature-rich templates that are easily customizable. As such, you can create cool websites without the need to write any code.
In this guide, we will demonstrate how to install WordPress with LAMP on SUSE Enterprise Server 15.
Prerequisites
- First, ensure that the LAMP server is installed on SUSE Linux.
- Additionally, ensure that a sudo user is configured on the instance.
Let us now dive in and install WordPress in SUSE Linux.
Step 1. Create a Database for WordPress
WordPress requires a database in which it will install all the installation files and user data. Right off the bat, access your database server
# mysql -u root -p
Then create a database and database user for WordPress installation and grant all privileges to the user on the database.
CREATE DATABASE wordpress_db;
GRANT ALL PRIVILEGES ON wordpress_db.* TO 'wordpress_user' IDENTIFIED BY 'P@ssword321';
Reload the changes and exit.
FLUSH PRIVILEGES;
exit;
Step 2: Download and Configure WordPress
With the database in place, the next step is to download and configure WordPress.
You can download the WordPress tarball file as shown using the wget command.
# wget http://wordpress.org/latest.tar.gz
This downloads a compressed file called latest.tar.gz. Once downloaded, extract it using the tar command as shown.
# tar -xvf latest.tar.gz
This extract the compressed file to a folder called wordpress. Move this folder to the Document root directory.
# mv wordpress/ /srv/www/htdocs/
Next, create a wp-config.php file by copying the wp-config-sample.php file.
# sudo cp /srv/www/htdocs/wordpress/wp-config-sample.php /srv/www/htdocs/wordpress/wp-config.php
Next, access the file and update the database details.
# vim /srv/www/htdocs/wordpress/wp-config.php
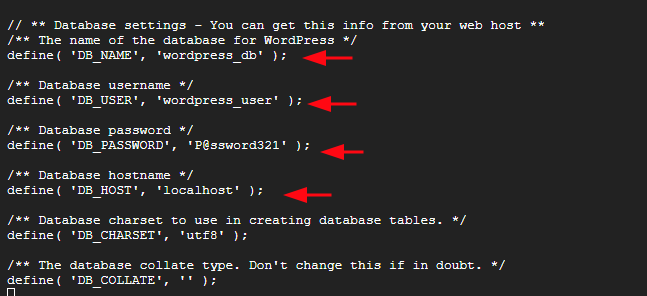
Save the changes and exit. Next, assign the following permissions.
# chown -R wwwrun:www /srv/www/htdocs/
# chmod 775 -R /srv/www/htdocs/
Step 3. Configure Apache Virtualhost for WordPress
Next, we are going to create a configuration file for WordPress.
# sudo vim /etc/apache2/conf.d/wordpress.conf
Next, paste the following lines of code. Be sure to replace example.com with your own registered domain name.
<virtualhost *:80>
servername example.com
documentroot "/srv/www/htdocs/wordpress/"
<directory "/srv/www/htdocs/">
AllowOverride All
Require all granted
</directory>
</virtualhost>
Save the changes and exit the file. For all the changes to take effect, restart the Apache webserver.
# sudo systemctl restart apache2
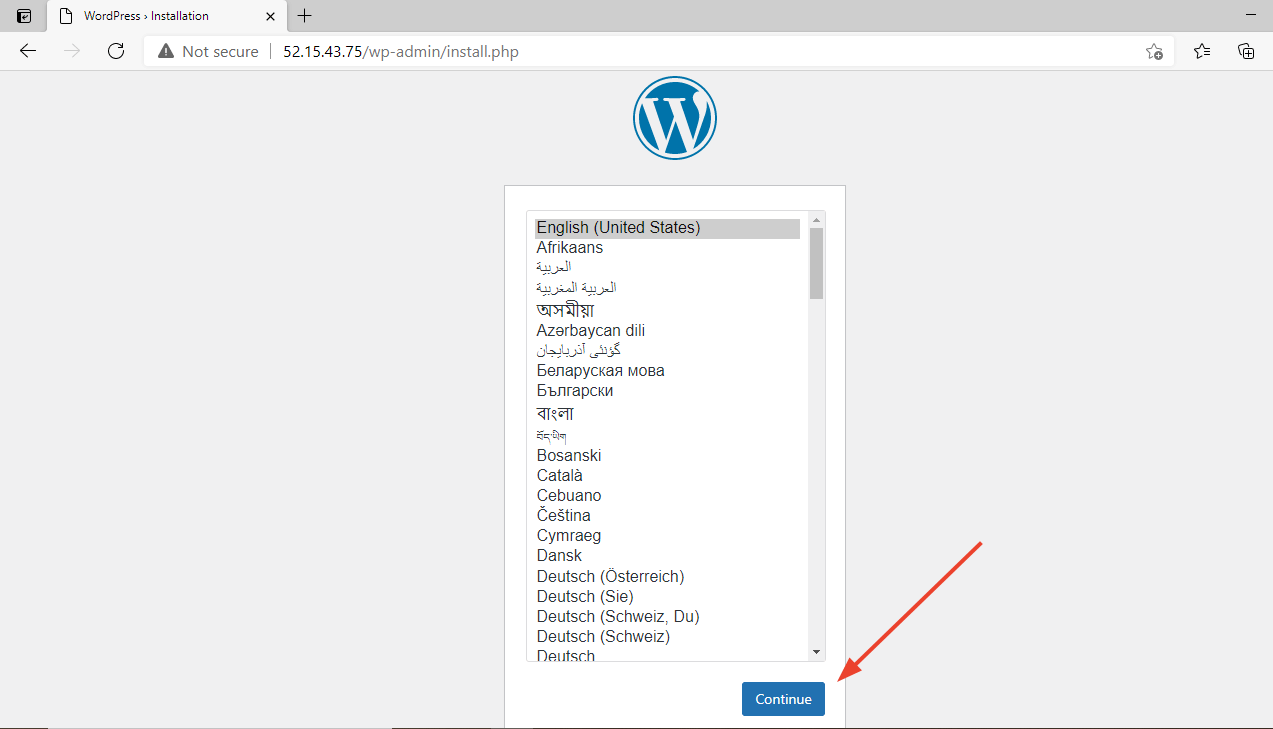
Step 4. Complete WordPress Installation from a Web Browser
To complete the installation, open your web browser and browse your server’s IP address or domain name. You will get the welcome page shown. Select your installation and follow the wizard right to the end.
This wraps up our guide today on the installation of WordPress on SUSE Linux Enterprise Server 15. Your feedback is much welcome.