Ubuntu 19.04, codename Disco Dingo, non-LTS, has finally been released for Desktops, Servers, Cloud and other instances and flavours. This version comes with nine months support and some interesting changes, the most notable ones being the polished and improved Yaru theme, GNOME 3.32, Mesa 19.0, Linux Kernel 5.0, and a number of packages upgraded to their latest version.
This article will guide you on how you can install Ubuntu 19.04, single boot, on UEFI Firmware machines with a manual default partition layout in order to preserve free space for future Operating System installations in dual-boot.
Be aware that all system installations made from UEFI booting sequence assumes that your hard drive will be partitioned in GPT style, regardless of the size of your disks.
Also, try do disable Secure Boot and Fast Boot options from UEFI settings (if supported), especially if you are trying to boot from a USB UEFI compatible bootbale drive made with Rufus utility.
Requirements
Download Ubuntu 19.04 ISO image, which can be obtained from the following link:
Ubuntu 19.04 Desktop Installation Guide
The installation of Ubuntu 19.04 it pretty simple and straightforward as its previous releases. However, if you are booting and installing the system on a UEFI Firmware machine, besides the classical partitions you need to assure that you create a standard EFI partition required for the boot loader to pass the further instructions to Linux Grub.
1. The first step you need to take in order to install Ubuntu 19.04 is to burn an Ubuntu ISO image or create a compatible UEFI USB drive, place the bootable media into your appropriate drive, then enter UEFI settings and disable Secure Boot and Fast Boot options and instruct your machine to restart in UEFI with the appropriate bootable CD/USB drive.
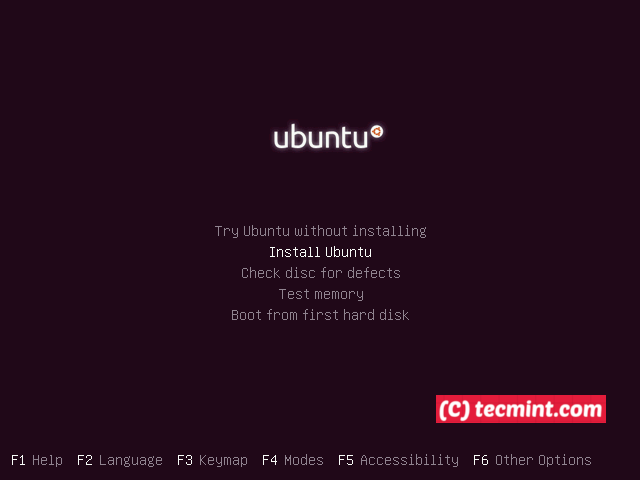
2. After the machine boots the media, press Esc key to get the Grub screen menu. From here choose Install Ubuntu and press Enter key to continue.
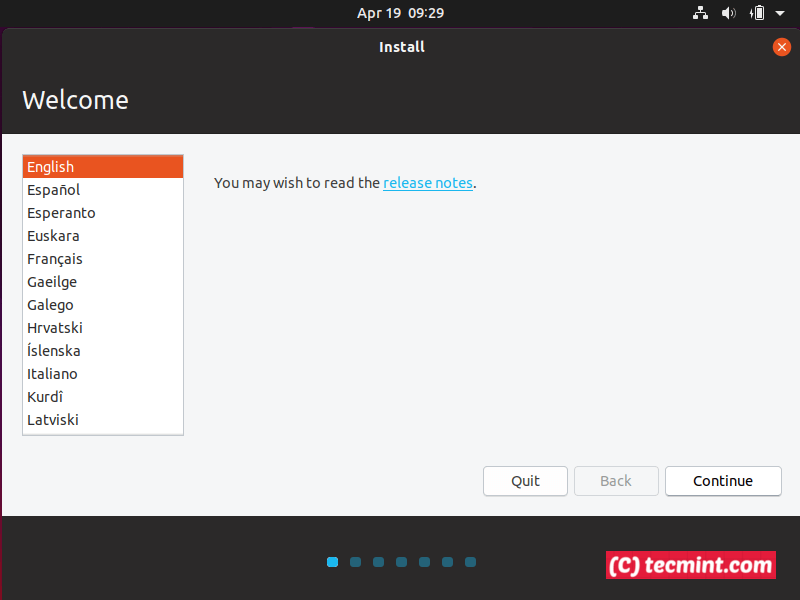
3. On the next step, choose the Language for your system and press Continue button to move forward.
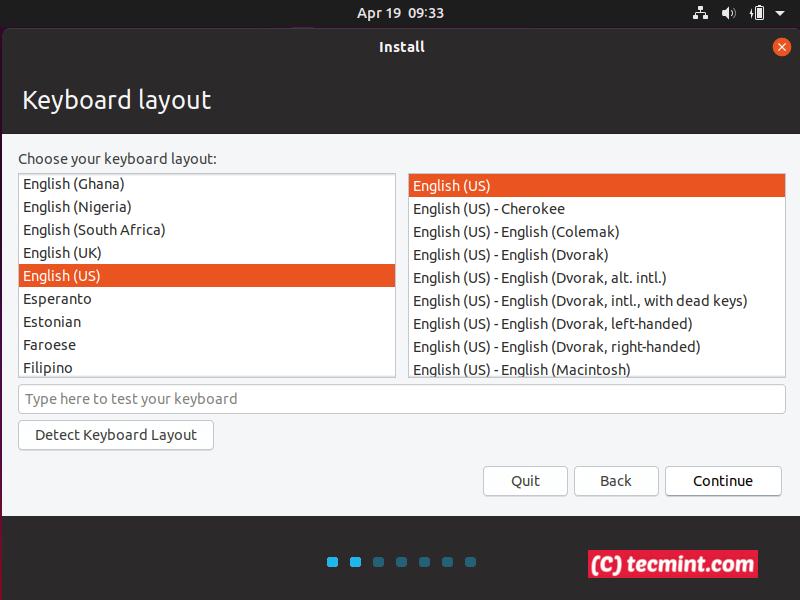
4. Next, choose the Keyboard Layout.
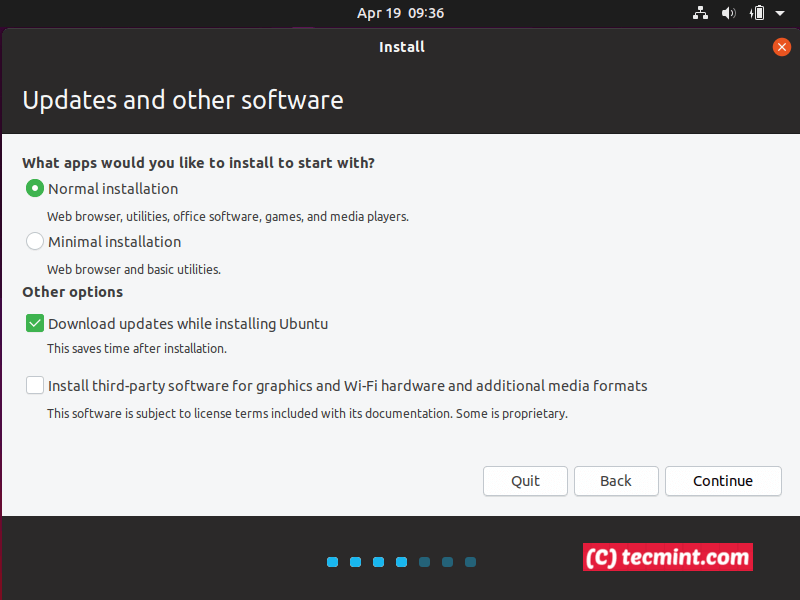
5. Next, the installer checks if your system has Internet connectivity and asks you for installation type. Select Normal, and tick Download updates while installing Ubuntu to Continue further. The installation can continue without an Internet connection also.
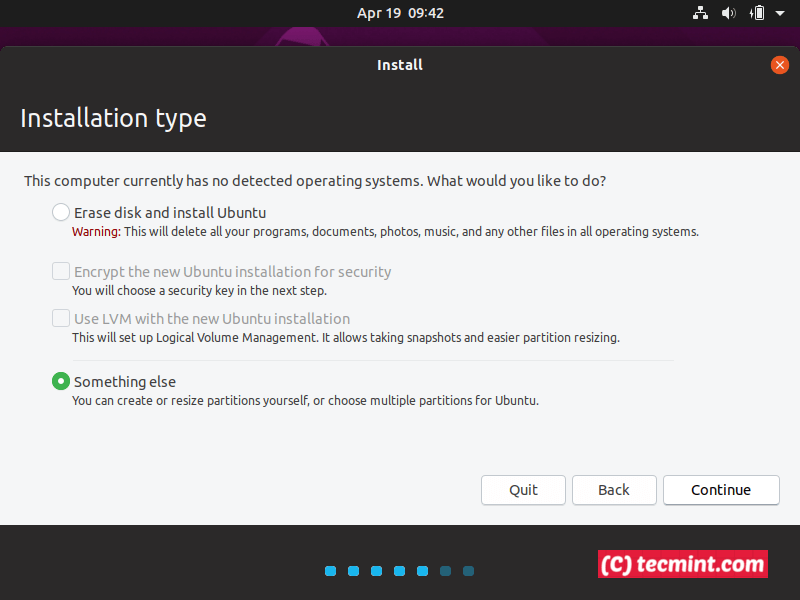
6. On the next step you must choose an Installation type. To ensure that Ubuntu doesn’t eat all your hard disk space while installing the system using the first option, Erase disk and Install Ubuntu, choose the last option with Something else and hit Continue button.
This option is the most safest and flexible in case you might want to preserve some disk space and install other Operating Systems in dual-boot after you install Ubuntu.
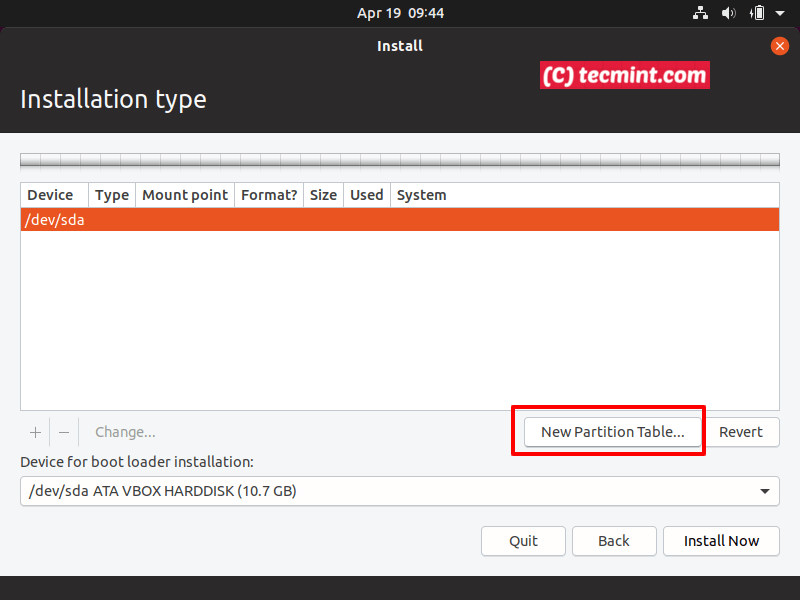
7. On this step you must create a Partition Table in case you have a blank drive and slice-up your disk. Select your hard-disk in case your machine has more than one disks, hit New Partition Table button and Continue button from the pop-up warning in order to create the GPT partition table.

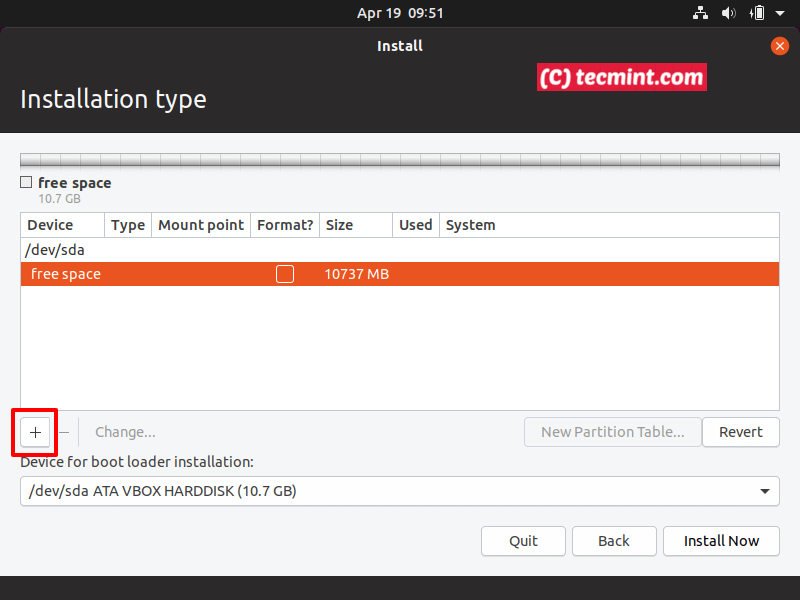
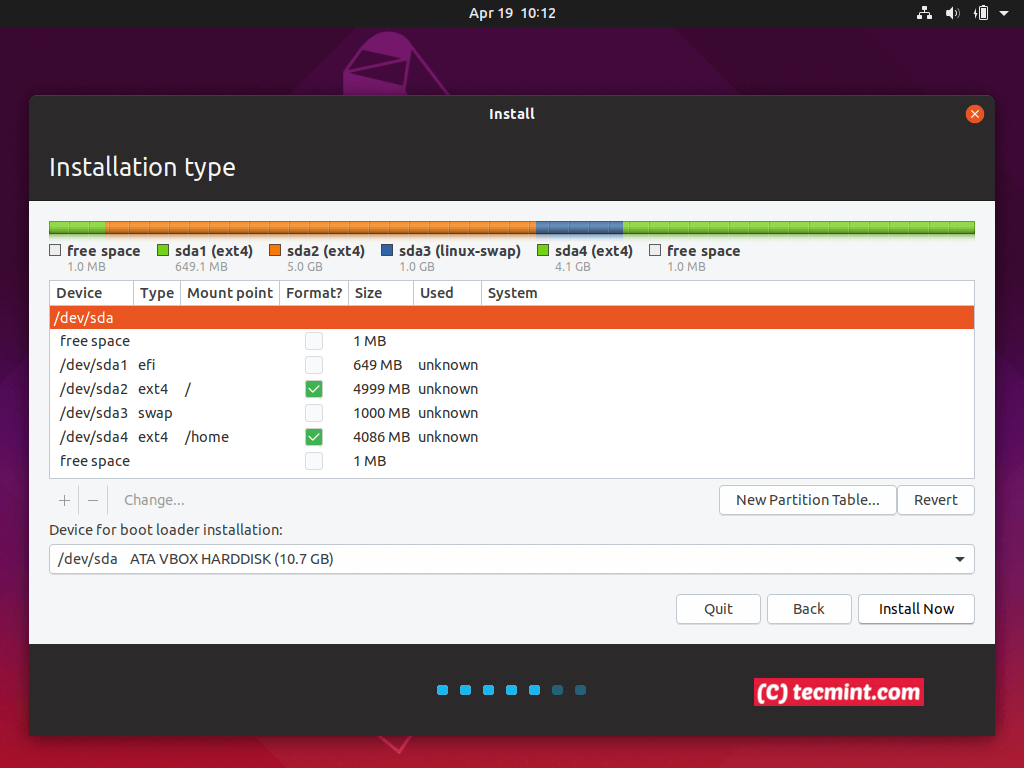
8. Now it’s time to create the system partitions manually. The partition table will have the following scheme in my case, you can assign space as per your requirements:
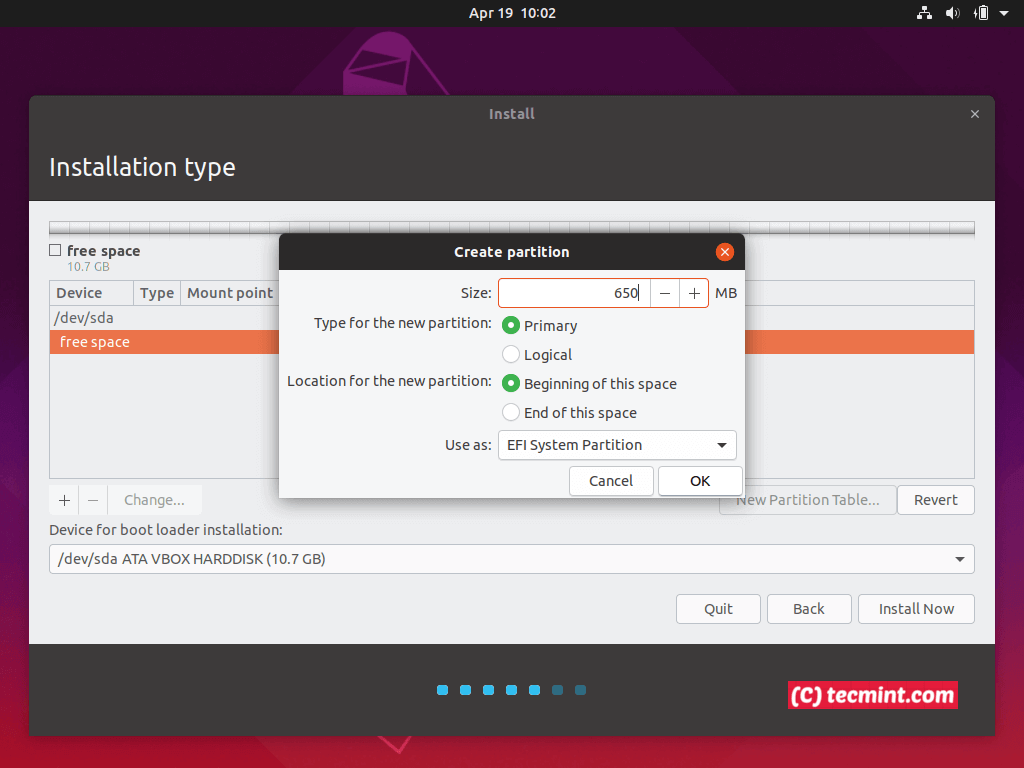
- EFI System Partition – 650 MB
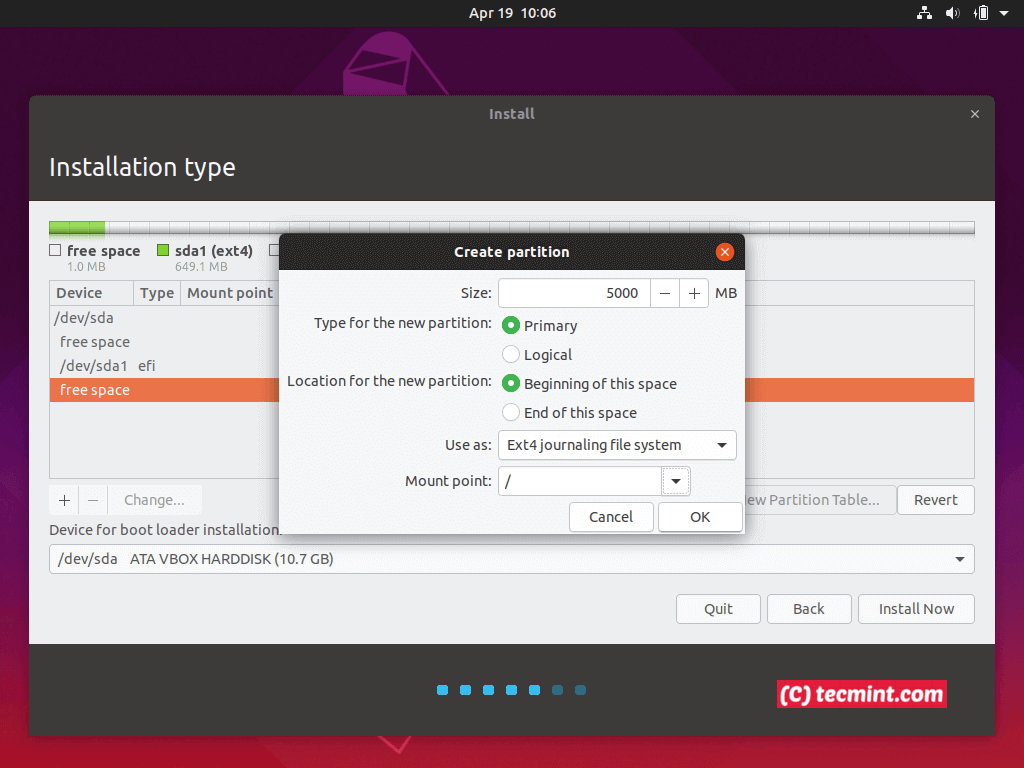
- Mount Point /(root) Partition – min 5 GB – Formatted EXT4 journaling file system.
- Swap Partition – min 1GB (or double RAM size).
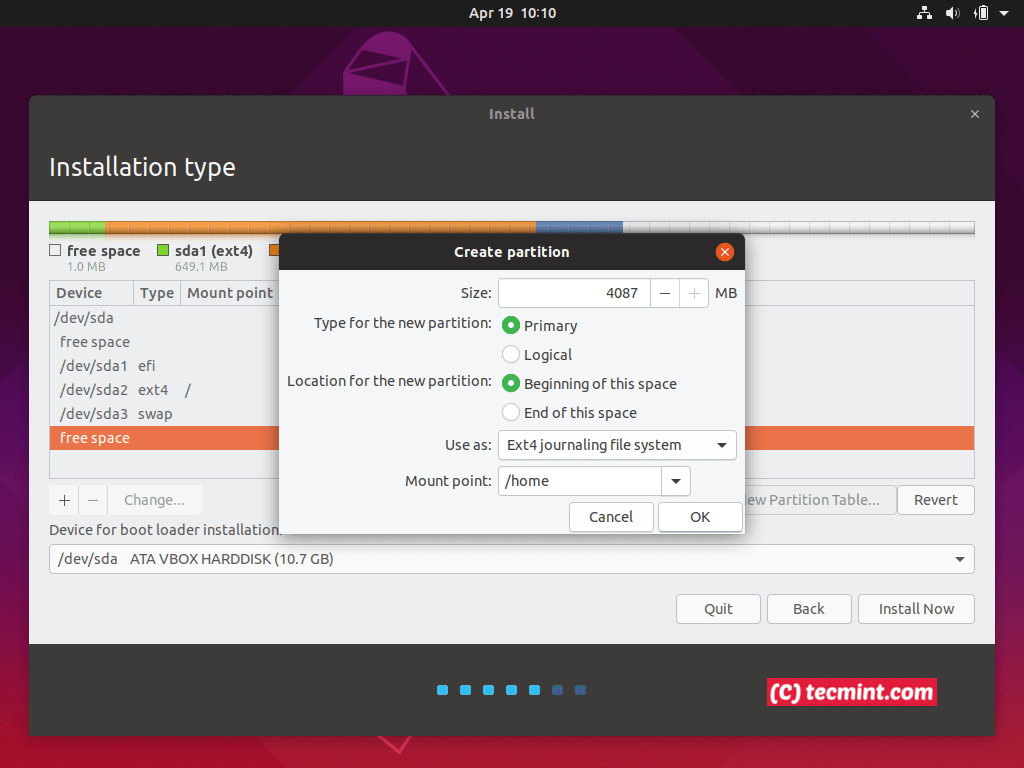
- Mount Point /home Partition – custom space (or all remaining space) – Formatted EXT4 journaling file system.
- All partitions should be Primary and At the beginning of this space.
To begin, select free space and hit the Plus + button to create the first partition. This first partition will be the EFI standard partition. Enter 650 MB as its size and choose Use as EFI System Partition, then OK button to confirm and create the partition.
9. Next, chose free space again, hit the + button and create the /(root) partition. Make sure the partition has at least 10GB of space and will be formatted as EXT4 journaling file system.
10. Next, using the same steps as for previous partitions, create a swap partition with minimum 1 GB. The recommendations are to use double size of your RAM, but 1GB is enough for new machines with a lot of RAM (actually the swapping slows down your machine considerably on non-SSD hard drives).

11. The final partition that you need to make it should be the /home partition. So, select free space again, hit + button and enter the desired size for mount point /home partition. Use EXT4 journaling file system and press OK to create the partition.
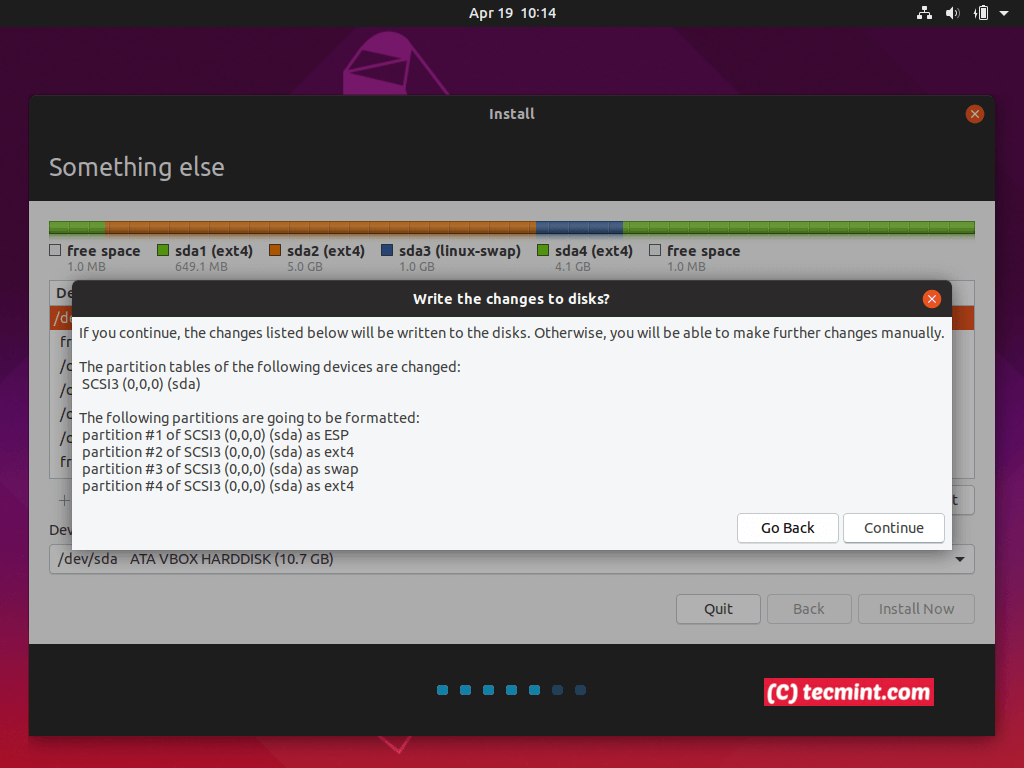
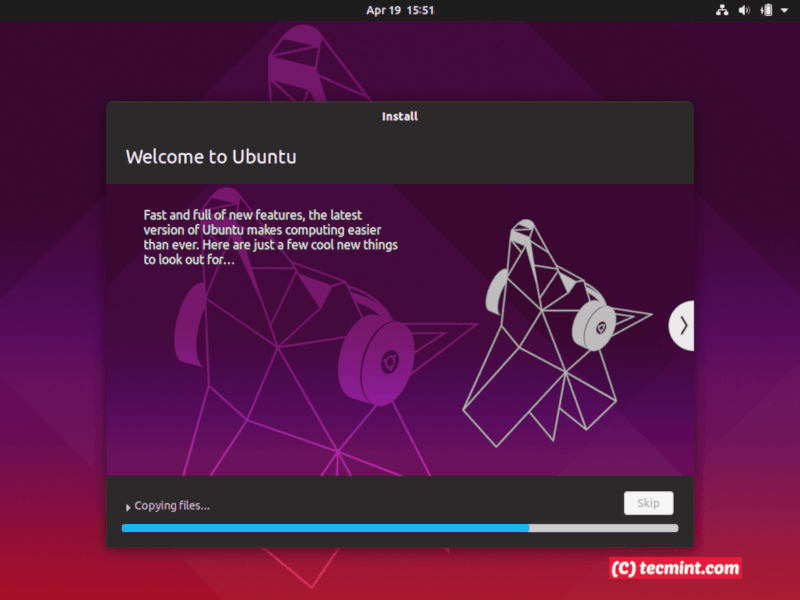
12. After all the partitions are created hit the Install Now button to begin the installation process and confirm the hard disk changes by hitting the Continue button from the pop-up warning. In case a new warning window appears with Force UEFI Installation, hit both Continue buttons again as illustrated on the below screenshots.
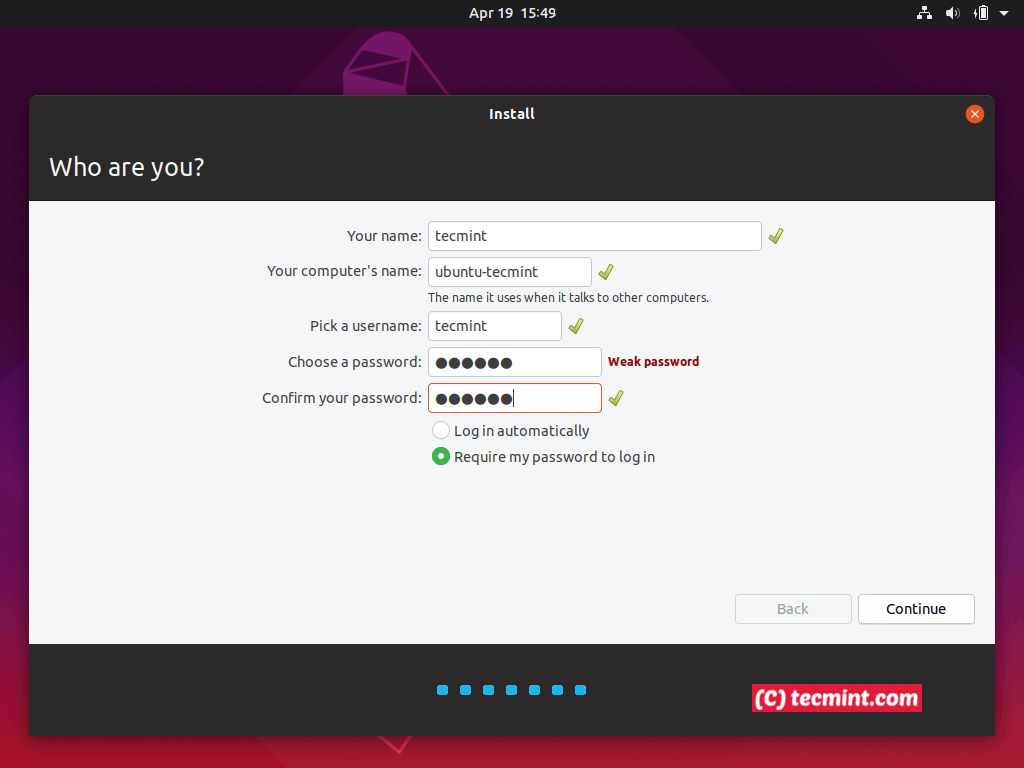
13. On the final step regarding your system configurations, enter the name for the system administrative user with root privileges, type a name for your computer and choose a password to protect the admin user. Select Require my password to log in and hit Continue to finish the system configuration. After this step wait for the installation process to finish.
14. Finally, after the installation process has reached its end, reboot your machine, eject the bootable media and login to Ubuntu 19.04 using the credentials configured during the installation process.
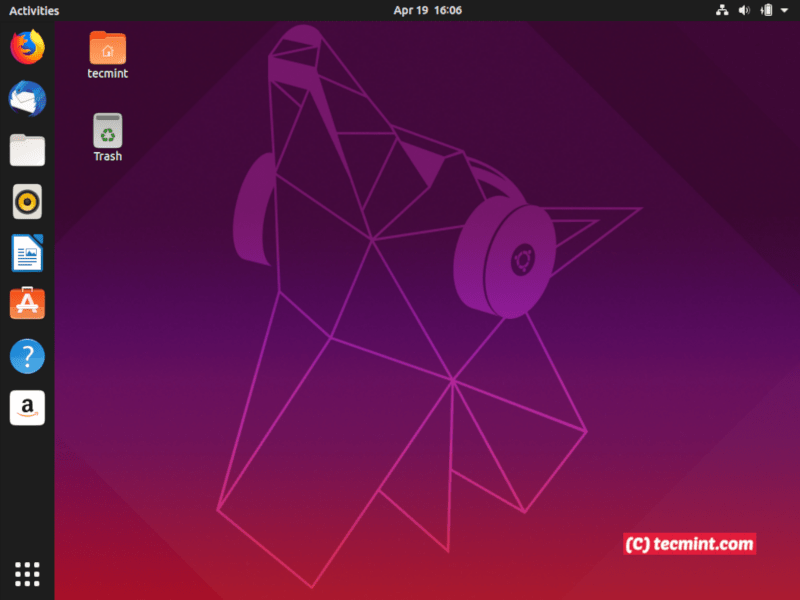
That’s all! Enjoy the last release of Ubuntu 19.04 on your UEFI machine. Please stay tuned for the next article concerning Ubuntu 19.04 where we will be discussing what to do after you have installed Ubuntu on your machine.