Treating yourself to a new Linux Mint ‘Una‘ installation or you’re seeking your first foray into the world of Ubuntu-based Linux, then you couldn’t possibly go wrong with this flavor of Linux Mint running XFCE with a slew of bundled applications and unique customizations running in a tight-knit but lightweight environment.
This version of Linux Mint is peculiar due to its introduction of dark mode and will be forever immortalized as a result.
Installation of Linux Mint XFCE Edition
To install Linux Mint XFCE Edition, go to the official page and download the Linux Mint XFCE Edition for your system architecture and follow the instructions as explained below.
Configure System BIOS
Use this portion of the tutorial to configure your system BIOS. Generally, you can get into this secure environment by using the function keys F2, and F10 to the Del key.
These options may, however, not work for your system. Use the reassuring method of Googling the specific model of your system plus the related keyword, BIOS or UEFI.
Once you’re done, use the options we have in this article for the best USB installers for iso configuration before proceeding to the next step in this tutorial.
Installing Linux Mint XFCE
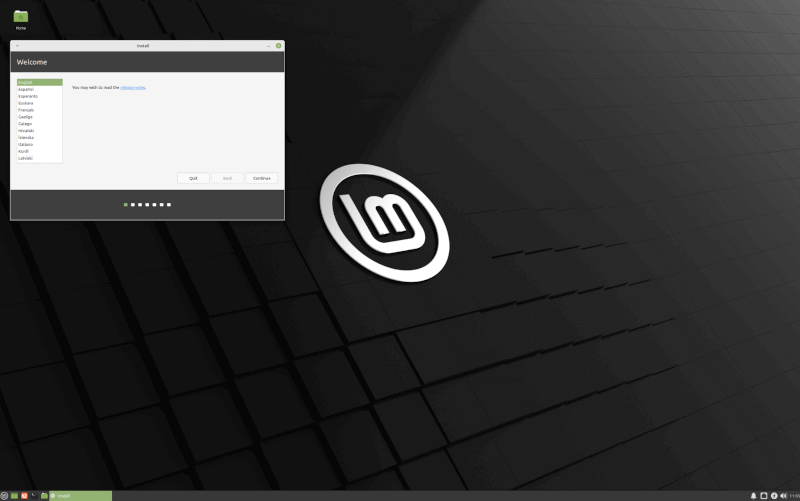
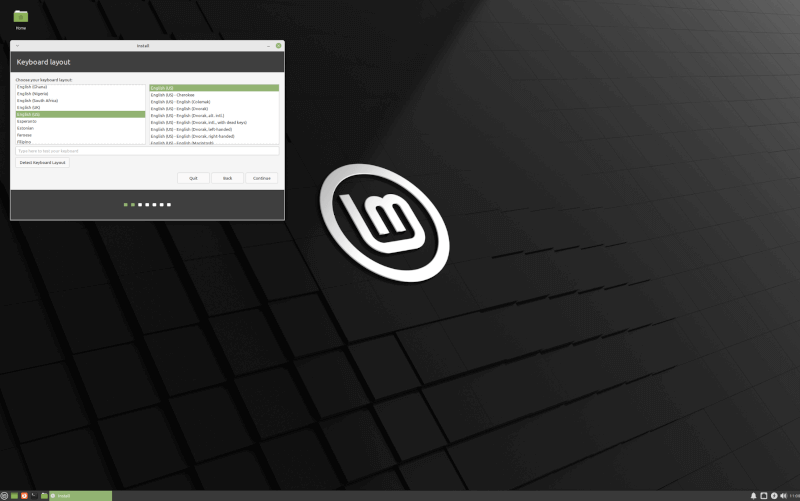
With a generally straightforward install process, Linux Mint can be installed and configured with basic settings by anyone. Follow the screenshots below with short commentaries wherever applicable.
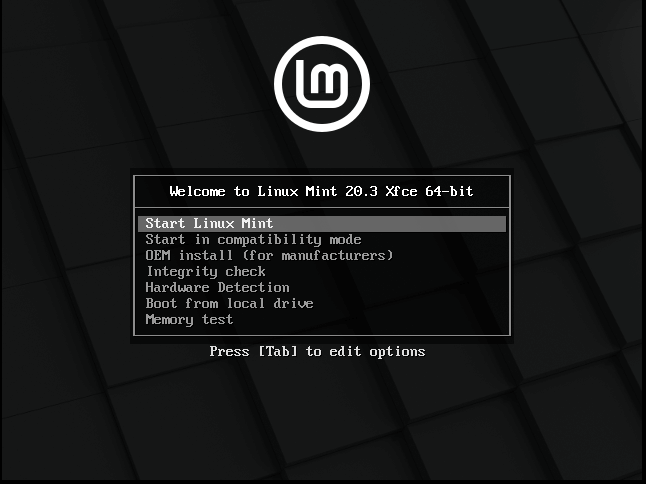
Once you’ve configured your USB as instructed above, insert the USB device into your host system and select “Start Linux Mint”. This will take you to the XFCE desktop where you will be able to continue the installation process. There will be a visible install Linux Mint icon at the top left corner.
Configure your multimedia codecs by installing them alongside your Linux Mint install. That way, you’ll be able to use it right after the installation is complete as opposed to delaying it till you hit a roadblock.

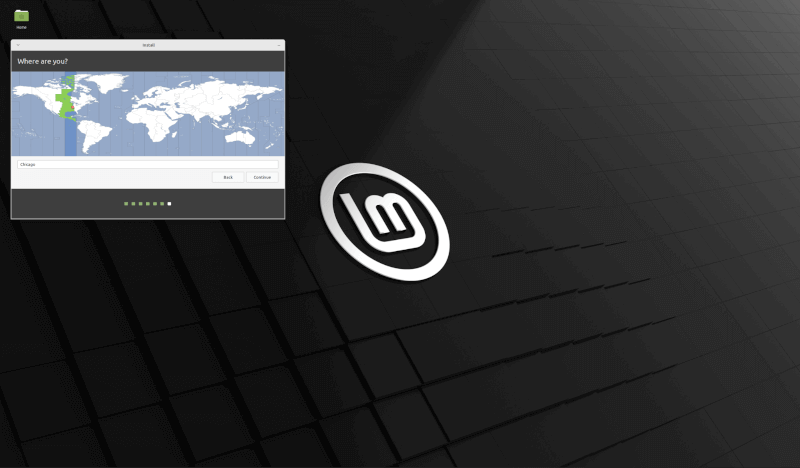
This point is where you select your timezone and you have multiple options across the continents.
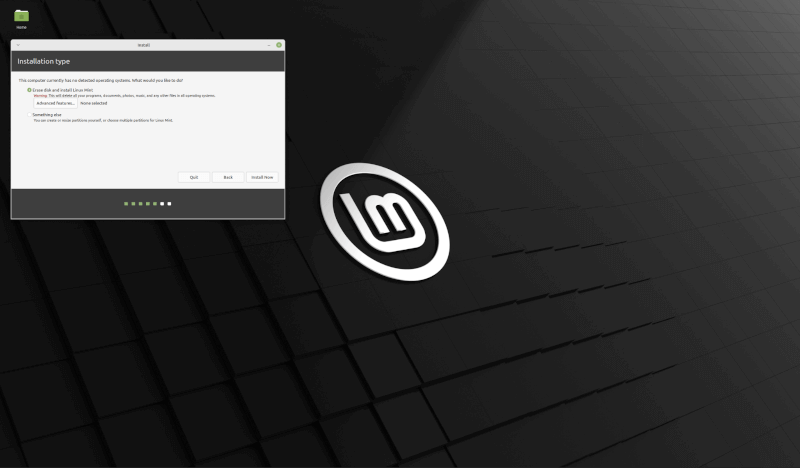
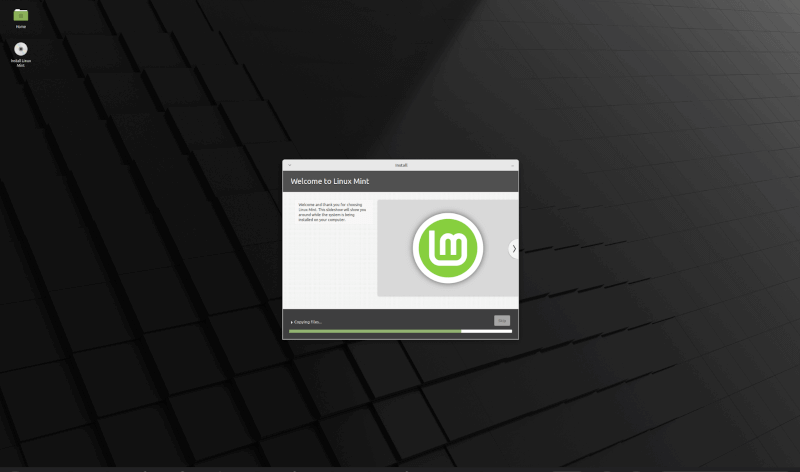
You’ll arrive at the screenshot below after you’ve entered your system name. Essentially, this is where the actual installation process begins.
Reviewing Linux Mint XFCE
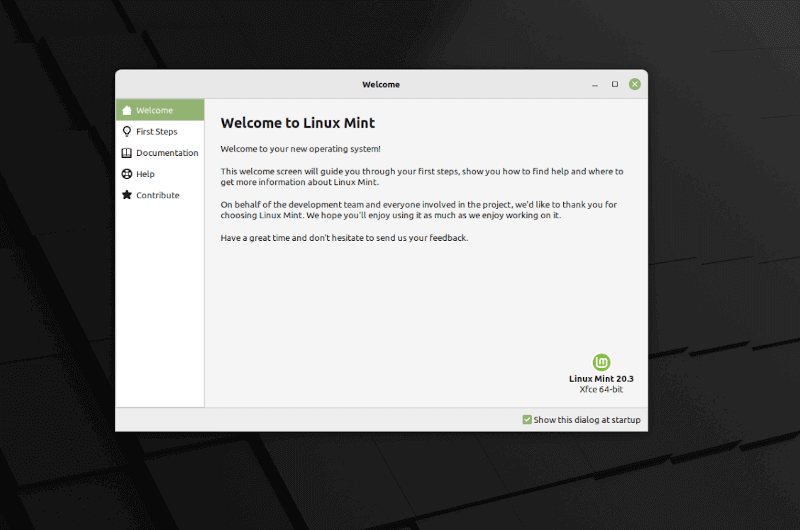
Once the installation process is done, you’re welcomed with the dialog below on restart. It basically gets you started with the most important things you may need.
From the first steps tab, you’re able to configure the color palette of your system. Right below that is a button to switch from light to dark and vice versa.
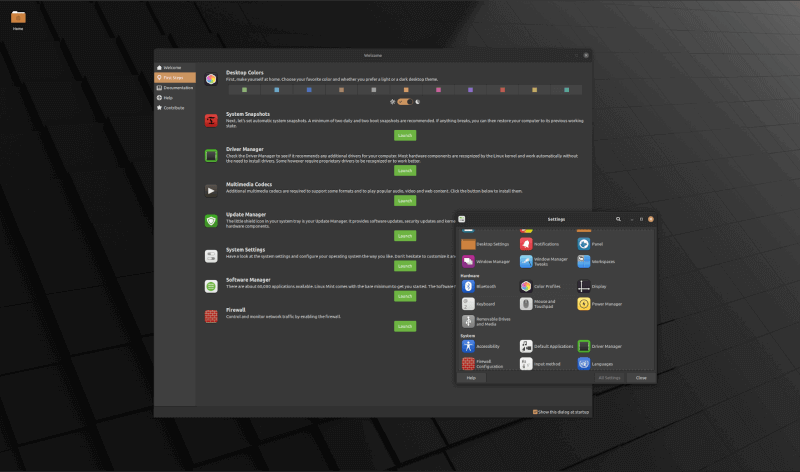
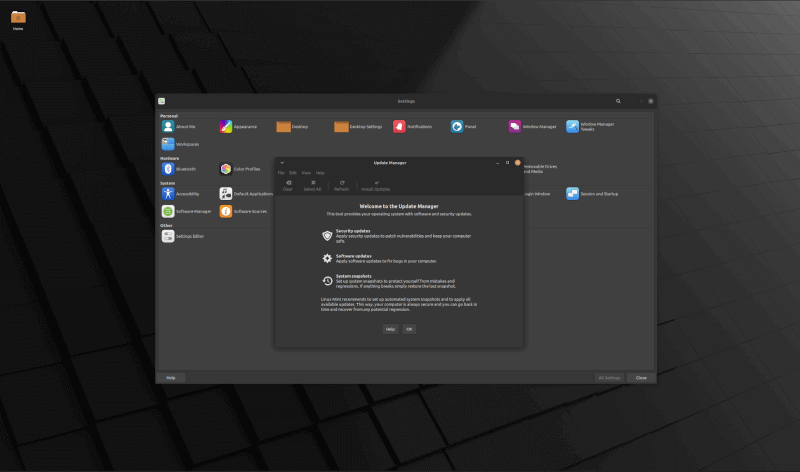
Perhaps my favorite thing to this day about Linux Mint is the update manager that’s pretty much easy to get acquainted with. You don’t have to mess around with the terminal. You can simply manage all your system updates via this little program.
Once you’ve satisfied the installation requirement you can head on to the bundled app store that you can utilize to download a variety of applications. The next step, configure Timeshift under system snapshot to ensure the safety of your data at all times.
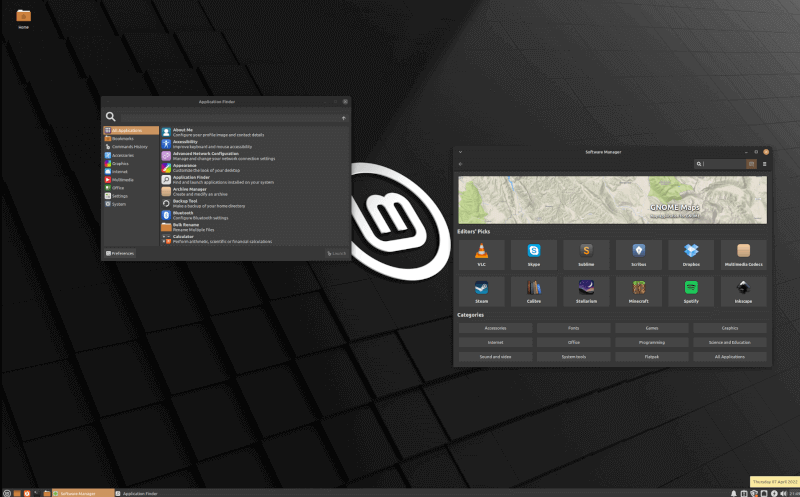
An alternative application to get apps from is the application finder which will enable you to shuffle through the options that have been made available via the system natively.
Takeaway
With an Ubuntu LTS release, we are actively enjoying the exploration of this Linux Mint 20.3 XFCE variant of the minty family of operating systems one of our systems here.
In the past, we covered some UI optimization recommendations that should be relatively okay to experiment with but we recommend against them as the default baked-in appearance customizer will do a much better job in terms of consistency.


Once it is installed there is NO menu, and no customization and linux mint cinnamon is so much slower than win7. for older tech, it is very disappointing…