ttyd is a lightweight, open-source command-line tool that enables you to share your Linux terminal session via a web browser. By using WebSockets, ttyd allows you to interact with the terminal remotely as if you were directly on the machine, making it ideal for remote administration, team collaboration, or educational demonstrations.
This tool wraps a terminal application (such as bash) and provides a simple, web-based interface accessible from any modern browser. With its ease of installation and customizable security features like basic authentication and SSL, ttyd is a powerful solution for accessing and sharing terminal sessions over the web.
Use Cases:
- Remote access to a Linux system from any device with a browser.
- Allow multiple users to interact with the same terminal.
- Demonstrate commands and workflows in real-time, useful for teaching or workshops.
This article will dive into the installation, configuration, and usage of ttyd on a Linux-based system.
Installing ttyd on Linux
The process of installing ttyd on a Linux system is straightforward, but it does require some dependencies. Below are the installation steps for a Debian-based system (such as Ubuntu). The process will differ slightly on other distributions, but the core steps remain similar.
First, ensure that your system has the required build tools and libraries installed.
sudo apt update
sudo apt install -y git cmake build-essential libjson-c-dev libwebsockets-dev
Next, clone the official ttyd repository from GitHub:
git clone https://github.com/tsl0922/ttyd.git
cd ttyd
Once the repository is cloned, create a build directory, run cmake, and compile the source code:
mkdir build
cd build
cmake ..
make
sudo make install
Basic Usage of ttyd in Linux
Once installed, ttyd can be run directly from the terminal by providing a shell command as an argument.
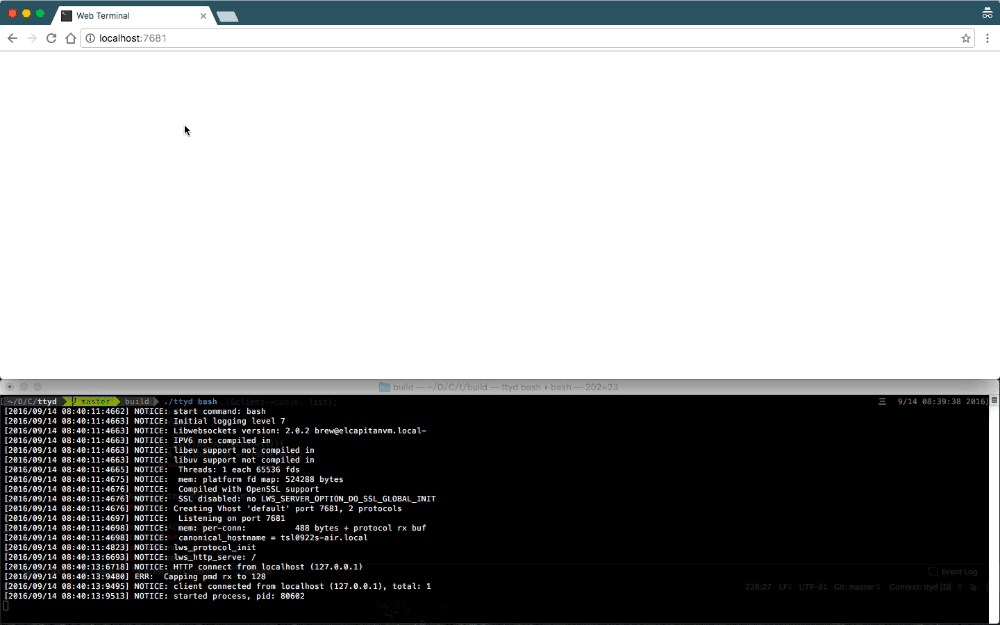
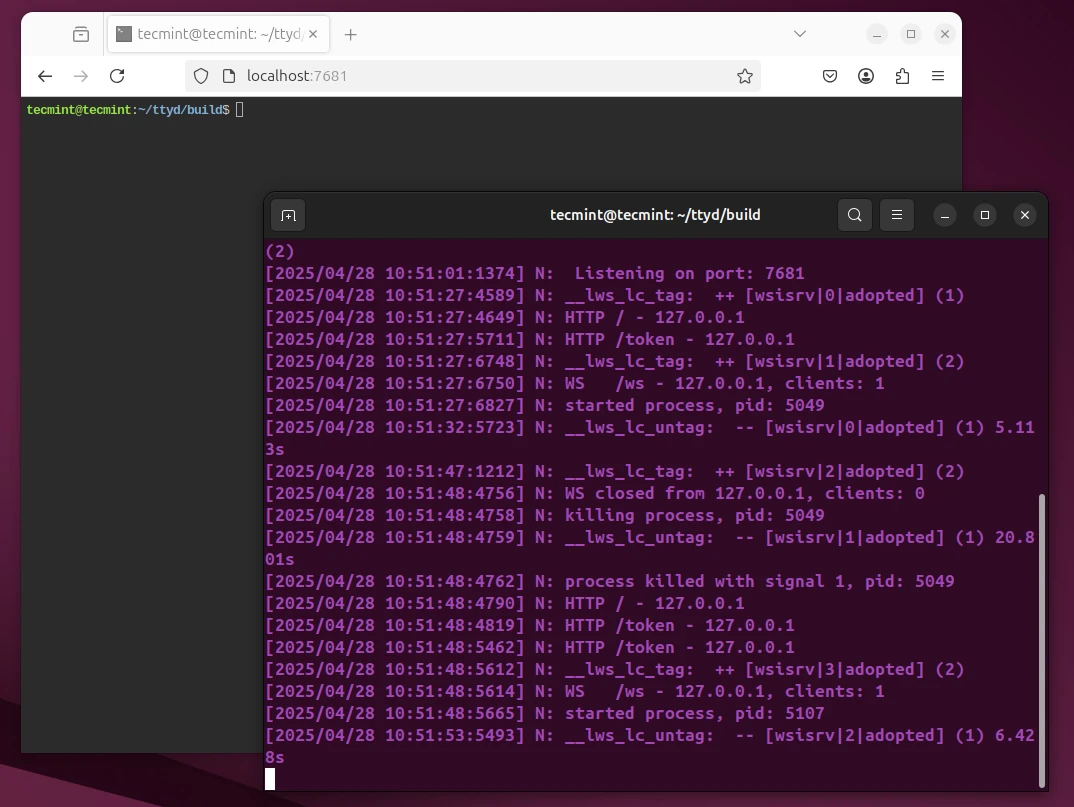
ttyd bash
This will start a web server on the default port (7681) and provide access to a bash shell through a web interface at the following URL.
http://localhost:7681
Open this address in a web browser, and you will see an interactive terminal where you can run shell commands.
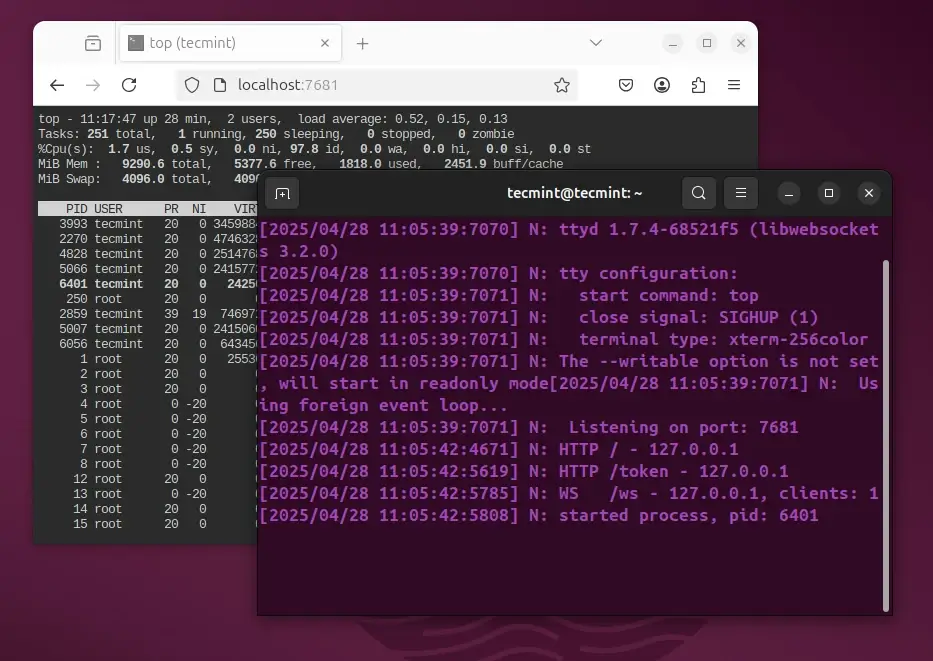
Instead of starting bash, you can also run other commands or applications within the terminal. For example, you can run top (a system monitor tool) in the terminal:
ttyd top
Sharing the Terminal Over the Web
By default, ttyd binds to localhost, making it only accessible from the local machine. To allow remote users to connect, you need to bind ttyd to a public or private IP address.
Binding ttyd to a Specific IP Address
You can specify the port and the address to which ttyd should bind:
ttyd -p 8080 bash
In this case, ttyd will listen on port 8080. If you need to access it from a different machine on the same network, you can use the machine’s local IP address:
http://local-ip:8080
To find your local IP address, use the following ip command:
ip a
If you need to expose ttyd over the internet, ensure that your UFW firewall allows inbound traffic on the chosen port, and forward the port through your router (if necessary).
Secure Your ttyd Web Terminal
Exposing a terminal to the web can introduce significant security risks if not configured properly. Below are some basic security measures you should take when using ttyd:
1. Enable Password Protection on ttyd
By default, ttyd does not require authentication. To add a layer of security, use the -c option to specify a username and password for access.
ttyd -p 8080 -c user:password bash
This will prompt users for the user and password credentials before granting access to the terminal.
2. Enable SSL for ttyd
To encrypt the communication between the client (browser) and the server, it’s highly recommended to enable SSL. You can run ttyd with SSL using the --ssl flag. However, you’ll need valid SSL certificates for this:
ttyd --ssl -p 443 bash
In this case, you would need to provide paths to your SSL certificate and private key (via --ssl-cert and --ssl-key options).
3. Limit ttyd Network Exposure
Instead of exposing ttyd to the public internet, consider using a VPN or setting up a reverse proxy (such as Nginx) to add additional layers of security.
Running ttyd on a private IP or limiting access with firewall rules is recommended for environments where security is critical.
Advanced Usage of ttyd
ttyd offers several command-line options for fine-tuning its behavior. Some of the most useful options are as follows:
-p <port>– Set the port on which the web server will listen.-c <user:password>– Enable basic authentication with the specified username and password.--ssl– Enable SSL/TLS for secure communication.-t <terminal>– Set terminal-specific settings, such as font size and color.
Conclusion
ttyd is a versatile and efficient tool for sharing terminal sessions over the web, which can be used for remote administration, collaboration, and educational purposes, and it’s simple to set up.
However, it’s crucial to apply proper security measures, such as authentication and SSL encryption, when using it in production environments.


Very helpful setup guide. Thanks
Hello sir,
Can i install gcc compiler in phpshell ?
Can we perform any future enhancement in this php shell???
why don’t u just read the whole article once again, and let us know where you got stuck
hi ,
as you told ..php shell is a good one for remote login but i could not able to understand . i have installed it in cent os….. so will you please explain one more time with an example?