

If you’re a Linux enthusiast or a seasoned sysadmin, you already know the importance of online privacy and security. A reliable VPN is a must-have tool in your arsenal, and ProtonVPN is one of the best options out there, due to its strong encryption, no-logs policy, and open-source transparency.
In this guide, I’ll show you how to install and set up ProtonVPN on Debian 12 (Bookworm) with the GNOME desktop environment, but it should also work with most distributions based on Debian (not Ubuntu Server or Raspbian), but they are not officially supported.
Why Choose ProtonVPN?
Before we dive into the installation, let’s quickly highlight why ProtonVPN stands out:
- Open-Source and Audited: ProtonVPN’s apps are open-source, meaning you can inspect the code yourself or rely on third-party audits for transparency.
- No-Logs Policy: ProtonVPN is based in Switzerland, a country with strong privacy laws, and they adhere to a strict no-logs policy.
- High-Speed Servers: With servers in over 110 countries, which ensures fast and reliable connections.
- Strong Encryption: It uses AES-256 encryption, Perfect Forward Secrecy, and secure protocols like OpenVPN and WireGuard.
- Free Tier Available: ProtonVPN offers a free plan, but comes with limitations, such as fewer server locations, potentially slower speeds, and possible data caps or other restrictions.
Step 1: Install ProtonVPN in Debian
First, ensure that all your installed system packages are up-to-date to reduce the chance of conflicts during installation.
sudo apt update -y
sudo apt upgrade -y
ProtonVPN provides an official repository package, which integrates seamlessly with GNOME. So, visit the official ProtonVPN download page and download the .deb package for Debian
Alternatively, you can use the following wget command to download it directly in the terminal.
wget https://repo.protonvpn.com/debian/dists/stable/main/binary-all/protonvpn-stable-release_1.0.6_all.deb
Navigate to the directory where the .deb file was downloaded (e.g., ~/Downloads) and install it using:
sudo dpkg -i protonvpn-stable-release_1.0.6_all.deb
Then, update your package list to include the new ProtonVPN repository.
sudo apt update
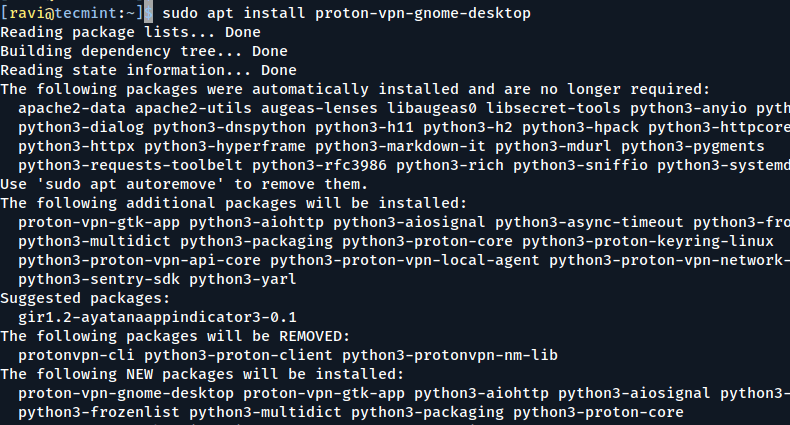
Now, install the ProtonVPN app designed for the GNOME desktop environment:
sudo apt install proton-vpn-gnome-desktop
Step 2: Set Up ProtonVPN in Debian
Once the installation is complete, you can launch the ProtonVPN app from your application menu or by running:
protonvpn
Upon launching, you’ll be prompted to log in, where you need to enter your ProtonVPN credentials. If you don’t have an account yet, you can sign up for ProtonVPN.
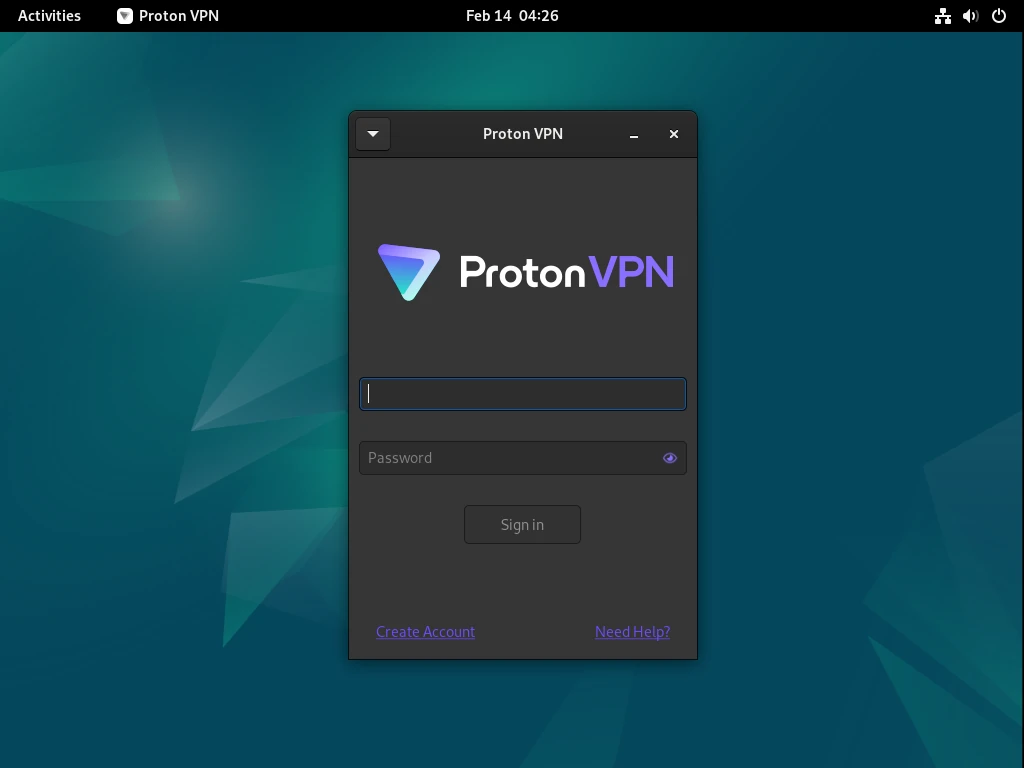
The ProtonVPN app will display a list of servers, you can connect to the fastest server, choose a specific country, or select a server optimized for streaming or P2P.
Click the Connect button, and ProtonVPN will establish a secure connection, you’ll see a notification in GNOME confirming that you’re connected.
To ensure your connection is secure, you can check your IP address:
curl ifconfig.me
You should see an IP address from the ProtonVPN server you connected to, not your real one.
To disconnect from ProtonVPN, simply open the app and click the Disconnect button. To reconnect, click Connect again.
Bonus: Enable the Kill Switch
ProtonVPN includes a kill switch feature, which blocks all internet traffic if the VPN connection drops, which ensures your privacy is always protected.
To enable the kill switch:
- Open the ProtonVPN app.
- Go to Settings > Advanced.
- Toggle the Kill Switch option to enable it.
Final Thoughts
ProtonVPN is a powerful and user-friendly VPN solution for Linux users, especially those on GNOME. Its seamless integration with the desktop environment, combined with robust security features, makes it an excellent choice for protecting your online privacy.
If you found this guide helpful, consider supporting the blog by signing up for ProtonVPN (affiliate link). It’s a win-win: you get a premium VPN service, and I get a small commission to keep the blog running.
Have questions or run into issues? Drop a comment below, and I’ll be happy to help!
