

This guide will walk you through installing SQL Server 2022 on RHEL 8.x or RHEL 9.x, connecting to it using the sqlcmd command-line tool, creating a database, and running basic queries.
Prerequisites
Before starting, ensure the following prerequisites are met:
- Make sure you’re using a supported version of RHEL (e.g., RHEL 8, or 9).
- You need sudo or root privileges to install software.
- At least 2 GB of RAM, 6 GB of free disk space, and a supported CPU architecture (x64).
Step 1: Enable SELinux Enforcing Mode on RHEL
SQL Server 2022 supports running on RHEL 8.x and 9.x. For RHEL 9, SQL Server can run as a confined application using SELinux (Security-Enhanced Linux), which enhances security.
First, you need to enable SELinux (optional but recommended for RHEL 9) to use SQL Server as a confined application.
sestatus
sudo setenforce 1
The command is used to enable SELinux enforcement mode, if SELinux is disabled in the configuration file (/etc/selinux/config), this command won’t work and you will need to enable SELinux in the file and reboot your system.
Open the file located at /etc/selinux/config using any text editor you prefer.
sudo vi /etc/selinux/config
Change the SELINUX=disabled option to SELINUX=enforcing.
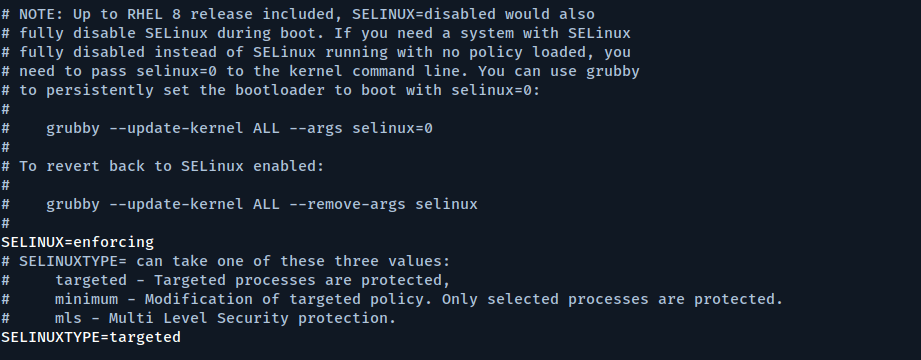
Restart your system for the changes to work.
sudo reboot
After the system reboots, check the SELinux status to confirm it’s in Enforcing mode:
getenforce
It should return Enforcing.
Step 2: Install SQL Server on RHEL
Run the following curl command to download and configure the Microsoft SQL Server Repositoryry:
sudo curl -o /etc/yum.repos.d/mssql-server.repo https://packages.microsoft.com/config/rhel/$(rpm -E %{rhel})/mssql-server-2022.repo
Next, install the SQL Server package using the following command:
sudo yum install -y mssql-server
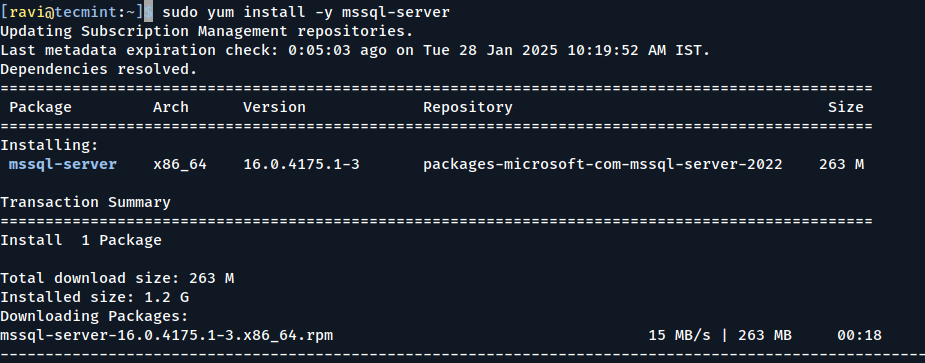
If you want to run SQL Server with extra security, you can install the mssql-server-selinux package, which adds special rules to help SQL Server work better with SELinux.
sudo yum install -y mssql-server-selinux
After the installation is done, run the setup script and follow the instructions to set a password for the ‘sa‘ account and pick the edition of SQL Server you want. Remember, these editions are free to use: Evaluation, Developer, and Express.
sudo /opt/mssql/bin/mssql-conf setup
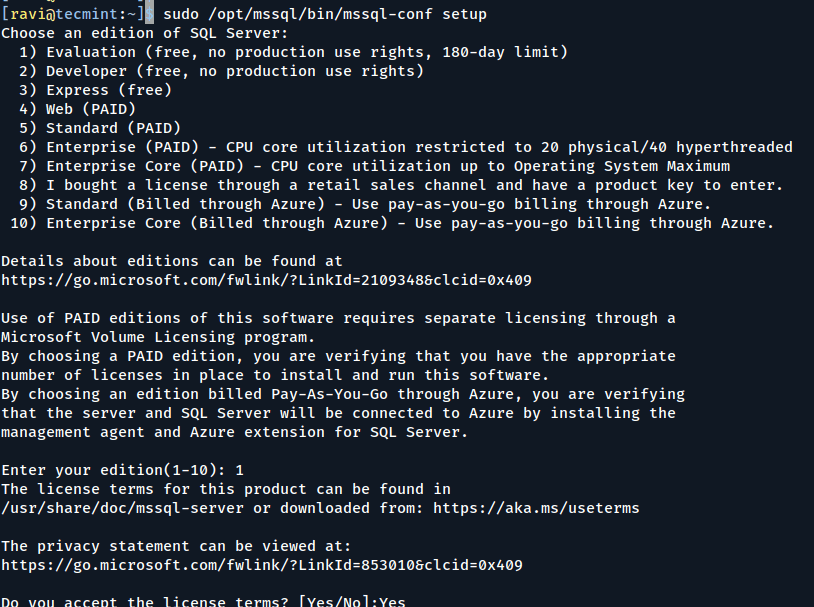
After installation, confirm that SQL Server is running.
sudo systemctl status mssql-server
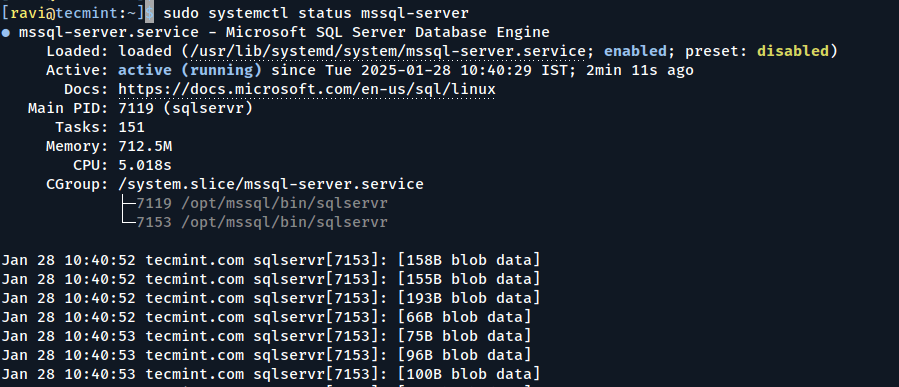
If it’s not running, start it with:
sudo systemctl start mssql-server
To allow remote connections, you need to open the SQL Server port on the RHEL firewall. By default, SQL Server uses TCP port 1433. If your system uses FirewallD for the firewall, run these commands:
sudo firewall-cmd --zone=public --add-port=1433/tcp --permanent
sudo firewall-cmd --reload
Now, SQL Server is up and running on your RHEL machine and is all set to use!
Step 3: Install SQL Server Command-Line Tools
To create a database, you need to use a tool that can run Transact-SQL commands on SQL Server. Here are the steps to install the SQL Server command-line tools such as sqlcmd and bcp utility.
First, download the Microsoft Red Hat repository configuration file.
For Red Hat 9, use the following command:
curl https://packages.microsoft.com/config/rhel/9/prod.repo | sudo tee /etc/yum.repos.d/mssql-release.repo
For Red Hat 8, use the following command:
curl https://packages.microsoft.com/config/rhel/8/prod.repo | sudo tee /etc/yum.repos.d/mssql-release.repo
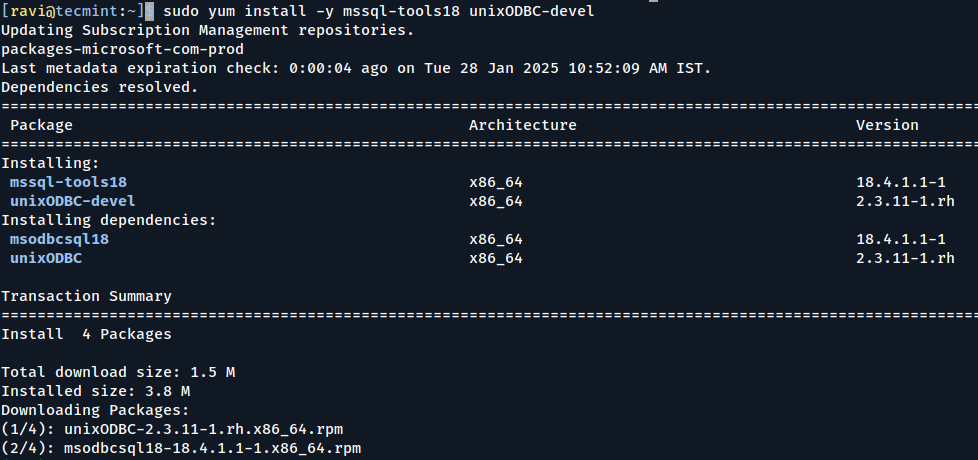
Next, run the following commands to install mssql-tools18 with the unixODBC developer package.
sudo yum install -y mssql-tools18 unixODBC-devel
To update to the latest version of mssql-tools, run the following commands:
sudo yum check-update
sudo yum update mssql-tools18
To make sqlcmd and bcp available in the bash shell every time you log in, update your PATH in the ~/.bash_profile file using this command:
echo 'export PATH="$PATH:/opt/mssql-tools18/bin"' >> ~/.bash_profile
source ~/.bash_profile
To make sqlcmd and bcp available in the bash shell for all sessions, add their location to the PATH by editing the ~/.bashrc file with this command:
echo 'export PATH="$PATH:/opt/mssql-tools18/bin"' >> ~/.bashrc
source ~/.bashrc
Step 4: Connect to SQL Server on RHEL
Once SQL Server is installed, you can connect to it using sqlcmd.
Connect SQL Server Locally
sqlcmd -S localhost -U sa -P '<password>' -N -C
-S– Specifies the server name (use localhost for local connections).-U– Specifies the username (use sa for the system administrator account).-P– Specifies the password you set during configuration.-N– Encrypts the connection.-C– Trusts the server certificate without validation.
If successful, you’ll see a prompt like this:
1>
Create a New SQL Database
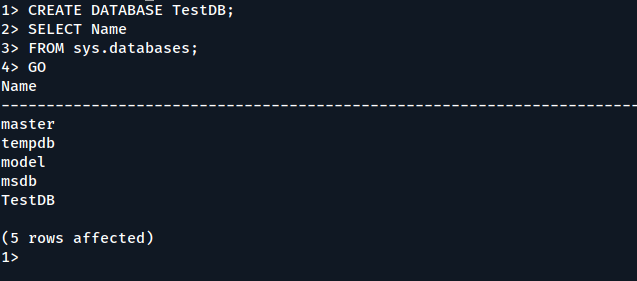
From the sqlcmd command prompt, paste the following Transact-SQL command to create a test database:
CREATE DATABASE TestDB;
On the next line, write a query to return the name of all of the databases on your server:
SELECT Name
FROM sys.databases;
The previous two commands aren’t executed immediately. You must type GO on a new line to execute the previous commands:
GO
Insert Data into SQL Database
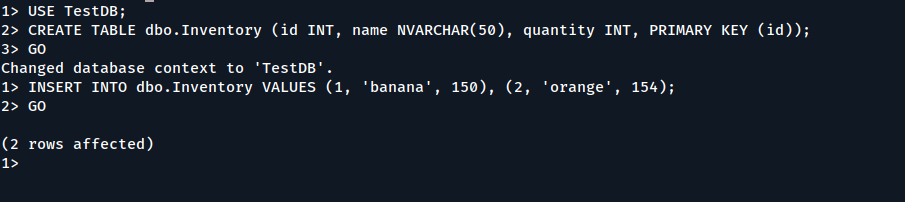
Next, create a new table, dbo.Inventory, and insert two new rows.
USE TestDB;
CREATE TABLE dbo.Inventory (id INT, name NVARCHAR(50), quantity INT, PRIMARY KEY (id));
Insert data into the new table.
INSERT INTO dbo.Inventory VALUES (1, 'banana', 150), (2, 'orange', 154);
Type GO to execute the previous commands:
GO
Query Data into SQL Database
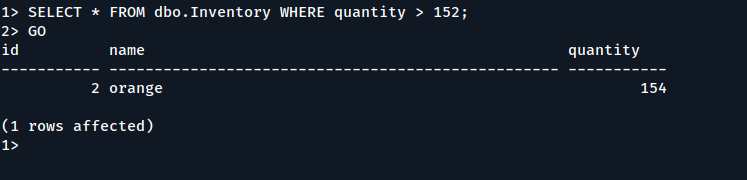
From the sqlcmd command prompt, enter a query that returns rows from the dbo.Inventory table where the quantity is greater than 152:
SELECT * FROM dbo.Inventory WHERE quantity > 152;
GO
To end your sqlcmd session, type QUIT:
QUIT
In addition to sqlcmd, you can use the following cross-platform tools to manage SQL Server:
- Azure Data Studio – A cross-platform GUI database management utility.
- Visual Studio Code – A cross-platform GUI code editor that runs Transact-SQL statements with the mssql extension.
- PowerShell Core – A cross-platform automation and configuration tool based on cmdlets.
- mssql-cli – A cross-platform command-line interface for running Transact-SQL commands.
Conclusion
By following this guide, you’ve successfully installed SQL Server 2022 on RHEL, configured it, and created your first database. You’ve also learned how to query data using the sqlcmd tool.
