SUSE Enterprise Linux Server (SLES) is a modern and modular Linux distribution that was developed mainly for servers and mainframes. It focuses on supporting production workloads and is typically used by large organizations to host and run applications.
SUSE also supports traditional IT environments and is also available for desktop/workstation lovers as SUSE Enterprise Linux Desktop (SLED). Check out the release notes for more information about SLES 15 SP4.
SUSE Enterprise Linux Server provides a 60-day Evaluation that allows you to get patches and updates.
In this guide, we will demonstrate how to install SUSE Enterprise Linux Server 15 SP4.
System Requirements
Just before you get started out, ensure that your system meets the following requirements:
- Minimum 4 dedicated 64-bit CPU cores
- Minimum 2 GB RAM
- Minimum 24 GB of hard disk space.
- USB flash drive
Step 1: Download SUSE Linux Enterprise Server 15 SP4
The first step is to download the SUSE Enterprise Linux Server 15 SP4 ISO image. So, head over to the Official SUSE Download page and download the ISO that corresponds to your system’s architecture.
If you do not have a SUSE account yet, you will be required to create one and the following pop-up will appear. Fill in all the details and submit the form.
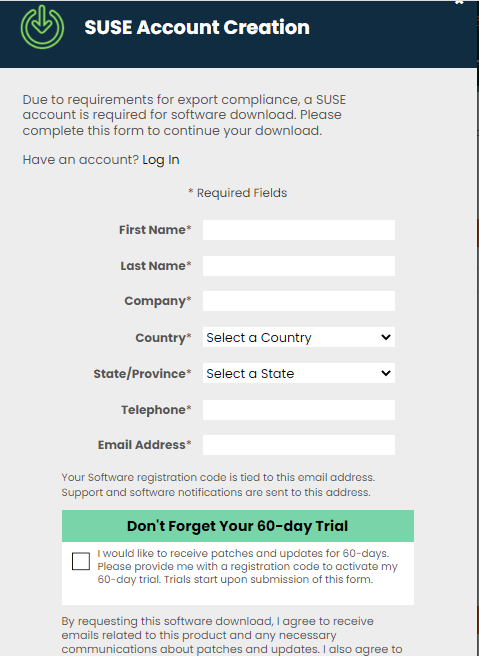
A link will be sent to your email account to activate your SUSE Account and direct you to the download link.
Step 2: Create a Bootable USB Drive Using the ISO Image
With the ISO image at hand, create a bootable USB drive with an application such as Ventoy, Balena Etcher, and Rufus. Check out our guide on top USB creation tools.
If your goal is to install on VirtualBox or VMware, ensure that you create a Virtual machine first and mount the ISO image.
For PCs, and bare metal hardware, plug the bootable media and reboot the system. Be keen to modify the BIOS settings to have the bootable medium as the first boot priority.
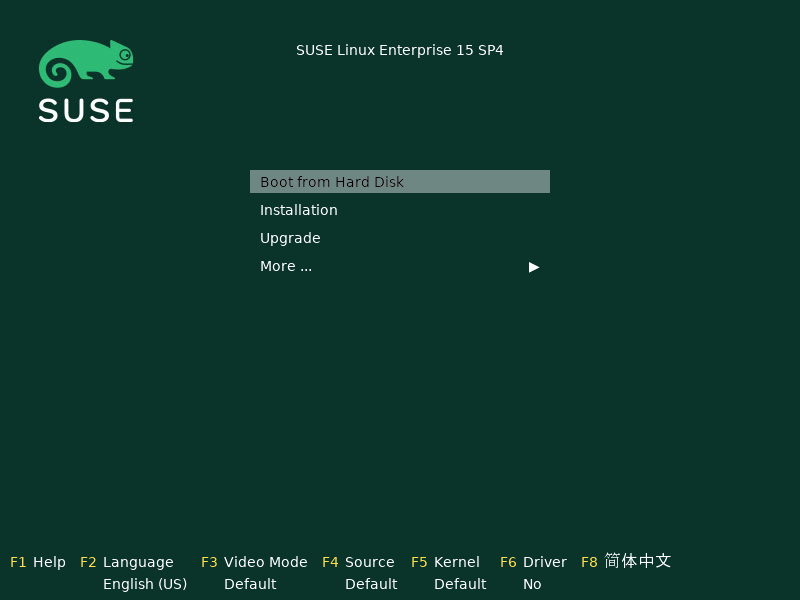
Step 3: Boot SUSE Linux Enterprise Server
Once the system has booted, select the ‘Installation’ option using the arrow down Key and press ‘ENTER’.
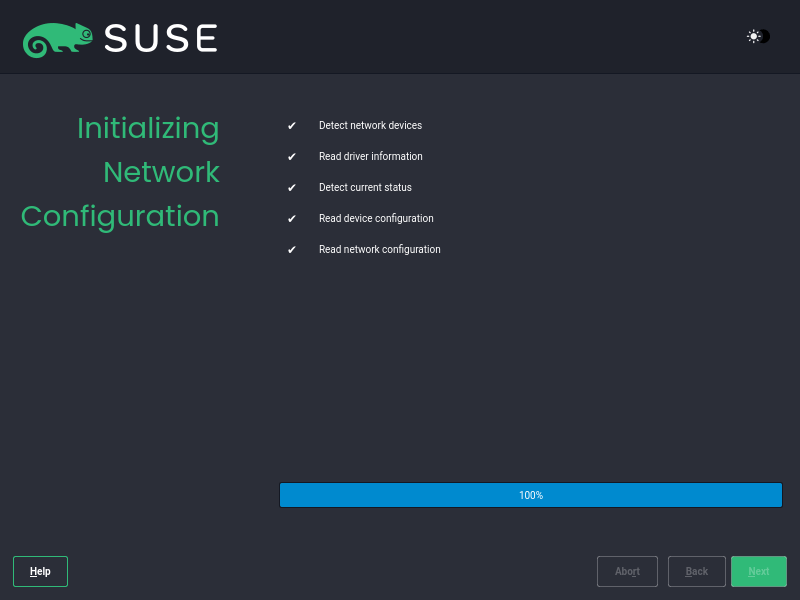
The installer will then initialize the Network configuration by detecting all the network devices, and reading the network configuration in place.
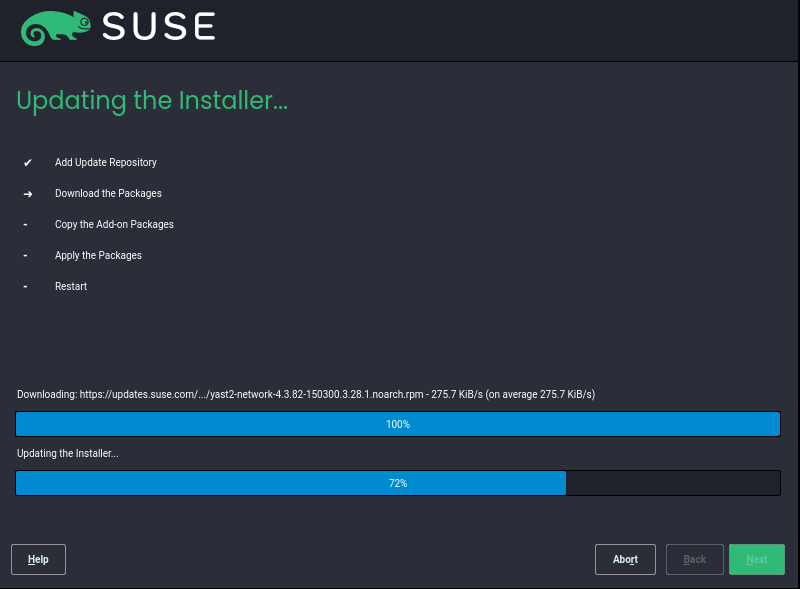
The update of the installer itself will follow thereafter.
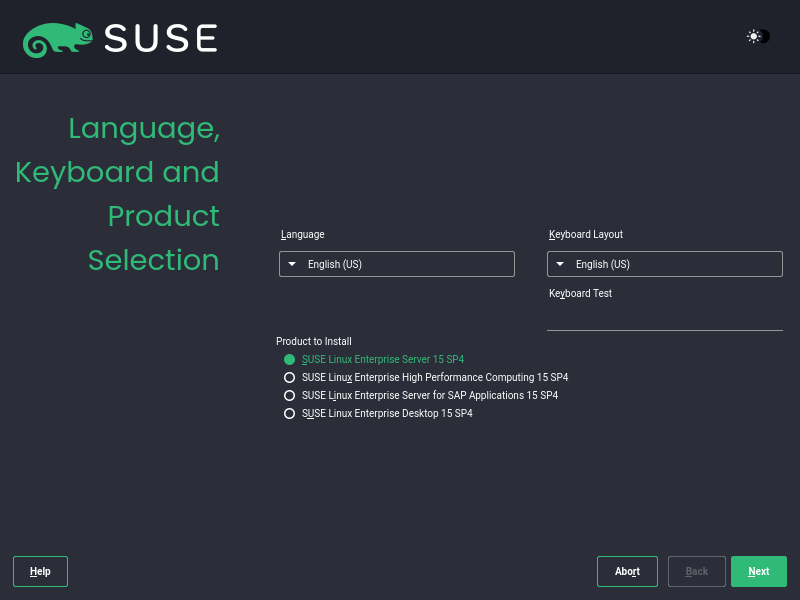
Step 4: Installing SUSE Linux Enterprise Server
In this step, be sure to select your preferred installation language, Keyboard layout, and the SUSE product that you would like to install.
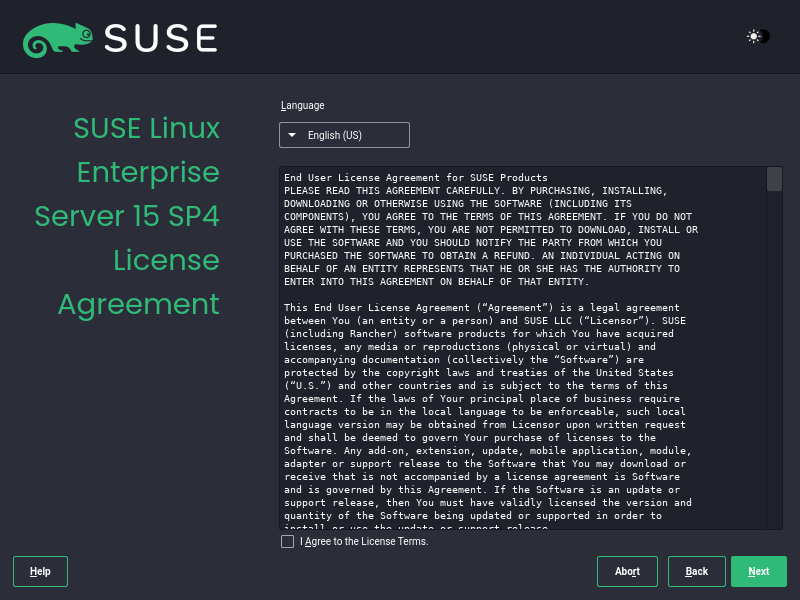
In the next step, feel free to skim through the license terms and check the ‘I Agree to the License Terms’, and click ‘Next’.
Configure SUSE Network
The SUSE installer has made it a bit tricky to access the Network section. For users installing SUSE Linux for the first time, they might unknowingly skip this step for lack of a dedicated ‘Network Settings’ step.
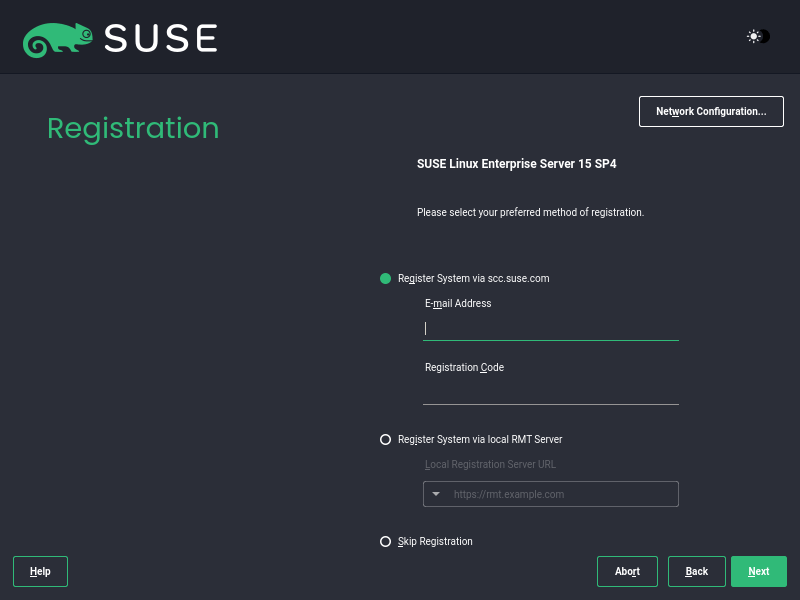
The trick to accessing the Network settings, click the ‘Network Configuration’ icon on the ‘Registration Page‘.
This takes you to the ‘Network Settings’ page. By default, the setting is set to acquire an IP using the DHCP protocol. This works just fine. If you are okay with this, Just press ‘Next’.
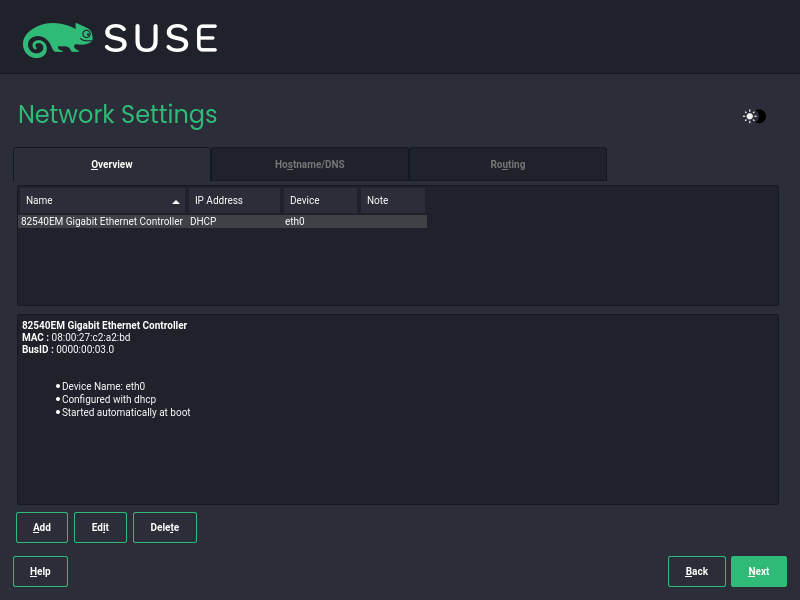
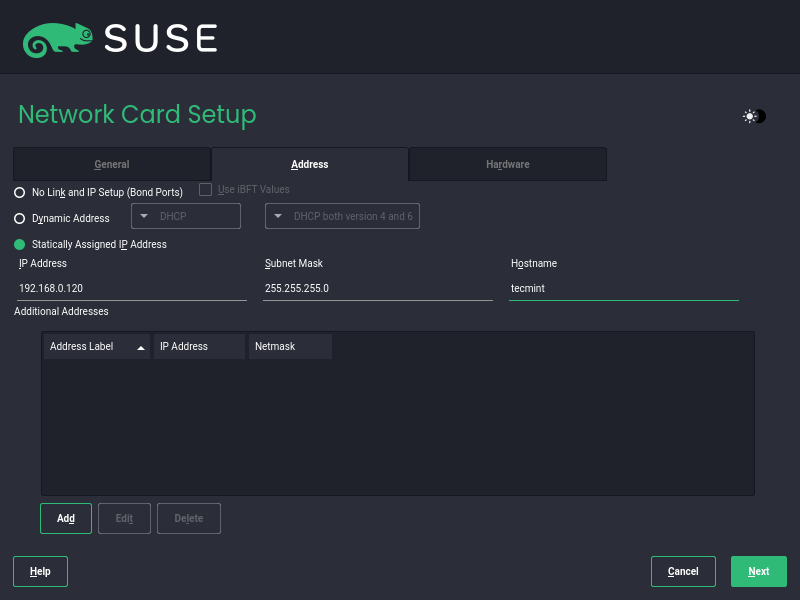
Otherwise, if you want to set a static IP, click on the ‘Edit’ button and select ‘Statically Assigned IP Address’ and provide the IP, subnet mask, and hostname. Then click ‘Next’.
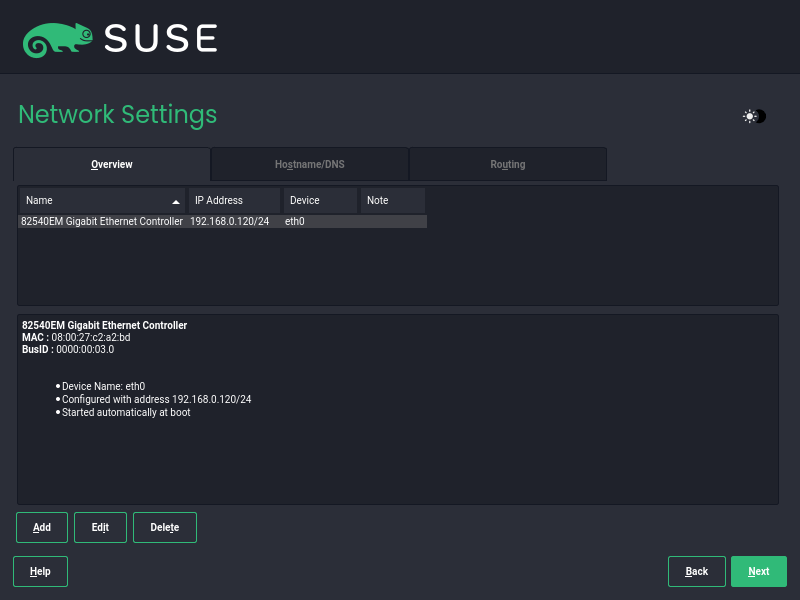
The next page provides a summary of the settings you have just entered.
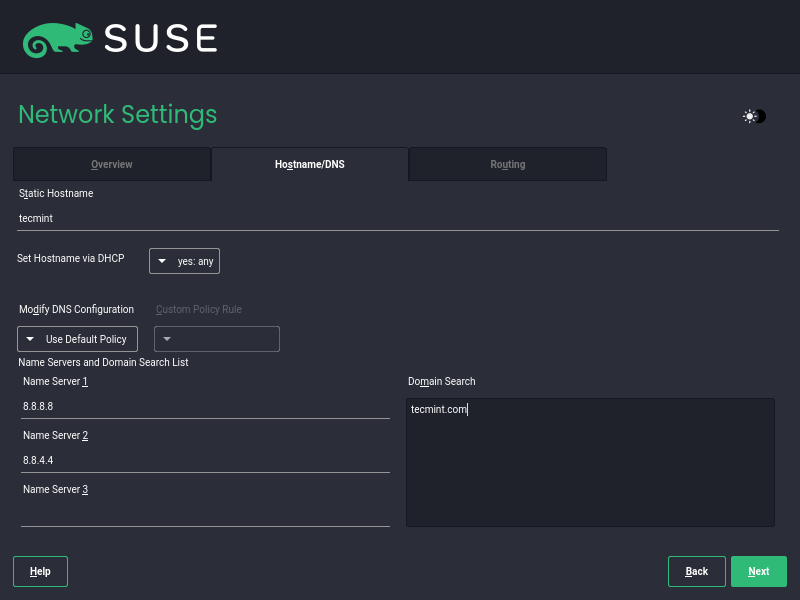
Next, click on the ‘Hostname/DNS’ tab and provide the Hostname and preferred Nameservers.
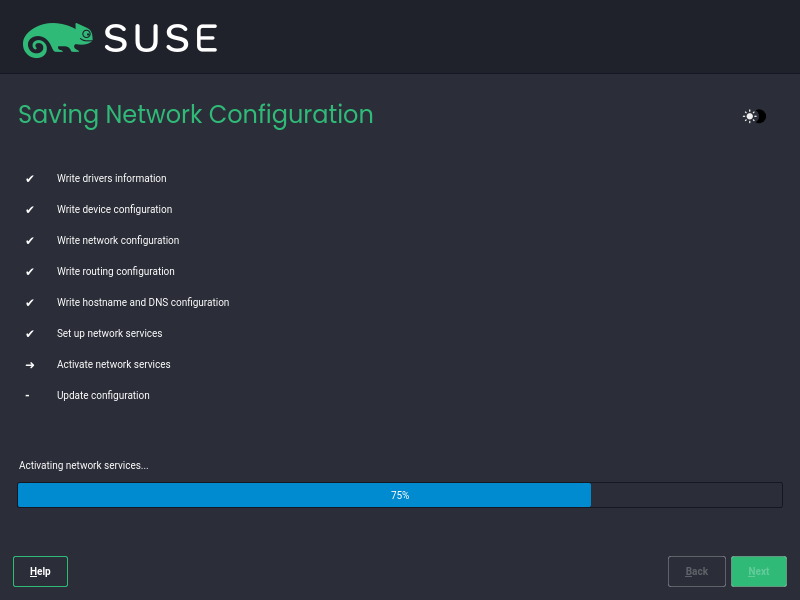
The installer will then save and activate your network settings.
Register SUSE Enterprise Linux
Back to the Registration section. This provides you with three options of how can go about registering your system.
- Register the system via scc.suse.com. This is a Customer Care portal for SUSE that helps you to manage your SUSE account and subscriptions.
- Register the system using a local RMT (Repository Monitoring Tool) Server provided by your organization.
- Skip registration and register the system later after the installation is complete.
Depending on your environment or convenience, you can select any of the options. If you already have the registration code at hand, just provide it and use the first registration option.
In this case, we will skip registration for now.
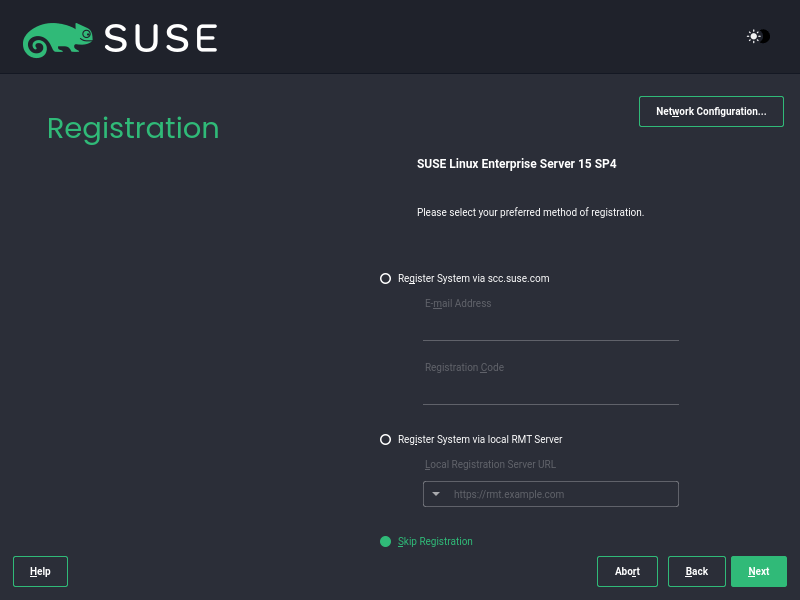
Then click ‘Next’ to move to the next step.
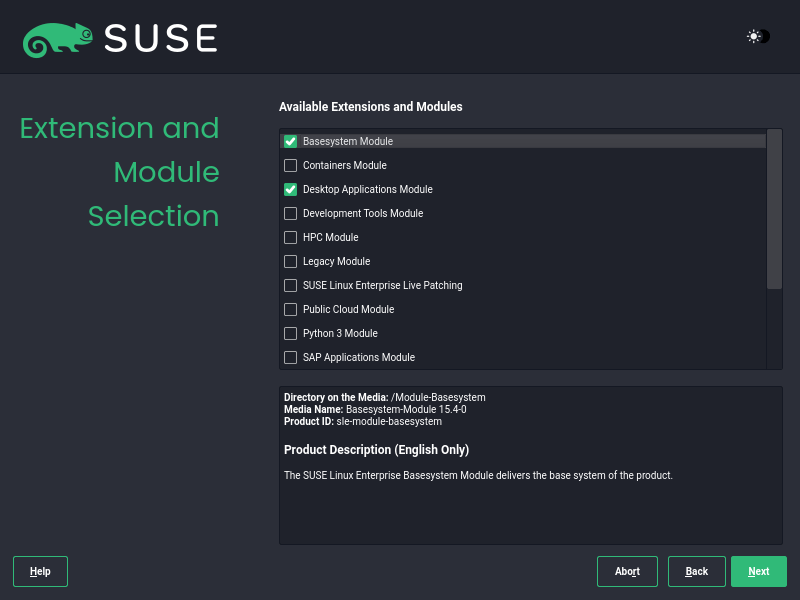
Choose SUSE Modules and Extensions
In this step, you will be required to select your preferred extensions and modules. The Basesystem-Module and Server-Application-Modules are already selected by default. Feel free to select your preferred modules and click ‘Next’.
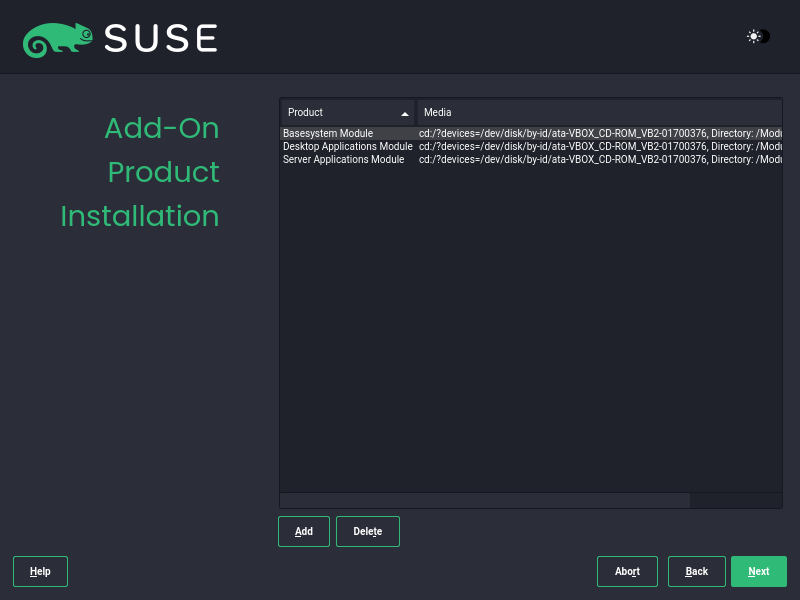
Next, a summary of the selected modules will be listed. You can add some Add-ons at this point. But if all looks great, click on ‘Next’.
Choose SUSE System Role
SUSE installer provides a number of pre-defined roles for various scenarios. By default, the following roles are provided:
- SLES with GNOME – This provides the GNOME desktop environment.
- Text Mode – Contains X Server but devoid of GNOME Desktop.
- Minimal – Provides minimal software selection for SUSE Enterprise Linux.
- KVM Virtualization Host – Provides the KVM kernel hypervisor.
- XEN Virtualization Host – Provides XEN bare-metal hypervisor.
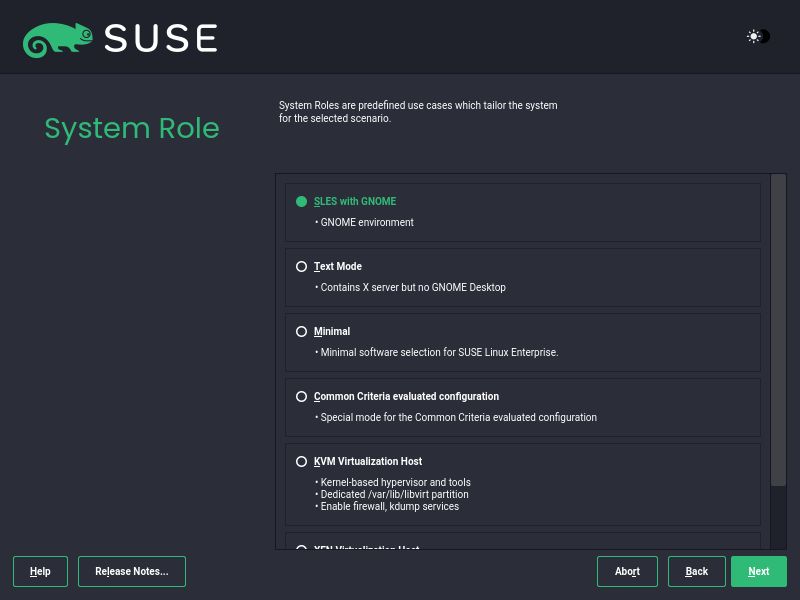
Select your preferred option and click ‘Next’.
Configure SUSE Partitioning
Next, you will be prompted to configure partitioning. You will be presented with two options – Guided Setup and Expert Partitioner. The latter allows you to manually partition the hard disk while the former allows the installer to automatically partition the disk.
In this guide, we will go with the ‘Guided Setup’ option to make things much simpler.
With the ‘Guided Setup’ option select the partitioning scheme and click ‘Next’.

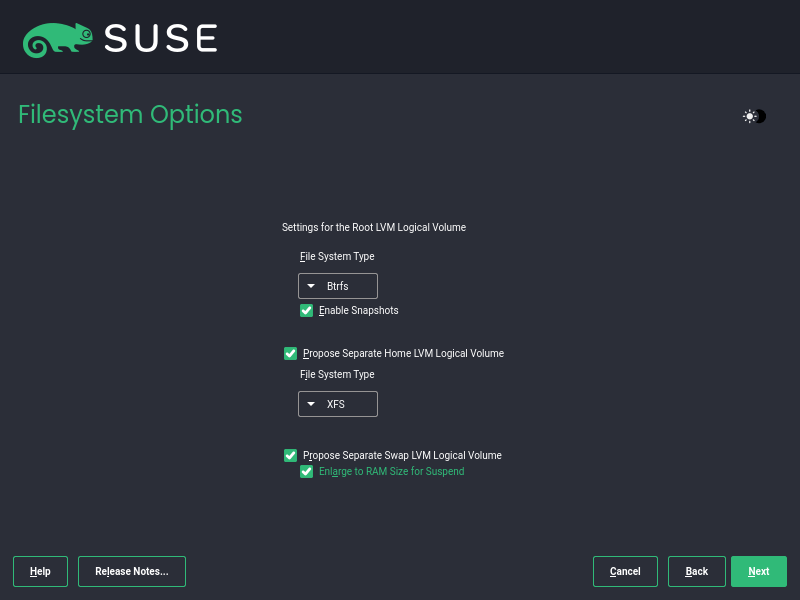
In the ‘FileSystem Options’ sections, specify the filesystem type for your partitions. Additionally, you can select whether to create Swap space or enlarge the size of the RAM when the system is suspended.
Then click ‘Next’.
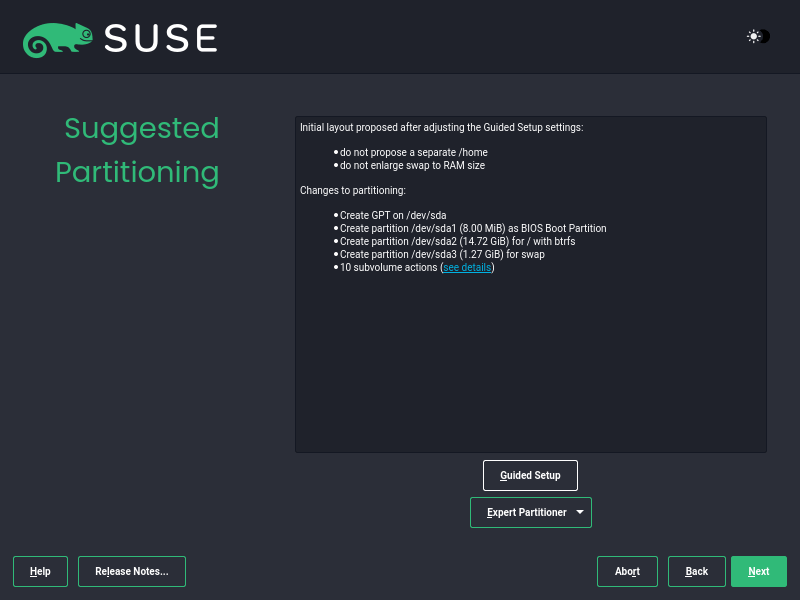
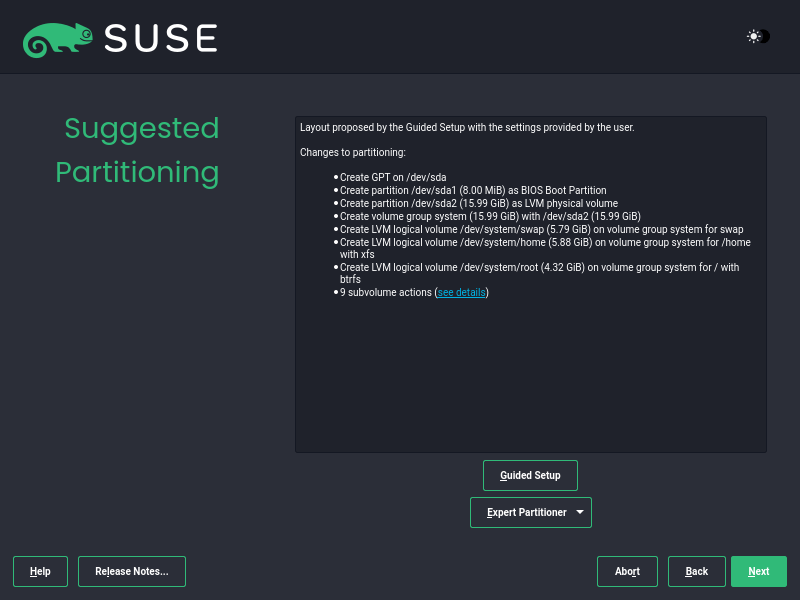
A summary of the partitions will be provided for you. Ensure that everything is ok, and click ‘Next’. Otherwise, head back and make the required changes.
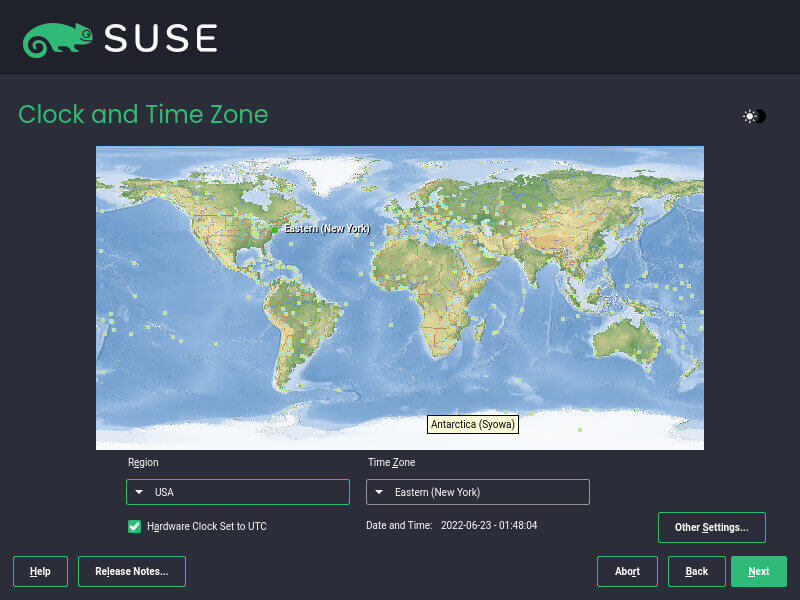
Configure Clock and TimeZone
In the next step, set your region, clock, and timezone and click ‘Next’.
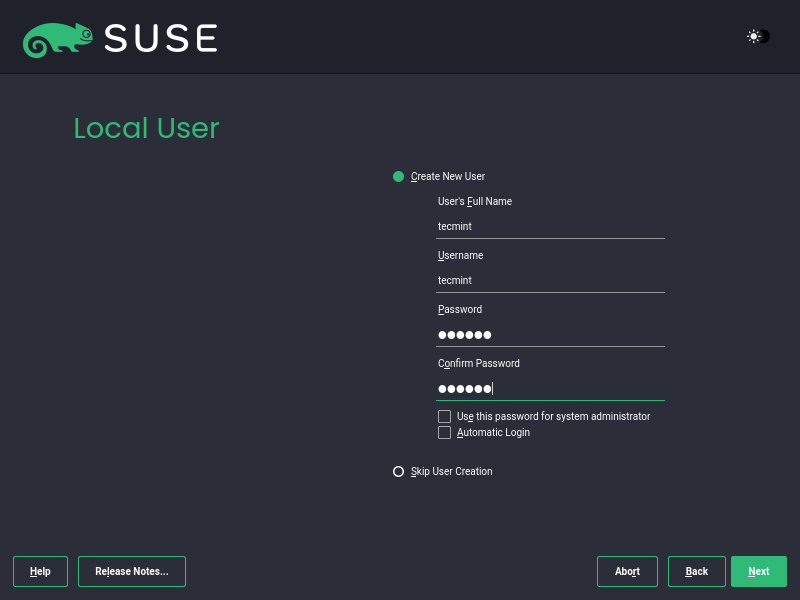
Create SUSE User Account
Next, create a regular system user by providing the username and password. Then click ‘Next’.
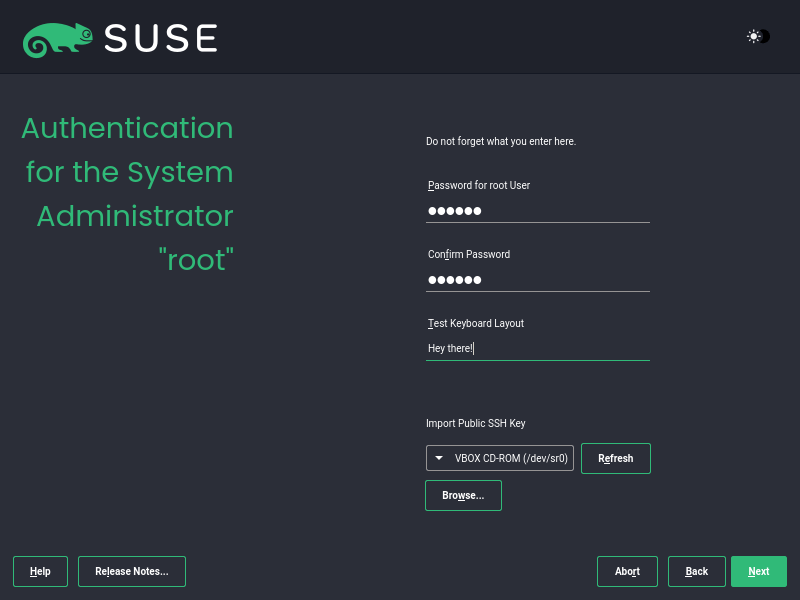
In the next step, configure the root password and hit ‘Next’.
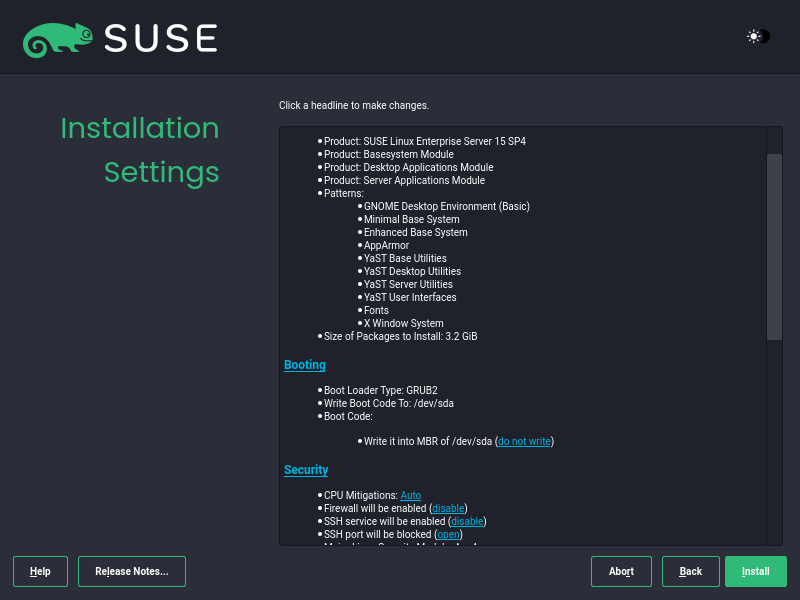
Begin SUSE Linux Installation
In this section, carefully review all the installation settings and if everything looks good, click ‘Install’.
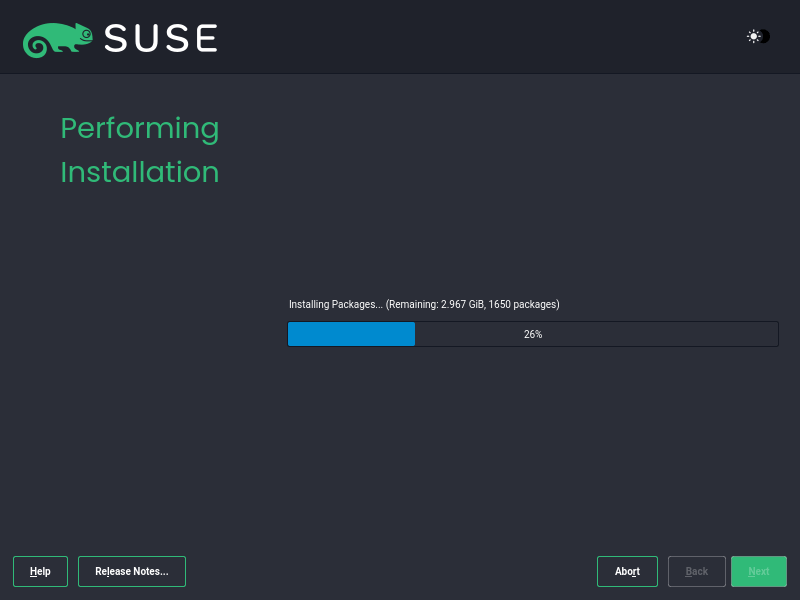
On the pop-up that appears, click ‘Install’ to confirm the installation of SUSE Linux.

The installation will commence and the installer will copy all the files and packages to your hard drive. This takes a while, so give yourself a tea break as the installer does everything for you.
Login into SUSE Linux Enterprise
When the installation is complete, the system automatically reboots without your intervention. This time around, select the ‘Boot from Hard disk’ option in order to boot into your SUSE Linux installation.

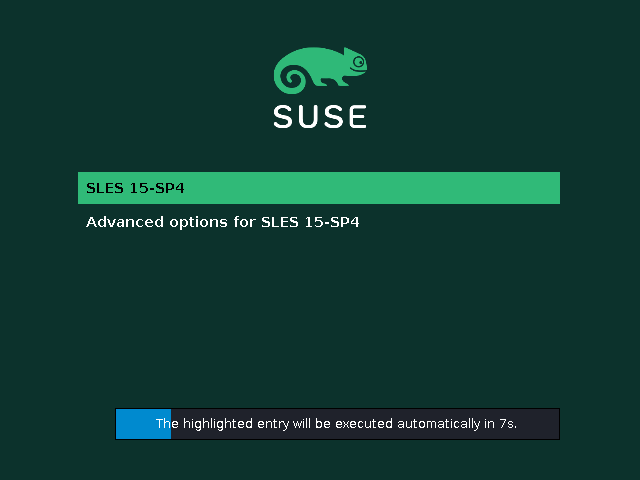
Shortly after, the GRUB menu will come to view. Be sure to select the first option.
On the login screen, log in with your password.
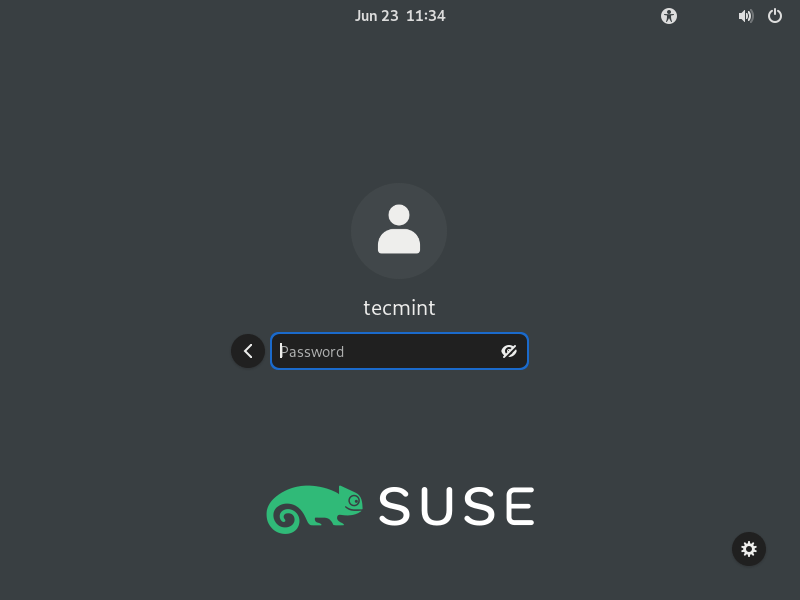
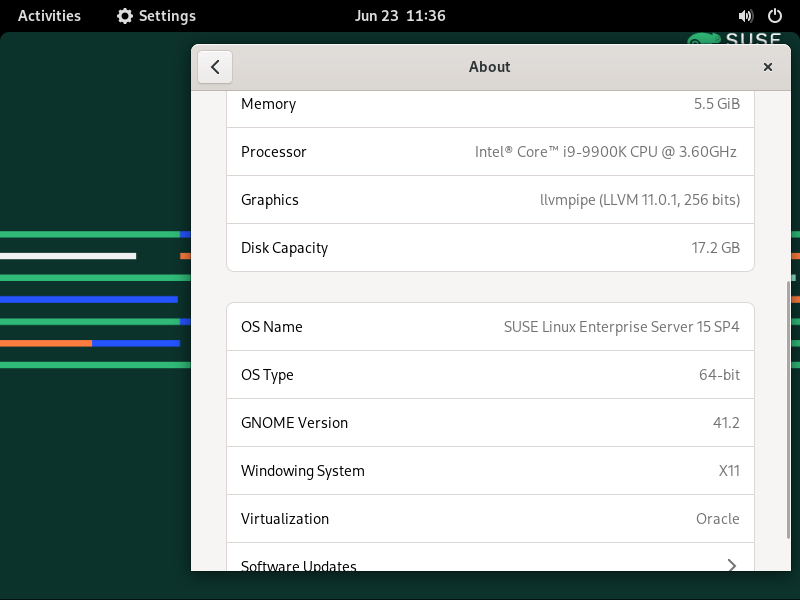
And this ushers you to SUSE Linux Enterprise Desktop.
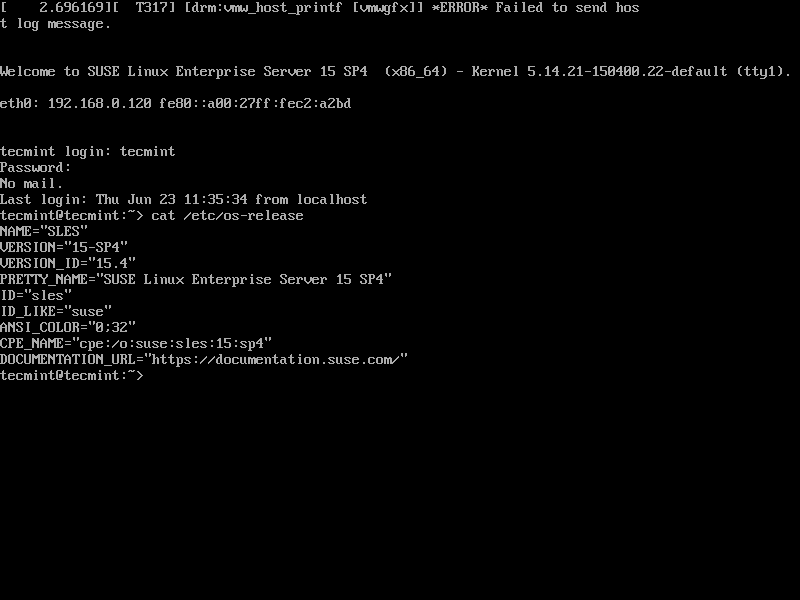
If you selected the ‘Minimal’ option in the ‘System Roles’ section, you will log in to the shell of your server.
Lastly, register your server using the SUSEConnect command-line utility using the following syntax.
$ SUSEConnect -r <ActivationCode> -e <EmailAddress>
Now you can update the package repositories using the zypper command shown.
$ sudo zypper ref
And that’s it. We have successfully installed SUSE Linux Enterprise Server 15. Just a reminder that this product comes with a 60-day evaluation period so be sure to make the most of it. All the best as you enjoy the goodies that come with the latest SUSE release.