Formerly known as just Pydio, Pydio Cells is an open-source document sharing and synchronization software that combines fast performance, granular security, huge file transfer sizes, and seamless workflow automation to enable seamless sharing of documents.
It’s an alternative to many popular SaaS solutions that help sync your data securely. Pydio/Cells can be accessed via PC, desktop, and even mobile platforms.
Pydio Features
Pydio offers the following features:
- File sharing across different internal users and other Pydio instances.
- Online viewing and editing of documents with the Collabora Office.
- Preview and editing of image files.
- Built-in audio and video reader.
- SSL/TLS Encryption.
- Dedicated workspaces for various departments/projects/clients with user rights management for each workspace.
- WebDAV file server.
- Integrated chat platform.
Prerequisites
To follow along in this guide, ensure that you have the following set of requirements in place.
- A Linux instance with a sudo user configured. For this guide, we are using Rocky Linux 9, but the instructions will also work on any RHEL-based or Debian-based distro, such as Ubuntu 22.04.
- MariaDB database server installed. Check out our guide on how to install MariaDB in RHEL and Debian systems.
In this guide, we will see how to install Pydio/Cells on Linux.
Step 1: Create a Database for Pydio
Pydio needs a database to store its data and initialize its structures. With the MariaDB database server in place, it’s recommended to have a dedicated database and a user with access to that database.
To create pydio database, you must have the MariaDB server installed on the system, if not let’s install it.
sudo dnf install mariadb-server   [On RHEL/CentOS/Fedora and Rocky/AlmaLinux]
sudo apt install mariadb-server   [On Debian, Ubuntu and Mint]
Once the installation is complete, you can start, enable, and verify the status of the MariaDB service.
sudo systemctl start mariadb
sudo systemctl enable mariadb
sudo systemctl status mariadb
Next, secure mysql installation using the command mysql_secure_installation script and follow on-screen instructions as shown.
sudo mysql_secure_installation
Now log in to the database server.
sudo mysql -u root -p
Create a database and database user as follows.
CREATE DATABASE pydiodb;
CREATE USER 'pydiodb'@'localhost' IDENTIFIED BY 'your-password';
Next, grant all permissions on the Pydio database to the Pydio user.
GRANT ALL PRIVILEGES ON pydiodb.* to 'pydiouser'@'localhost';
Next, flush the privileges and exit from the MariaDB shell as shown.
FLUSH PRIVILEGES;
EXIT;
With the database and database user in place, proceed to the next step.
Step 2: Install Pydio Cells
Pydio/Cells package is not available on the default repositories of Linux distributions. As such, the only way is to install it from the Pydio/Cells repository.
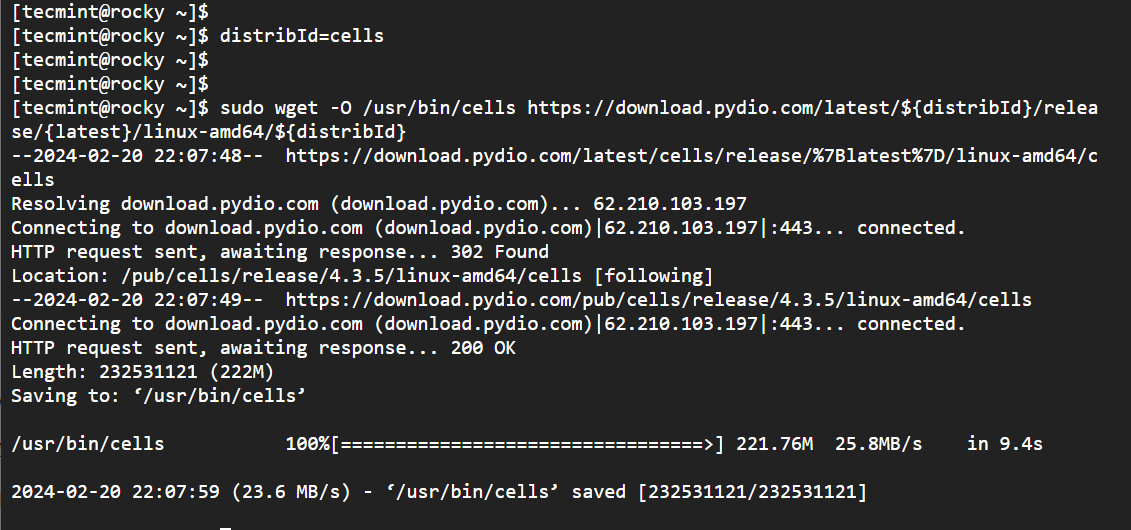
So, set an environment variable and then download and install Pydio to the /usr/bin/cells directory.
distribId=cells
wget -O /usr/bin/cells https://download.pydio.com/latest/${distribId}/release/{latest}/linux-amd64/${distribId}
Next, assign execute permissions to the /usr/bin/cells downloaded file.
sudo chmod +x /usr/bin/cells
Also, bind the file to the HTTP port as shown.
sudo setcap 'cap_net_bind_service=+ep' /usr/bin/cells
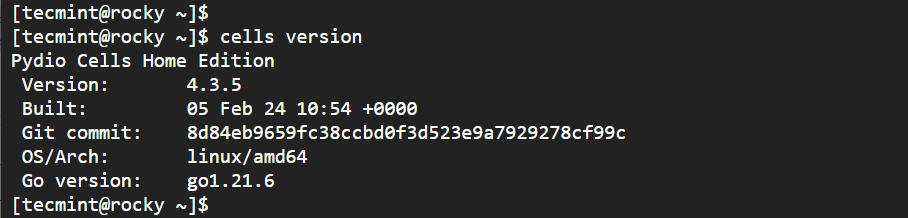
At this point, Pydio Cells is installed and you can check its version as shown.
cells version
Step 3: Setting up Pydio Cells
Once Pydio has been installed, the next step is to configure it to prepare it for final installation on the web browser.
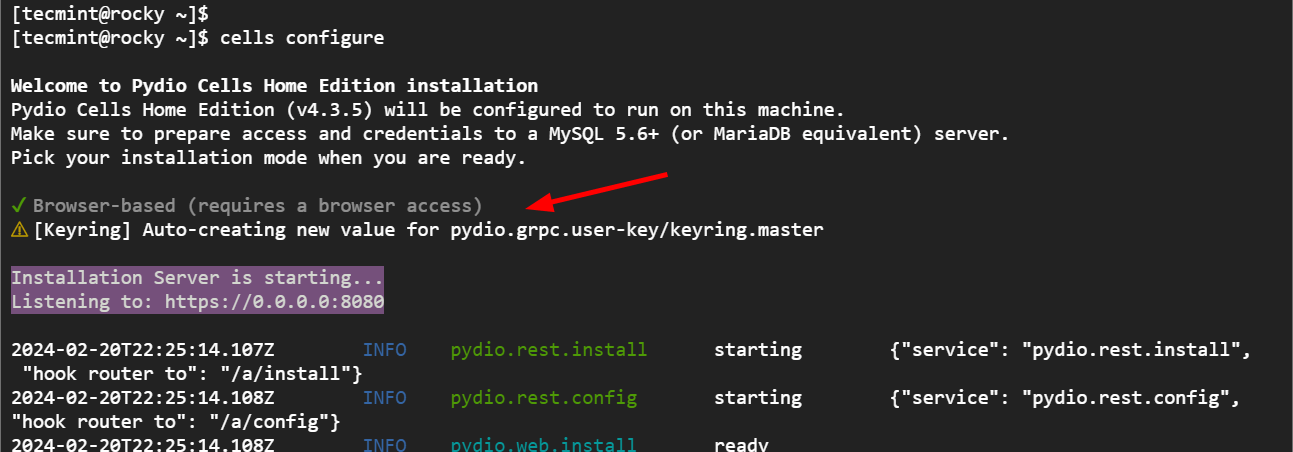
To configure Pydio Cells, run the command:
cells configure
The following output will be printed on the terminal. You will be prompted to select either browser-based or terminal-based installation. For simplicity. Select `Browser-based` installation which will guide you through the final setup from a web browser.
The Pydio server will be started and Pydio will listen on port 8080 from all IPv4 connections.
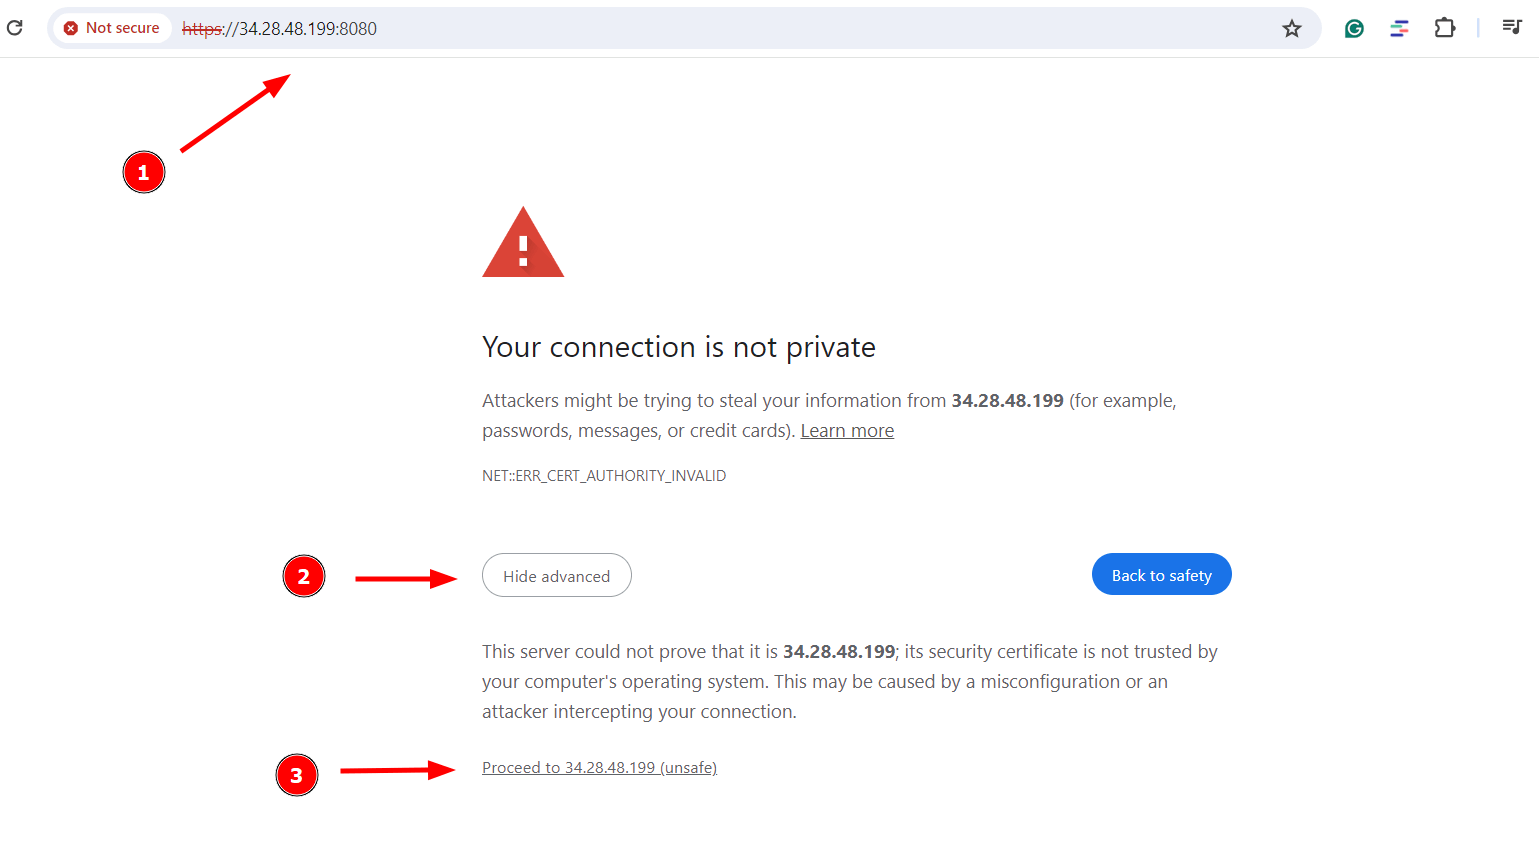
To complete the Pydio Cells installation, open your web browser and visit the server’s IP URL as shown:
https://server-ip:8080
On your web browser, you will see a `Your connection is not private` warning. This should not be a source of worry since it only shows the SSL certificate is not signed by a Certificate Authority.
So, click `Advanced` and then click `Proceed to server-ip-address`.
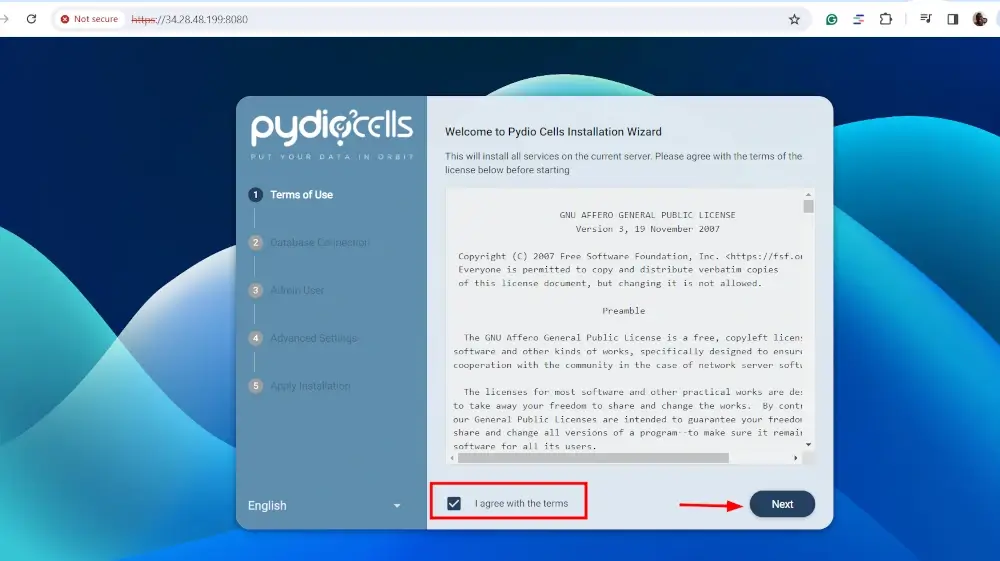
This will bring up the Pydio Cells as shown outlining the steps to be taken to complete the configuration. To proceed, accept the license terms, and click `Next`.
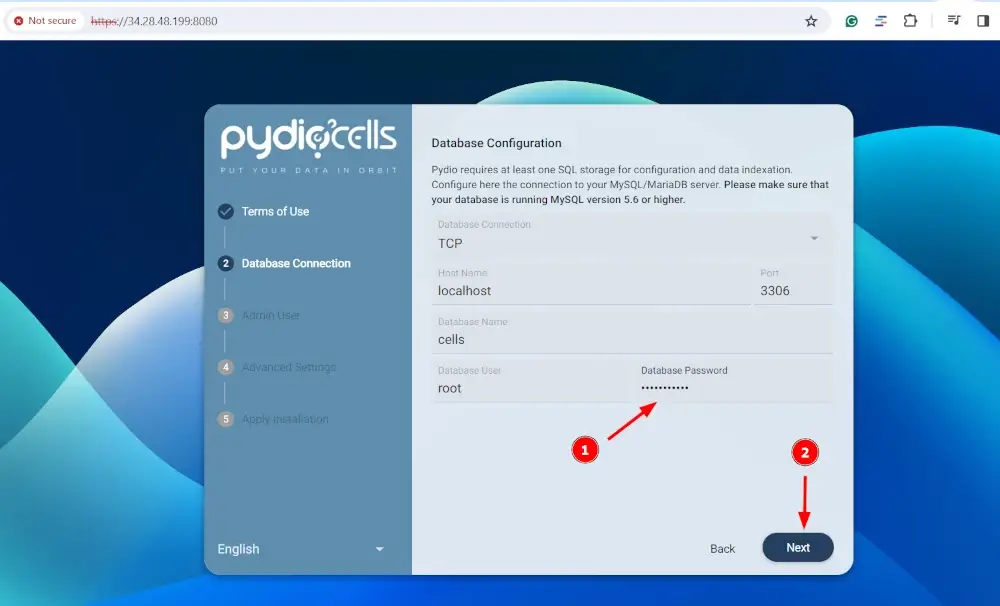
In the `Database Configuration` section, provide the database root’s password and hit `NEXT`.
The next step will require you to configure an Admin user for logging in to the web interface. So, provide the login name and the password. Then click `Next`.

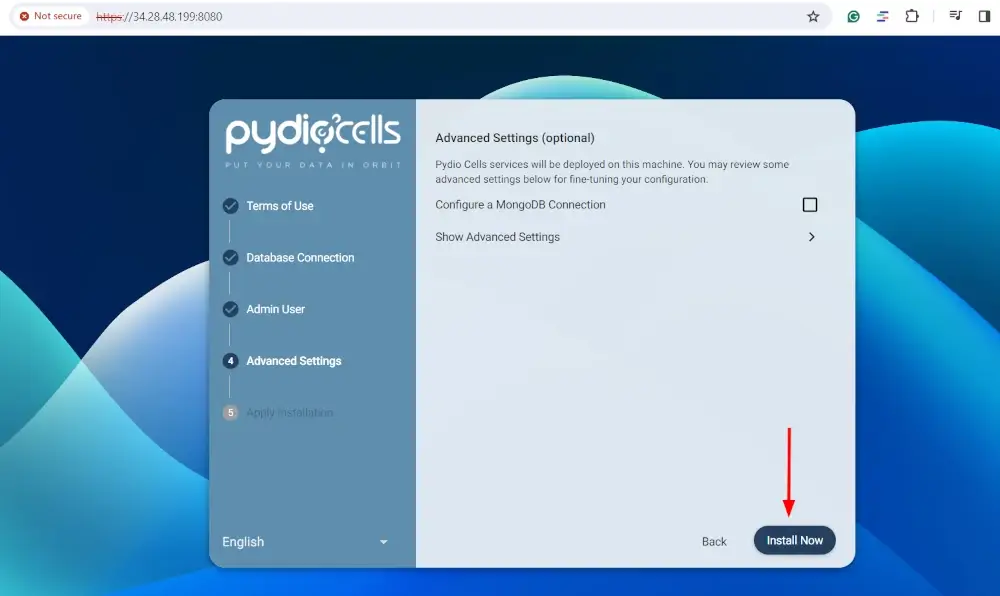
Finally, click `Install Now` to finish the installation.
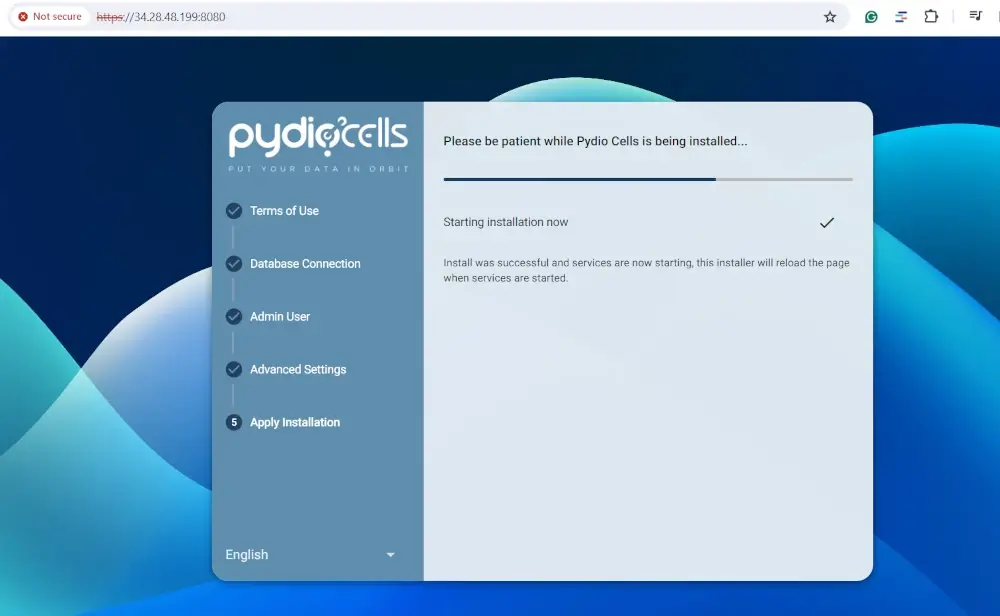
This takes a minute or two, so just be patient as Pydio Cells is being installed.
Finally, login with your Admin credentials and click ENTER.
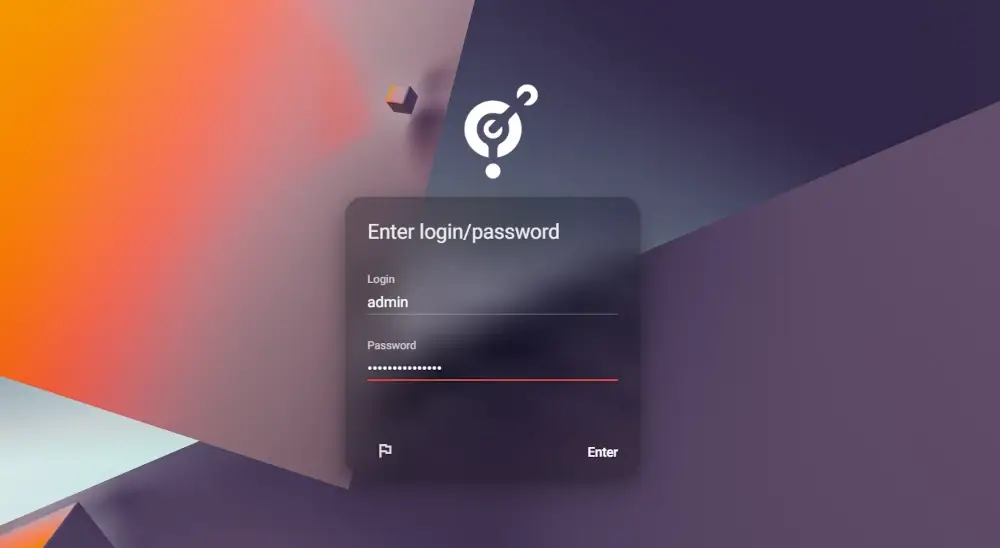
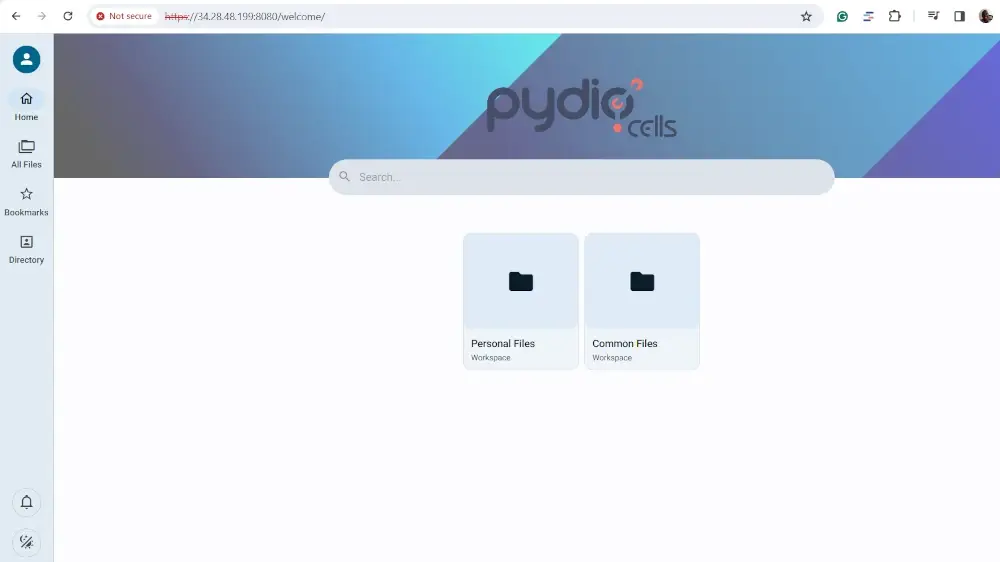
This ushers you to Pydio’s web dashboard as shown. You can decide to take a brief tour of the dashboard which will show you how to access basic features on the portal. Alternatively, you can skip the tour and explore the dashboard for yourself.
Step 4: Create a Pydio Systemd Service File
For easier management of the Pydio service, it’s recommended to create a systemd service file, which will allow you to start, stop, enable, and even check the running status of Pydio.
So back to the terminal, press `ctrl + c` to cancel out and stop Pydio.
To get moving, create a systemd file as shown.
sudo nano /etc/systemd/system/cells.service
Add the following lines of code.
[Unit]
Description=Pydio Cells
Documentation=https://pydio.com
Wants=network-online.target
After=network-online.target
AssertFileIsExecutable=/usr/bin/cells

[Service]
User=tecmint
Group=tecmint
PermissionsStartOnly=true
AmbientCapabilities=CAP_NET_BIND_SERVICE
ExecStart=/usr/bin/cells start
Restart=on-failure
StandardOutput=journal
StandardError=inherit
LimitNOFILE=65536
TimeoutStopSec=5
KillSignal=INT
SendSIGKILL=yes
SuccessExitStatus=0
WorkingDirectory=/home/tecmint

[Install]
WantedBy=multi-user.target
Once done, save the changes and exit the file. Next, reload systemd to enable the changes.
sudo systemctl daemon-reload
Next, enable and start the Pydio systemd service.
sudo systemctl enable cells
sudo systemctl start cells
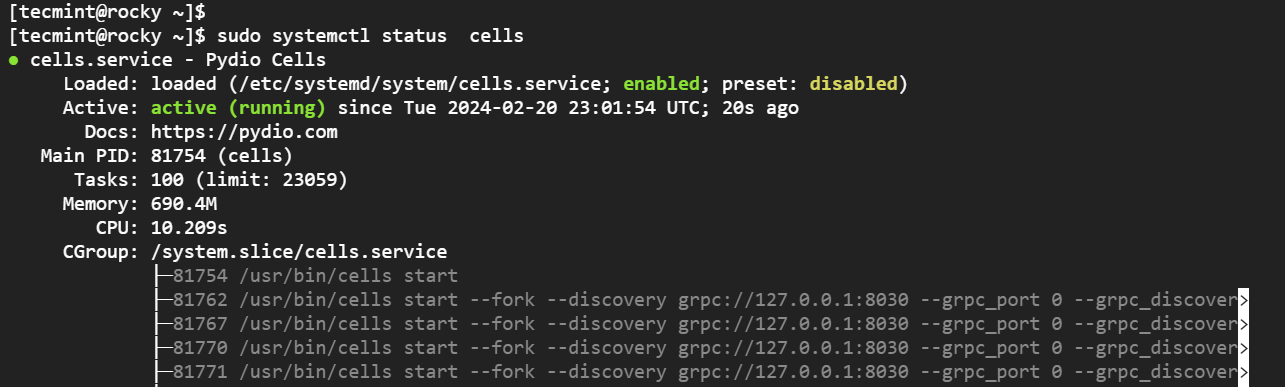
Be sure to also check the status to ensure that it is running.
sudo systemctl status cells
In the future, you can easily start, stop, restart, and manage the Pydio daemon using systemd.
Conclusion
In this guide, we have successfully, installed and configured Pydio Cells on Linux. You can now start sharing your documents and collaborating with other users.


I have configure Pydio as per above mentioned steps, but when i tried to share file via a link and trying to access the share link it gives error as:
Internal Server Error
The server encountered an internal error or misconfiguration and was unable to complete your request.
Please contact the server administrator at root@localhost to inform them of the time this error occurred, and the actions you performed just before this error.
More information about this error may be available in the server error log.
I have no idea, please help me..
@kumar
Try to look at the HTTPD error logs under /var/log/apache2/ directory. And give us the errors you see about Pydio.
@Zerant
Yes, give it a try, you could get interesting features
Hi,
I am using OwnCloud and I am pretty happy with it.
I think I will have a look at Pydio because it looks interesting.
One downside I think is that you need MariaDB or MySQL, OwnCloud allows you to use SQLite which might be enough for small companies or for private use.
Best,
Zerant