If you are a system administrator in charge of maintaining critical systems in enterprise environments, we are sure you know two important things:
1. Finding a downtime window to install security patches in order to handle kernel or operating system vulnerabilities can be difficult.
If the company or business you work for does not have security policies in place, operations management may end up favoring uptime over the need to solve vulnerabilities. Additionally, internal bureaucracy can cause delays in granting approvals for downtime. Been there myself.
2. Sometimes you can’t really afford downtime and should be prepared to mitigate any potential exposures to malicious attacks in some other way.
The good news is that Canonical has recently released its Livepatch Service to apply critical kernel patches to Ubuntu 22.04 LTS, 20.04 LTS, Ubuntu 18.04 LTS and Ubuntu 16.04 LTS without the need for a later reboot.
Yes, you read that right: with Livepatch, you don’t need to restart your Ubuntu server in order for the security patches to take effect.
Signing Up Livepatch for Ubuntu Server
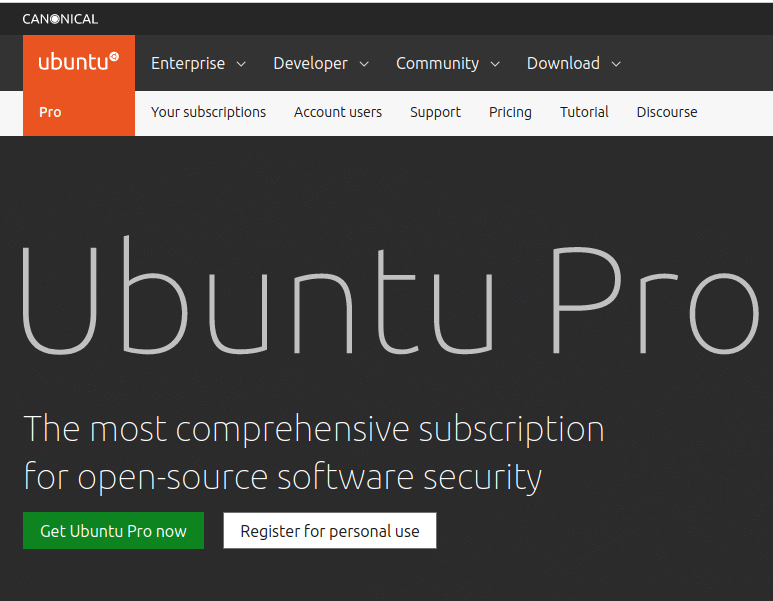
In order to use Canonical Livepatch Service, you need to sign up at the Livepatch Service and indicate if you are a regular Ubuntu user or an Ubuntu subscriber (paid option).
All Ubuntu users can link up to 5 different machines to Livepatch through the use of a token:
In the next step, you will be prompted to enter your Ubuntu One credential or sign up for a new account.
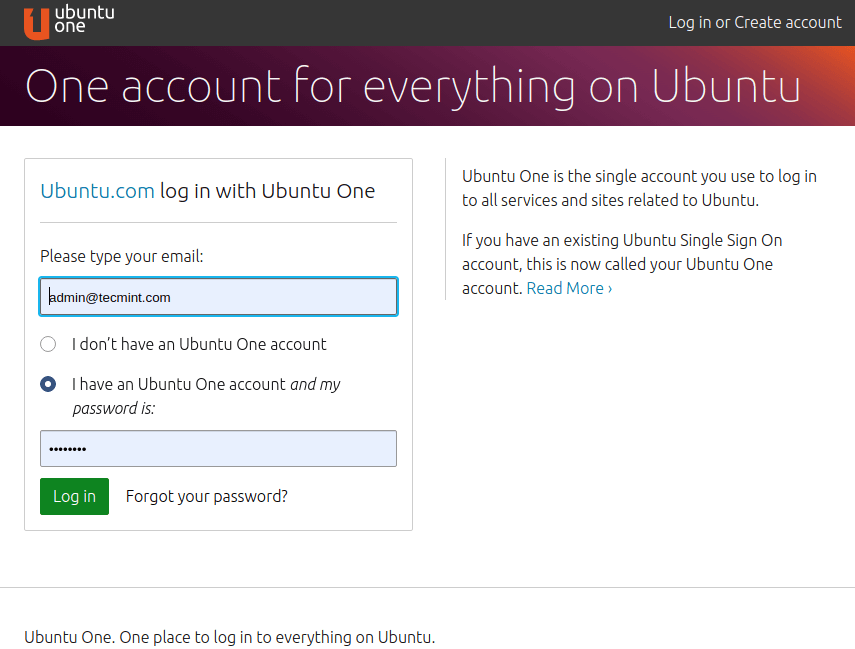
If you choose the latter, you will need to confirm your email address in order to finish your registration:

Once you click on the link above to confirm your email address, you’ll be ready to go back to Ubuntu Pro Dashboard and get your Livepatch token.
Enable Ubuntu Livepatch with Token
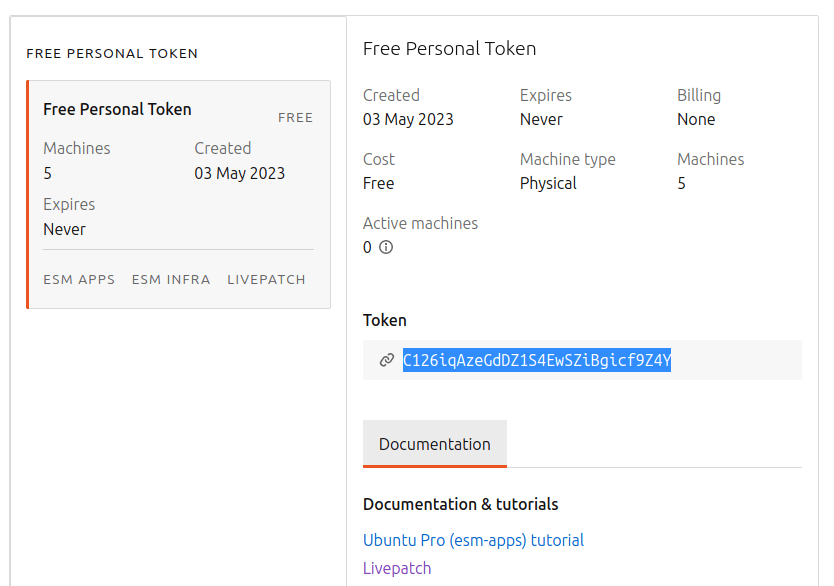
To begin, copy the unique token assigned to your Ubuntu One account:
Install Snap in Ubuntu
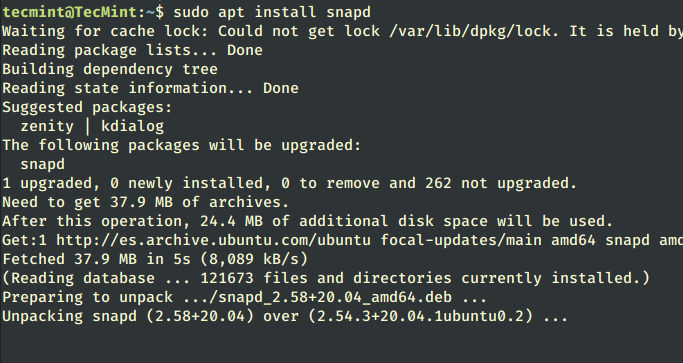
Then go to a terminal and type the following command to install Snap on Ubuntu:
$ sudo apt install snapd
Install Ubuntu Livepatch
Once the snap is installed, now run the below command to install the livepatch service.
$ sudo snap install canonical-livepatch

Install Ubuntu Pro Client
Now you need to attach your subscription to your Ubuntu system by installing the ubuntu-advantage-tools package, which is used to access the Pro Client as shown:
$ sudo apt install ubuntu-advantage-tools

Enable Livepatch to Ubuntu
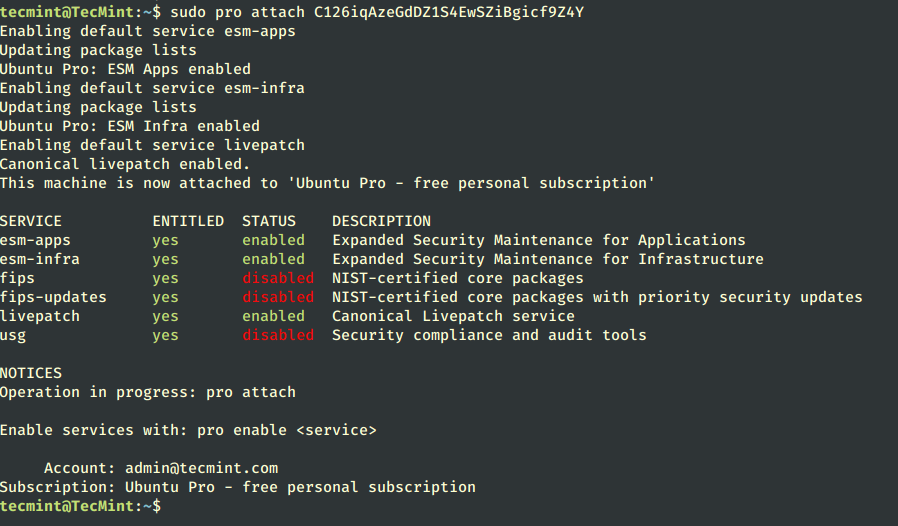
Once you have installed the latest version of the Pro Client, you need to attach the Ubuntu Pro token to your Pro Client to enable access to the services.
You can retrieve your Ubuntu Pro token from the Ubuntu Pro dashboard.
$ sudo pro attach C126iqAzeGdDZ1S4EwSZiBgicf9Z4Y
Check Livepatch Status on Ubuntu
If you want to check the current status of your livepatch client, run the following command, which will periodically (every hour by default) check for new patches.
$ canonical-livepatch status
This will produce output similar to:
last check: 3 minutes ago
kernel: 5.4.0-28.32-generic
server check-in: succeeded
kernel state: ✓ kernel is supported by Canonical.
patch state: ✓ all applicable livepatch modules inserted
patch version: 94.1
tier: updates (Free usage; This machine beta tests new patches.)
machine id: 829fe8ee62bd45318afd344da6970681
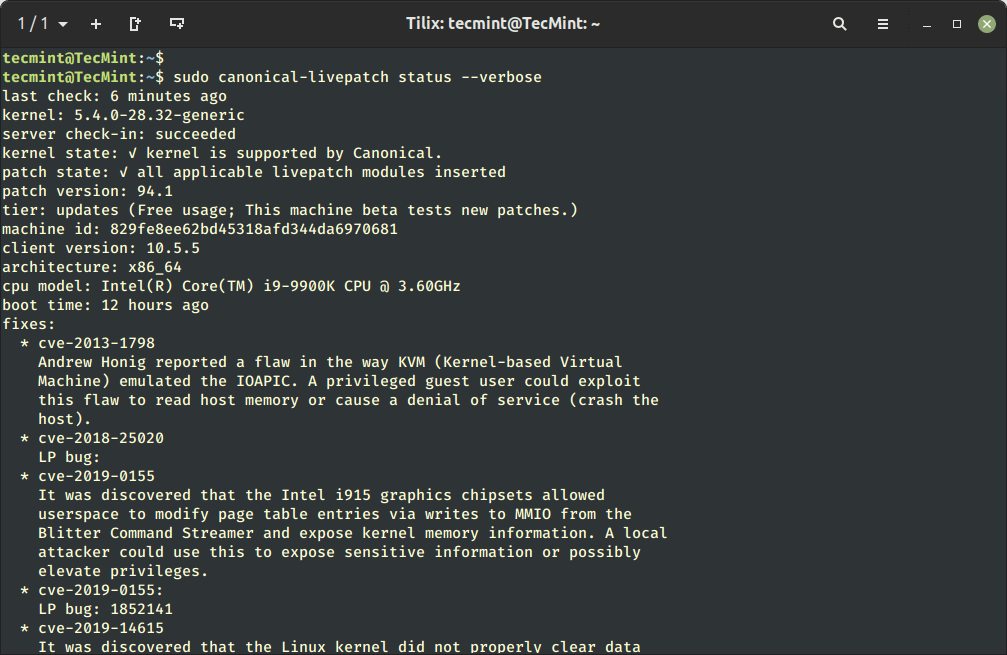
Over time, you’ll want to check the description and the status of patches applied to your kernel. Fortunately, this is as easy as doing.
$ sudo canonical-livepatch status --verbose
as you can see in the following image:
Disable Livepatch on Client
If you want to disable livepatch on the client machine, then there are two recommended ways to do it:
If you have direct access to the system, you can disable the livepatch service by running:
$ sudo snap stop --disable canonical-livepatch
If there is no direct access to the system, you can disable livepatch using the following two ways:
- by setting a kernel command line parameter canonical_livepatch_mode.
- by writing the mode to the /var/local/canonical_livepatch_mode file.
Having enabled Livepatch on your Ubuntu server, you will be able to reduce planned and unplanned downtimes to a minimum while keeping your system secure. Hopefully, Canonical’s initiative will award you a pat on the back by management – or better yet, a raise.
Feel free to let us know if you have any questions about this article. Just drop us a note using the comment form below and we will get back to you as soon as possible.


