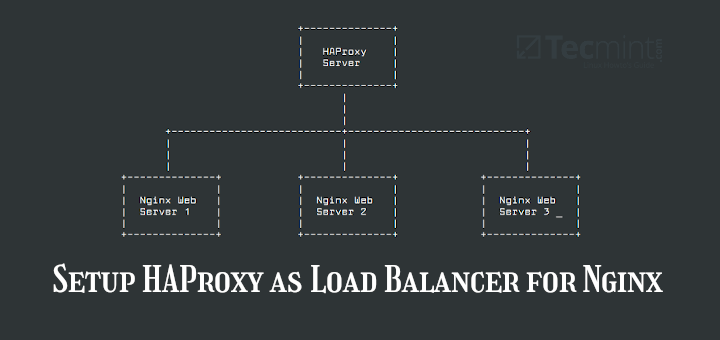
The HAProxy is a widely-used, reliable, high-performance reverse proxy, that offers high-availability and load balancing capabilities for TCP and HTTP applications. By default, it is compiled with OpenSSL, thus supporting SSL termination, enabling your website/application stack to encrypt and decrypt traffic between your “web entry server” or application access gateway server and client applications.
This guide shows how to configure a CA SSL certificate in HAPorxy. This guide assumes that you have already received your certificate from the CA and are ready to install and configure it on an HAProxy server.
The expected files are:
- The certificate itself.
- The intermediate certificates also called bundles or chains, and.
- The root CA, if available, and.
- The private key.
Create a PEM-formatted SSL Certificate File
Before you configure your CA certificate in HAProxy, you need to understand that HAProxy requires a single .pem file which should contain the contents of all the above files, concatenated in the following order:
- The private key which ends with
.key, (can come at the start or end of the file). - Followed by the SSL Certificate (usually ends with
.crt). - Then the CA-Bundle(usually ends with
.ca-bundle), and - The root CA, if available.
To create the .pem file, move into the directory that has your certificate files e.g ~/Downloads, then run the cat command like this (replace the file names accordingly):
$ cat example.com.key STAR_example_com/STAR_example_com.crt STAR_example_com/STAR_example_com.ca-bundle > example.com.pem
Configure PEM SSL Certificate in HAProxy
Next, upload the just created .pem certificate file to the HAProxy server using the scp command as shown (replace sysadmin and 192.168.10.24 with the remote server username and IP address respectively):
$ scp example.com.pem [email protected]:/home/sysadmin/
Then create a directory where the certificate .pem file will be stored using the mkdir command and copy the file into it:
$ sudo mkdir -p /etc/ssl/example.com/
$ sudo cp example.com.pem /etc/ssl/example.com/
Next, open your HAProxy configuration file and configure the certificate under the frontend listener section, using the ssl and crt parameters: the former enables SSL termination and the latter specifies the location of the certificate file.
frontend http_frontend
      mode http
      bind *:80
      bind *:443 ssl crt  /etc/ssl/example.com/example.com.pem alpn h2,http/1.1
     redirect scheme https code 301 if !{ ssl_fc }
      default_backend http_servers
Certain versions of SSL/TLS are not recommended for use now because of vulnerabilities that have been discovered in them. To limit the supported version of SSL, you can add the ssl-min-ver parameter like this:
bind *:443 ssl crt /etc/ssl/example.com/example.com.pem alpn h2,http/1.1 ssl-min-ver TLSv1.2
Configure HAProxy to Redirect HTTP to HTTPS
To ensure that your website is only accessible via HTTPS, you need to enable HAProxy to redirect all HTTP traffic to HTTPS in case a user tries to access it over HTTP (port 80).
Add the following line to the above configuration:
redirect scheme https code 301 if !{ ssl_fc }
OR
http-request redirect scheme https unless { ssl_fc }
Your frontend section should now look like the one in this sample configuration:
frontend http_frontend
      mode http
      bind *:80
      bind *:443 ssl crt  /etc/ssl/example.com/example.com.pem alpn h2,http/1.1  ssl-min-ver TLSv1.2
      redirect scheme https code 301 if !{ ssl_fc }
      default_backend   http_servers

backend http_servers
      mode http
      balance roundrobin
      option httpchk HEAD /
      http-response set-header X-Frame-Options SAMEORIGIN
      http-response set-header X-XSS-Protection 1;mode=block
      http-response set-header X-Content-Type-Options nosniff
      default-server check maxconn 5000
      server http_server1 10.2.1.55:80
Save the configuration file and close it.
Then check if its syntax is correct using the following command:
$ sudo haproxy -f /etc/haproxy/haproxy.cfg -c

If the configuration file is valid, go ahead and reload the haproxy service to pick up the recent changes in the configuration, using the systemctl command:
$ sudo systemctl reload haproxy
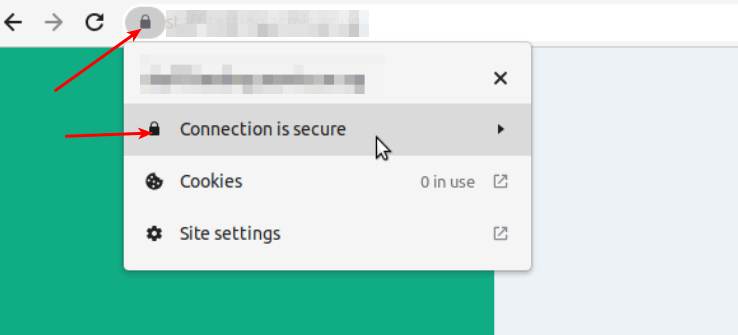
Last but not least, test the whole setup by accessing your website from a web browser and ensure that the certificate is loading fine and the browser indicates that the “Connection is secure”!
That’s all! We hope that this guide has helped you to configure an SSL certificate in HAProxy load balancer software. If you encounter any errors, let us know via the feedback form below. We will be glad to help you.
Is there a way to test this without a web server for a TCP HAProxy setup?