IPFire is an open-source Linux distribution that works as a firewall, VPN gateway, proxy server, DHCP server, time server, caching name server, Wake-on-LAN, DDNS, OpenVPN, monitoring tool, etc.
IPFire is released under a GPL license and is designed to be used for free. The developers prioritized security when building IPFire. Since IPFire connects directly to the internet, there is a risk of hackers and threats attacking it.
To avoid those threats and attacks, the Pakfire package manager helps administrators keep the package database up-to-date in IPFire.
IPFire was built using a super kernel with various threat detection, attack prevention, and compromise features and has a rich graphical interface. IPFire has the feature to use Samba and vsftpd file services. IPFire supports VDSL, ADSL, SDSL, Ethernet, and 4G/3G types of dial-ups.
We can use IPFire in any kind of virtual environment such as KVM, VMware, XEN, Qemu, Microsoft Hyper-v, Oracle VirtualBox, Proxmox, etc., and can be run in ARM Processor build machines such as Raspberry Pi.
During IPFire installation, the network is configured into various segments. This segmented security scheme indicates that there is a suitable place for each system in the network and it can be enabled separately as per our requirements.
Each segment acts as a group of machines that share a common security level, which is described in four different colors of zones i.e. Green, Red, Blue, and Orange.
- Green – This represents that we are in a safe area. Clients in the Green area will be without any restrictions and connected internally/locally.
- Red – This indicates that we are in danger or disconnected from the outside world; nothing will be allowed through the firewall unless specifically configured by the admins.
- Blue – This represents the ‘wireless‘ network, which is used for the local area network.
- Orange – This refers to the ‘DMZ‘ (demilitarized zone). Any servers that are accessible publicly are separated from the rest of the network to minimize security breaches.
IPFire recently released its 2.29 core update 186 version, which comes with a new graphical user interface that was completely re-designed and comes with massive new functionality.
IPFire Hardware Requirements
- Processor x86_64 or ARM64 CPU with 1 GHz or better or a supported ARM SBC.
- Memory 1GB or greater.
- Storage at least 4GB of disk storage.
- Network at least two Ethernet network adapters, which is essential for IPFire to function properly as a firewall and router.
- A USB stick (at least 1GB in size) or a CD/DVD burner to create a bootable installation media.
- Basic knowledge of networking and Linux.
My Environment Setup
Host name		:	ipfire.tecmint.com
IP address		:	192.168.1.1
Hard disk size		:	4 GB
Ethernet Cards	        :	2 No's
This article covers the installation of IPFire with the things that you will need to configure during installation. The installation and configuration procedure will not take more than 10 to 15 minutes depending on the speed of your computer.
Step 1: Create Bootable Media
1. To create bootable IPFire media, visit the official IPFire Download page and grab the IPFire ISO image as per your system architecture that matches your hardware (typically x86_64 for modern PCs).
2. Next, insert your USB stick into your computer and create a bootable image using the USB creation tool or use a tool like the dd command as shown.
sudo dd if=ipfire-2.29-core186-x86_64.iso of=/dev/sdX bs=4M status=progress && sync
Replace ipfire-2.29-core186-x86_64.iso with the actual version of your downloaded ISO file and /dev/sdX with your USB device (ensure you select the correct device to avoid data loss).
Step 2: Install IPFire Linux Distribution
3. Now that you have created a bootable USB drive, you need to boot from it by selecting the system’s boot options (usually by pressing F2, F12, or the Del key) and select the USB Drive as the boot device.
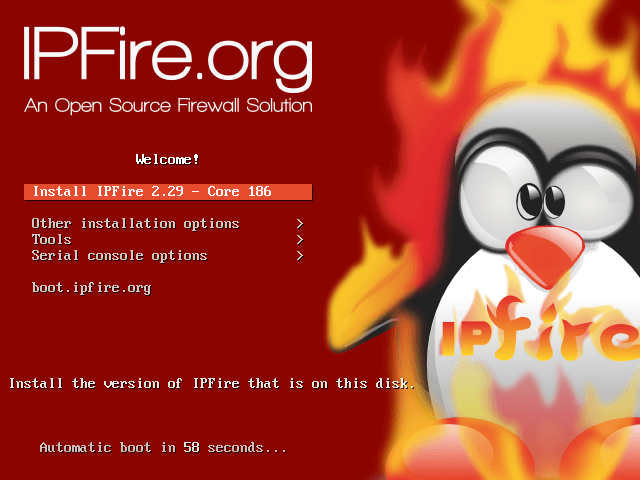
Once you have booted from the USB drive, you can start the installation process by choosing the “Install IPFire” option.
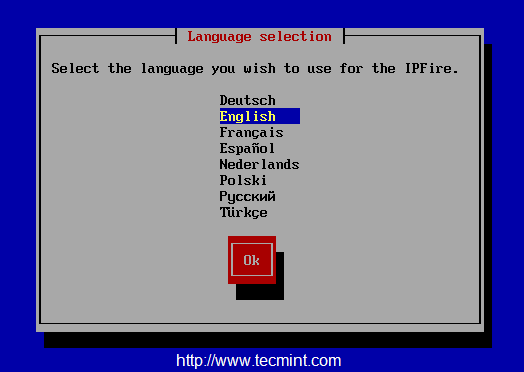
4. Next, choose the Language as respective to your region.
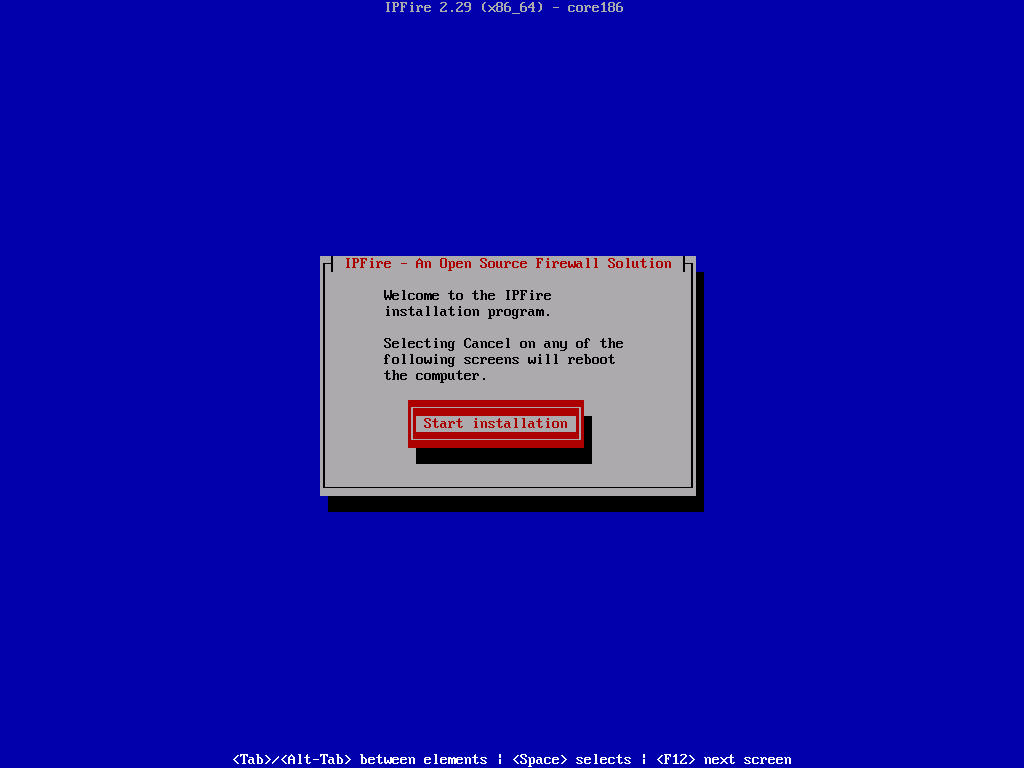
5. At this step, you can see that, if you do not wish to continue the setup you can Cancel the setup and reboot the machine.
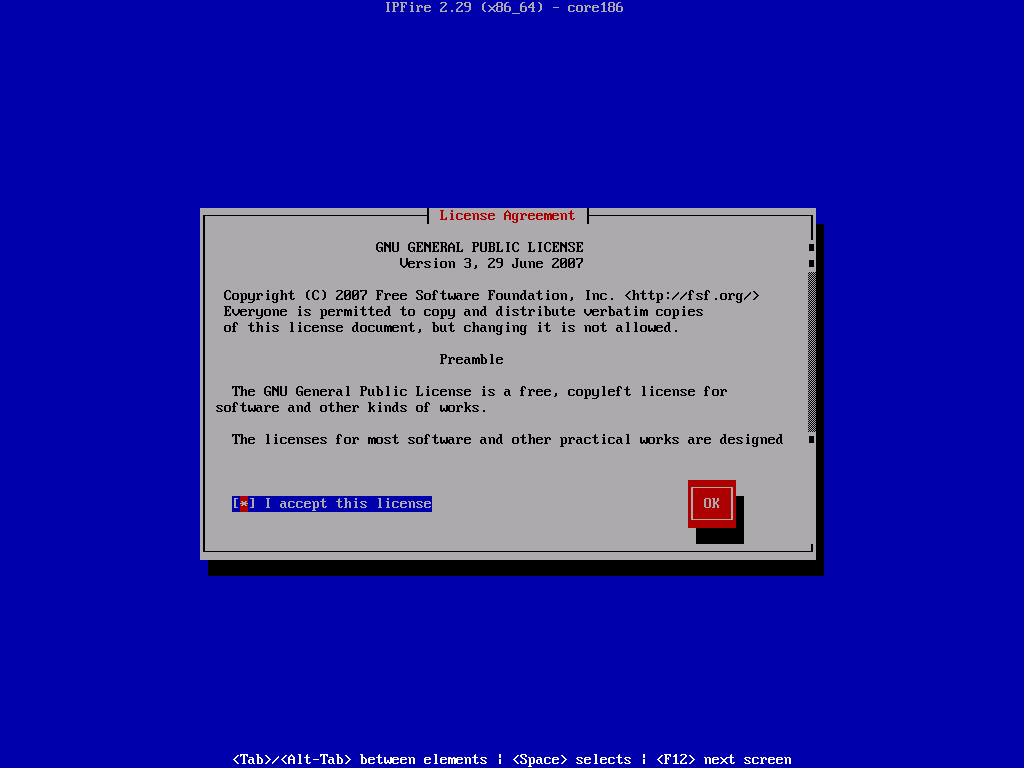
6. Accept the license by pressing the Space bar to choose, and press OK to continue.
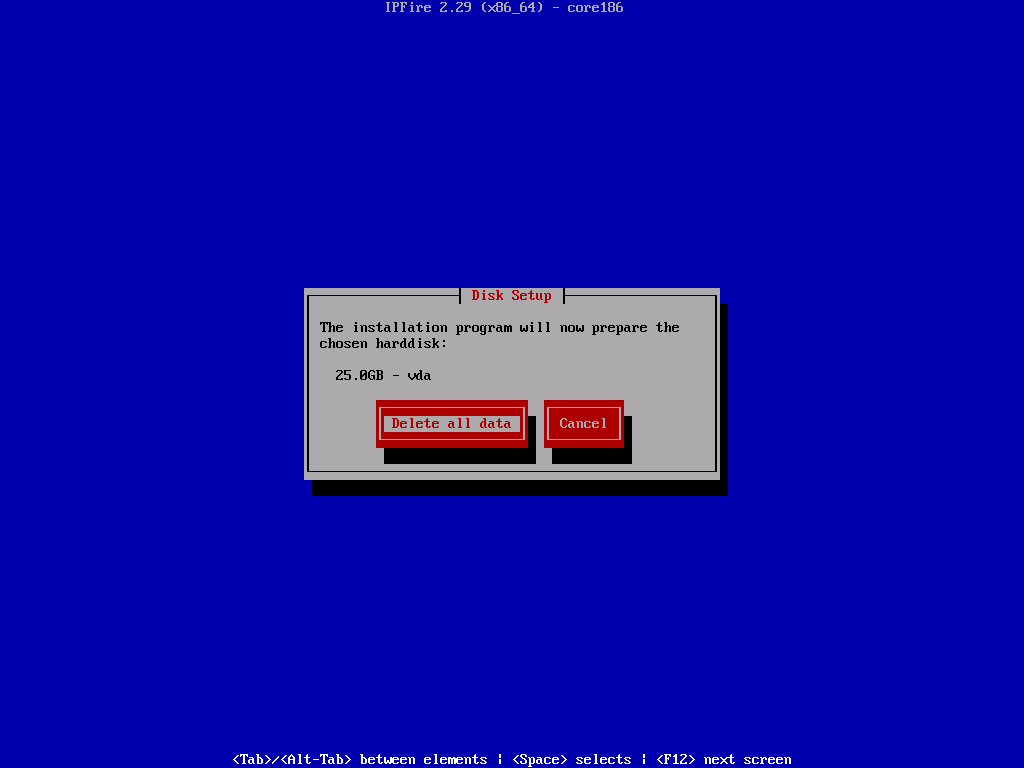
7. In the next step, the system will format your disk to install the IPFire system. Please note that all data on the disk will be erased.
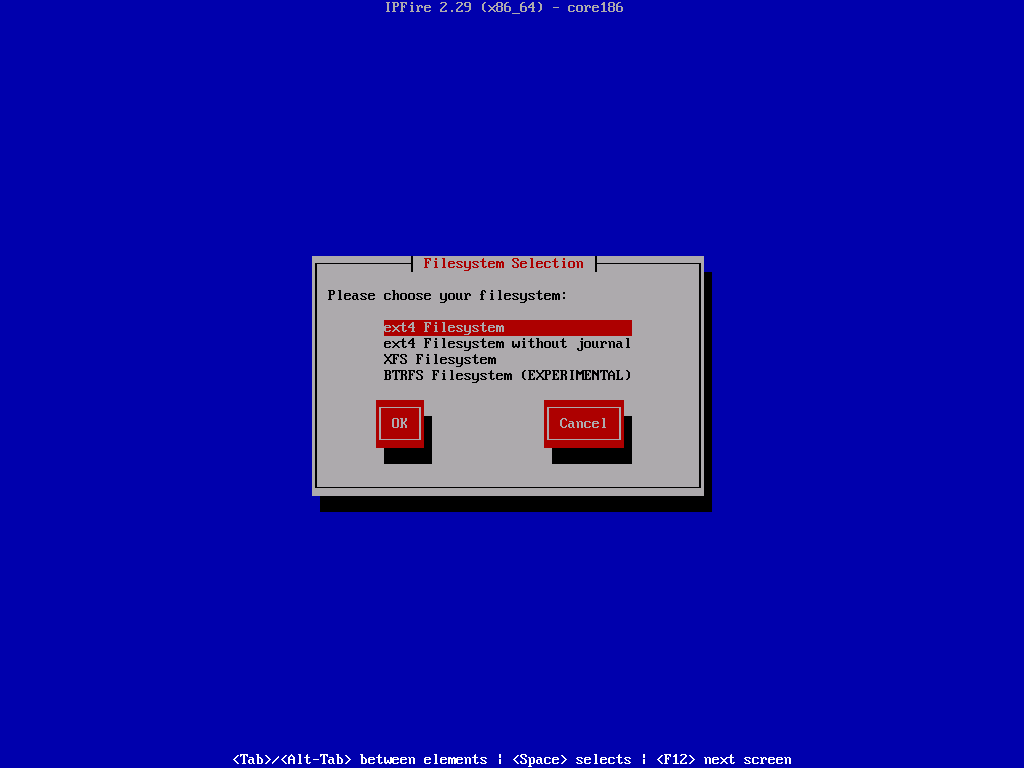
8. Next, choose the file system as EXT4 and continue to the future steps.
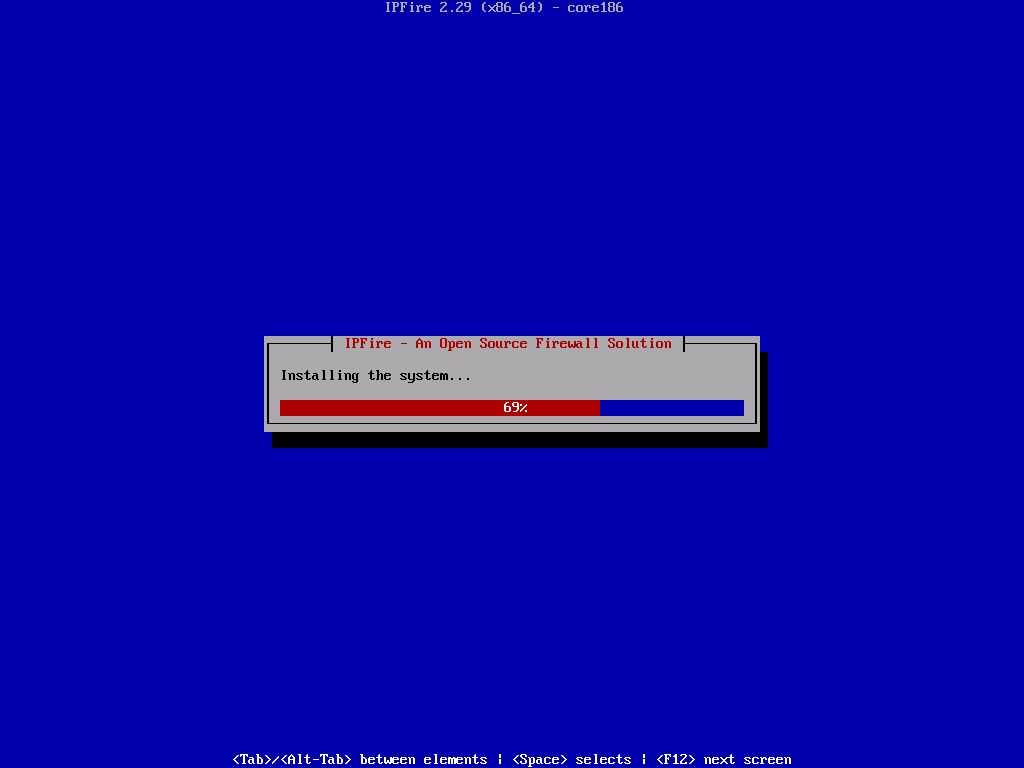
9. Once, you select the filesystem type, the installation begins and disk will be formatted and system files will be installed.
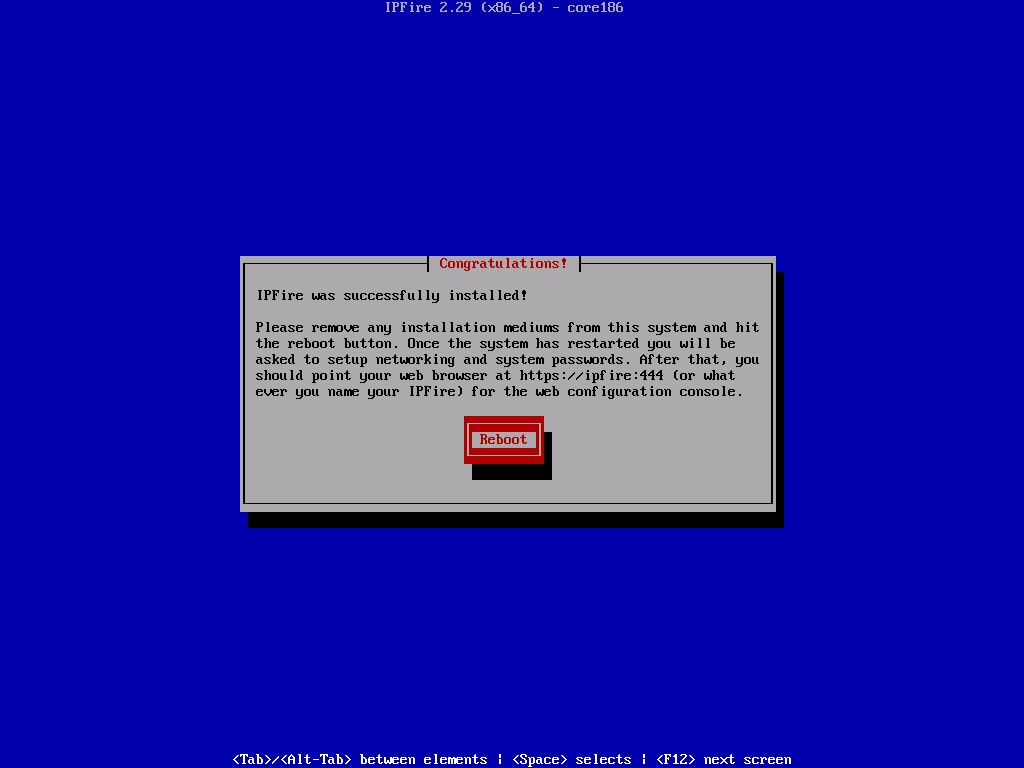
10. Once installation completes, press OK to reboot to finalize the installation and continue with the further installation to configure ISDN, network cards, and system passwords.
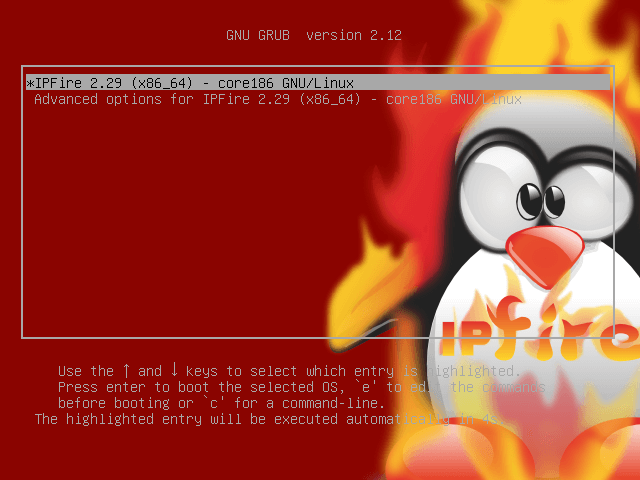
11. After the system reboot, it will prompt you IPFire boot menu option, select the default option by pressing the enter key.
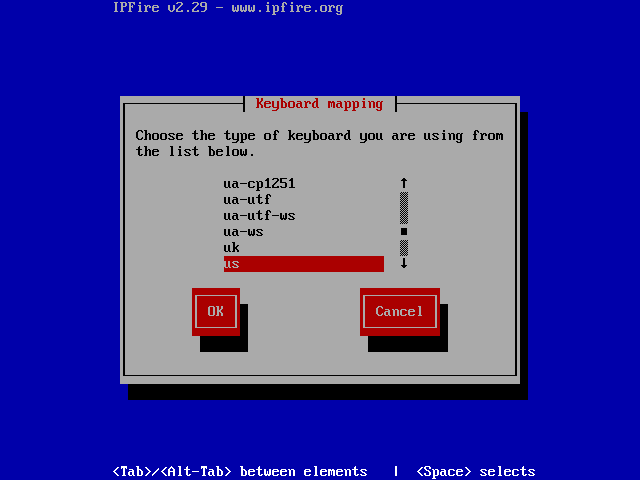
12. Next, select the type of Keyboard mapping Language from the drop-down list as shown below.
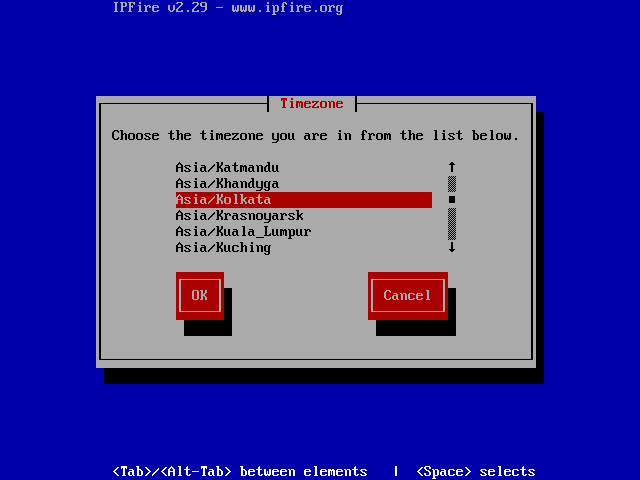
13. Next, choose the timezone from the list, Here I’ve chosen “India” as my timezone region.
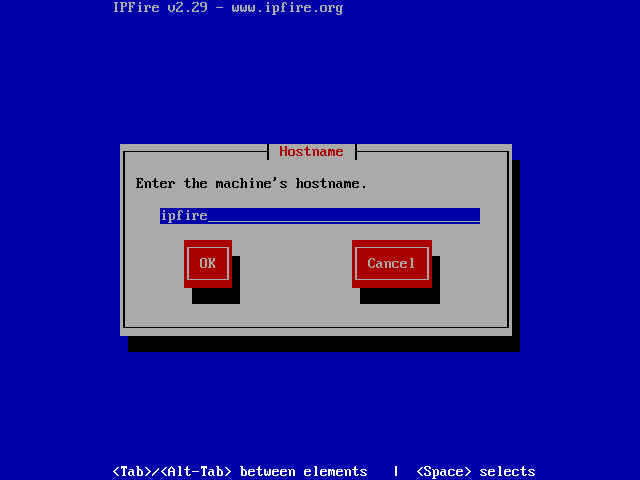
14. Choose a hostname for our IPFirewall machine. By default, it will be ipfire. I’m not going to make any changes in these steps.
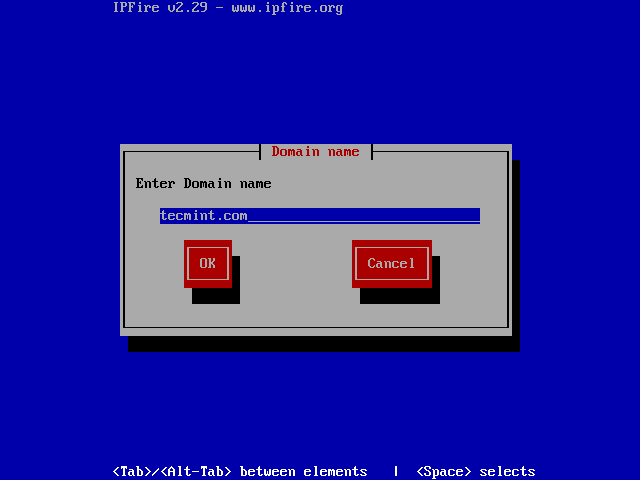
15. Give a valid domain name, if you have a local DNS server or we can define it later. Here, I am using “tecmint.com” as my local DNS server domain name.
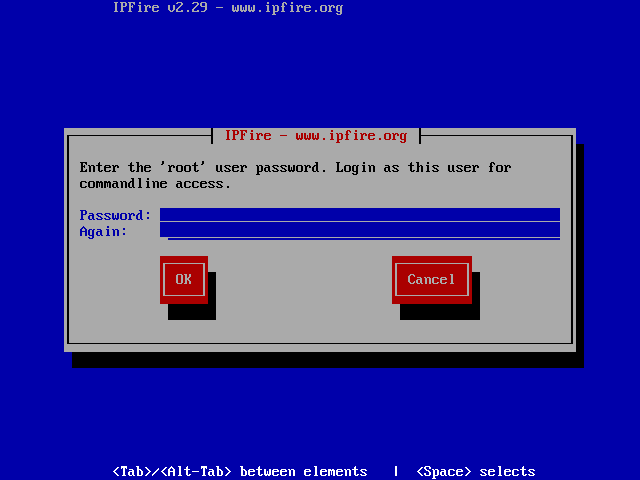
16. Enter a password for the root user, This will be used for command-line access. I have used redhat123$ as my password.
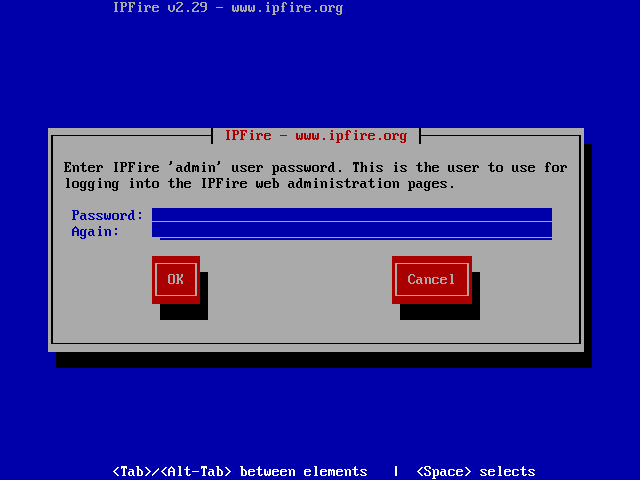
17. Now here we need to provide a password for the admin user for the IPFire GUI web interface. The password must be different from the command line access credentials for security reasons.
Step 3: IPFire Network Configuration Settings
18. Here, we are using 2 Ethernet cards in our system. Each Ethernet card needs to be assigned separately for each network, by default it will choose GREEN + RED which means It connects to the local area network and WAN connection with Internet access.

19. Next, select GREEN + RED color for our two network cards and choose OK to continue.
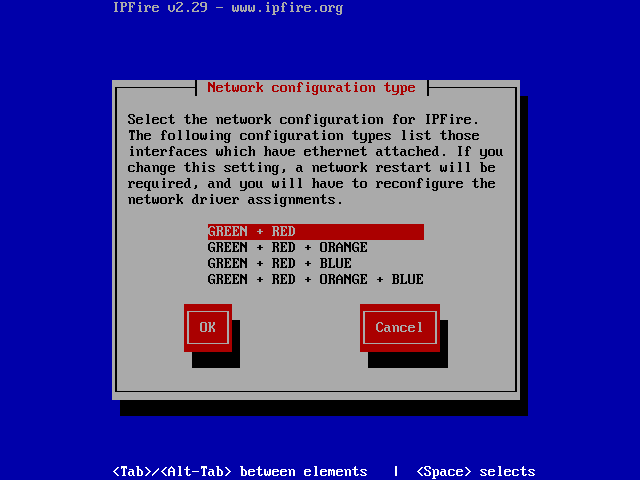
Now we can see the current config as GREEN + RED it’s with local, WAN.
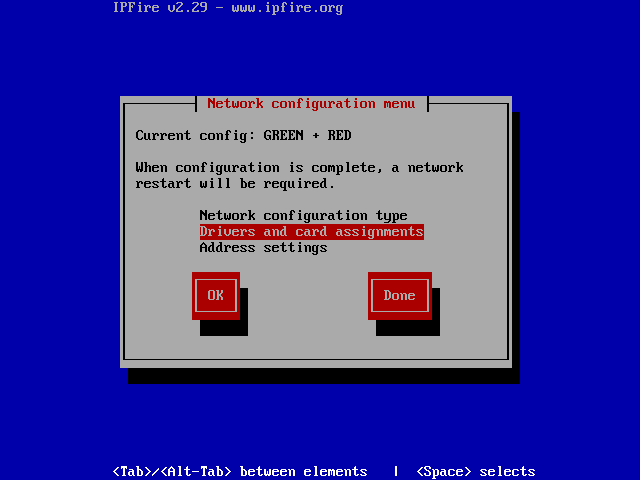
Step 4: IPFire Drivers and Card Assignments
20. From here, choose Drivers and card assignments type to choose the Network, which is going to be assigned for LAN and WAN interfaces.
21. Next, choose GREEN and press Select to enable an Interface for all two network cards.
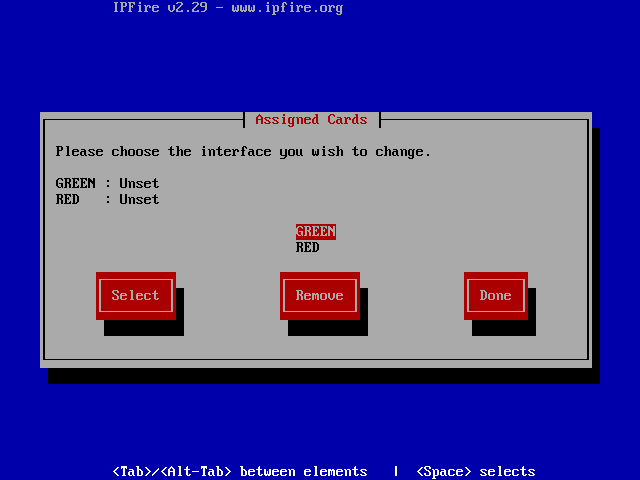
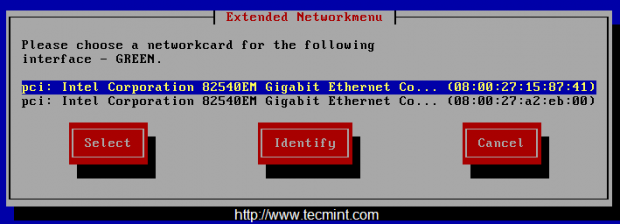
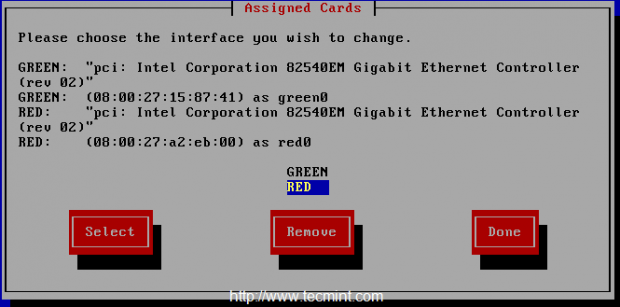
22. Repeat the same above steps for RED interfaces and at the final step, we can see below.
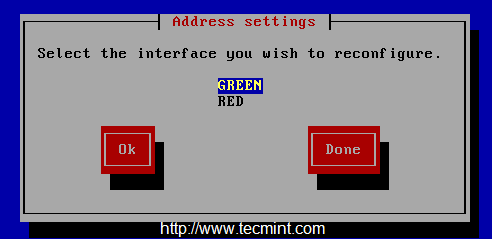
Step 5: Assign IP Addresses for Network Interfaces
23. Now time to assign an IP address for each interface. Here we have only 2 interfaces and we need to assign IP addresses in different sub-nets.
If we use 192.168.0.100 for the RED interface, we must use different IP and network for other interface. For the RED interface we going to use DHCP.

- GREEN interface – 192.168.1.1
- RED interface – DHCP
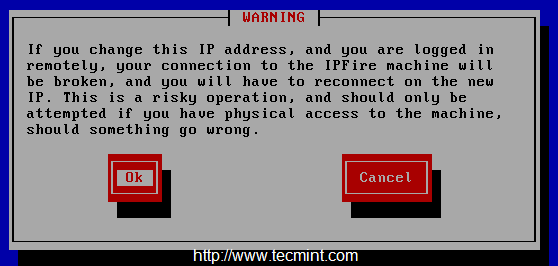
24. Choose GREEN and provide the IP, While choosing we will get a Warning that our Local area connection will be dropped if we change the IP.
25. Next, provide the IP 192.168.1.1 for the GREEN network interface for our Local/Internal network.

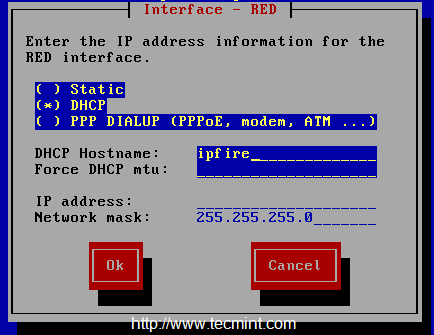
26. Choose RED interface and choose DHCP to get an IP from our ISP are we can assign a manual IP. This is our WAN interface which is exposed to the Internet.
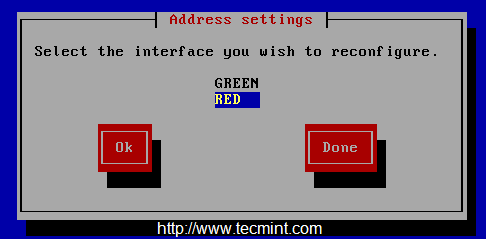
27. Here we need to configure whether our internet connection is with a Static IP or PPPOE or DIALUP method. I’m using DHCP for the WAN interface. Choose OK and save it by choosing DONE.
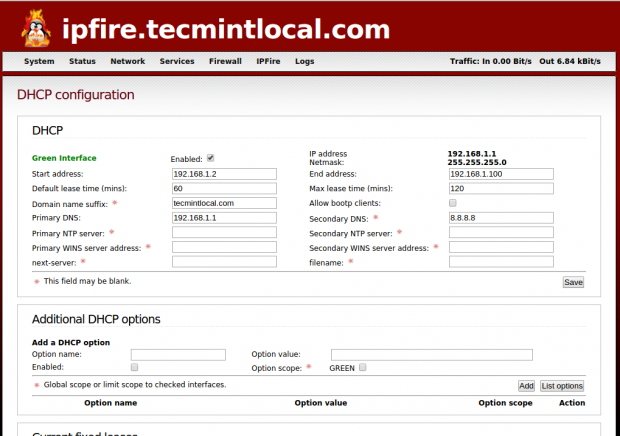
Step 6: DHCP Server Configuration
28. We need to configure DHCP settings for our GREEN interface for the LOCAL/INTERNAL interface. To get IP for client machines from DHCP.
DHCP pool range will be from 192.168.1.2 to 192.168.1.100
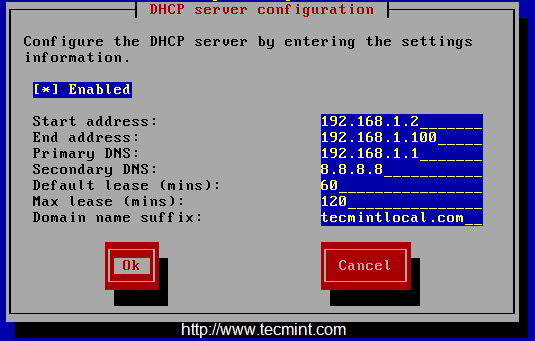
29. We have almost completed our setup, Choose OK to complete the IPFire setup.
Step 7: Post Installation Setup
30. After reboot, we will get the command line access using the root credentials that we provided during setup.
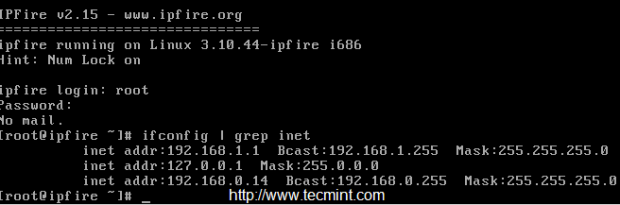
31. To access the web interface use the below URL, Which we used for the GREEN interface local/internal will be used for the WEB interface. Enter the username as “admin” and the password that we’ve set at #step 16 above.
https://192.168.1.1:444/

32. Once you log in, you will get the Dashboard of the web Interface in IPFire.
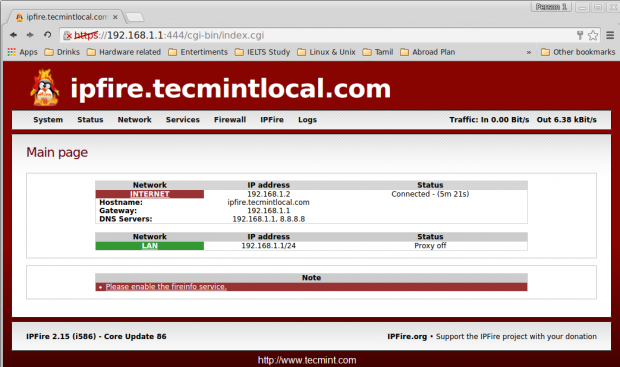
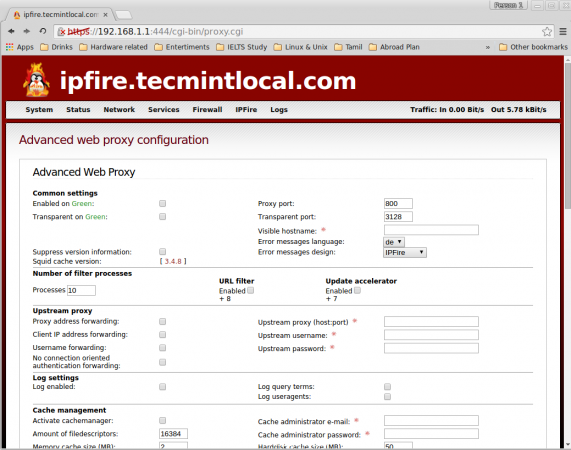
There are many features included in IPFire they are as follows, Web Proxy with squid, URL filter, Update accelerator, DHCP server, Connection scheduler, DNS Server, DNS forwarding, Static Routes, Wake-ON-LAN, Open VPN, Dynamic DNS (DDNS), Time server, Bandwidth monitoring, Memory usage, Log collector for every services, Syslog, Firewall rules, P2P networks, iptables, Backup options and restore for configurations, Shutdown etc..
Following are the screenshots of IPFire features.

Conclusion
We have seen how to protect our office or home network with IPFire firewall/Router, IPFire was a German-based Linux distribution only focused on security.
Hope you have found this article simple and easy to install and configure the firewall for your office or home environment. Don’t forget to fire your comments below after working around with IPFire.


Hi, I am learning about IPFire. Can you tell me about the structure of IPFire? Thank you
I need some help immediately please, I am trying to setup ipfire in my virtual environment and got to the stage where set-password is required but my keyboard won’t input anything in the field. Is there any special key to use for typing in there?
@Garron,
Nothing Special Key available for this.
Thank you so much!!!!!!
Nice writeup.
I’ve been using ipfire as my production firewall appliance for about 5 years. It is very simple yet very powerful.
I moved to ipfire from ipcop years ago because of the active development and modern kernel. Ipcop was secure and functional but was just kind of stagnating on innovation and moving forward to operate on today’s hardware.
I’m surprised I don’t see more about ipfire in any the tech sites I visit.
Thanks for promoting this great tool!
I can’t access the web interface after installation.
I ping the green interface from my notebook and then ping my notebook from the virtualbox with the ipfire and it’s all right.
My network range is 10.0.0.0 ~ 10.0.0.255
IPFire range is 10.0.1.0 ~ 10.0.1.10
I’ve tried access at: https://10.0.1.1:444 it loads for minutes, then it stops.
What are the colors you chooses for interface’s how many interfaces are there? Can you give the information about IP, subnet, dhcp used in both interfaces
Sir can i know how to add another system administrator in ipfire to avoid in login to root password?
My Red IP is 133.82.0.4/24 and Green IP is 133.82.0.1/20.
IPFIRE is running on NAT.
In above condition 133.82.0.xxx/20 IP address is not working in Green LAN.
I want to disable the NAT and enable the routing.
What are the procedure for disable the NAT and enable the routing between green to red.
yes i have used the port no. i.e. 444 isn’t ?? but didn’t get any web console
You have two Ethernet cards ? Everything okay, Have you used the port number to access the Web UI ?
Hi Babin,
i am unable to get the web interface i have chosen GREEN+RED
my current network design is
Internet (ISP)–> Modem–> Ipfire
Red= wan=192.168.1.5 via dhcp from internet modem/router
Green=lan=192.168.100.8 static lan
please help to get the web interface
@Deepanjan You have two Ethernet cards ? Everything okay, Have you used the port number to access the Web UI ?
Yes I’v entered “https://192.168.100.8:444/” in the client browser. The IP is pinging from client machine and Service Scan on this IP reveiled “3 services running; 53:domain; 81:host2-ns; 444:snpp”.
Could you please give me the Network range of your Desktop? 192.168.1.0.x or 192.168.1.x? Or else? What is your Desktop IP range and have you tried by routing to 192.168.100.0 ?
My desktop ip 192.168.0.254, network range is 192.168.0.0 but my ipfire range was 192.168.1.0 i have routed to 192.168.1.0 using:
i solved it by bypassing local ip through proxy