Proxmox Virtual Environment is a robust and open-source virtualization platform based on Debian GNU/Linux that ships with a custom kernel and encapsulates KVM virtualization and Linux Containers (LXC).
It is a server management platform for enterprise virtualization that can also be used in a simple IT setup to host virtual machines.
Proxmox provides an integrated web UI for centralized management of VMs, containers, and clusters. For advanced users used to the Linux shell, Proxmox provides a CLI utility for managing all components in your virtual environment.
Check out the Proxmox Features page for a detailed look at all the features provided.
Popular Proxmox alternatives include VMware ESXi, VMware Workstation Pro, Citrix Hypervisor, and Oracle VM Virtualbox.
This guide will teach you how to install the Proxmox Server Virtualization platform on Debian 12.
Step 1: Update APT Cache
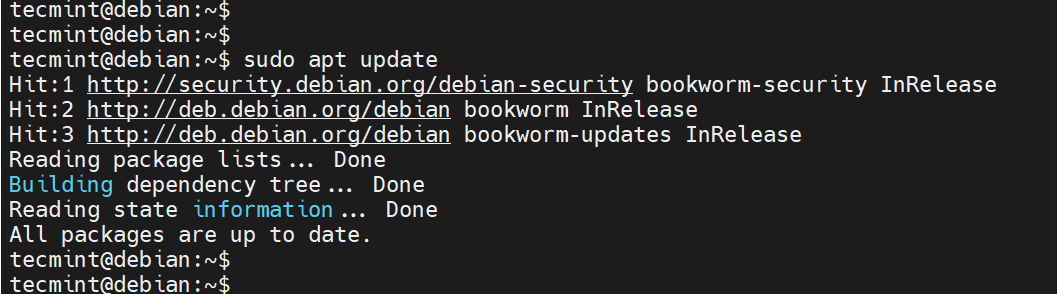
The first step is to update your system’s package lists by running the following apt command.
sudo apt update
Step 2: Configure Static IP Address
It’s imperative to set a static IP for our Proxmox server for obvious reasons. By default, the Debian IP configuration is set to use DHCP.
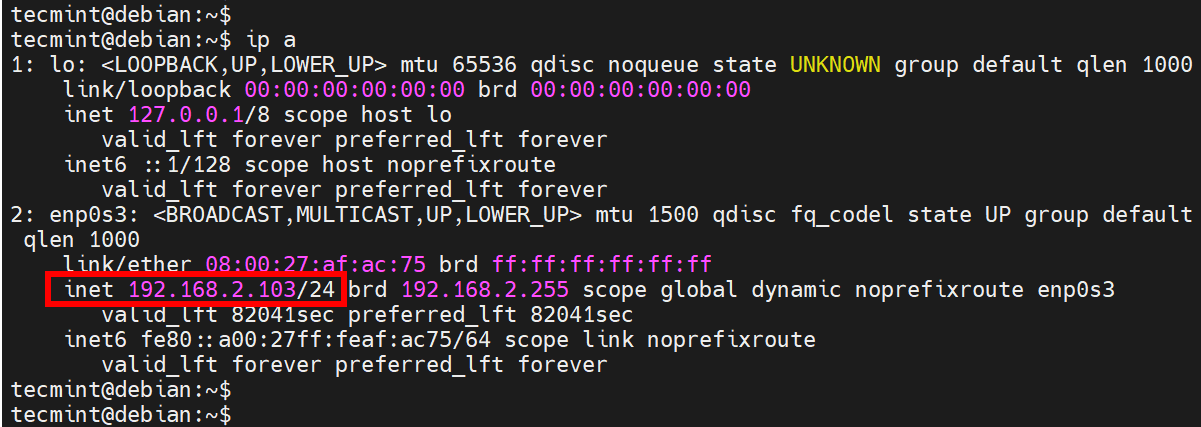
You can confirm this by checking your IP address.
ip a
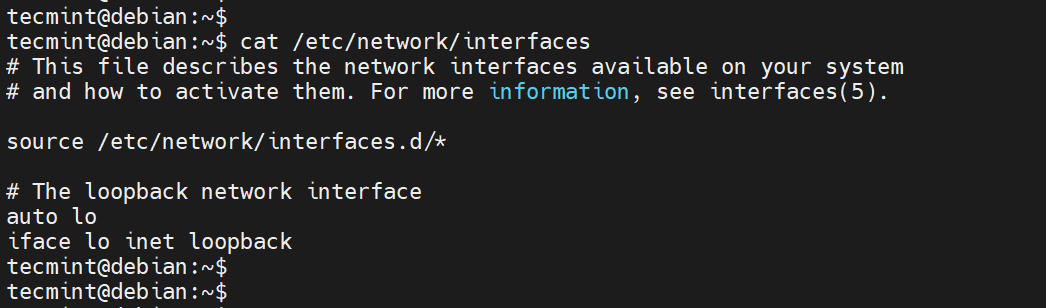
The network configuration file in Debian is the /etc/network/interfaces file. You can preview it using the cat command as shown.
cat /etc/network/interfaces
As you can see, the default settings are configured to DHCP.
Open the configuration file using your preferred editor.
sudo nano /etc/network/interfaces
Add the following configuration and be sure to replace the IP address and subnet to reflect your environment’s IP subnet.
auto enp0s3
iface enp0s3 inet static
        address 192.168.2.103/24
        network 192.168.2.0
        broadcast 192.168.2.255
        gateway 192.168.2.1
        dns-nameservers 8.8.8.8
Save the changes and exit the configuration file. To apply the changes made, restart NetworkManager.
sudo systemctl restart NetworkManager
Step 3: Configure Hostname Resolution
The next step is to configure the hostname resolution. This entails setting up the hostname and updating the /etc/hosts file.
Use the hostnamectl command to set up a hostname as shown. Here, proxmox is the hostname of our system.
sudo hostnamectl set-hostname proxmox
exec bash
Next, access the /etc/hosts file using your text editor.
sudo nano /etc/hosts
Add your server’s IP and hostname for hostname resolution.
192.168.2.103 proxmox
Save the changes and exit.
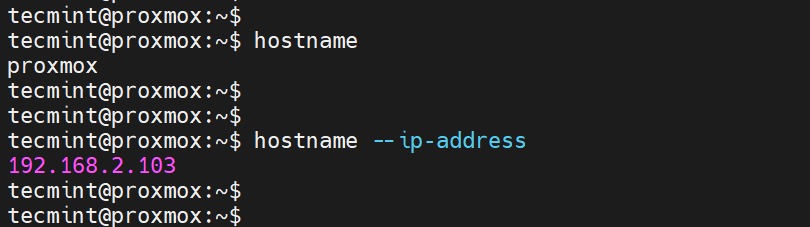
Confirm the hostname and IP address associated with it as shown.
hostname
hostname --ip-address
Step 4: Add the Proxmox VE Repository
Before installing Proxmox, a few prerequisite packages are required to install using the following command.
sudo apt install curl software-properties-common apt-transport-https ca-certificates gnupg2
With all the prerequisite packages installed, next, add the Proxmox repository to the sources.list.d directory.
sudo su -
Next, add the Proxmox repository as follows.
echo "deb [arch=amd64] http://download.proxmox.com/debian/pve bookworm pve-no-subscription" >
/etc/apt/sources.list.d/pve-install-repo.list
With the Proxmox repository in place, download and add the Proxmox VE repository key using the wget command.
wget https://enterprise.proxmox.com/debian/proxmox-release-bookworm.gpg -O /etc/apt/trusted.gpg.d/proxmox-release-bookworm.gpg
Next, update the local APT cache and carry out a full upgrade.
apt update && apt full-upgrade
Step 5: Install the Proxmox Kernel
Once the upgrade is complete, install the Proxmox kernel, which is necessary since we will later remove the Linux kernel which Proxmox will not require.
apt apt install proxmox-default-kernel -y
Once the installation is complete, you will get the following output, a confirmation that the Proxmox kernel was successfully installed.
Step 6: Install the Proxmox Packages
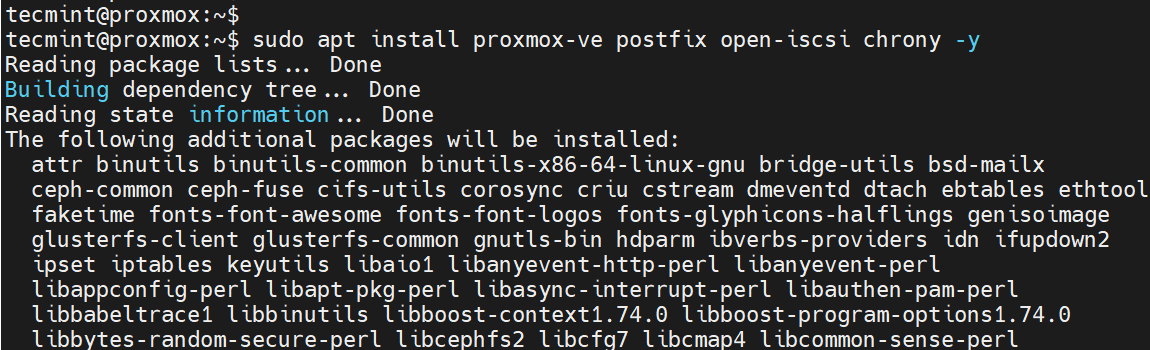
To install Proxmox VE alongside other packages such as postfix – a mail transfer agent and chrony, run the following command:
sudo apt install proxmox-ve postfix open-iscsi chrony
This step takes quite a while, so just be patient as the installation progresses.
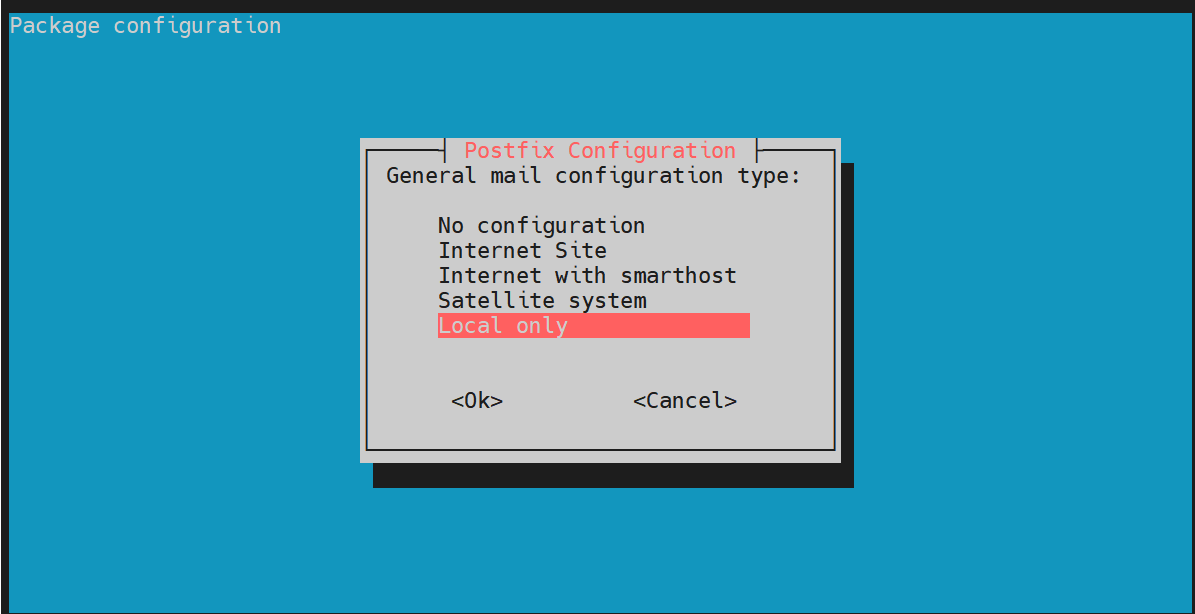
Along the way, you will be prompted to select the mail configuration type for Postfix. Select ‘Local only’ and hit ENTER.
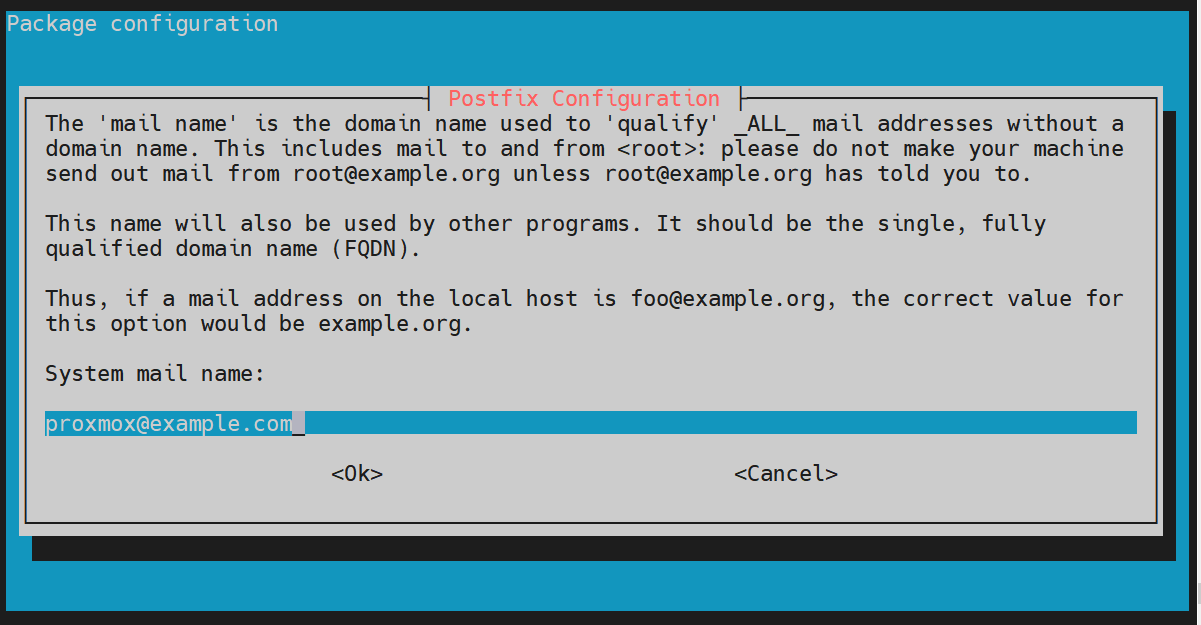
Next, provide your preferred system mail name and press ENTER.
Thereafter, the installation will continue and wrap up without any issues.
Proxmox VE listens on TCP port 8006 and you can confirm this using the ss command.
sudo ss -tunelp | grep 8006

Step 7: Remove the Linux Kernel
Since Proxmox VE comes with its kernel, keeping the default Debian kernel can cause trouble upon upgrading, especially when dealing with point releases.
As such, it is recommended to purge the default Debian kernel as follows.
sudo apt remove linux-image-amd64 'linux-image-6.1*'
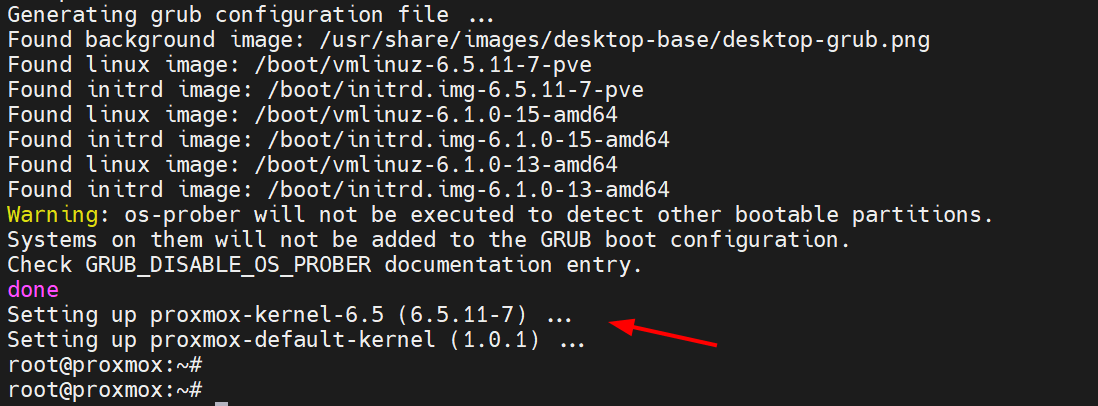
Next, update the GRUB configuration file.
sudo update-grub
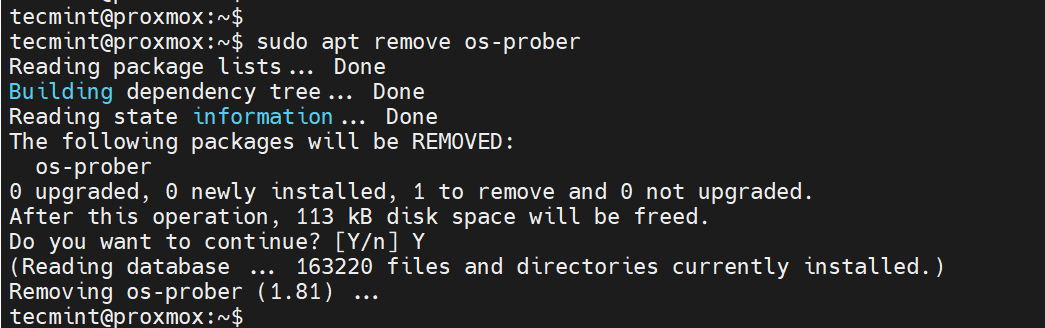
The os-prober is a utility that scans disk partitions for operating systems and lists them on the GRUB entry. However, scanned partitions might also include those assigned to virtual machines. You surely don’t want to add those on the boot entry as well.
To prevent that from happening, uninstall the os-prober package:
sudo apt remove os-prober
Step 8: Access Proxmox VE Web Interface
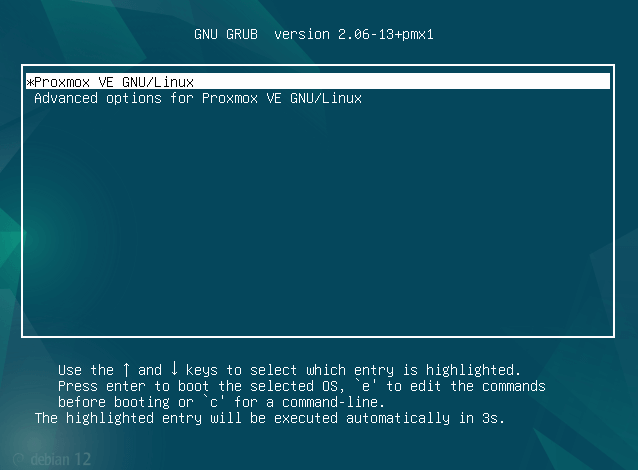
Now reboot the system.
sudo reboot
On the GRUB screen, you will see the Proxmox VE entry. Just hit ENTER to proceed.
Now visit the following URL to access the Login dashboard.
https://your-ip-address:8006/
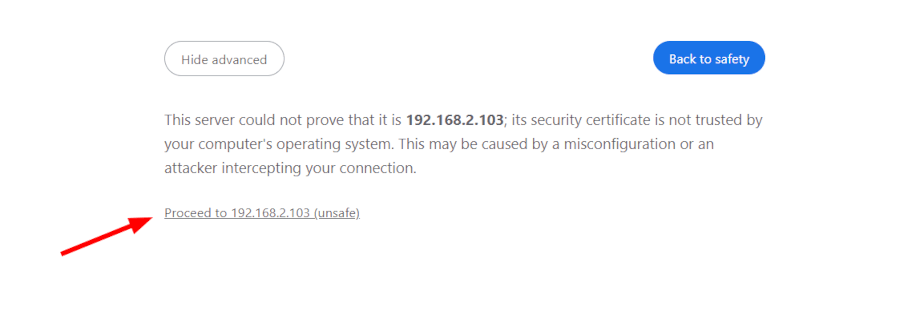
You will receive a warning page informing you that the connection is not private. Just click ‘Advanced’.

Then select proceed to ‘Your IP address’.
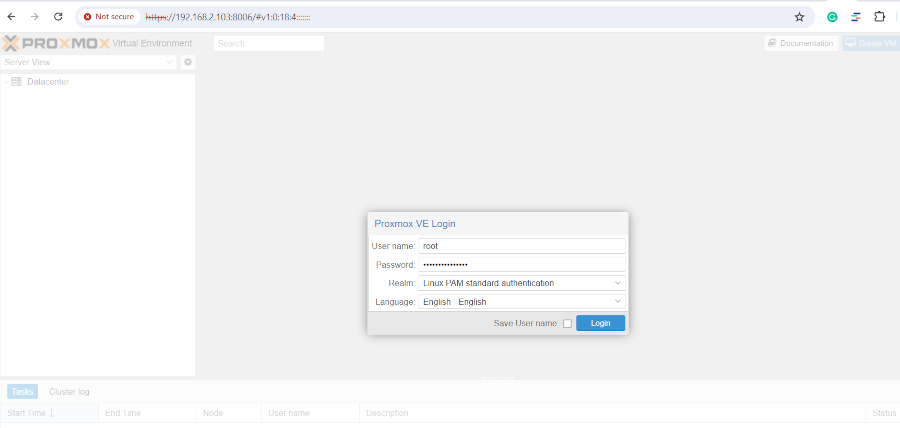
You will get a Proxmox VE login page. Login with your root credentials.
When logged in, the Proxmox should come to view as shown.
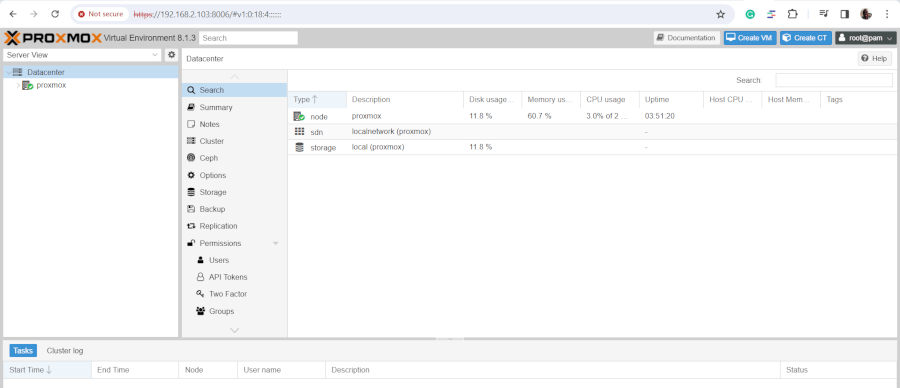
From here, you can create and manage your virtual machines, Linux containers, and other components such as backup and restore, storage, users, and networking.
Conclusion
And there you go. In this guide, we have demonstrated how to install Proxmox on Debian 12. Bear in mind that Proxmox VE is a bare-metal installer, and is best suited for installation on a physical server without any OS installed. Your feedback is much welcome.


Hi, when I try to install the default kernel, it says ‘unable to locate package‘ – Is there a reason why? Thank you in advance.
@imran,
This issue usually happens if the package name is incorrect or if your system’s package repository list isn’t updated. Try running
sudo apt updatefirst, and then check the exact package name for the default kernel.Let me know if you need further help!
Hi,
I saw your guide, and it is very detailed.
By removing the Debian kernel, can we still use the Debian operating system on the server and use Proxmox at the same time?
@Luca,
Yes, you can still use the Debian operating system on the server alongside Proxmox, even after removing the Debian kernel.
Proxmox will manage the virtualization, and the system will rely on the Proxmox kernel for its operations. However, it’s important to ensure the Proxmox kernel is properly configured for your server’s needs
Hello, I tried to follow this guide, but the machine is stuck at ‘Loading initial disk ram‘. Additionally, in Step 7: Remove the Linux Kernel, I encountered an error with too many errors.
Thanks for the detailed post on installing Proxmox on Debian.
Good afternoon, what would be the steps to follow if the machine where I will install Proxmox on Debian has a dual-boot setup with Windows?
Thanks
@Peporro,
First, back up any important files. Then, create a separate partition for Proxmox. Install Debian on the newly created partition. After Debian is installed, install Proxmox VE on Debian. Reboot your system and test both Debian/Proxmox and Windows boot options from the GRUB menu.
Thank you for responding. What happens to me is that when I restart at the end of the Proxmox installation on Debian 12, Grub has removed the entry to start Windows, which I have installed on another disk in the same PC.
Additionally, when Debian starts, I can verify that it has lost the network connection.
@Peporro,
It seems like the Proxmox installation might be affecting the Grub configuration, causing it to remove the entry for Windows. You can try updating Grub to include Windows in the boot menu.
After logging into Debian, open a terminal and run:
Loss of network connection could be due to various reasons. You need to re-configure your network configuration file “/etc/network/interfaces” and then restart the network service.