Over the last decade, the open-source community has seen a steady shift to containerization as the preferred way of deploying applications thanks to the numerous benefits it offers such as portability, flexibility, increased security, and easier management of applications. Popular containerization technologies include Docker, Podman, and LXD.
Written in Go language, LXD (pronounced as Lekseed) is described as the next generation system container and virtual machine manager that allows you to manage your containers and virtual machines from the command line, or by leveraging a REST API or other third party tools. LXD is an open-source project and is an extension of LXC (Linux Containers) which is OS-level virtualization technology.
LXC came into the picture around 2008, and LXD was launched 7 years later in 2015 with the same building blocks as LXC. LXD came to make containers more user-friendly and easy to manage.
Being an extension of LXC, LXD provides advanced features such as snapshots and live migration. It also provides a daemon that lets you easily manage containers and virtual machines. It is not intended to supplant LXC, rather, it is aimed at improving the usability and handling of LXC-based containers
In this guide, we will demonstrate how you can create and manage LXC containers using LXD on Debian/Ubuntu.
Step 1: Install LXD on Ubuntu
The first step is to install LXD. There are two ways of doing this, you can install from Ubuntu’s repository using the APT package manager or you can use snap.
Using APT, first update the system:
$ sudo apt update
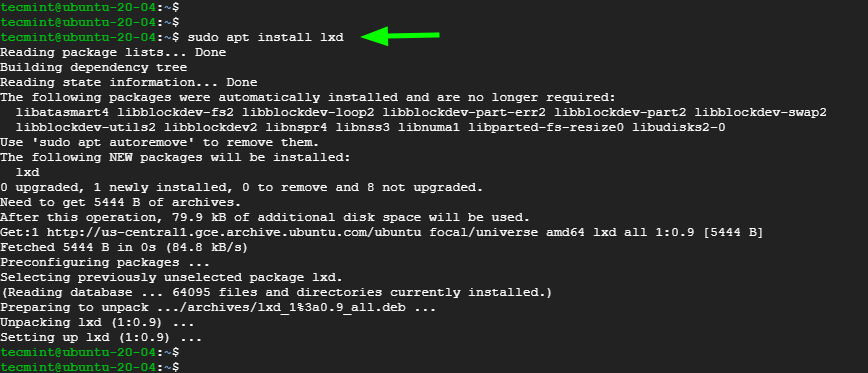
Then install the LXD system container hypervisor as follows.
$ sudo apt install lxd
Using snap, you can install the latest version of LXD.
$ sudo snap install lxd
In addition, you can install the latest LTS release which is LXD 4.0 as follows:
$ sudo snap install lxd --channel=4.0/stable
You can verify the version of LXD installed as shown:
$ lxd --version

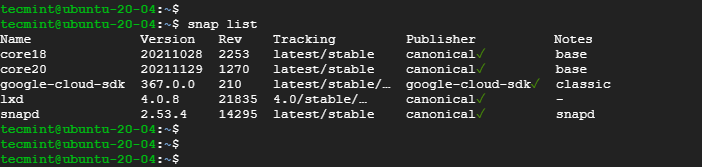
If you used to snap, you can verify that the LXD snap package was installed as shown:
$ snap list
Step 2: Initializing LXD Service
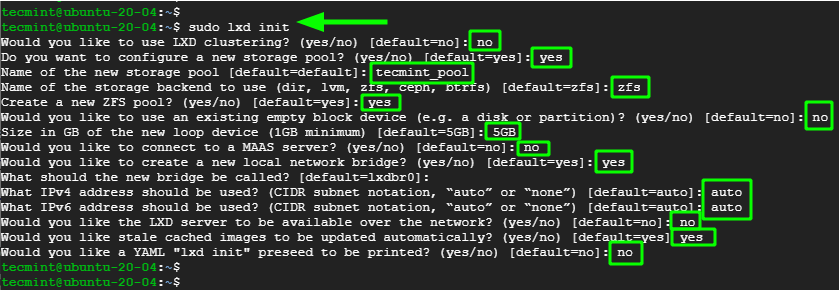
To initialize or start the LXD container hypervisor, run the command:
$ sudo lxd init
The command presents you with a set of questions on how to configure LXD. The defaults work just fine, however, you are at liberty to specify your own settings as per your requirements.
In this example, we have created a storage pool called tecmint_pool with the ZFS file system and volume manager. For the rest of the questions, we have chosen to go with the default options. An easy way to accept the default selection is to press the ENTER button on your keyboard.
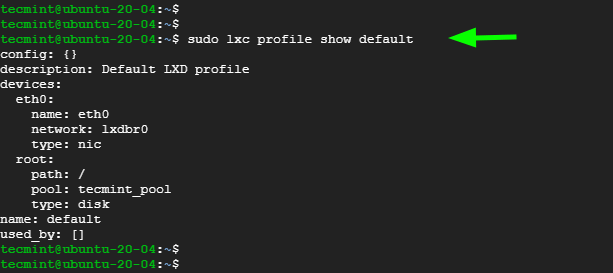
Confirm the information provided by running the command:
$ sudo lxc profile show default
You can further narrow it down to the storage pool created. The commands below display details of the current storage pools.
$ sudo lxc storage list
$ sudo lxc storage show tecmint_pool

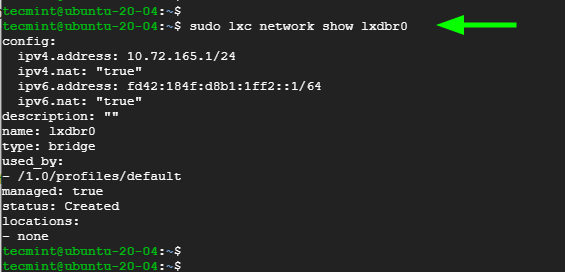
You can also display information about the network interface in use by LXD, in this case, lxdbr0, which is the default selection.
$ sudo lxc network show lxdbr0
Step 3: Creating LXD Containers in Ubuntu
Now, let’s switch gears and create Linux containers. You can list all the prebuilt containers that are available for download using the command:
$ sudo lxc image list images:
This populates a huge list of all the containers in various operating systems such as Ubuntu, CentOS, Debian, and AlmaLinux, to mention a few.
You can narrow it down to a specific distribution as follows:
$ sudo lxc image list images: | grep -i centos
$ sudo lxc image list images: | grep -i debian
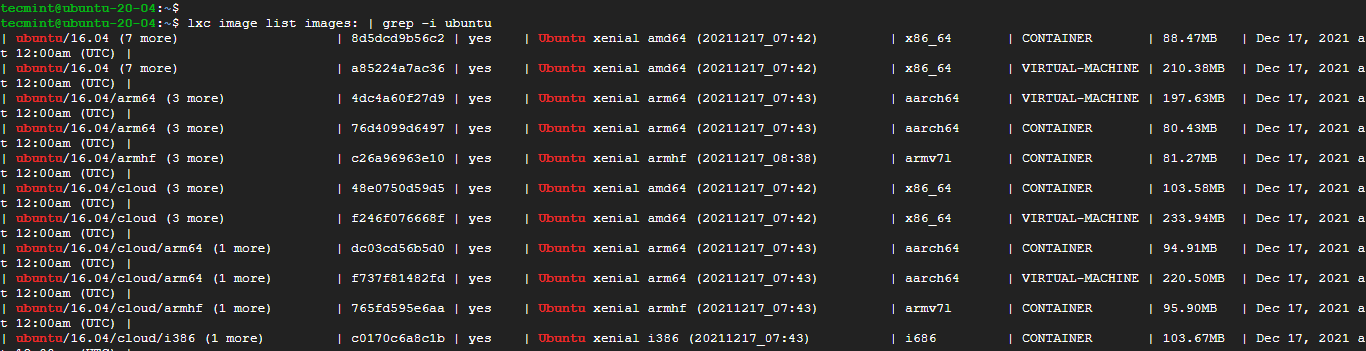
In this example, we are listing the available containers.
$ sudo lxc image list images: | grep -i ubuntu
Now, we are going to create our first container. The syntax for creating a container is as follows:
$ sudo lxc launch images:{distro}/{version}/{arch} {container-name}
Now we are going to create two containers from Ubuntu 20 and Debian 10 respectively:
$ sudo lxc launch images:ubuntu/focal tecmint-con1
$ sudo lxc launch images:debian/10 tecmint-con2
In the above examples, we have created two containers: tecmint-con1 and tecmint-con2.
To list the containers created, run the command:
$ sudo lxc list
From the output, we can see our two containers listed.

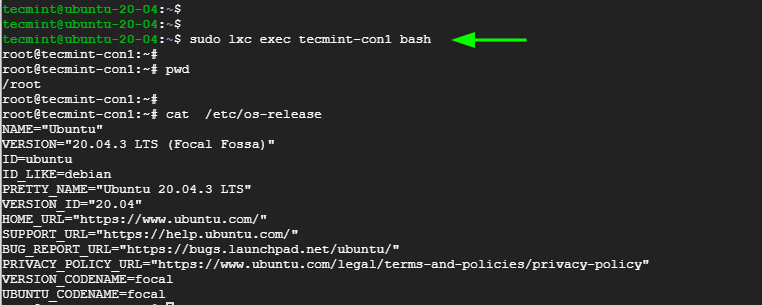
To gain shell access to a LXC container run the command:
$ sudo lxc exec tecmint-con1 bash
Once you have gained shell access, notice that the prompt changes to indicate that you are running as the root user.
To exit the container, run the command:
$ exit
Step 4: Managing LXD Containers in Ubuntu
Now, let’s check out some of the commands you can use to manage LXD containers.
To list all the running containers, run the command:
$ sudo lxc list

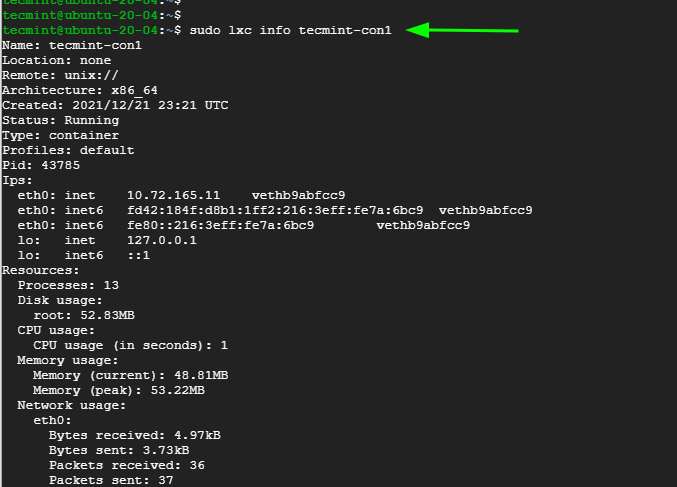
To display detailed information about an LXC container, use the syntax:
$ sudo lxc info container-name
This will provide you with information such as the container’s name, architecture, creation date, status network interfaces, bandwidth, CPU, memory, and disk usage to mention a few metrics.
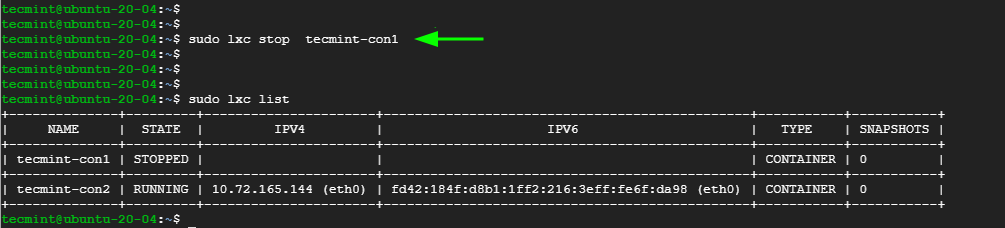
To stop an LXC container, use the syntax:
$ sudo lxc stop container-name
For example, to stop container tecmint-con1, execute the command:
$ sudo lxc stop tecmint-con1
Again, list the containers to confirm that the container has been stopped.
$ sudo lxc list
Alternatively, you can list either running or stopped containers as follows:
$ sudo lxc list | grep -i STOPPED
$ sudo lxc list | grep -i RUNNING

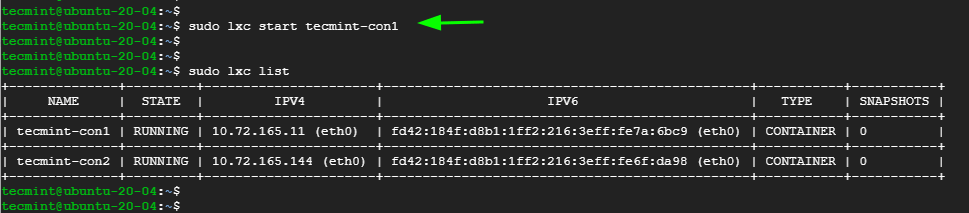
To start an LXC container, use the syntax:
$ sudo lxc start container-name
For example, to start container tecmint-con1 run the command:
$ sudo lxc start tecmint-con1
You can start or stop containers bypassing them in one command separated by a space using the following syntax:
$ sudo lxc stop container1 container2
$ sudo lxc start container1 container2
For example, to stop all containers, run:
$ sudo lxc stop tecmint-con1 tecmint-con2
To restart an LXC container, use the syntax:
$ sudo lxc restart container-name
For example, to restart container tecmint-con1 run the command:
$ sudo lxc restart tecmint-con1
Alternatively, you can pass multiple containers in a single command:
$ sudo lxc start container1 container2
For example, to restart all containers, run:
$ sudo lxc restart tecmint-con1 tecmint-con2
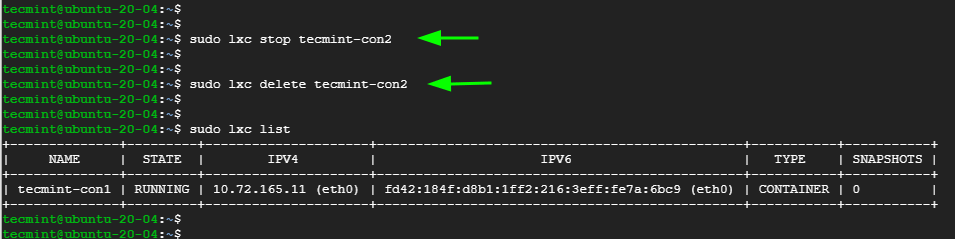
To delete an LXC container, first, stop it, then delete it. For example, to delete container tecmint-con2, run the command:
$ sudo lxc stop tecmint-con2
$ sudo lxc delete tecmint-con2
This guide has provided you with a solid foundation about LXD containers and how you can launch, create and manage containers. It’s our hope that you can now comfortably launch and manage your containers without much difficulty.


