In this topic we’ll learn how to install and configure the latest official version of Nagios Core from sources in Debian and Ubuntu servers.
Nagios Core is a free Open Source network monitoring application designed for monitoring network applications, devices and their related services and in a network.
Nagios can remotely monitor specific operating system parameters via agents deployed on nodes and send alerts via mail or SMS in order to notify administrators in case critical services in a network, such as SMTP, HTTP, SSH, FTP and other fails.
Requirements
- Ubuntu 20.04/18.04 Server Installation
- Ubuntu 16.04 Minimal Installation
- Debian 10 Minimal Installation
- Debian 9 Minimal Installation
Step 1: Install Pre-requirements for Nagios
1. Before installing Nagios Core from sources in Ubuntu or Debian, first install the following LAMP stack components in your system, without MySQL RDBMS database component, by issuing the below command.
# apt install apache2 libapache2-mod-php php
2. On the next step, install the following system dependencies and utilities required to compile and install Nagios Core from sources, by issuing the follwoing command.
# apt install wget unzip zip autoconf gcc libc6 make apache2-utils libgd-dev
Step 2: Install Nagios 4 Core in Ubuntu and Debian
3. On the first step, create nagios system user and group and add nagios account to the Apache www-data user, by issuing the below commands.
# useradd nagios
# usermod -a -G nagios www-data
4. After all dependencies, packages and system requirements for compiling Nagios from sources are present in your system, go to Nagios webpage and grab the latest version of Nagios Core stable source archive by issuing the following wget command.
# wget https://assets.nagios.com/downloads/nagioscore/releases/nagios-4.4.6.tar.gz
5. Next, extract Nagios tarball and enter the extracted nagios directory, with the following commands. Issue ls command to list nagios directory content.
# tar xzf nagios-4.4.6.tar.gz
# cd nagios-4.4.6/
# ls
Sample Output
total 600
-rwxrwxr-x  1 root root    346 Apr 28 20:48 aclocal.m4
drwxrwxr-x  2 root root   4096 Apr 28 20:48 autoconf-macros
drwxrwxr-x  2 root root   4096 Apr 28 20:48 base
drwxrwxr-x  2 root root   4096 Apr 28 20:48 cgi
-rw-rw-r--  1 root root  32590 Apr 28 20:48 Changelog
drwxrwxr-x  2 root root   4096 Apr 28 20:48 common
-rwxrwxr-x  1 root root  43765 Apr 28 20:48 config.guess
-rwxrwxr-x  1 root root  36345 Apr 28 20:48 config.sub
-rwxrwxr-x  1 root root 246354 Apr 28 20:48 configure
-rw-rw-r--  1 root root  29812 Apr 28 20:48 configure.ac
drwxrwxr-x  5 root root   4096 Apr 28 20:48 contrib
-rw-rw-r--  1 root root   6291 Apr 28 20:48 CONTRIBUTING.md
drwxrwxr-x  2 root root   4096 Apr 28 20:48 docs
-rw-rw-r--  1 root root    886 Apr 28 20:48 doxy.conf
-rwxrwxr-x  1 root root   7025 Apr 28 20:48 functions
drwxrwxr-x 11 root root   4096 Apr 28 20:48 html
drwxrwxr-x  2 root root   4096 Apr 28 20:48 include
-rwxrwxr-x  1 root root     77 Apr 28 20:48 indent-all.sh
-rwxrwxr-x  1 root root    161 Apr 28 20:48 indent.sh
-rw-rw-r--  1 root root    422 Apr 28 20:48 INSTALLING
...
6. Now, start to compile Nagios from sources by issuing the below commands. Make sure you configure Nagios with Apache sites-enabled directory configuration by issuing the below command.
# ./configure --with-httpd-conf=/etc/apache2/sites-enabled
Sample Output
*** Configuration summary for nagios 4.4.6 2020-04-28 ***:

 General Options:
 -------------------------
        Nagios executable:  nagios
        Nagios user/group:  nagios,nagios
       Command user/group:  nagios,nagios
             Event Broker:  yes
        Install ${prefix}:  /usr/local/nagios
    Install ${includedir}:  /usr/local/nagios/include/nagios
                Lock file:  /run/nagios.lock
   Check result directory:  /usr/local/nagios/var/spool/checkresults
           Init directory:  /lib/systemd/system
  Apache conf.d directory:  /etc/apache2/sites-enabled
             Mail program:  /bin/mail
                  Host OS:  linux-gnu
          IOBroker Method:  epoll

 Web Interface Options:
 ------------------------
                 HTML URL:  http://localhost/nagios/
                  CGI URL:  http://localhost/nagios/cgi-bin/
 Traceroute (used by WAP):


Review the options above for accuracy.  If they look okay,
type 'make all' to compile the main program and CGIs.
7. In the next step, build Nagios files by issuing the following command.
# make all
8. Now, install Nagios binary files, CGI scripts and HTML files by issuing the following command.
# make install
9. Next, install Nagios daemon init and external command mode configuration files and make sure you enable nagios daemon system-wide by issuing the following commands.
# make install-init
# make install-commandmode
# systemctl enable nagios.service
10. Next, run the following command in order to install some Nagios sample configuration files needed by Nagios to run properly by issuing the below command.
# make install-config
11. Also, install Nagios configuration file for Apacahe web server, which can be fount in /etc/apacahe2/sites-enabled/ directory, by executing the below command.
# make install-webconf
12. Next, create nagiosadmin account and a password for this account necessary by Apache server to log in to Nagios web panel by issuing the following command.
# htpasswd -c /usr/local/nagios/etc/htpasswd.users nagiosadmin
13. To allow Apache HTTP server to execute Nagios cgi scripts and to access Nagios admin panel via HTTP, first enable cgi module in Apache and then restart Apache service and start and enable Nagios daemon system-wide by issuing the following commands.
# a2enmod cgi
# systemctl restart apache2
# systemctl start nagios
# systemctl enable nagios
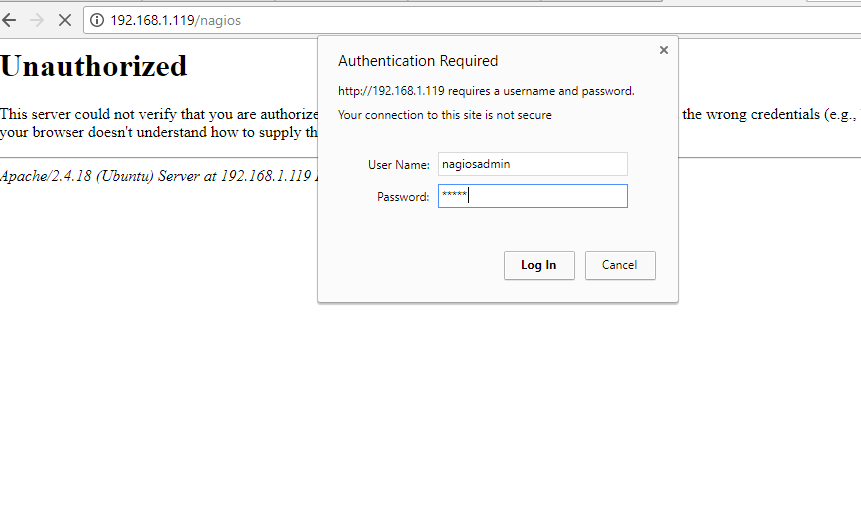
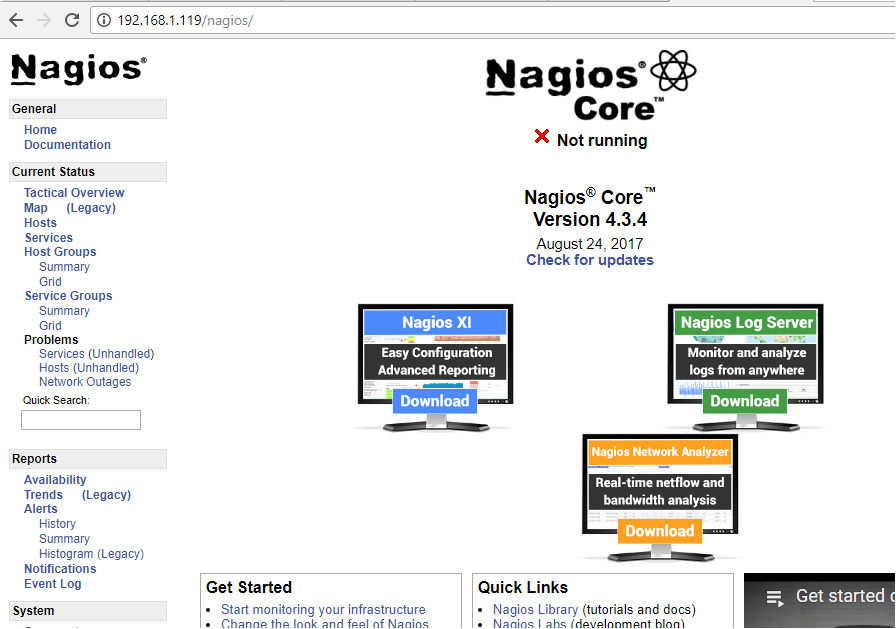
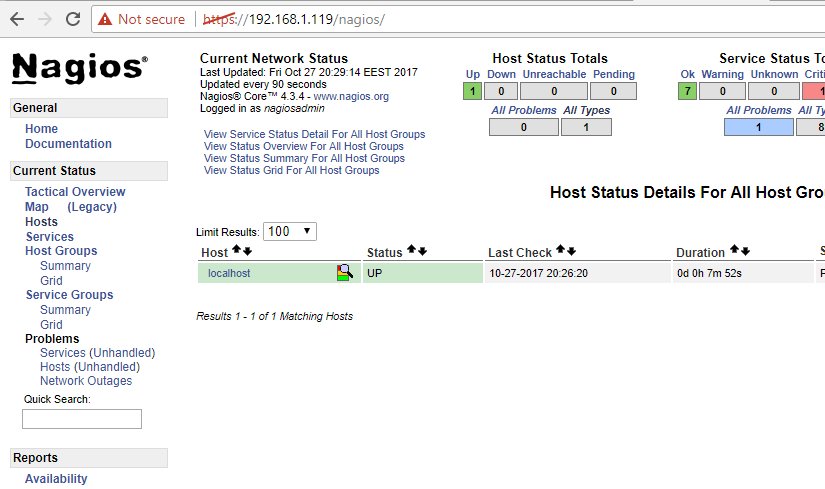
14. Finally, log in to Nagios Web Interface by pointing a browser to your server’s IP address or domain name at the following URL address via HTTP protocol. Log in to Nagios with nagiosadmin user the password setup with htpasswd script.
http://IP-Address/nagios
OR
http://DOMAIN/nagios
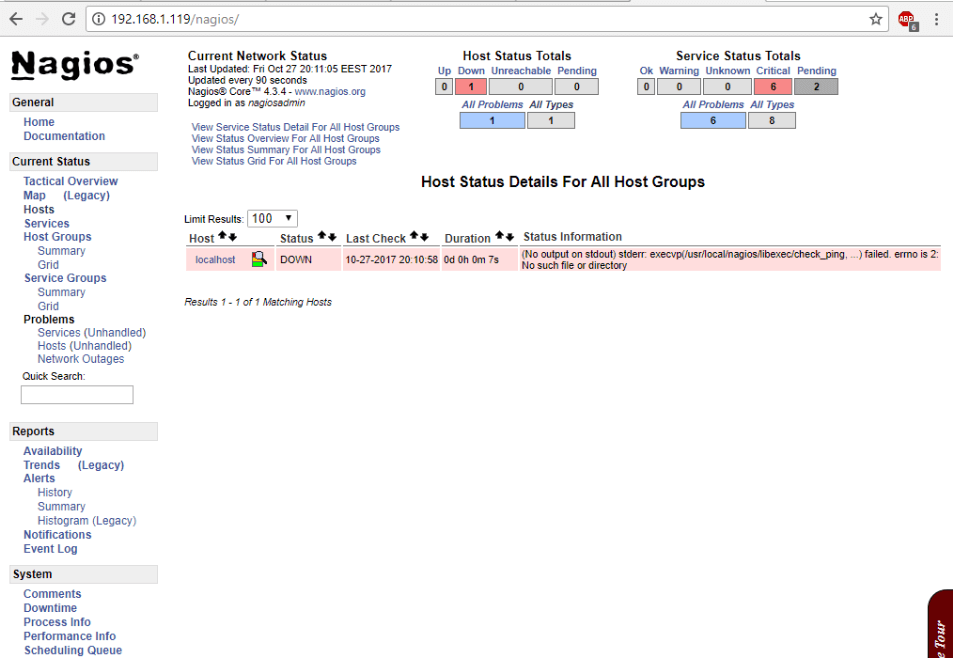
15. To view your hosts status, navigate to Current Status -> Hosts menu where you will notice that some errors are displayed for localhost host, as illustrated in the below screenshot. The error appears because Nagios has no plugins installed to check hosts and services status.
Step 3: Install Nagios Plugins in Ubuntu and Debian
16. To compile and install Nagios Plugins from sources in Debian or Ubuntu, at the first stage, install the following dependencies in your system, by issuing the below command.
# apt install libmcrypt-dev make libssl-dev bc gawk dc build-essential snmp libnet-snmp-perl gettext libldap2-dev smbclient fping libmysqlclient-dev libdbi-dev
17. Next, visit Nagios Plugins repositories page and download the latest source code tarball by issuing the following command.
# wget https://github.com/nagios-plugins/nagios-plugins/archive/release-2.3.3.tar.gz
18. Go ahead and extract the Nagios Plugins source code tarball and change path to the extracted nagios-plugins directory by executing the following commands.
# tar xfz release-2.3.3.tar.gz
# cd nagios-plugins-release-2.3.3/
19. Now, start to compile and install Nagios Plugins from sources, by executing the following series of commands in your server console.
# ./tools/setup
# ./configure
# make
# make install
20. The compiled and installed Nagios plugins can be located in /usr/local/nagios/libexec/ directory. List this directory to view all available plugins in your system.
# ls /usr/local/nagios/libexec/

21. Finally, restart Nagios daemon in order to apply the installed plugins, by issuing the below command.
# systemctl restart nagios.service
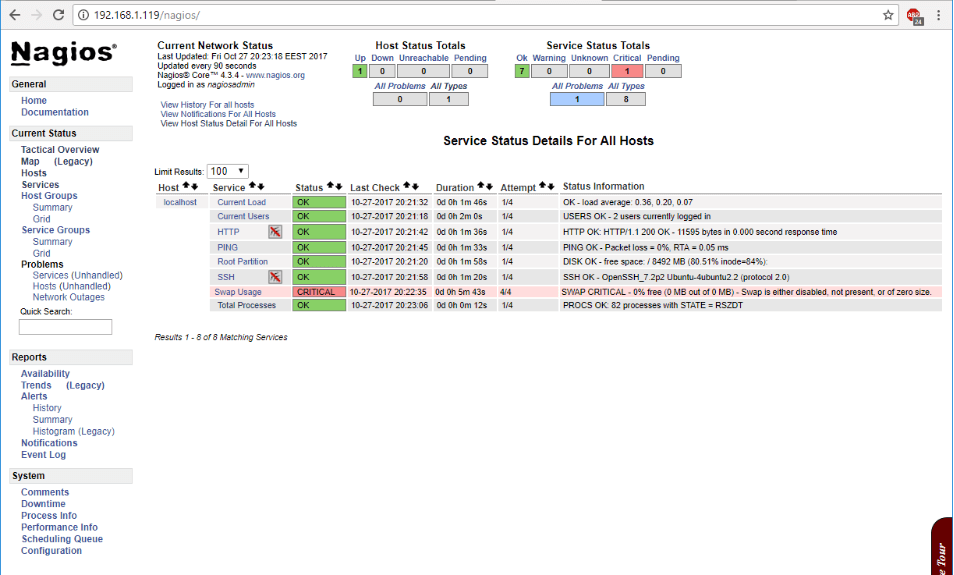
22. Next, log in to Nagios web panel and go to Current Status -> Services menu and you should notice all hosts services are checked now by Nagios plugins.
From the color code you should see the current services status: green color is for OK status, yellow for Warning and red for Critical status.
23. Finally, to access Nagios admin web interface via HTTPS protocol, issue the following commands to enable Apache SSL configurations and restart the Apache daemon to reflect changes.
# a2enmod ssl
# a2ensite default-ssl.conf
# systemctl restart apache2
24. After you’ve enabled Apache SSL configurations, open /etc/apache2/sites-enabled/000-default.conf file for editing and add the following block of code after DocumentRoot statement as shown in the below excerpt.
RewriteEngine on
RewriteCond %{HTTPS} off
RewriteRule ^(.*) https://%{HTTP_HOST}/$1
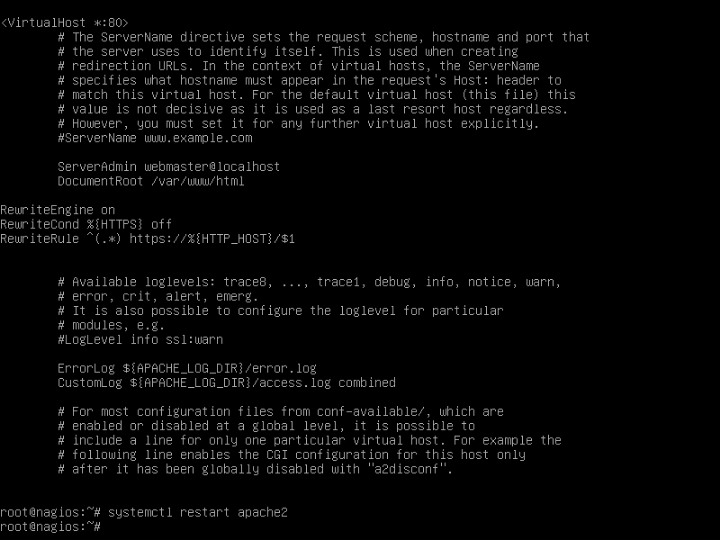
25. You need to restart Apache daemon to apply the configured rules, by issuing the below command.
# systemctl restart apache2.service
26. Finally, refresh the browser in order to be redirected to Nagios admin panel via HTTPS protocol. Accept the wanting message that gets displayed in the browser and log in to Nagios again with the your credentials.
Congratulations! You have successfully install and configured Nagios Core monitoring system from sources in Ubuntu server or Debian.


Install by compilation is not the Debian way. You have unmaintained, not updateable software this way, basically a hack.
You teach the others to do this wrong way, which if a vulnerability is found will leave them unpatched if they rely on apt-get for updates.
Please stop compiling source code if there is a ready-made nagios4 package, it makes things needlessly overcomplicated!
A simple script to install Nagios Monitoring Tool on Ubuntu and Debian systems.
The proper code for step 24 is:
RewriteEngine On
RewriteCond %{HTTPS} off
RewriteRule (.*) https://%{SERVER_NAME}/$1 [R,L]
Hi team,
I have given as :
RewriteEngine on
RewriteCond %{HTTPS} off
RewriteRule ^(.*) https://%{3.135.189.159}/$1
But getting the below error
Hi Ram,
You need to enable the Rewrite module before editing the config file.
Please try the below command for enabling Rewrite Module.
I have a Debian 9 strech running nginx webserver, how to configure nagios for nginx ?