Debian 10 (Buster) is the new stable version of the Debian Linux operating system, which will be supported for the next 5 years and comes with several desktop applications and environments, and includes numerous updated software packages (over 62% of all packages in Debian 9 (Stretch)). Read the release notes for more information.
In this article, we will show you how to install a Debian 10 (Buster) Minimal Server on your Linux server or computer.
System Requirements
For Desktop
- Minimum RAM: 512MB
- Recommended RAM: 2 GB
- Hard Drive Space: 10 GB
- Minimum 1GHz Pentium processor
For Server
- Minimum RAM: 256MB
- Recommended RAM: 512MB
- Hard Drive Space: 2 GB
- Minimum 1GHz Pentium processor
Installation of Debian 10 (Buster) Server
1. To install Debian 10 Buster directly onto your computer’s hard disk, you need to obtain the Debian 10 installation image(s) which may be downloaded by going to Debian on CDs.
2. Once you have downloaded the Debian CD and DVD images, create a bootable USB stick or burn it on a CD, or DVD using any software such as Bootiso, Rufus, UNetbootin, Gnome Disk Utility, Live USB Creator, and many others.
3. After creating a bootable media (USB stick or DVD), place it in the correct drive, reboot the machine, and tell the BIOS/UEFI to boot up from the DVD/USB by pressing a special function key (normally F12, F10 or F2) to open the boot menu. Then select your boot device from the list of devices and click Enter.
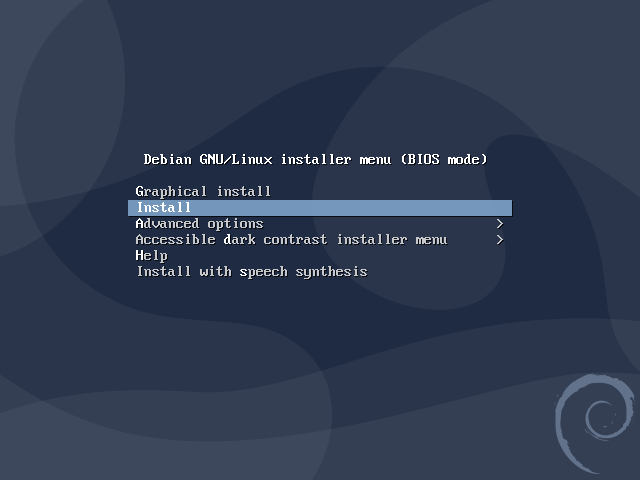
4. Once the installer boots, you will see the Installer menu (BIOS mode) that provides several options for installation. Select Install and click Enter.
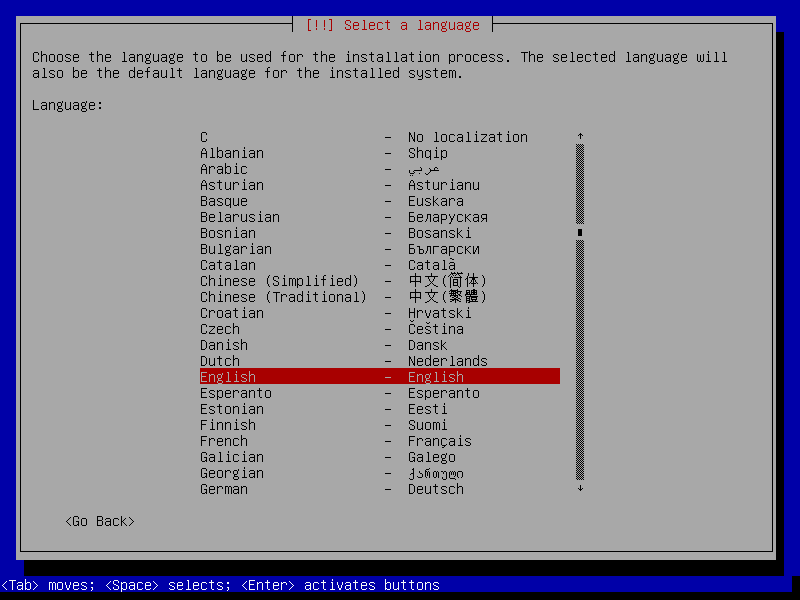
5. Next, choose the language to be used for the installation process. Note that the language you select will also be used as the default system language. Then click Continue.
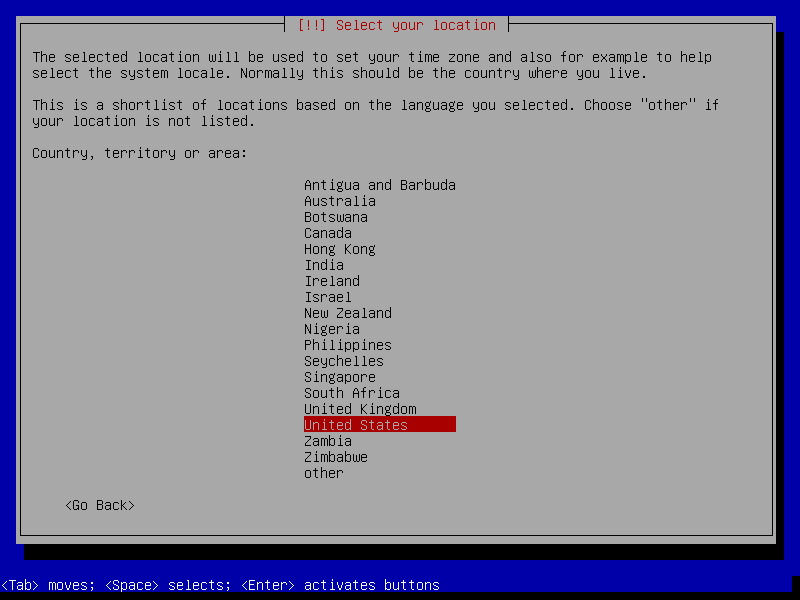
6. Then select your location (country) which will be used to set the system time zone as well as locales. You can find more countries under others if yours doesn’t appear in the default list.
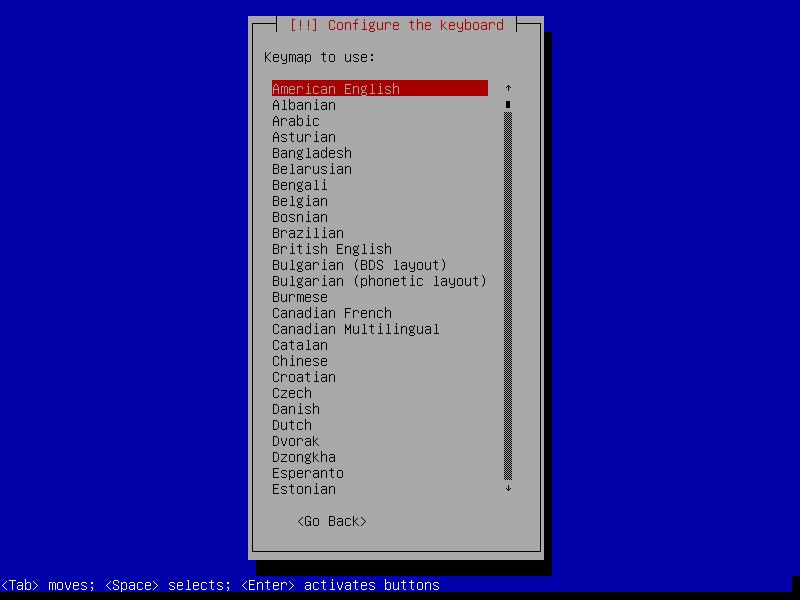
7. Next, configure the keyboard by selecting the keymap to use. Remember that this affects the key-meaning associations of your computer’s keyboard.
Configuring the Network
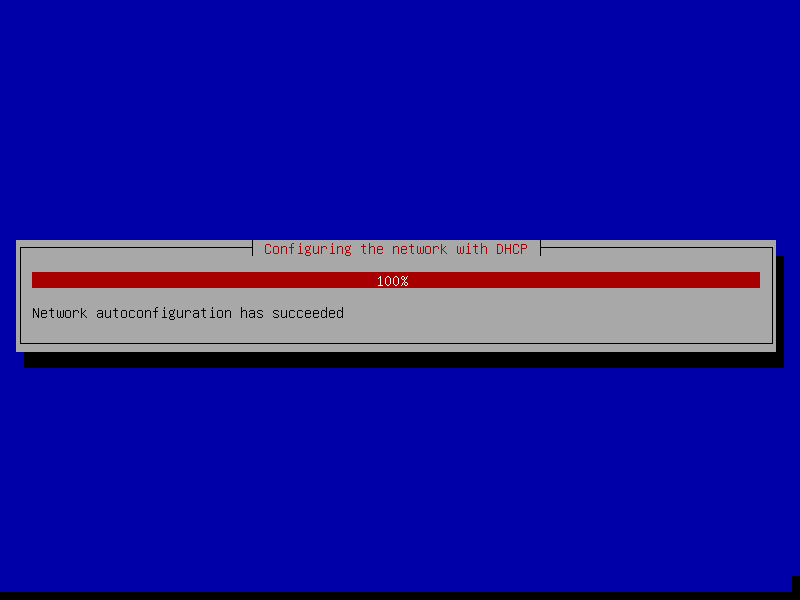
8. If you have multiple network interfaces, the installer will ask you to select the one to use as the default/primary network interface. Otherwise, the first connected network interface is selected and configured automatically with DHCP.
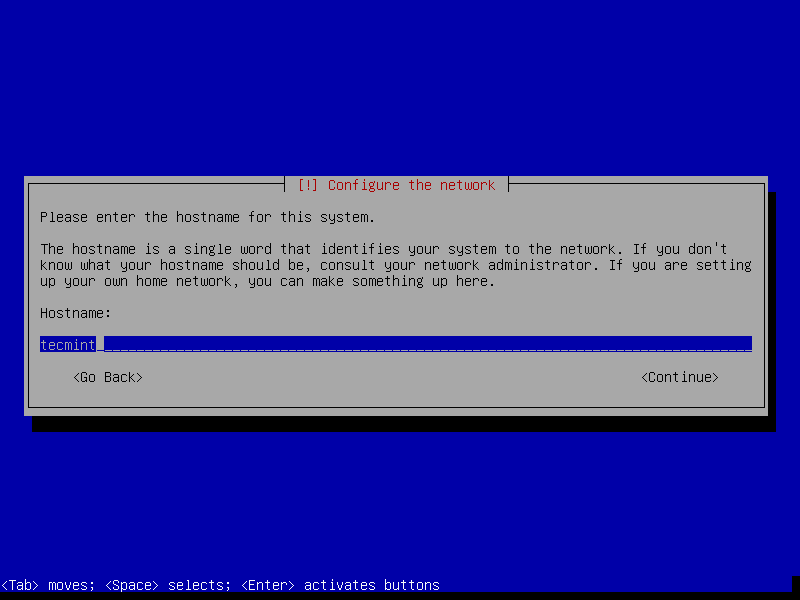
8. Next, set the hostname (archaically nodename, e.g tecmint) for the system. This name helps to identify your system to other devices/nodes on a network.
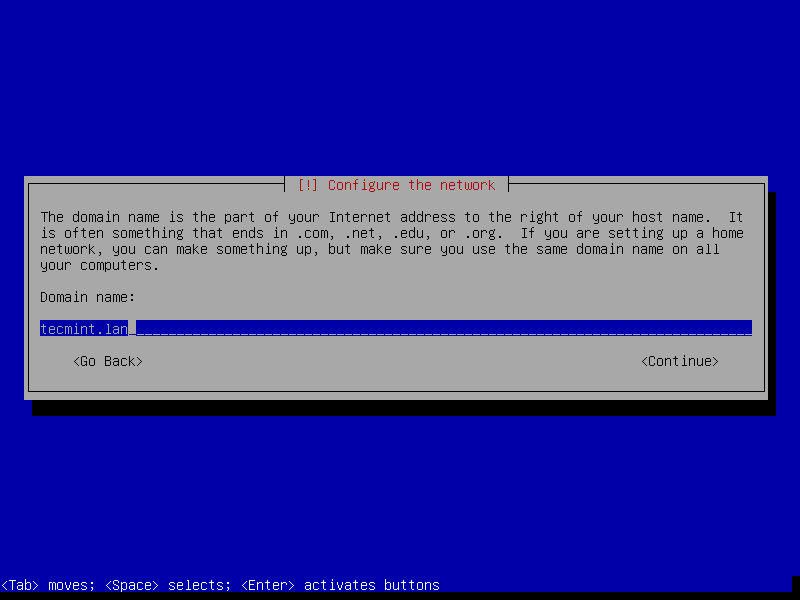
10. Once the hostname is set, also set the domain name (e.g tecmint.lan). The domain name should be the same on all other nodes on your network. In this case, the system’s Fully Qualified Domain Name (FQDN) will be tecmint1.tecmint.lan.
Creating User Accounts and Passwords
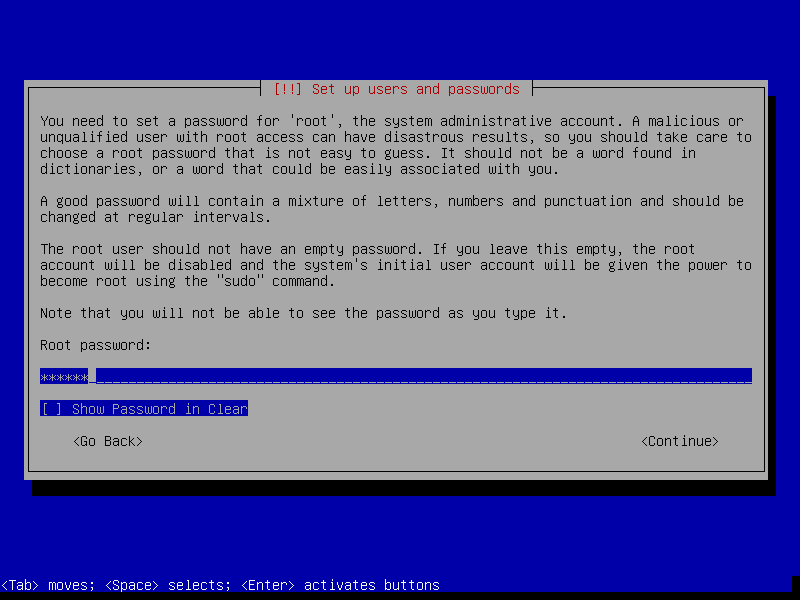
11. Here, you need to set a strong root password for your administrative account.
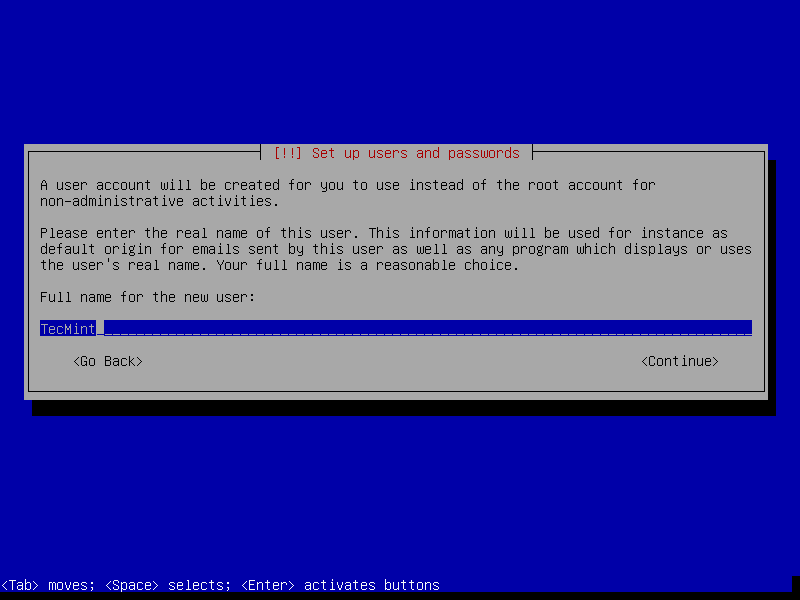
12. It’s now time to create user accounts. First, create a user account for non-administrative activities. This user can be configured to gain root privileges using sudo. Enter the new user’s full name and click Continue.
13. Next, create a username for the above user. Do not forget that the username must begin with a lower-case letter followed by a combination of numbers and more lower-case letters.

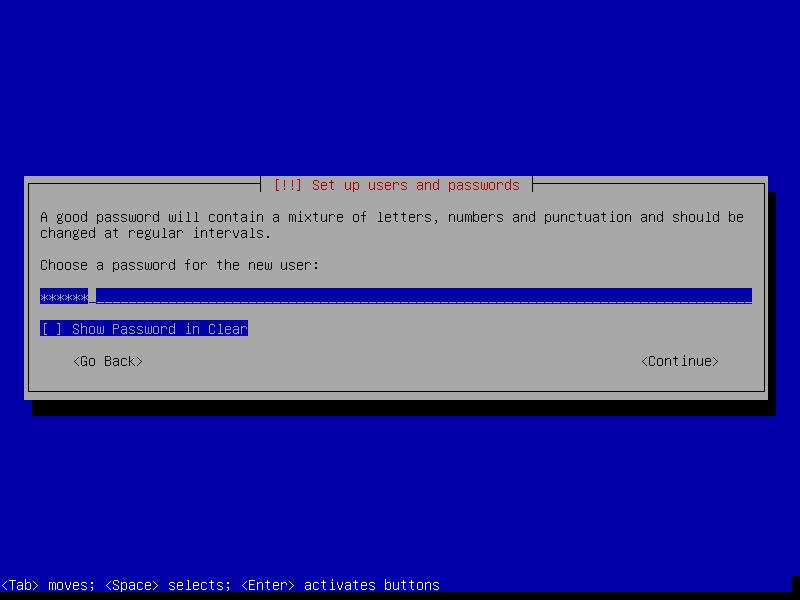
14. Set a strong and secure password (made up of a mixture of letters both lowercase and uppercase, numbers, and special characters) for the new user account. Confirm the password and click Continue.
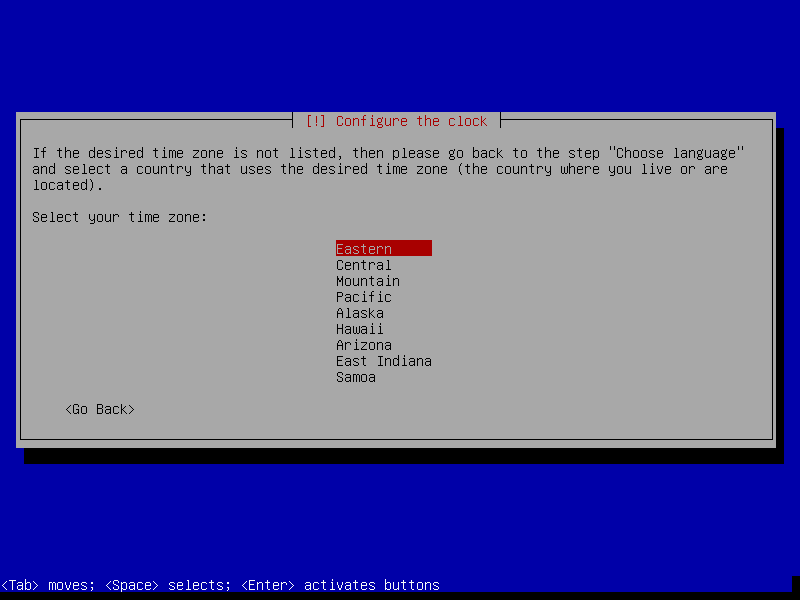
15. Next, set your timezone.
Partitioning Disks for Debian Installation
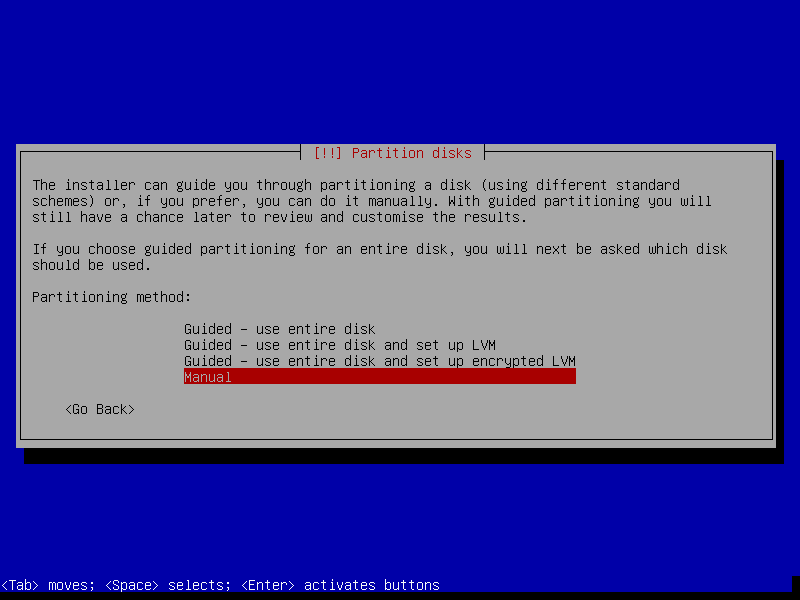
16. Now it’s time to prepare the storage disk(s) before any file system is created on it during the actual installation of system files. There are several disk partitioning options but we will use Manual partitioning. So select it and click Continue.
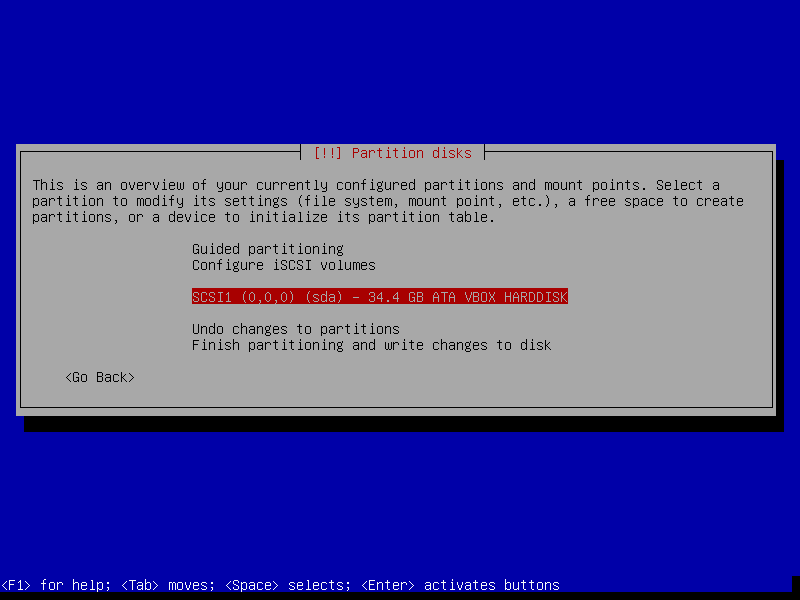
17. The installer will display all currently installed disks (or configured partitions and mount points as well) on your computer. Select the disk you want to partition (e.g 34.4 GB ATA VBOX HARDDISK which is unpartitioned) and click Continue.
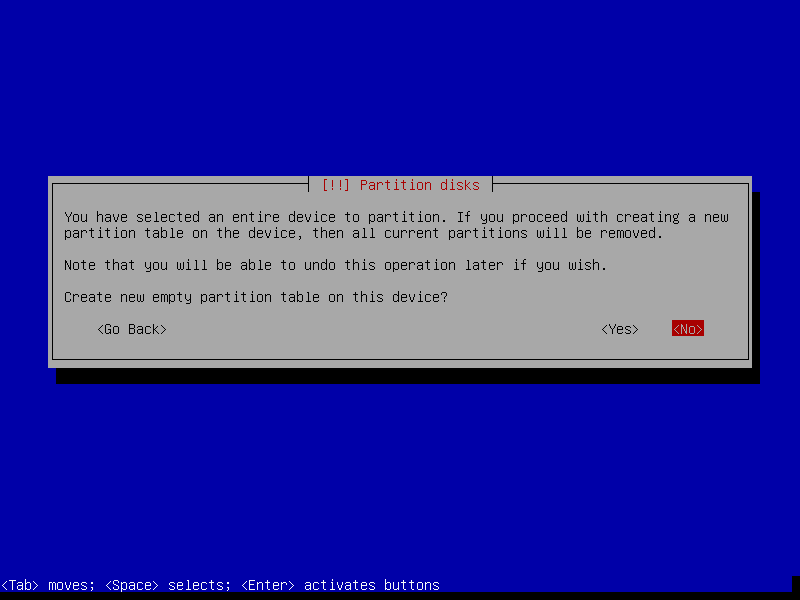
18. If you have selected an entire disk, the installer will show a warning message. Once you have decided to partition the disk, select Yes to create a new empty partition table on the disk and click Continue.
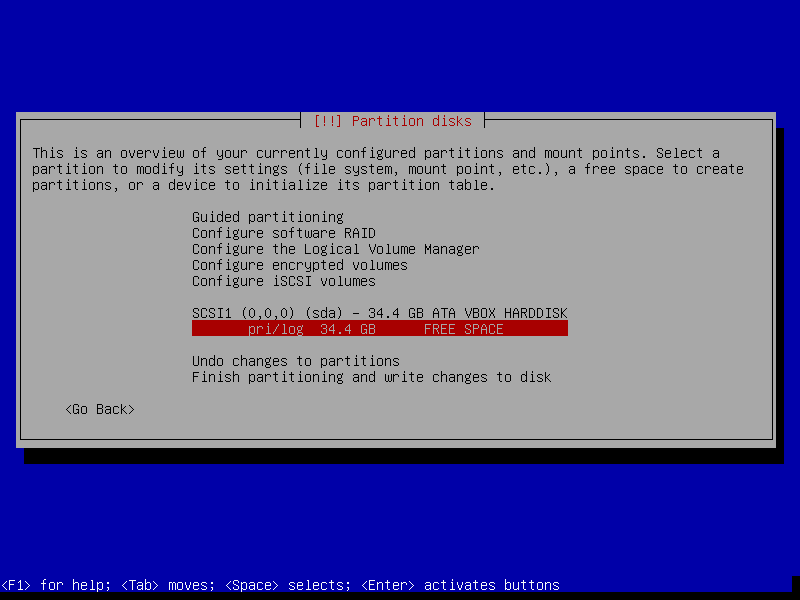
19. A new empty partition table has been created on the disk. Double click on it to create a new partition.
Creating root(/) Partition
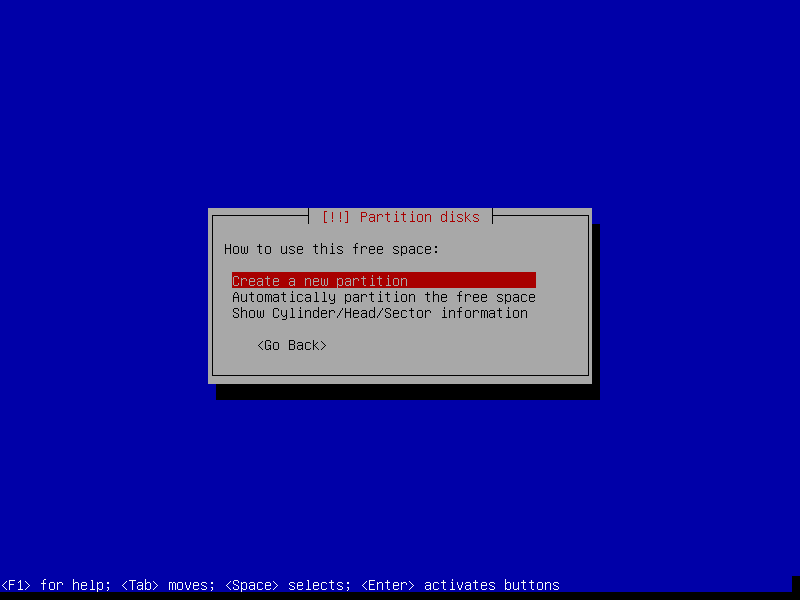
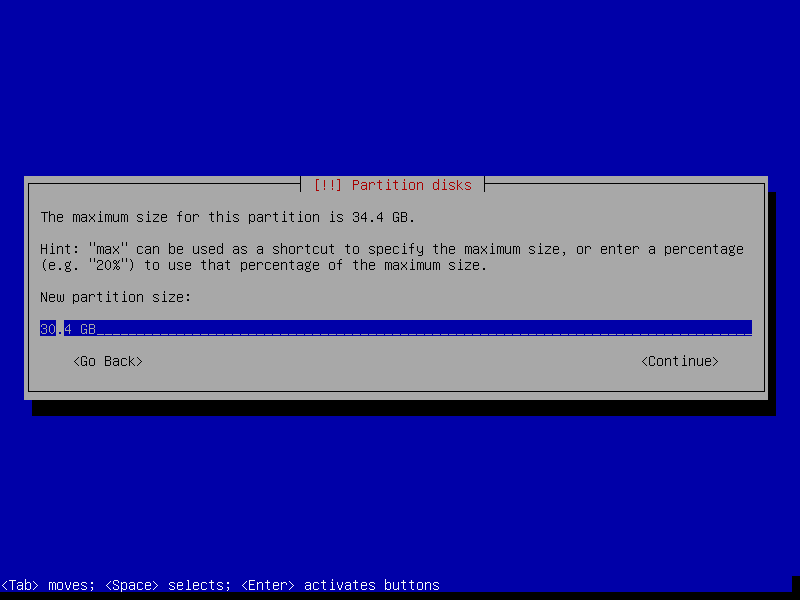
20. Then double click on Create a new partition and enter the maximum size of the partition. Once you are done, click Continue.
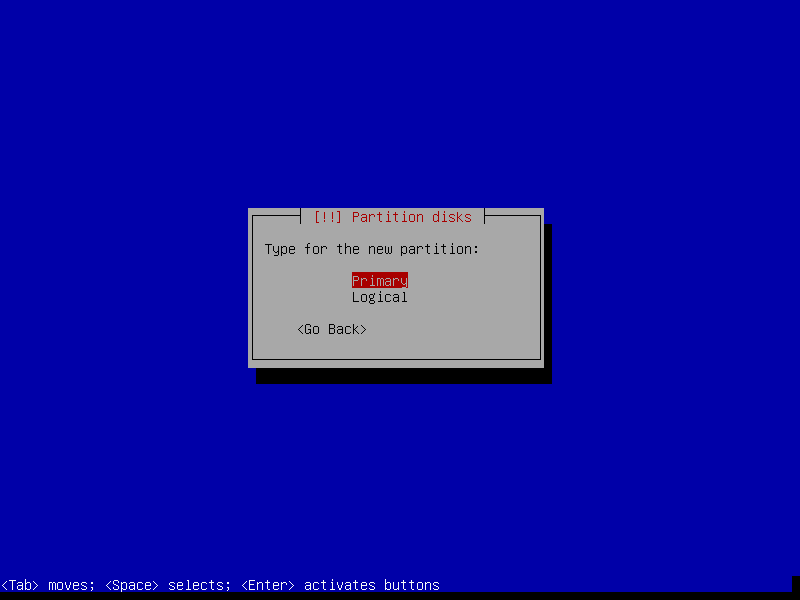
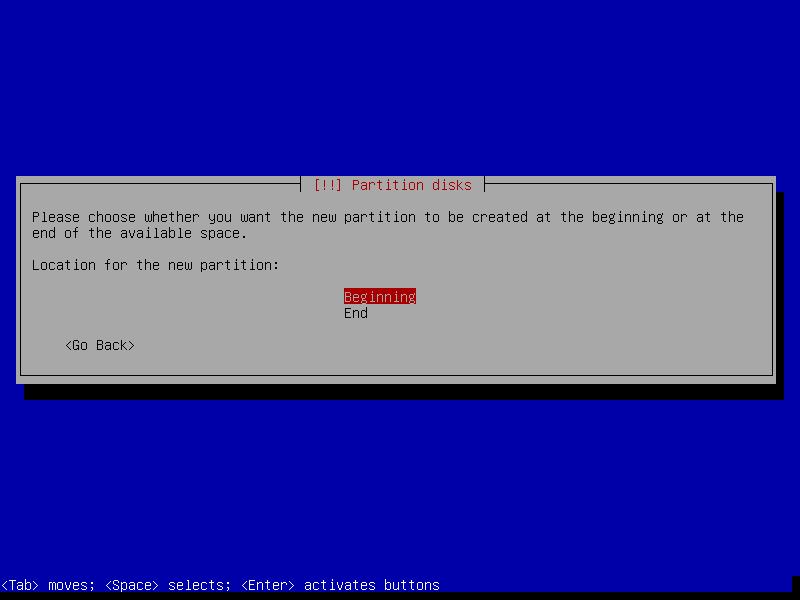
21. Next, make the new partition a primary partition and set it to be created at the beginning of the available space.
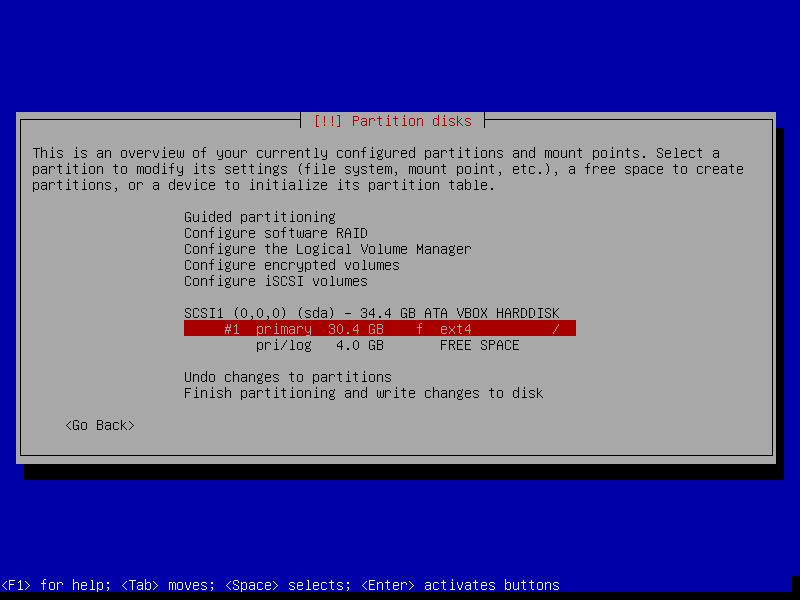
22. The installer will then choose the default partition settings (such as file system type, mount point, mount options, label, etc.). You can make changes according to your requirements. When you have done, select Done setting up the partition, and click Continue.
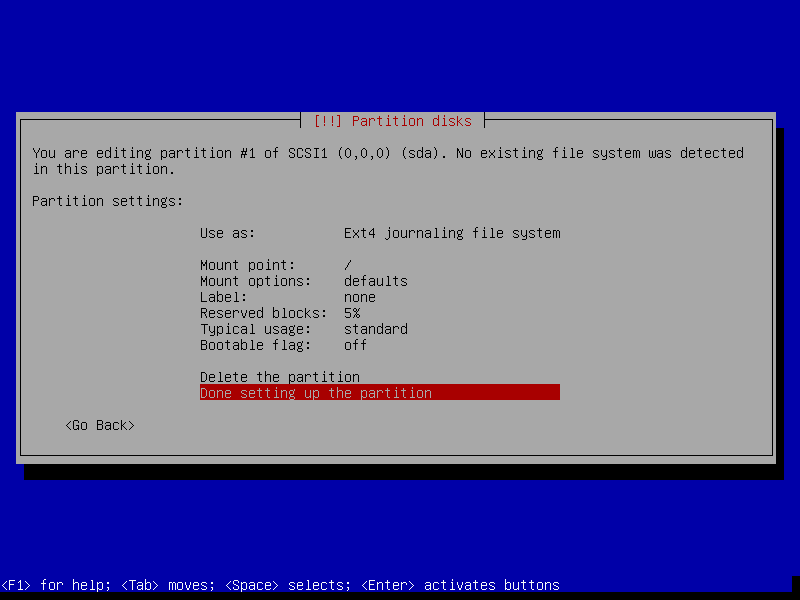
23. The new partition (/ of size 30.4 GB) should now appear in the list of all configured partitions, with a summary of its settings as shown in the following screenshot. The free space is also displayed, which will be configured as swap space as explained next.
Creating Swap Space/Area
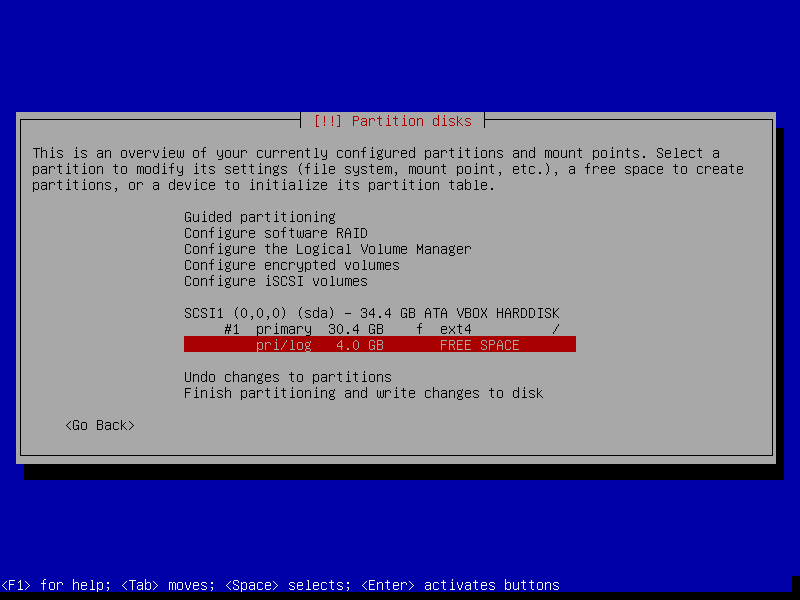
24. From the previous interface, double click on the free space (4 GB in this case), go through the same steps we used to create the root partition. Click Create a new partition, enter its size, then set it as a Logical partition and configure it to be created at the end of available space.
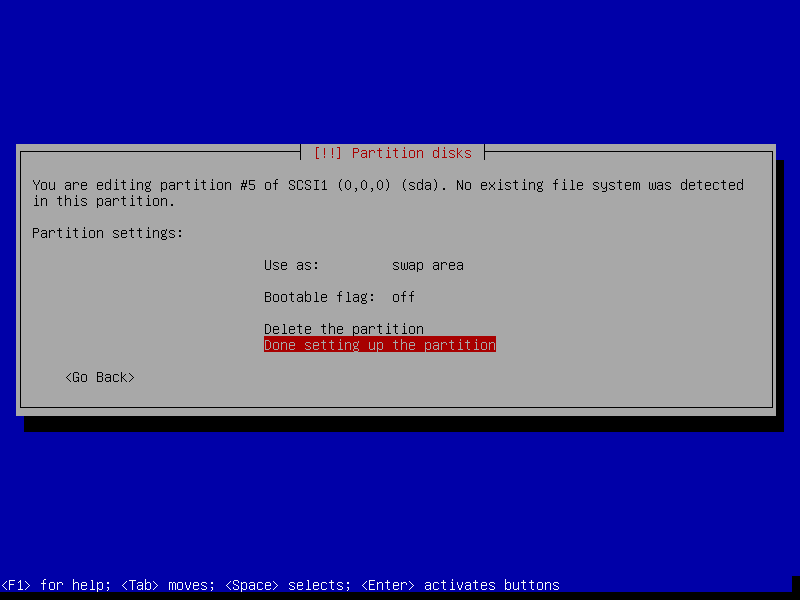
25. At the partition settings interface, set Use as value as swap area (double click on the default value to get more options). Then go to Done settings up the partition to continue.
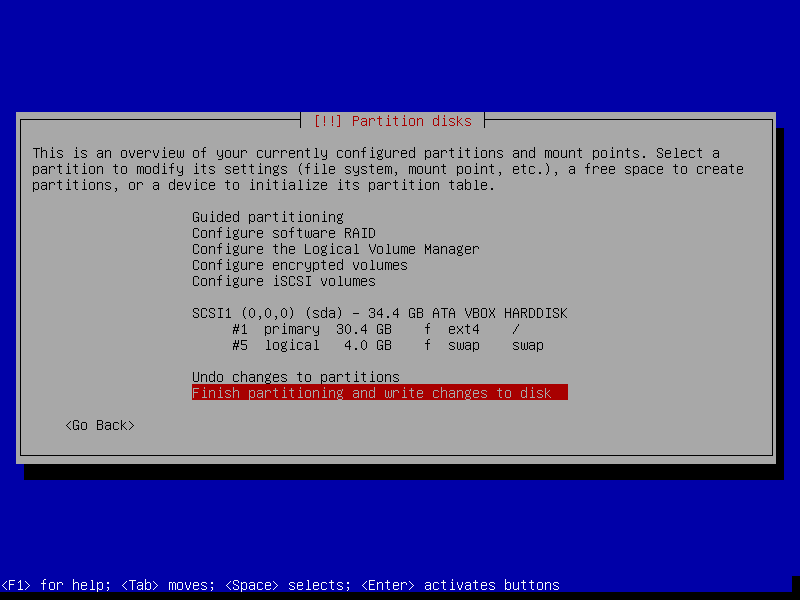
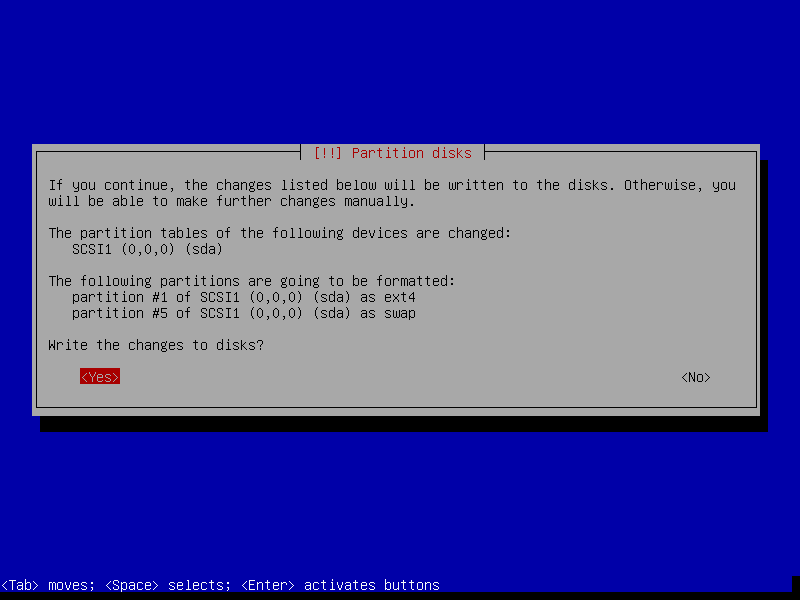
26. Once all the necessary partitions (root and swap area) are created, your partition table should look similar to what is in the following screenshot. And double click on Finish partitioning and write changes to disk.
27. Then accept the recent changes made to the disk during the partitioning process to allow the installer to write them to the disk. Select Yes and click Continue. After that, the installer will start installing the base system.
Configure the Package Manager
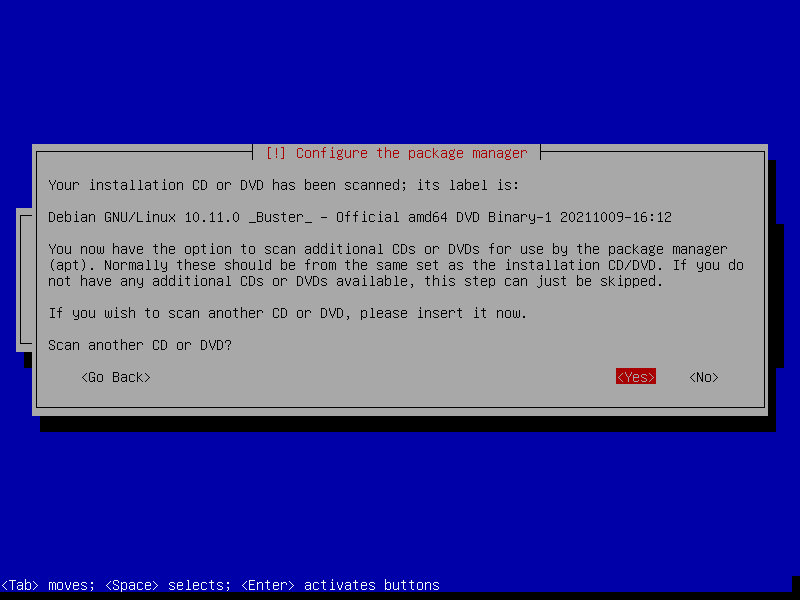
28. During the base system installation process, the installer will prompt you to configure a network mirror for the APT package manager. Select Yes to add one, otherwise, you will have to configure it manually after installing the system.
29. Then select the Debian archive mirror country from the provided list. Select your country or a country in the same region or continent.

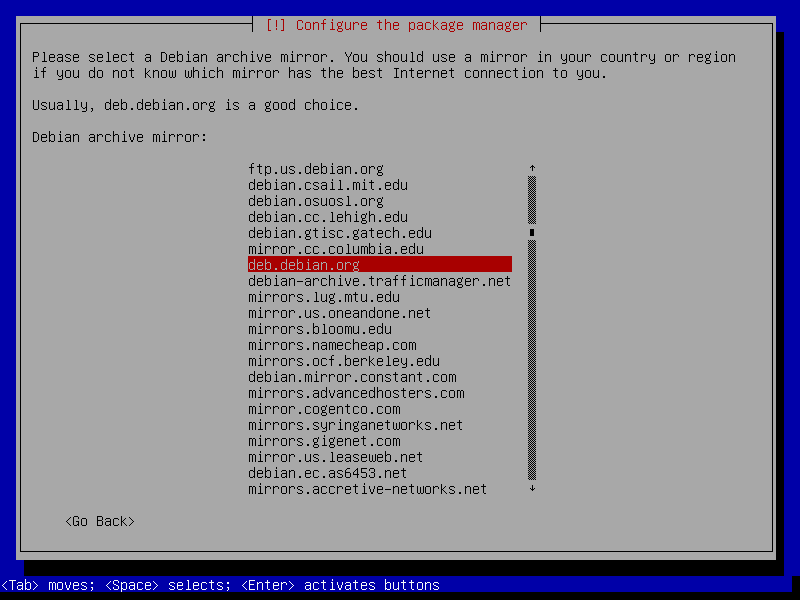
30. Now choose the Debian archive mirror e.g deb.debian.org is a good choice and it is picked by default by the installer. And if you want to use an HTTP proxy to access an external service, you can configure it in the next step then continue.
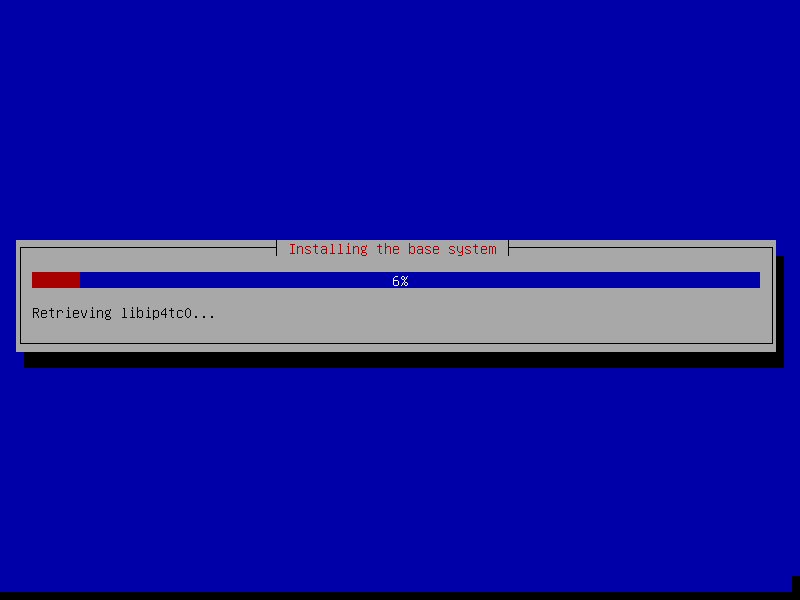
At this stage, the installer will try to configure the APT package manager to use the above Debian archive mirror, and it tries to retrieve a number of packages. Once that is done, the installation process will proceed.
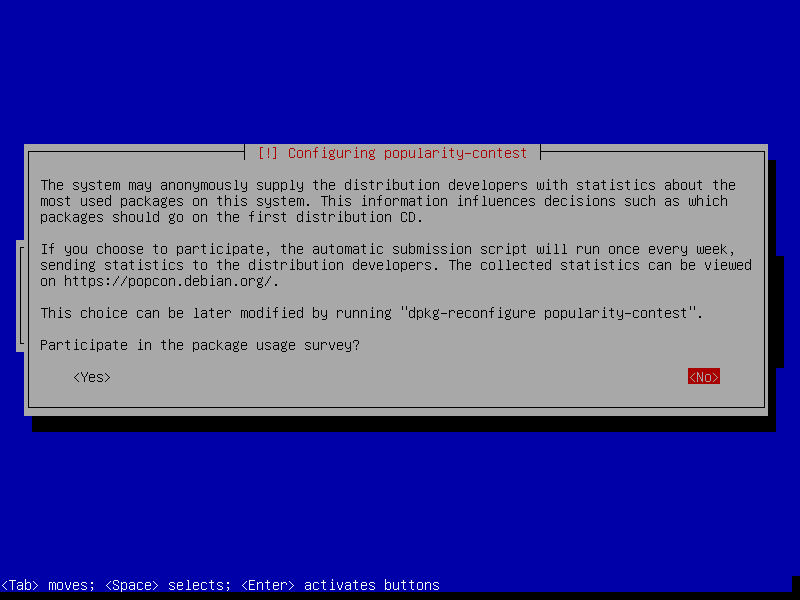
31. Also, configure whether to participate in the package usage survey. You can modify your choice later on using the “dpkg-reconfigure popularity-contest” command. Select Yes to participate or No to continue.
Install Collection of Software
32. Next, select the predefined collection of software to install along with the base system files. For this guide, we will install a web server, print server, SSH server, and standard system libraries.

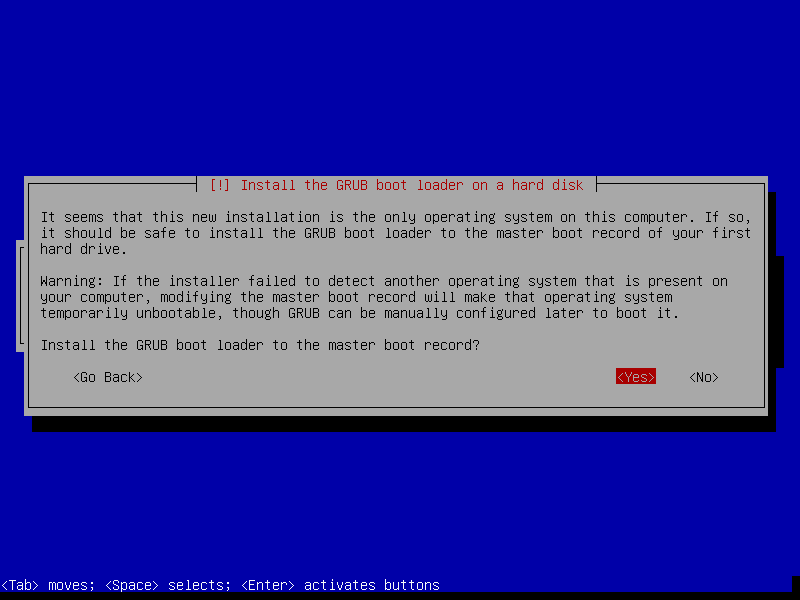
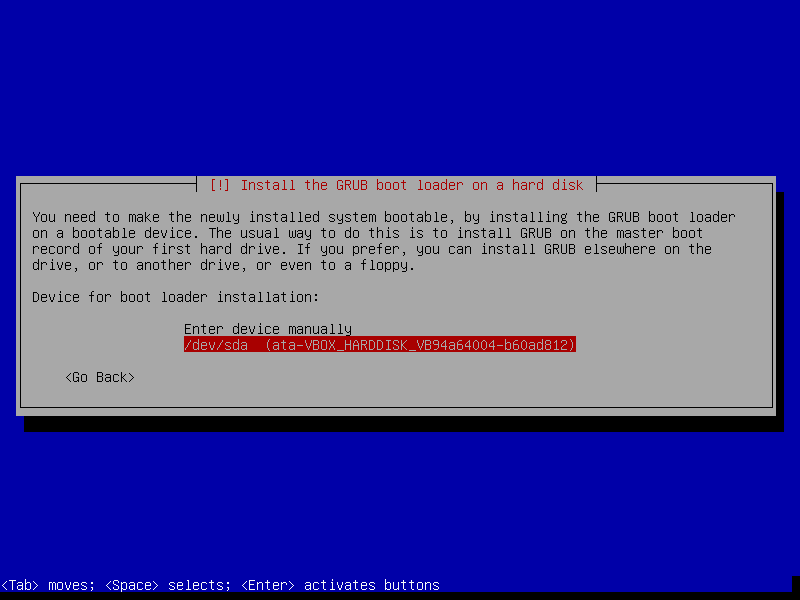
33. Last but not least, tell the installer to install the GRUB boot loader by selecting Yes from the following interface. Then click Continue. Then select the bootable device on which GRUB will be installed, and click Continue.
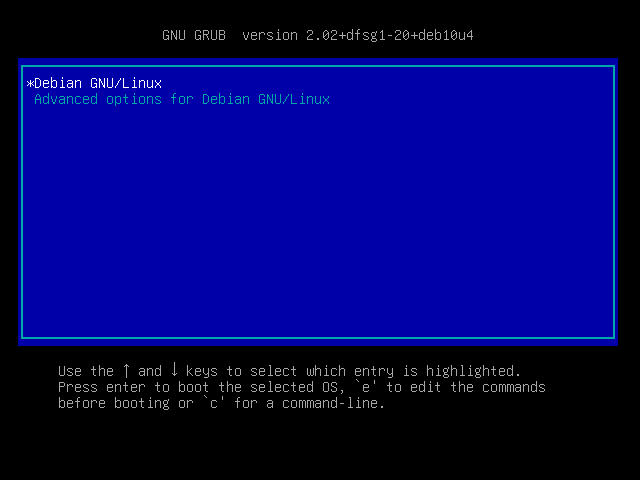
34. When the installation is complete, click Continue to close the installer and restart the computer. Remove the installation media and boot into your new Debian 10 system.

35. After the system boots, the login interface will show up. Enter your username and password, and click login to access the Debian 10 server.
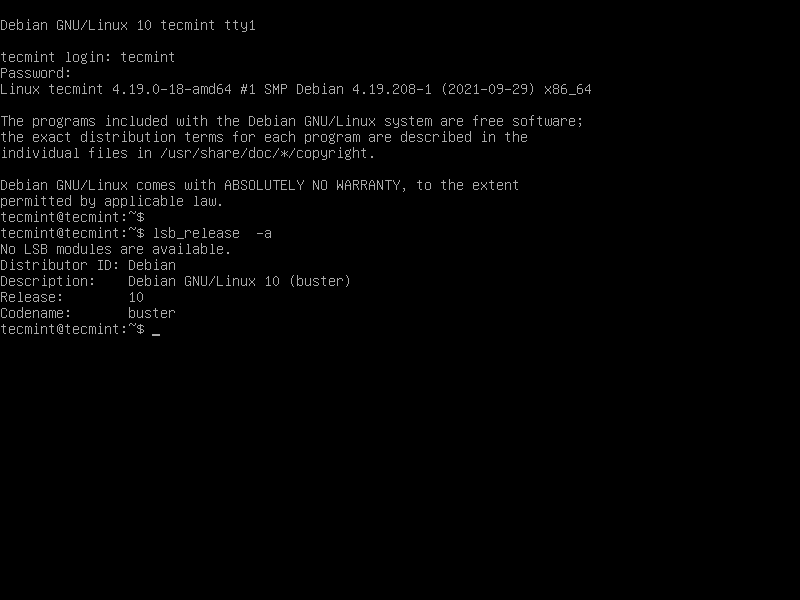
Congratulations! You have successfully installed Debian 10 (Buster) Linux operating system on your computer. Do you have any queries, or thoughts to share, use the feedback form below to reach us?


this is useless – describes desktop installation not a headless installation on a server.
@Tom,
I have updated the article with a minimal Debian server installation.
Great article, in Linux partitioning, things never an easy job for me, but the article helped a lot to get things done very easily.
@Atul
Many thanks for the useful feedback.
Thanks a lot from Mexico.
@Adriano
Welcome, many thanks for the useful feedback.
Minimal? common dude!
Maybe Aaron is referring to the system requirements for a server. With those requirements any stone age computer can do the job. However, don’t expect to run a system like that in business environment.