There are tons of monitoring tools that are used for keeping an eye on systems performance and sending notifications in case something goes wrong. However, the installation and configuration steps involved are often tedious.
Netdata is an open-source real-time monitoring & troubleshooting tool that only requires a few steps to get installed. The Git repository comes with an automated script that handles the bulk of the installation and configuration process and takes away the cumbersome configuration associated with other monitoring tools.
Netdata has become hugely popular since its initial release in October 2013. It collects real-time metrics such as CPU and RAM usage, bandwidth statistics, and disk utilization and displays them on easy-to-interpret charts/graphs.
It has made huge leaps and bounds and this has earned it a place in Forbes 2020 Cloud 100 rising stars. This list constitutes the top 100 private cloud companies.
In this article, we will see how you can install Netdata on CentOS 8/7 to monitor real-time, performance, and health monitoring of servers and applications.
Supported Platforms
Netdata supports the following distributions:
- CentOS 8 and CentOS 7
- RHEL 8 and RHEL 7
- Fedora Linux
How to Install Netdata in CentOS Linux
1. Before we dive into the installation of Netdata, a few prerequisite packages are mandatory. But first, update the system and install the EPEL repository as shown.
$ sudo yum update
$ sudo yum install epel-release
2. Next, install the requisite software packages as shown.
$ sudo yum install gcc make git curl zlib-devel git automake libuuid-devel libmnl autoconf pkgconfig findutils
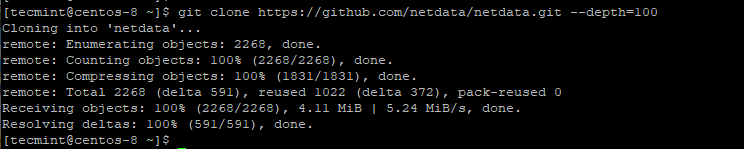
3. Once you are through with installing the prerequisite packages, clone the Netdata git repository as shown.
$ git clone https://github.com/netdata/netdata.git --depth=100
4. Next, navigate into the Netdata directory and execute the install-required-packages.sh script. The script detects your Linux distribution and installs additional packages that are required during the installation of Netdata.
$ cd netdata/
$ ./packaging/installer/install-required-packages.sh --dont-wait --non-interactive netdata
5. Finally, to install Netdata, run the Netdata automated script as shown below.
$ sudo ./netdata-installer.sh
Upon execution of the script, you will be briefed on where crucial Netdata files will be stored. These include such as configuration files, web files, plugins, database files and log files to mention just a few.
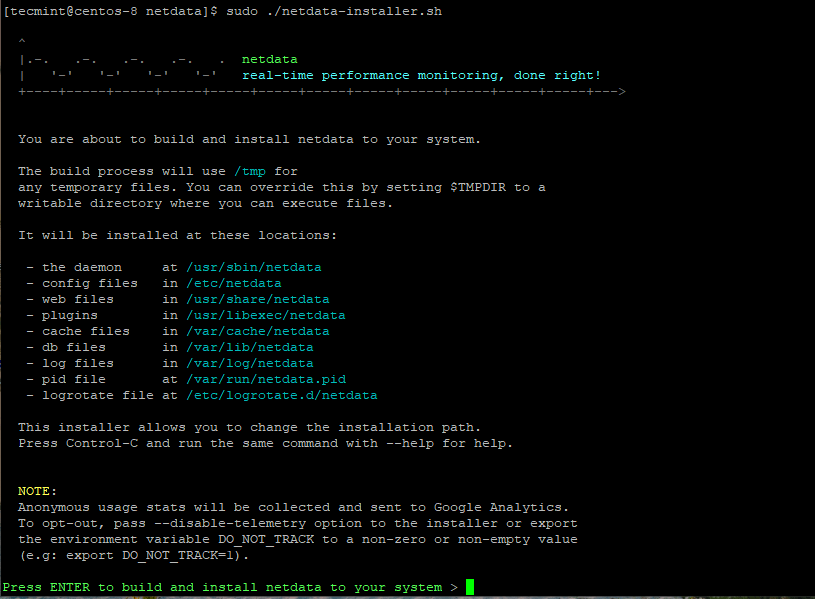
6. Press ‘ENTER‘ to get underway with the installation process. During the installation process, you will be given some tips on how to access Netdata on the browser and manage the Netdata such as starting and stopping it.

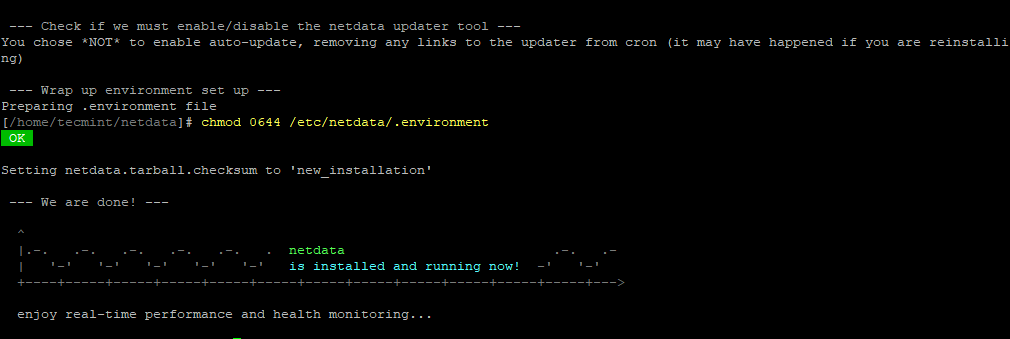
The script runs for quite a while making all the necessary configurations and tweaks during the installation process. For my case, it took about 3-5 minutes, and once done, the output displayed should be a confirmation that the installation was successful.
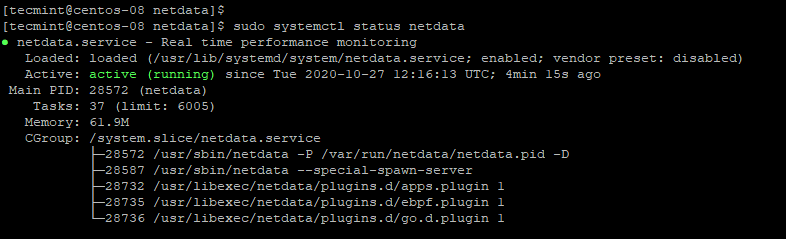
7. Once installed, we need to have the Netdata daemon up and running. To start, enable the Netdata daemon on boot, and verify the status invoke the following commands:
$ sudo systemctl start netdata
$ sudo systemctl enable netdata
$ sudo systemctl status netdata
8. By default, Netdata listens on port 19999 and you can confirm this using the netstat command as shown:
$ sudo netstat -pnltu | grep netdata

9. We need to open this port on the firewall to have access to Netdata via a browser. Therefore run the commands below:
$ sudo firewall-cmd --add-port=19999/tcp --permanent
$ sudo firewall-cmd --reload
10. To access Netdata, fire up your browser, and browse the URL as shown:
$ http://centos8-ip:19999/
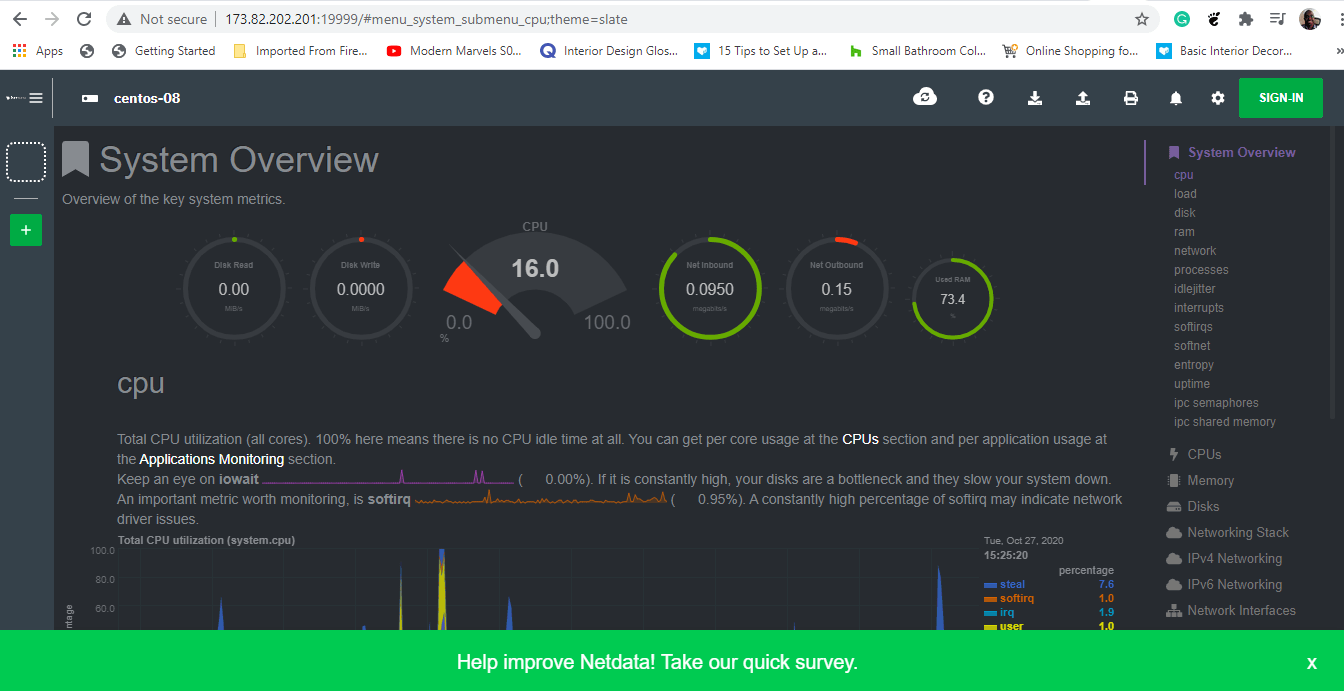
You will get a dashboard shown giving you the overall system performance on intuitive and cool graphs.
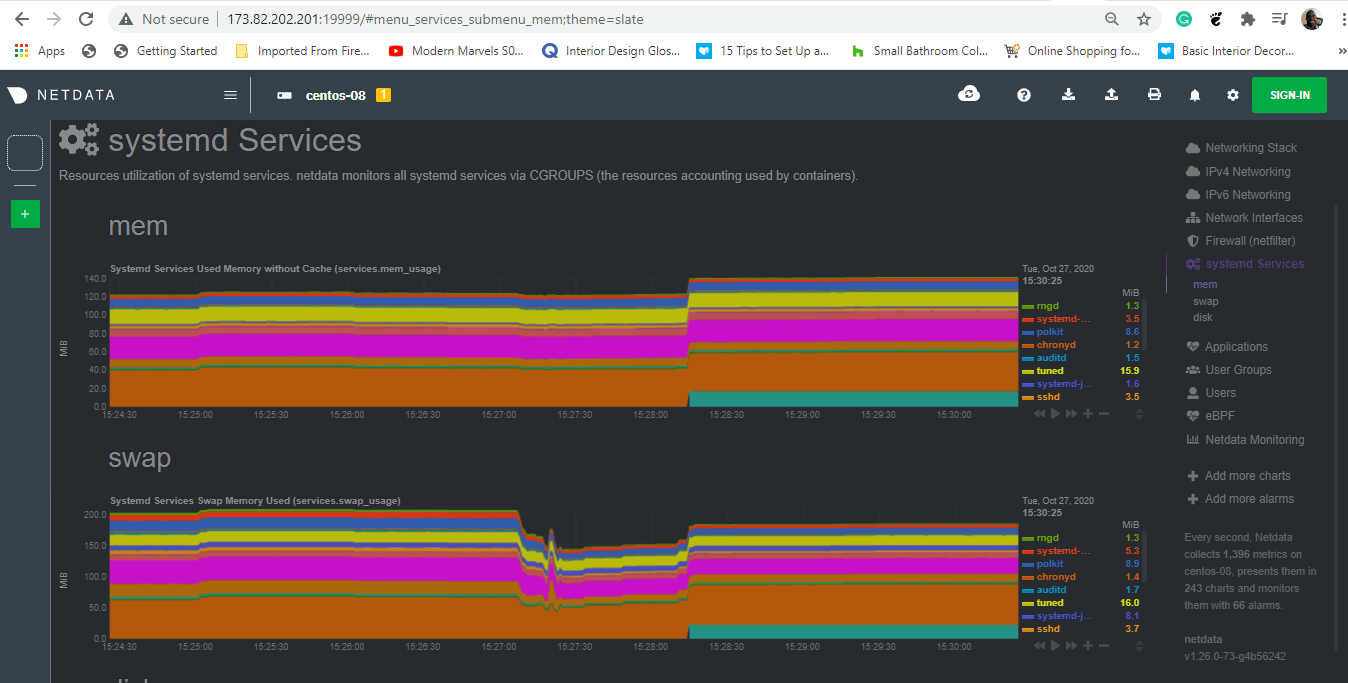
Feel free to have a glance at different graphs by clicking on the metrics listed on the right sidebar. For example, to have a glimpse of the systemd services running, click on the ‘systemd services’ option as shown.
Securing Netdata with Basic Authentication on CentOS
As you might alarmingly have observed, there’s no form of authentication provided by Netdata. This implies that virtually anyone can access the dashboard provided they get a hold of Netdata’s IP address.
Thankfully, we can configure basic authentication using the htpasswd program and the Nginx web server as the reverse proxy. Therefore, we are going to install the Nginx web server.
$ sudo dnf install nginx
With Nginx installed, we are going to create a configuration file inside the /etc/nginx/conf.d directory. However, feel free to use the sites-available directory if you are using Nginx for other purposes aside from Netdata.
$ sudo vim /etc/nginx/conf.d/default.conf
Add the following entire configuration and make sure to change the server_ip and example.com directives with your own server IP address and server name.
upstream netdata-backend {
    server 127.0.0.1:19999;
    keepalive 64;
}

server {
    listen server_ip:80;
    server_name example.com;

    auth_basic "Authentication Required";
    auth_basic_user_file netdata-access;

    location / {
        proxy_set_header X-Forwarded-Host $host;
        proxy_set_header X-Forwarded-Server $host;
        proxy_set_header X-Forwarded-For $proxy_add_x_forwarded_for;
        proxy_pass http://netdata-backend;
        proxy_http_version 1.1;
        proxy_pass_request_headers on;
        proxy_set_header Connection "keep-alive";
        proxy_store off;
    }
}
For user authentication, we will create a username and password for a user called tecmint using the htpasswd tool and keep the credentials under the netdata-access file.
$ sudo htpasswd -c /etc/nginx/netdata-access tecmint
Provide the password and confirm it.

Next, restart the Nginx web server for the changes to come into effect.
$ sudo systemctl restart nginx
To test if the configuration went right, proceed and browse your server’s IP address.
http://server-ip
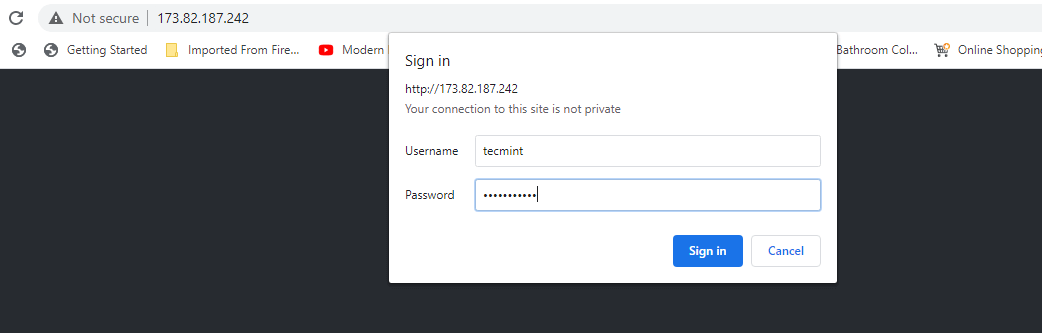
Thereafter, you will get access to the Netdata dashboard.

And that’s it, folks. We have walked you through the installation of the Netdata Monitoring tool on CentOS 8 and configured basic authentication to secure the monitoring tool. Send us a shout and let us know how it went.


The instructions should be updated.
Instead of:
Use:
I am getting this error, can you please tell me how to fix?
make[2]: Entering directory `/root/netdata'

CC       libnetdata/json/jsmn.o

CC       database/sqlite/sqlite_aclk.o

CC       database/sqlite/sqlite_health.o

CC       database/sqlite/sqlite_aclk_node.o

CC       database/sqlite/sqlite_aclk_chart.o

In file included from database/sqlite/../../aclk/aclk.h:6:0,

from database/sqlite/sqlite_aclk.c:10:

database/sqlite/../../aclk/aclk_util.h:6:29: fatal error: mqtt_wss_client.h: No such file or directory

#include "mqtt_wss_client.h"

^

compilation terminated.

database/sqlite/sqlite_aclk_chart.c: In function 'queue_chart_to_aclk':

database/sqlite/sqlite_aclk_chart.c:1329:10: error: 'aclk_use_new_cloud_arch' undeclared (first use in this function)

if (!aclk_use_new_cloud_arch && aclk_connected) {

^

database/sqlite/sqlite_aclk_chart.c:1329:10: note: each undeclared identifier is reported only once for each function it appears in

database/sqlite/sqlite_aclk_chart.c:1330:9: warning: implicit declaration of function 'aclk_update_chart' [-Wimplicit-function-declaration]

aclk_update_chart(st->rrdhost, st->id, 1);

^

database/sqlite/sqlite_aclk_chart.c:1333:5: warning: implicit declaration of function 'sql_queue_chart_payload' [-Wimplicit-function-declaration]

return sql_queue_chart_payload((struct aclk_database_worker_config *) st->rrdhost->dbsync_worker,

^

make[2]: *** [database/sqlite/sqlite_aclk_chart.o] Error 1

make[2]: *** Waiting for unfinished jobs....

make[2]: *** [database/sqlite/sqlite_aclk.o] Error 1

make[2]: Leaving directory `/root/netdata'

make[1]: *** [all-recursive] Error 1

make[1]: Leaving directory `/root/netdata'

make: *** [all] Error 2

FAILED  ''
ABORTED Failed to build Netdata.
@Farhad,
To install Netdata along with all the needed dependencies, run the following as your normal user: