In the previous lectures, we learned how to install Proxmox on Debian and also how to create virtual machines. In this tutorial, we will see how to create a container on Proxmox.
Containers in Proxmox
Proxmox leverages LXC virtualization technology to create and manage containers. LXC (Linux Containers), is an OS-level virtualization technology that allows users to create and manage multiple isolated Linux systems known as containers. An LXC container consists of a set of simple tools, libraries, dependencies, and everything needed to run.
The objective of LXC is to create an environment that mimics a standard Linux installation without requiring a separate kernel.
LXC containers are considered to be somewhere between a chroot and a fully-fledged virtual machine. Unlike a virtual machine which emulates the underlying hardware, a container abstracts the operating system kernel. It’s lightweight, low-level, and very flexible.
That said, let’s now switch gears and learn how to create containers in Proxmox.
Step 1: Download Proxmox Container Image
To get started, log into the Proxmox web dashboard. Click ‘proxmox‘ to collapse it and then click the ‘local (proxmox)‘ button. On the sidebar, click ‘CT Templates‘ and then click ‘Templates‘.
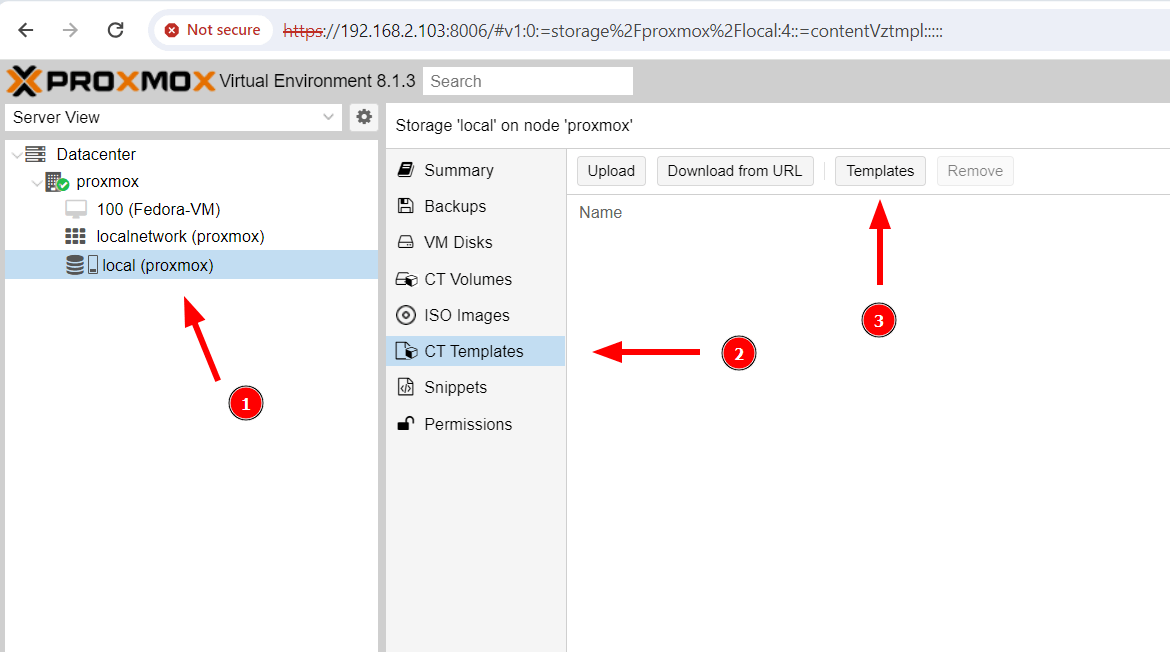
On the pop-up that appears, you will see a list of available Container templates.
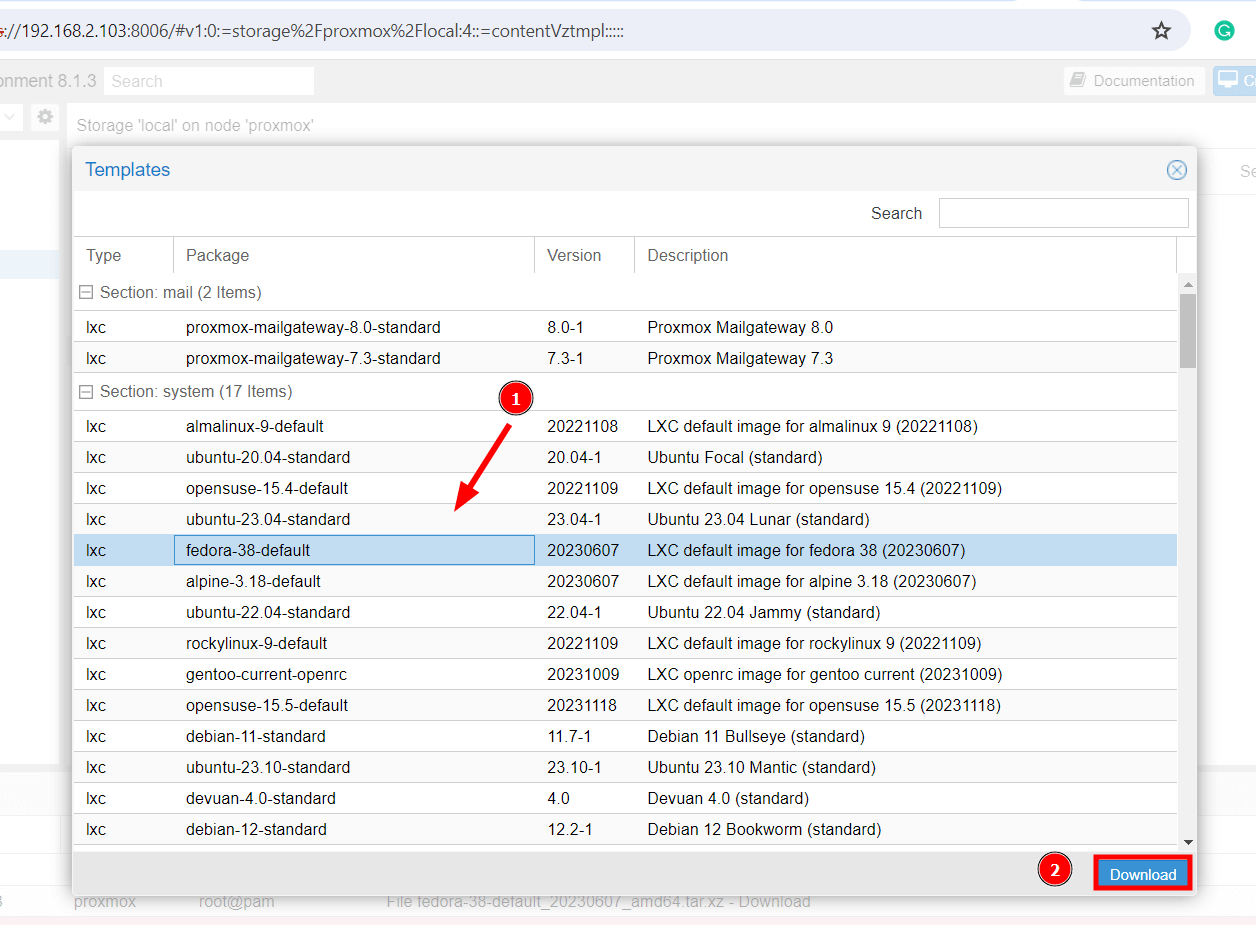
Container templates are simply container images packaged as tar archives that contain everything a container needs to run efficiently. Prxomox VE provides a wide range of basic OS templates for some of the most commonly used Linux distributions such as Ubuntu, Debian, AlmaLinux, Gentoo, Devuan Rocky, and OpenSUSE.
In addition to basic OS templates, Proxmox provides Turnkey container templates, which is a free repository that provides virtual tech stacks and applications that can be deployed as containers, VMs, or even on cloud platforms such as AWS.
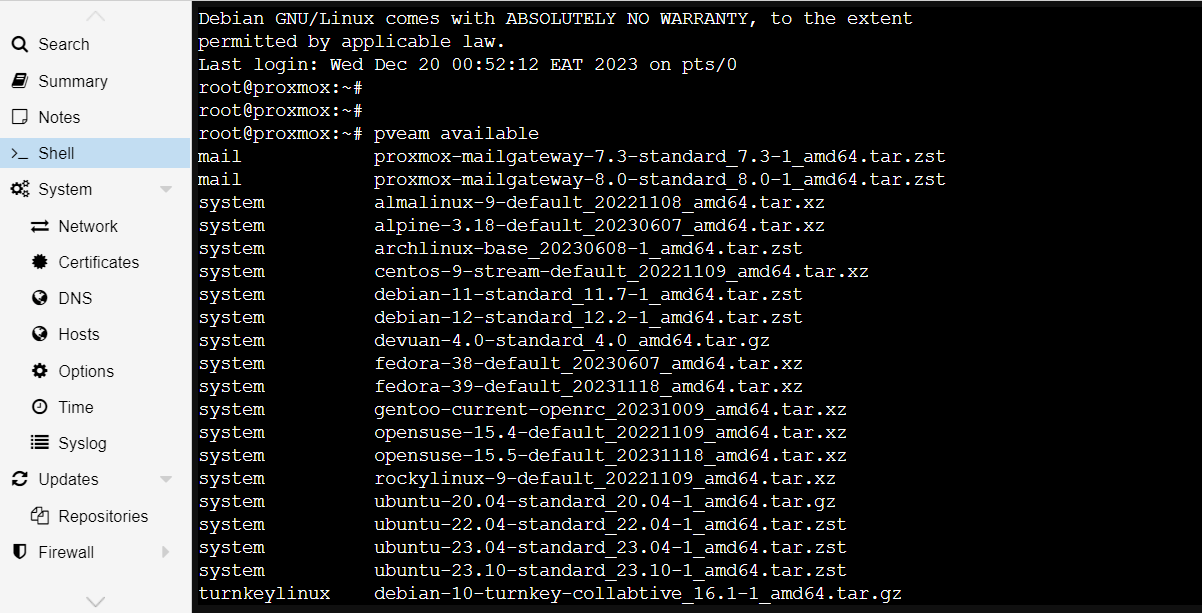
On the Proxmox shell, you can view a list of all the available container images by running the command:
pveam available
To deploy your preferred container template, click on it and then hit the ‘Download‘ button. For our case, we are going to deploy a Fedora 38 container template.
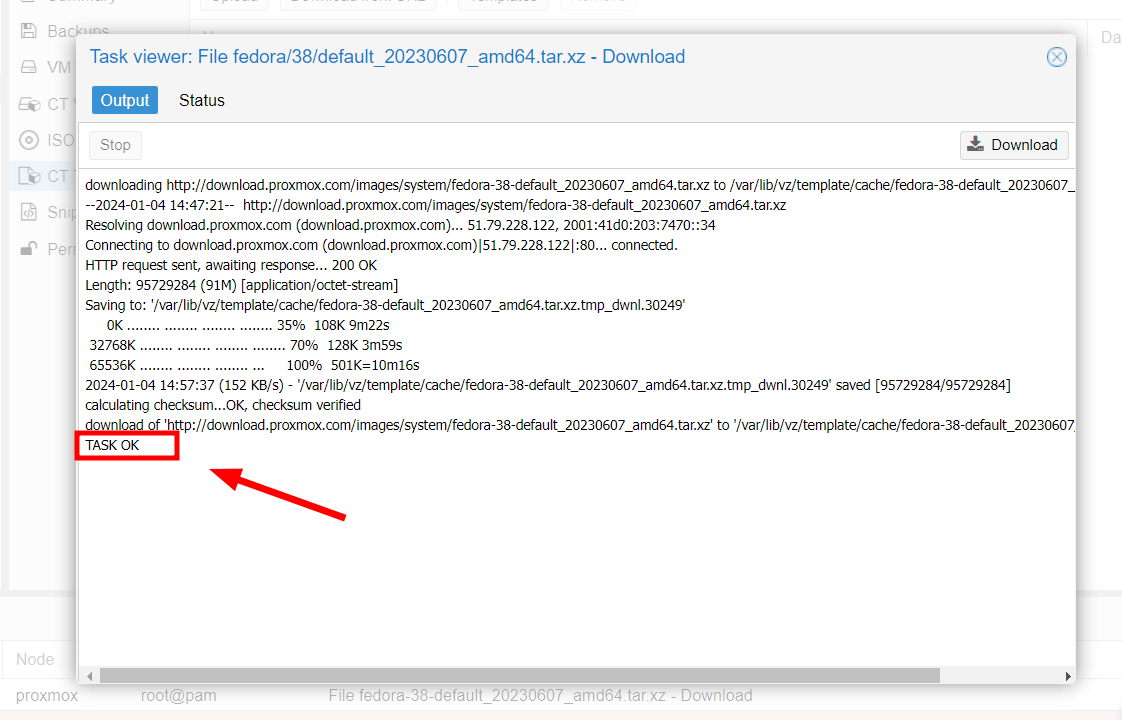
During the container download a pop-up will be displayed showing the progress of the container download. Once completed, you will see the ‘TASK OK‘ notification.
The container will be downloaded to the ‘/var/lib/vz/template/cache‘ directory on the proxmox host system. To exit, click the ‘x‘ button to close the window.
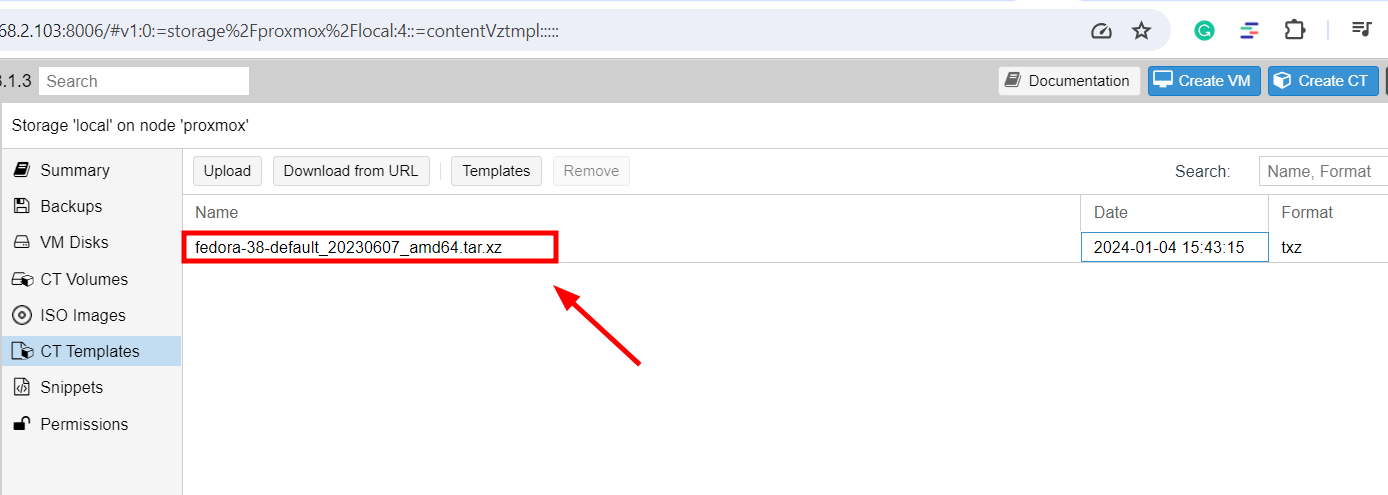
The container image will now appear on the container templates list as shown.
On the proxmox shell, you can confirm all the downloaded container images as shown.
pveam list local

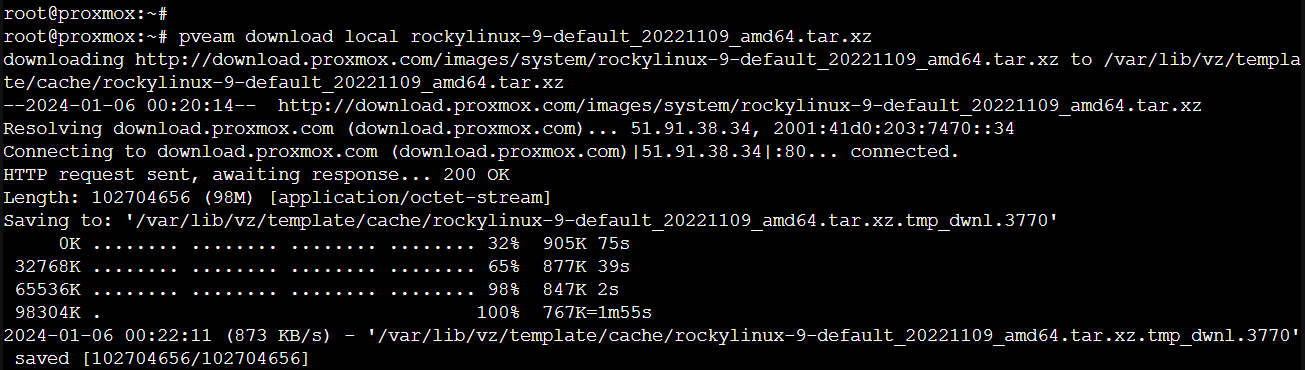
You can download another image using the pveam download local command. For example, to download the Rocky Linux image run the command:
pveam download local rockylinux-9-default_20221109_amd64.tar.xz
Step 2: Create Proxmox Container Instance
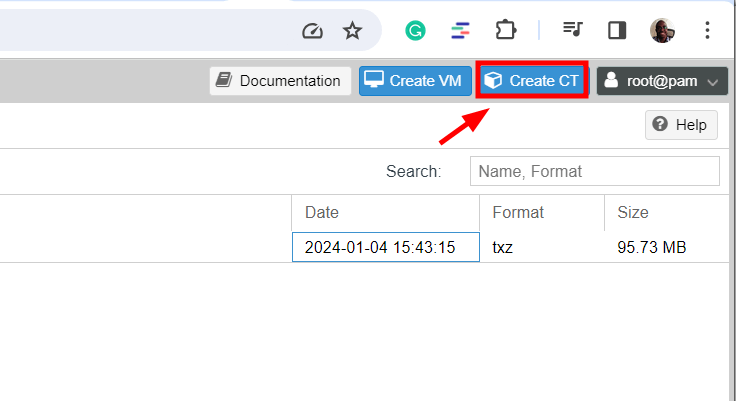
With the container image in place, the next step is to create the container. To do so, click the ‘Create CT‘ button at the top right corner.
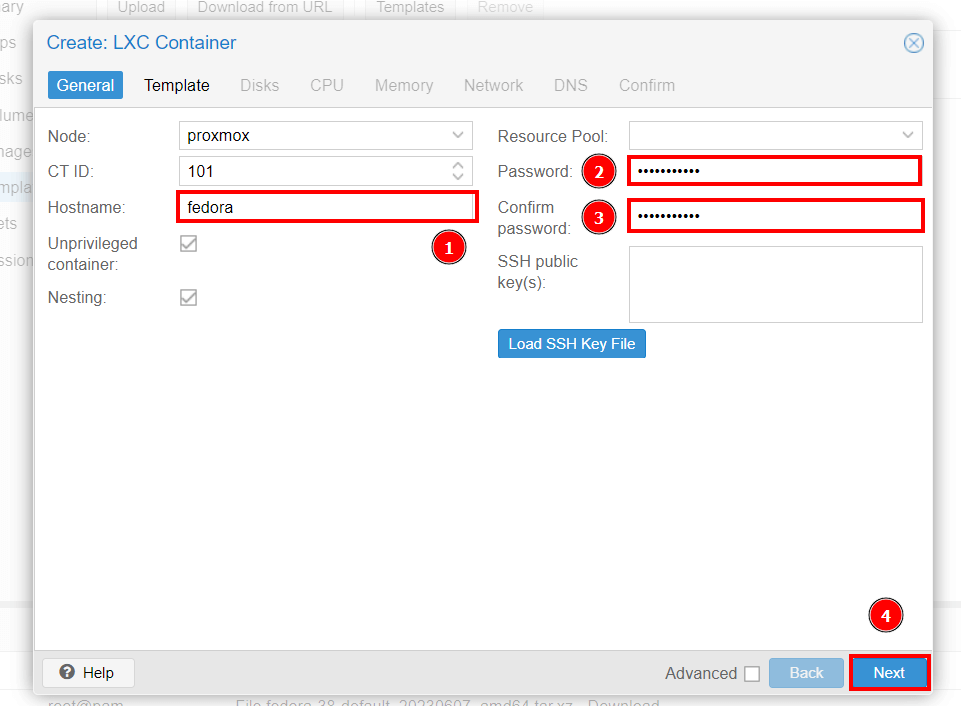
Shortly thereafter, you will see a wizard guiding you to create the container. In the first step, fill in the container hostname and password and confirm it. Then click ‘Next‘.
In the ‘Template‘ section, click on ‘Template‘ and select your container image file in a compressed tar archive format and click ‘Next‘.

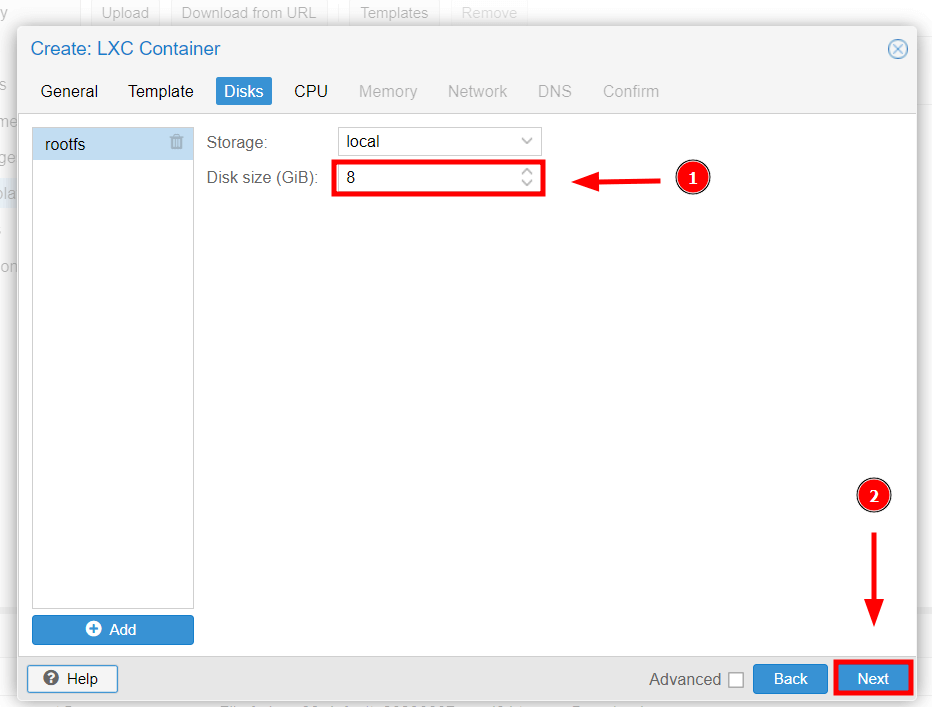
In the ‘Disks‘ section, specify the disk size of the container. By default, this is set to 8GB, however, you can adjust it to your preference and click ‘Next‘.
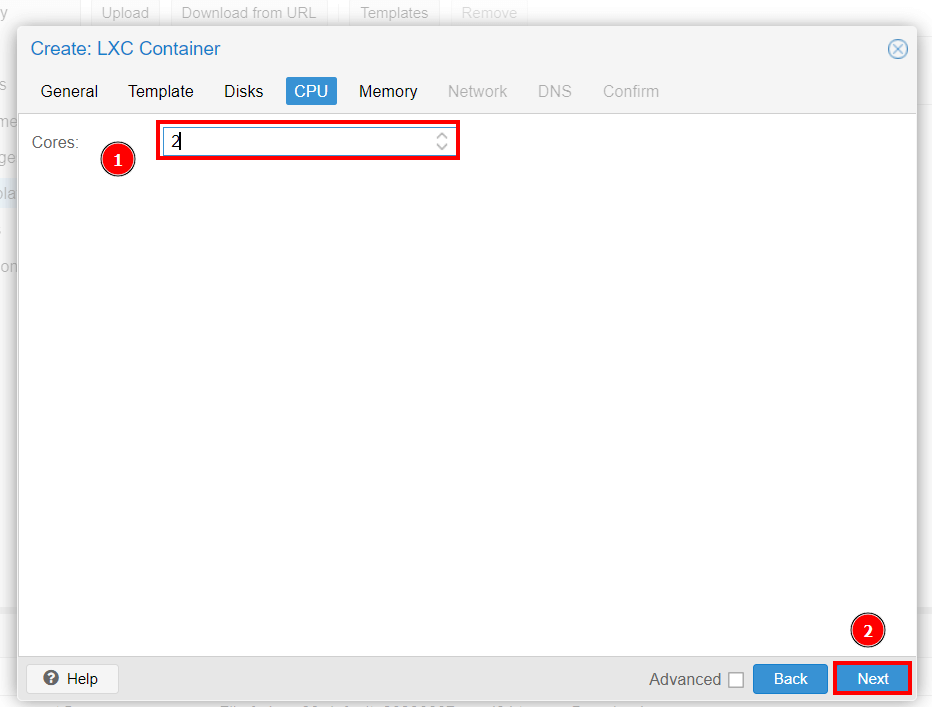
In the ‘CPU‘ section specify the number of CPUs and click ‘Next‘.
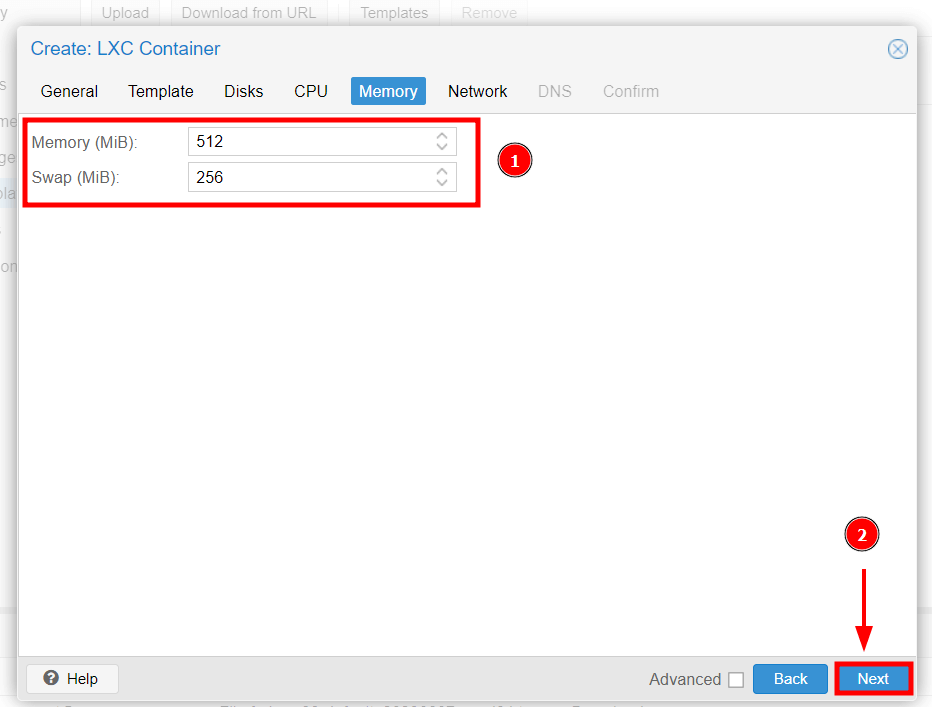
In the ‘Memory‘ section specify the memory size and swap. Ideally, the swap size should be half the size of RAM. In this case, we have assigned our container 512MB of RAM and 256MB of swap space.
Once done, click ‘Next‘.
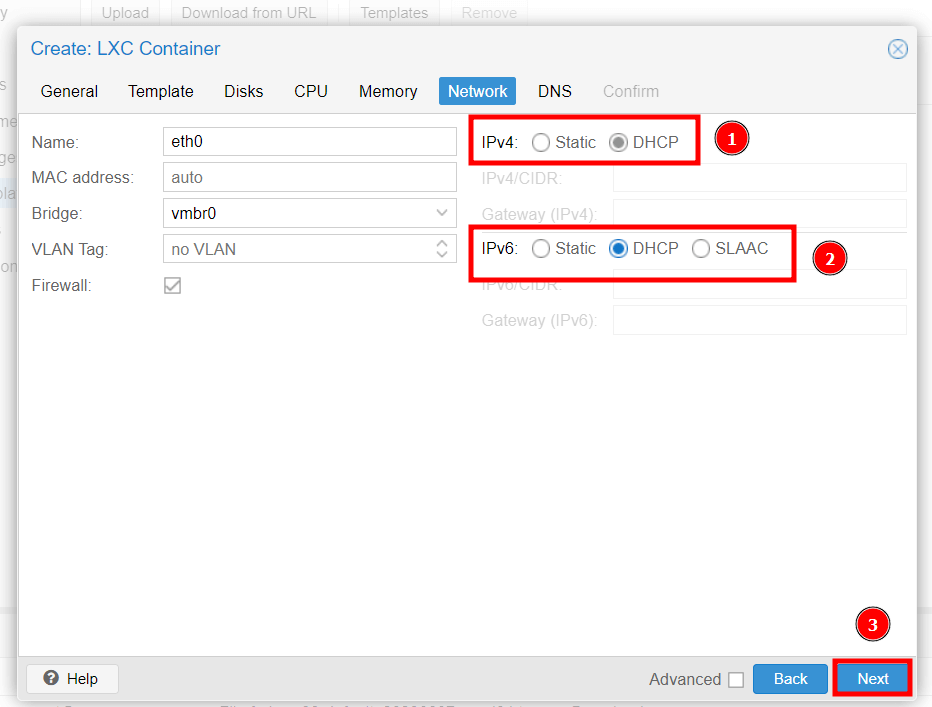
In the ‘Network‘ section specify the preferred network settings. In our case, we have chosen to go with DHCP settings for both IPv4 and IPv6 protocols.
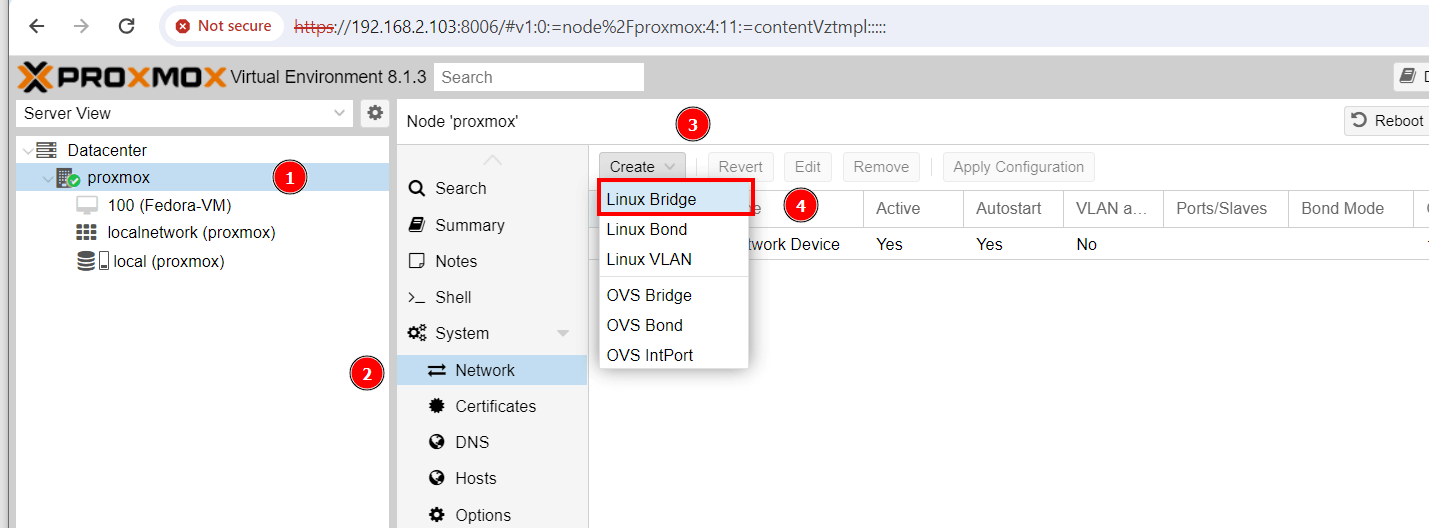
In case you don’t have a network bridge, you can easily create one by heading over to ‘proxmox‘ –> ‘Network‘ –> ‘Create‘ –> ‘Linux Bridge‘.
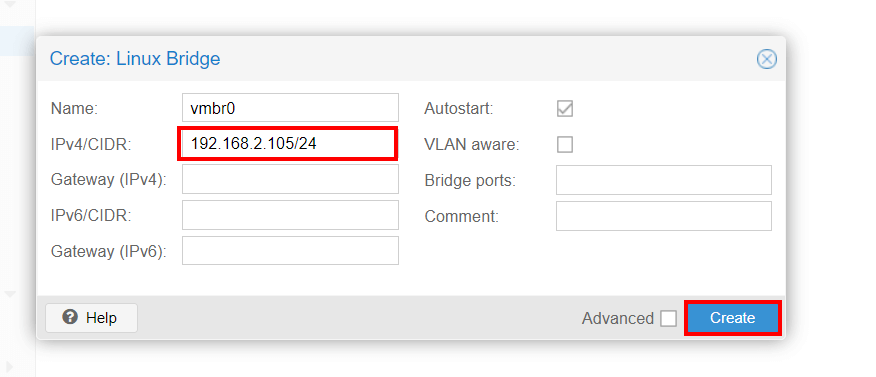
Be sure to specify the IPv4 and CIDR that corresponds to your LAN and click ‘Create‘.
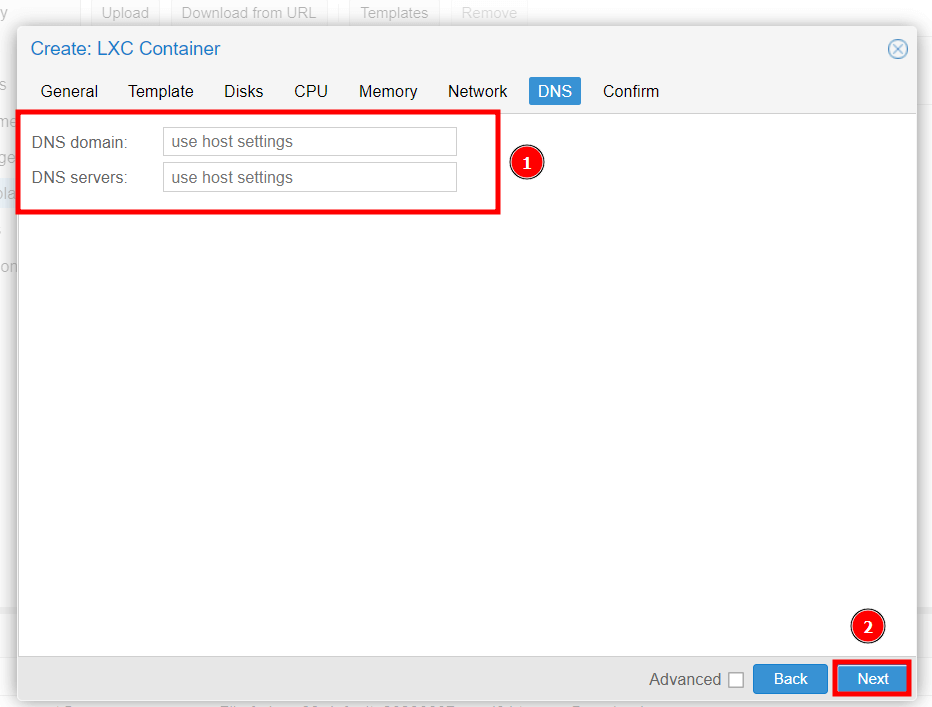
For ‘DNS‘ settings, leave it blank to use the default DNS settings on your LAN network. Then hit ‘Next‘.
Confirm that all your container settings. If all looks good, click ‘Finish‘, otherwise click ‘Back‘ and make the necessary changes. You can check the ‘Start after created‘ checkbox to launch the container once created.
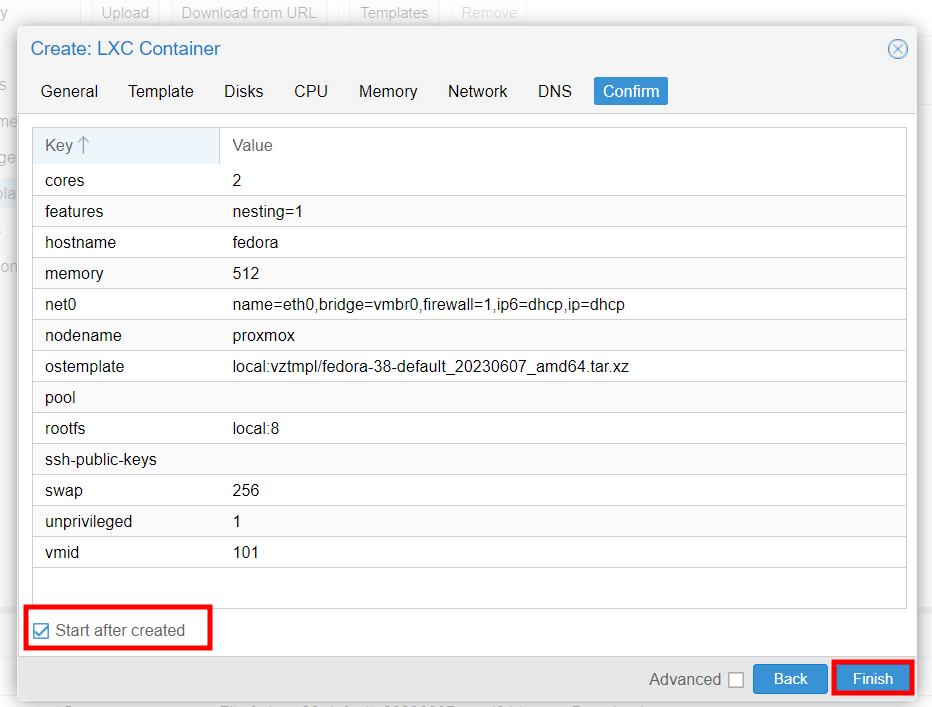
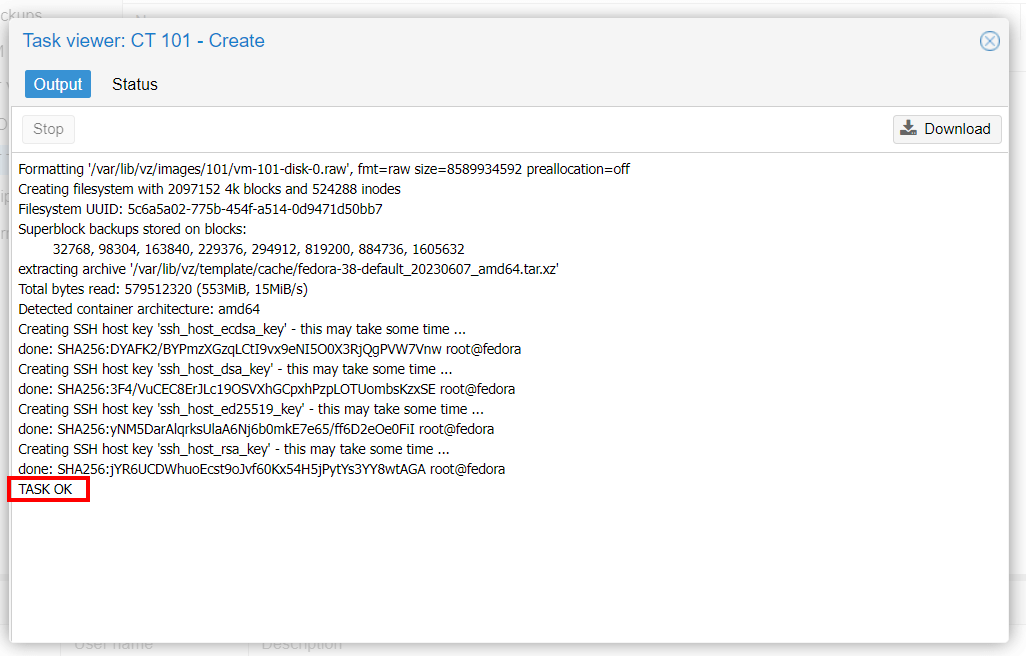
Once you click the ‘Finish‘ button a pop-up window will be displayed showing the steps taken during the creation of the container. Once all the steps are complete, you will see the ‘TASK OK‘ notification. Close the window to exit.
Step 3: Log in to the Proxmox Container Image
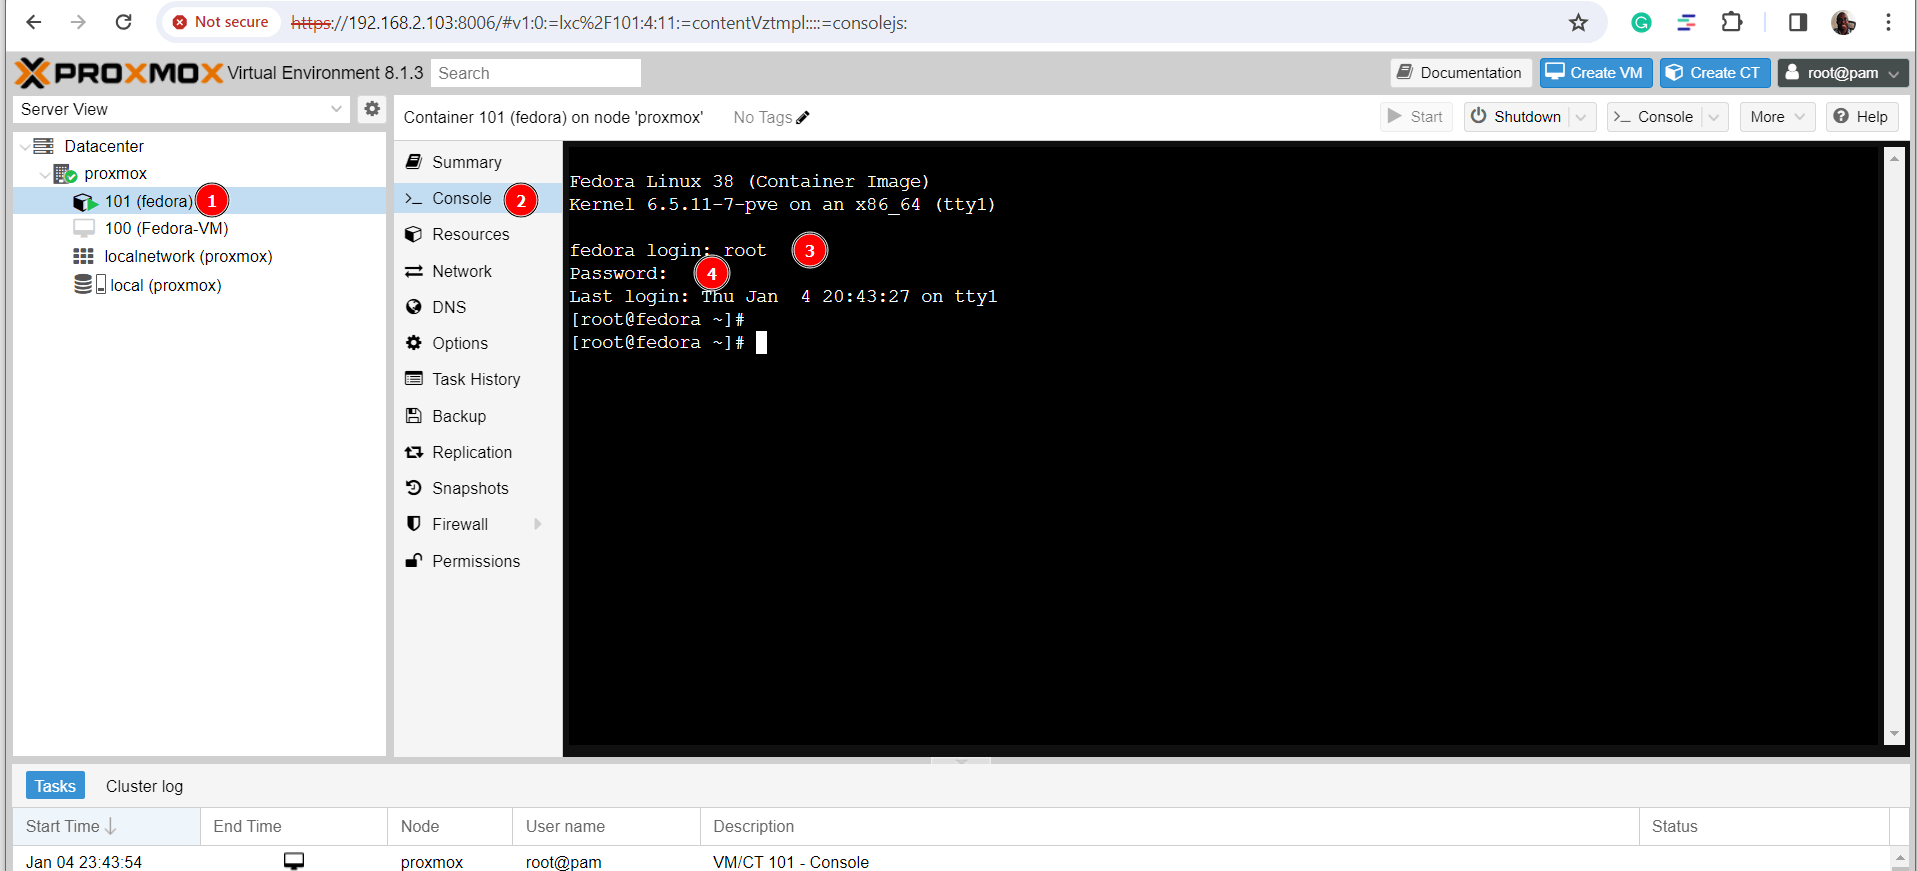
To access to log into the container navigate to ‘Proxmox‘ –> ‘Container_name‘ –> ‘Console‘. Log in as the root user with the password you specified during the container creation.
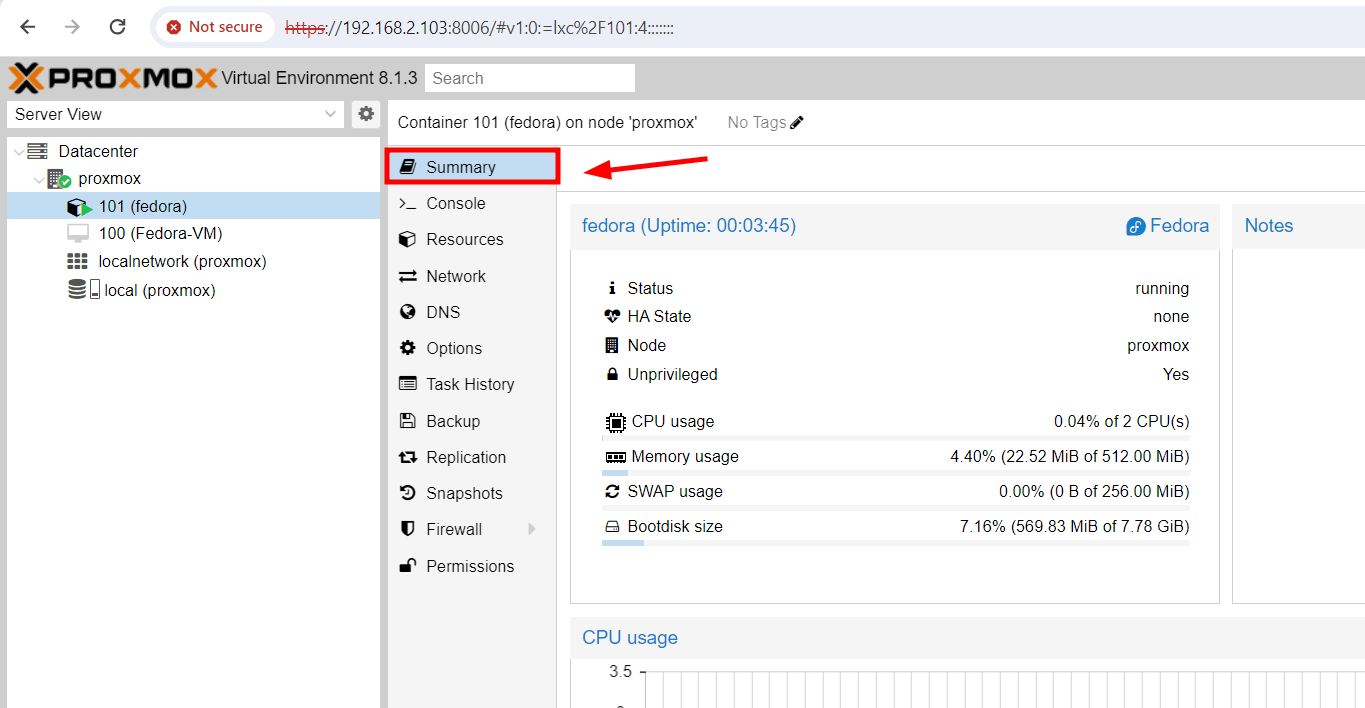
You can have an overview of the container by clicking the ‘Summary‘ button.
Conclusion
In this tutorial of the Proxmox series, we have briefly looked at LXC containers and explored how to create and manage LXC containers on Proxmox. See you in the next guide about how to backup and restore vm.


typo:’pream available‘ insted of ‘pveam available‘
@Helper,
Thank you for bringing that to my attention. I’ve corrected the typo from ‘pream available‘ to ‘pveam available‘.
Your feedback is much appreciated!
The first two bash commands should start with `
pveam`instead of `pream`.