This is our fourth guide of the Proxmox series, in this tutorial, we will explore how to backup and restore VMs in Promox. As a prerequisite, ensure that you already have a virtual machine running on your Proxmox instance.
Take a look at our earlier tutorials on Proxmox.
- How to Install Proxmox (Server Virtualization) on Debian
- How to Create a Virtual Machine in Proxmox
- How to Create Containers in Proxmox
Without much further ado, let’s get started!
Step 1: Poweroff the VM in Proxmox
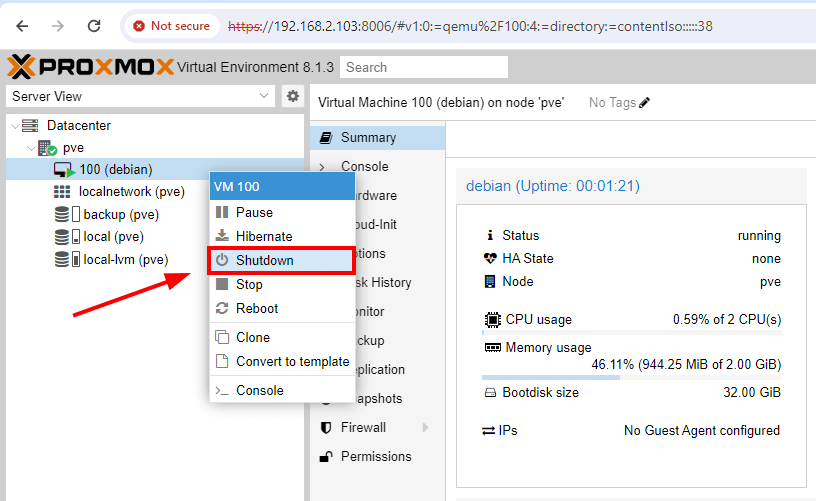
First off, you need to shut down your virtual machine before taking a backup of your VM. On the Proxmox dashboard, right-click on your virtual machine and select the ‘Shutdown‘ option.
Next, click ‘Yes‘ to poweroff the VM.
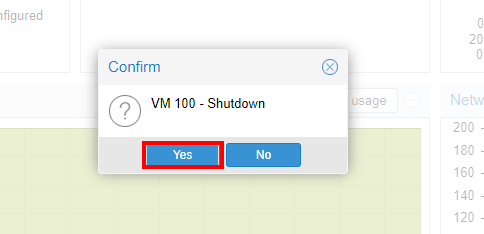
Your virtual machine will power off shortly.
Step 2: Create Proxmox VM Backup
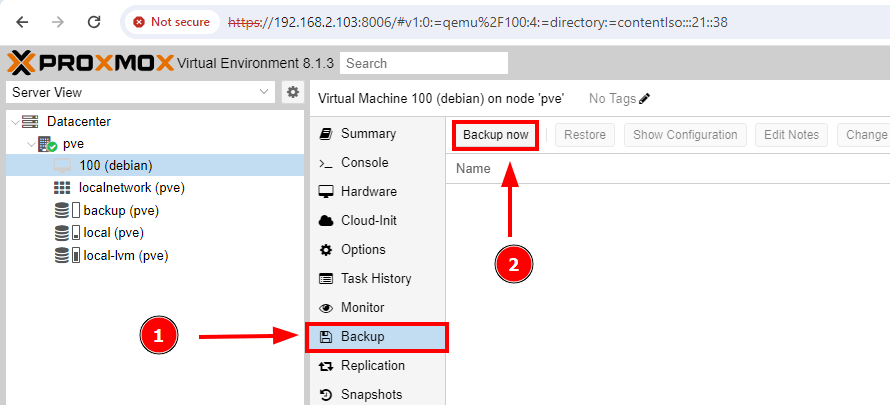
The next step is to prepare the virtual machine backup. So click ‘Backup‘. Then head over and click the ‘Backup now‘ tab.
On the pop-up that appears, select your backup storage. In our case, we have a secondary hard drive labeled ‘backup‘ with a capacity of 52.52GB.
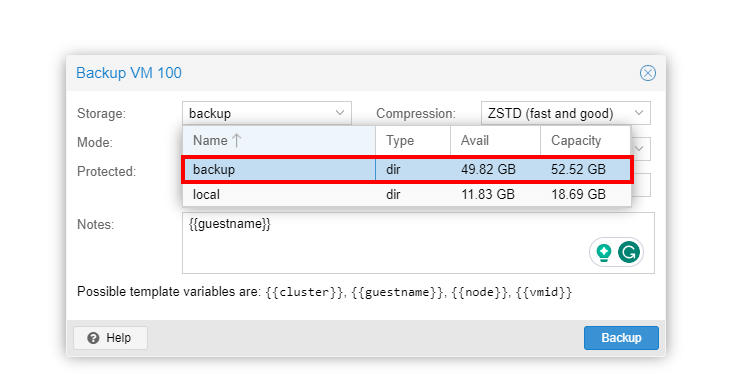
While you can still create the backup on the proxmox server itself, it’s recommended to save it in a different location so that in case something goes wrong with the server, the backup copy will still be recoverable.
Be sure to go with ZSTD compression which is preselected by default owing to its high performance and click ‘Backup‘.

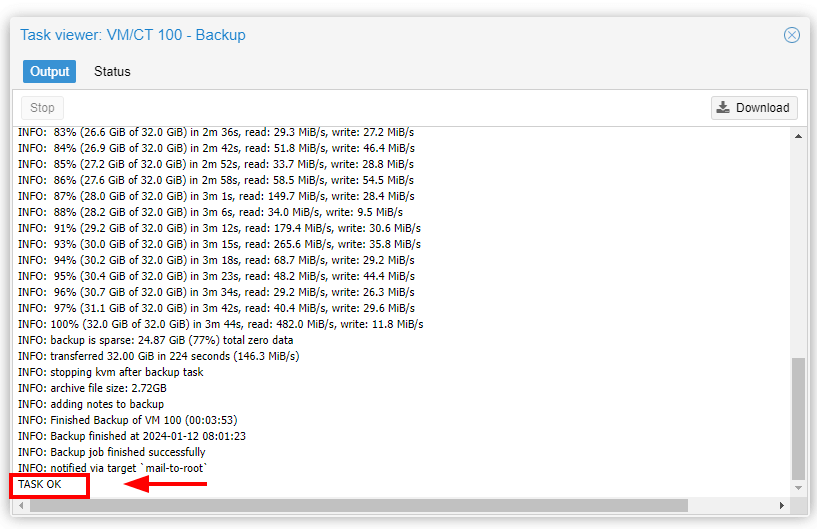
The backup process of the virtual machine will start and this will be displayed on the task viewer pop-up as shown. Once complete you will see the ‘TASK OK‘ notification as indicated.
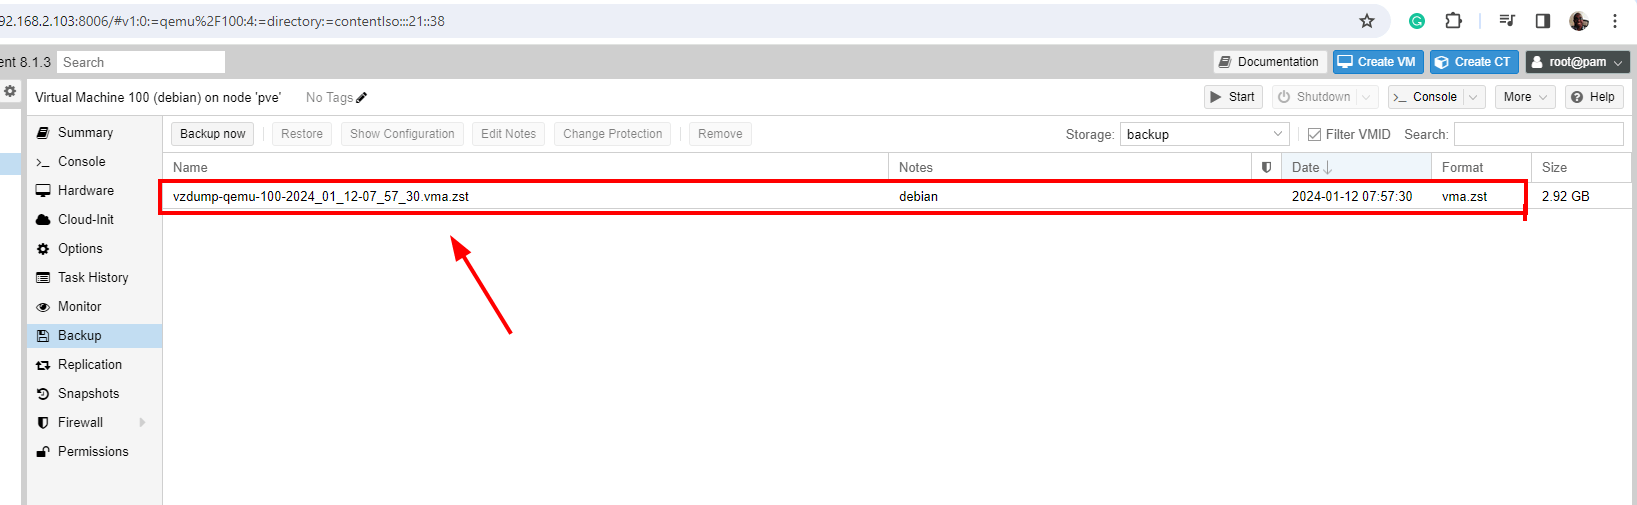
The backup will be displayed as a compressed file as shown. The backup file is saved in the destination you provided as the backup location.
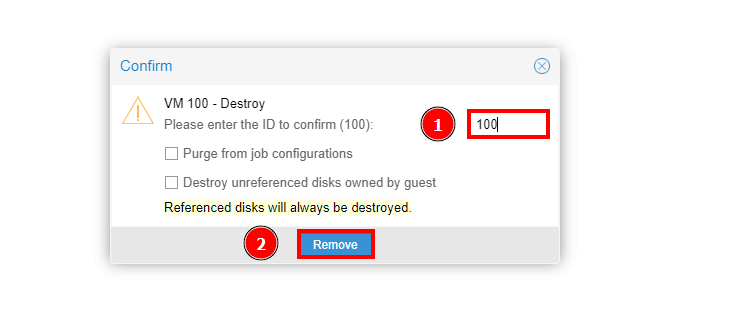
At this point, you can safely remove the VM by clicking on its icon, then ‘More‘ and finally ‘Remove‘.

Provide the VM ID – In this case, 100 – and click ‘Remove‘.
Step 3: Restore Proxmox Virtual Machine
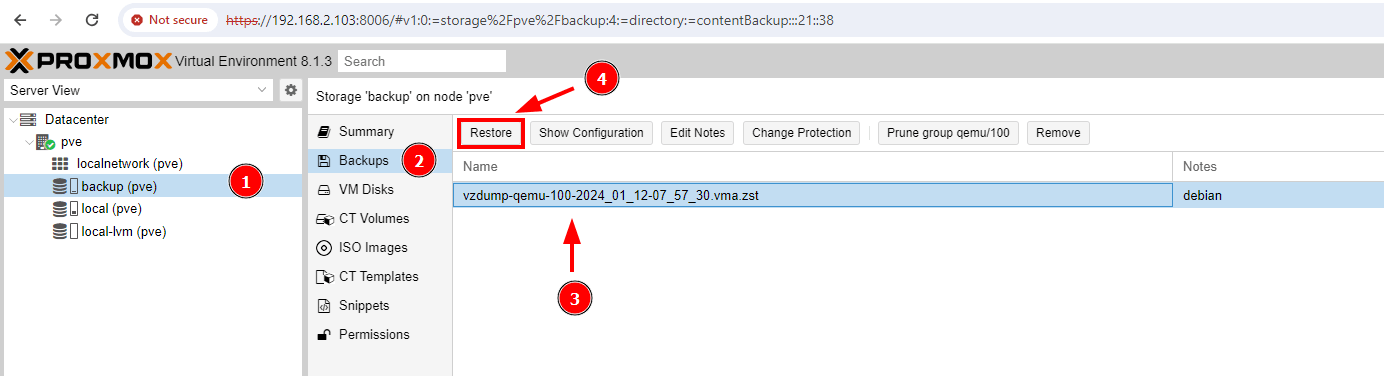
With the backup file in place, you can restore the virtual machine to its original state using the following simple steps. Head over to the backup drive and click on the backup file, then click the ‘Restore‘ button as shown.
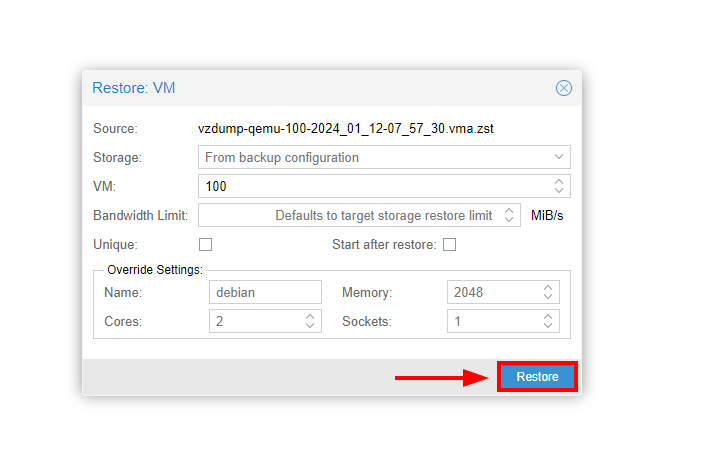
On the pop-up dialogue box, click ‘Restore‘ to commence the VM restoration process.
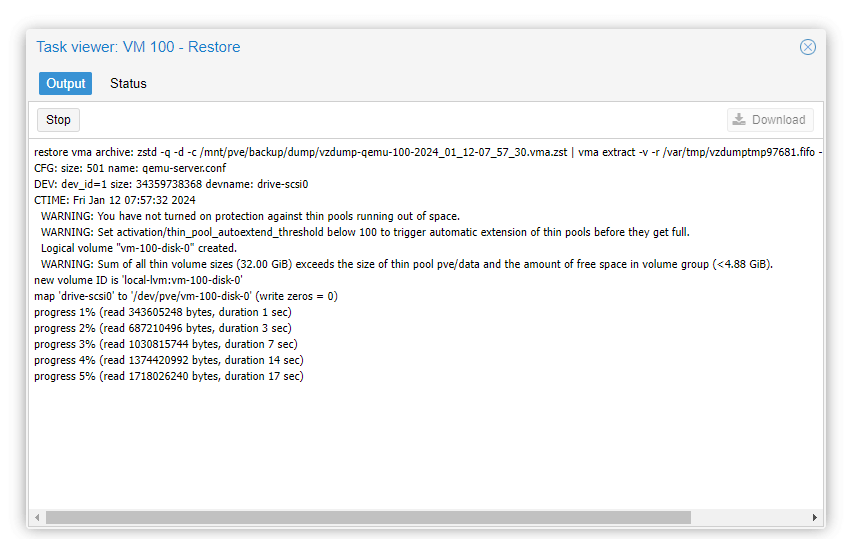
A task viewer will open detailing the restoration process as shown. This takes a few seconds to a minute, so be patient.
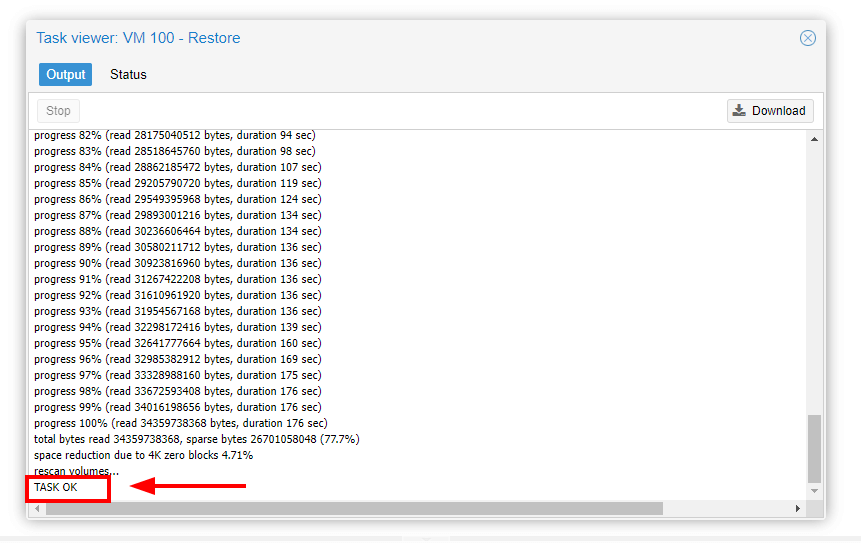
Once completed, you will see the ‘TASK OK‘ notification. Close the pop-up to exit.
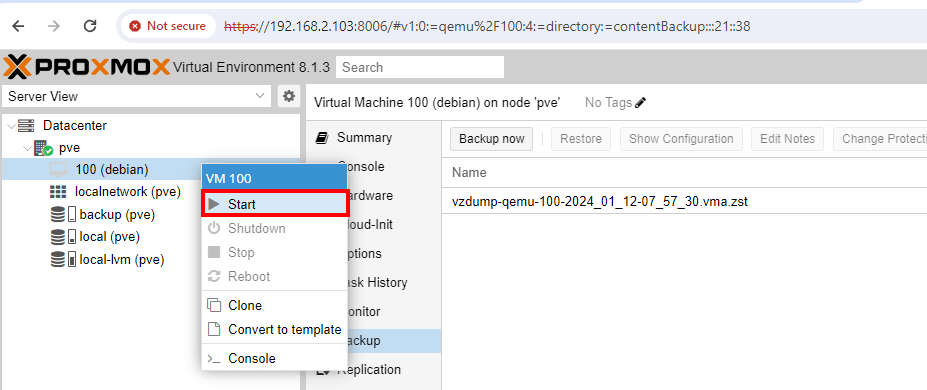
On the Proxmox dashboard, you should now see your restored virtual machine. To start using your VM, right-click and select ‘Start‘.
Conclusion
We have successfully demonstrated how to backup and restore a VM in Proxmox VE. As you have observed, it’s a straightforward procedure and takes a short time to accomplish.
Remember that it’s recommended to have your backup on a different drive or remote location such that if anything bad happens to the Proxmox host, you can always rest assured that your VM data is safe.
That’s all for this tutorial. Your thoughts and views are welcome.