A cluster is a collection of two or more nodes that offers an avenue for moving around resources between servers. Migrating resources make it possible to undertake tasks such as upgrading servers and applying patches with minimal downtime.
In Proxmox, you can easily create a cluster and configure High Availability to ensure resources such as VMs automatically move when a node breaks down.
Take a look at our earlier tutorials on Proxmox.
- How to Install Proxmox (Server Virtualization) on Debian
- How to Create a Virtual Machine in Proxmox
- How to Create Containers in Proxmox
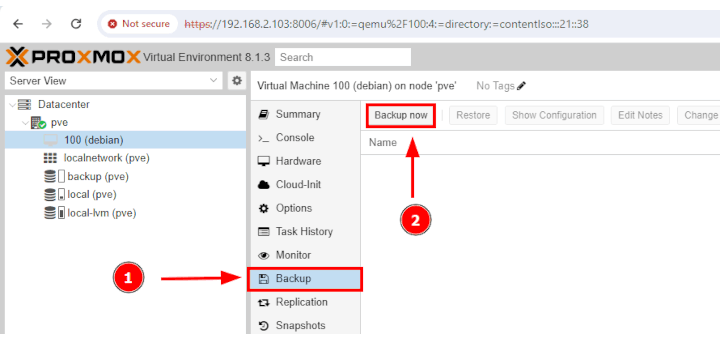
- How to Backup and Restore VMs in Proxmox
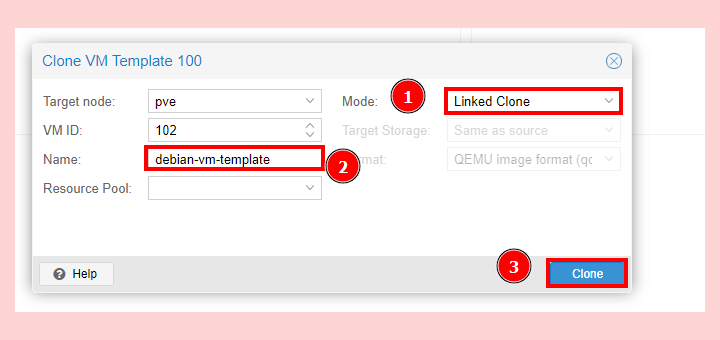
- How to Create Clones and Templates of Virtual Machines in Proxmox
Benefits of Grouping Nodes into a Cluster
Clustering offers the following benefits:
- Centralized web-based management that allows you to view all the nodes and their statistics from any node.
- Seamless migration of virtual machines and containers between physical hosts.
- Faster deployment of resources.
- Cluster-wide services like a firewall and High Availability.
- Use of pmxcfs, a database-driven file system. This is a file system for storing configuration files. It is replicated in real-time across all the proxmox nodes using corosync.
Prerequisites
For clustering and High availability setup to work, here’s what you need.
- You need at least three nodes for both clustering and High Availability for a reliable quorum.
- All nodes need to have the same version of Proxmox installed.
- The date and time must be synchronized on all the nodes.
- The root password of a cluster node that will be used for adding other nodes.
That said, let us now configure a cluster and set up High Availability on Proxmox.
Create a Cluster in Proxmox
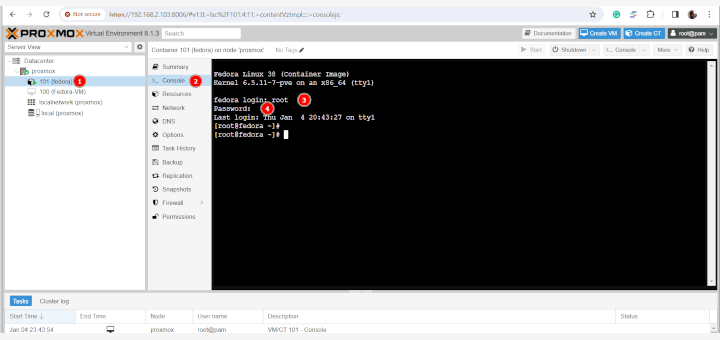
The first step is to create a cluster. We will log into one of the nodes with a running virtual machine that we shall later use to demonstrate High Availability in action.
So, log in and click ‘Datacenter‘ –> ‘Cluster‘ –> ‘Create Cluster‘.
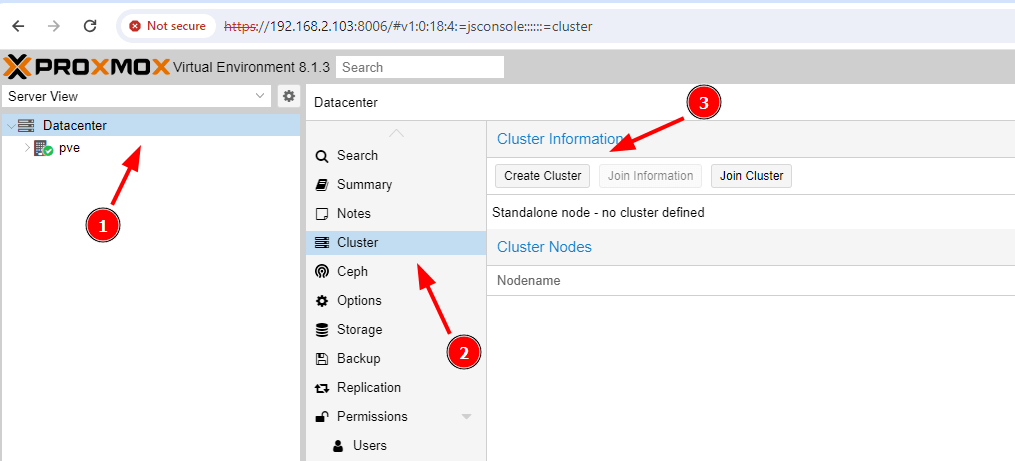
Be sure to fill out the cluster name and then click the ‘Create‘ button. In this example, we have called the cluster ‘test-cluster‘.

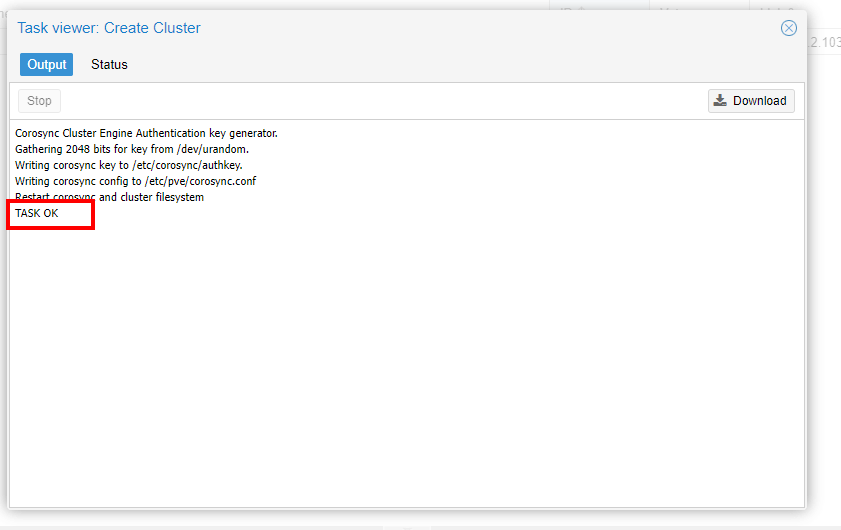
The creation of the cluster takes just a few seconds and once complete, you will see the ‘TASK OK‘ confirmation on the Task Viewer.
Join the Nodes in the Cluster
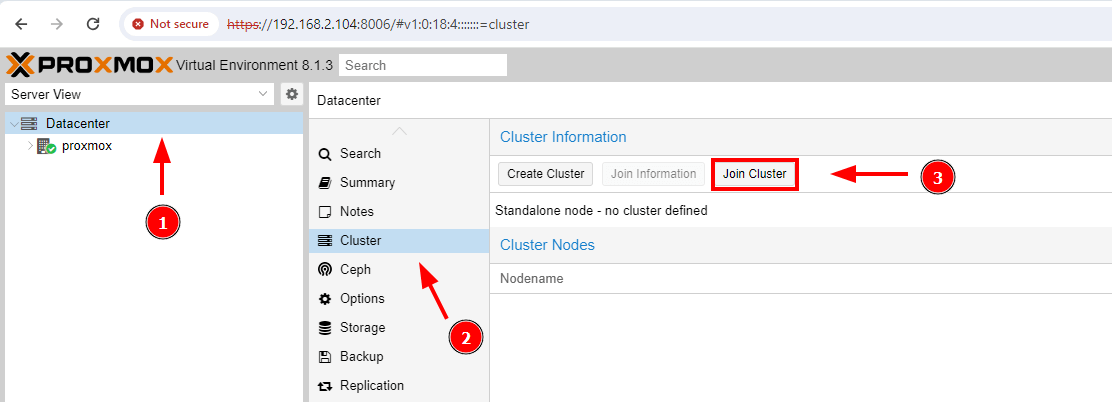
Once the node has been created, the next step is to join the nodes to the cluster. So log in to the next node and click ‘Datacenter‘ –> ‘Cluster‘ –> ‘Join Cluster‘.
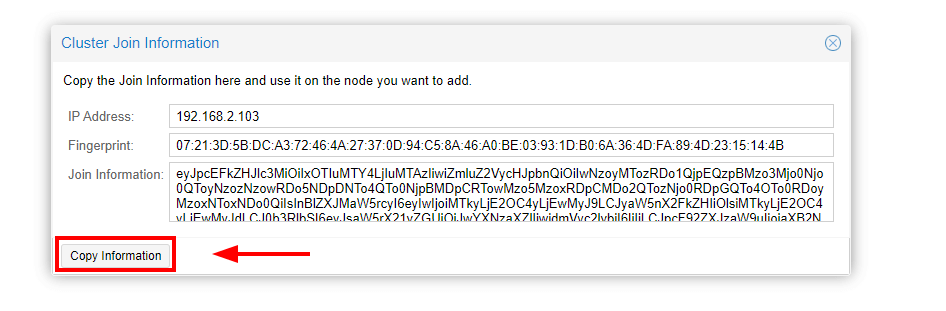
At this point, head back to the first node and click ‘Join Information‘.
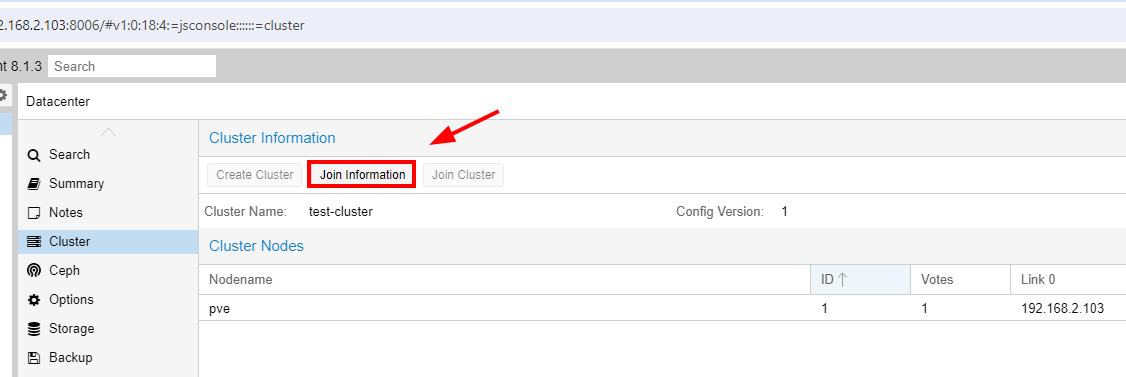
Click ‘Copy Information‘ to copy the Join information represented by the hexadecimal value shown below.
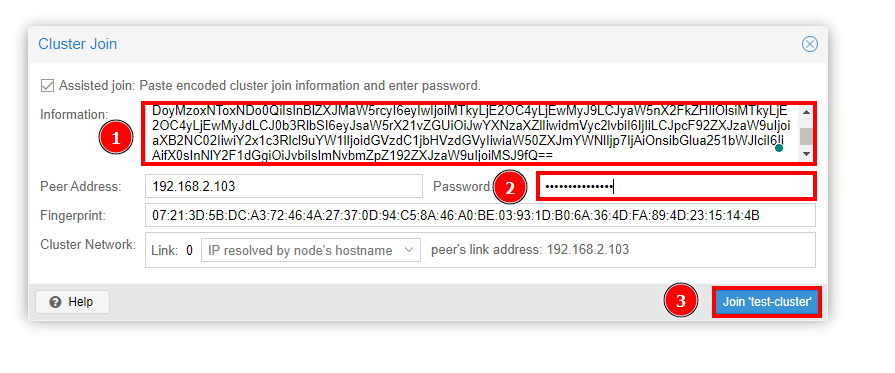
Now head back to the second node that you want to join to the cluster and paste the join information. In addition, provide the root password of the first node where you created the cluster and click ‘Join ‘test-cluster‘.
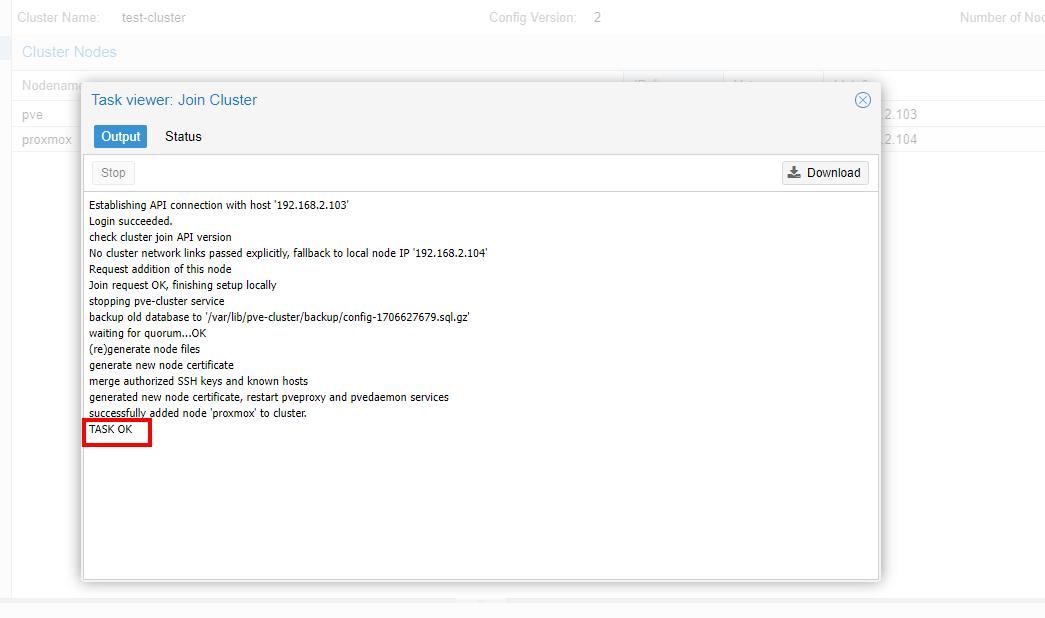
The Task viewer will once again pop up and display the ‘join cluster‘ progress. Once done, you will get the ‘TASK OK‘ notification.
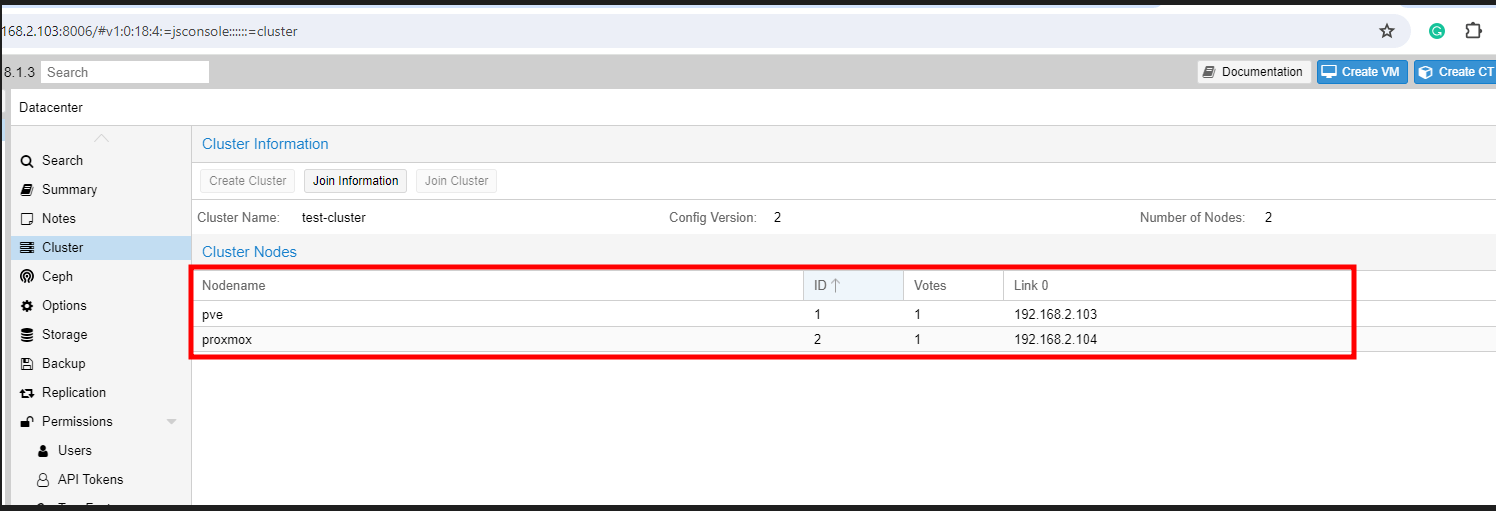
Head back to the first node where you created the cluster and you should now see two nodes that have joined the cluster.
Repeat the same procedure for joining the cluster on the remaining node. Once done, all three nodes should be part of the cluster.
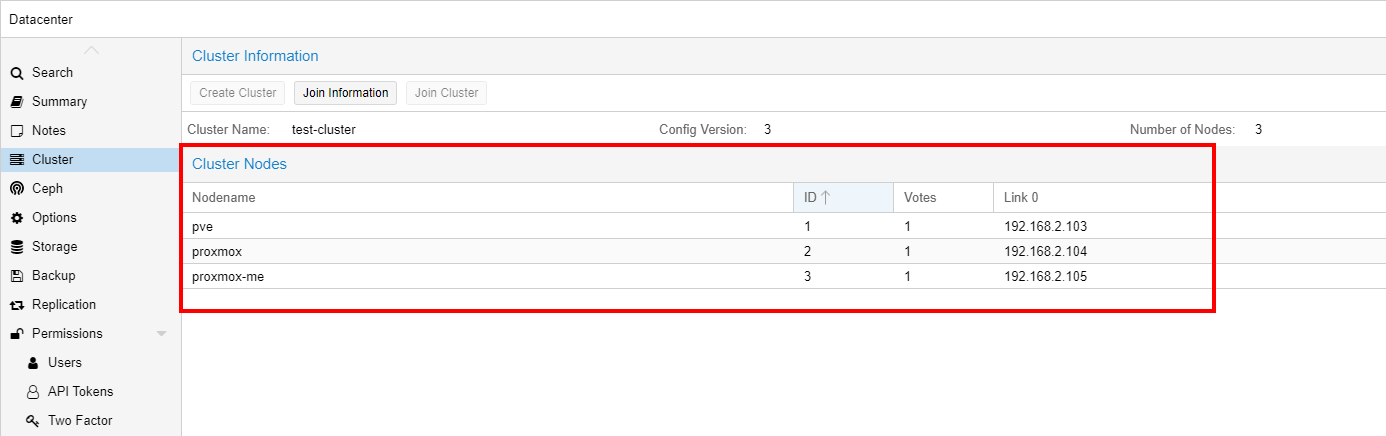
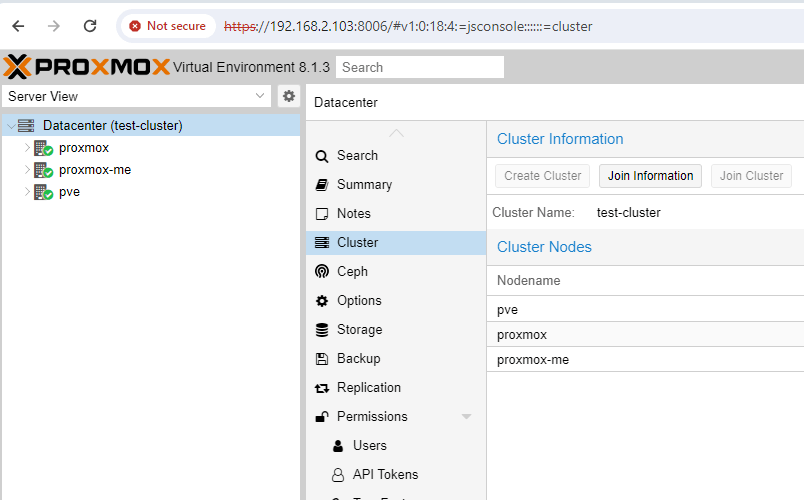
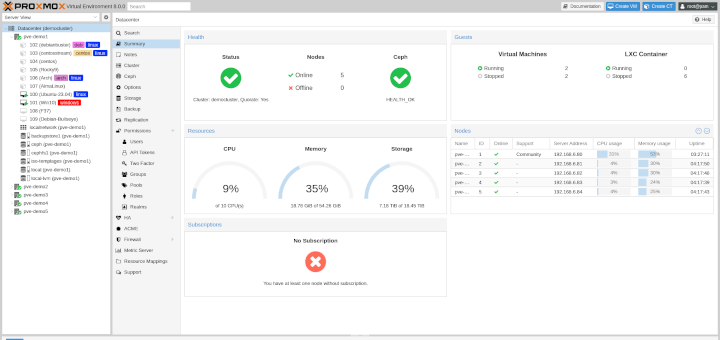
In addition, you should be able to see all the nodes listed on the left sidebar with a green checkmark to indicate that they are live and running.
Configure and Test High Availability in Proxmox
HA, short for High Availability, is a feature that guarantees maximum uptime for resources provisioned on your proxmox node including virtual machines and containers.
When a node goes down, VMs on the node will automatically migrate to a different node. This happens thanks to a quorum whereby a vote is taken among the nodes in the cluster and the “winner” receives the VMs. At least 3 quorum votes are needed for a reliable HA.
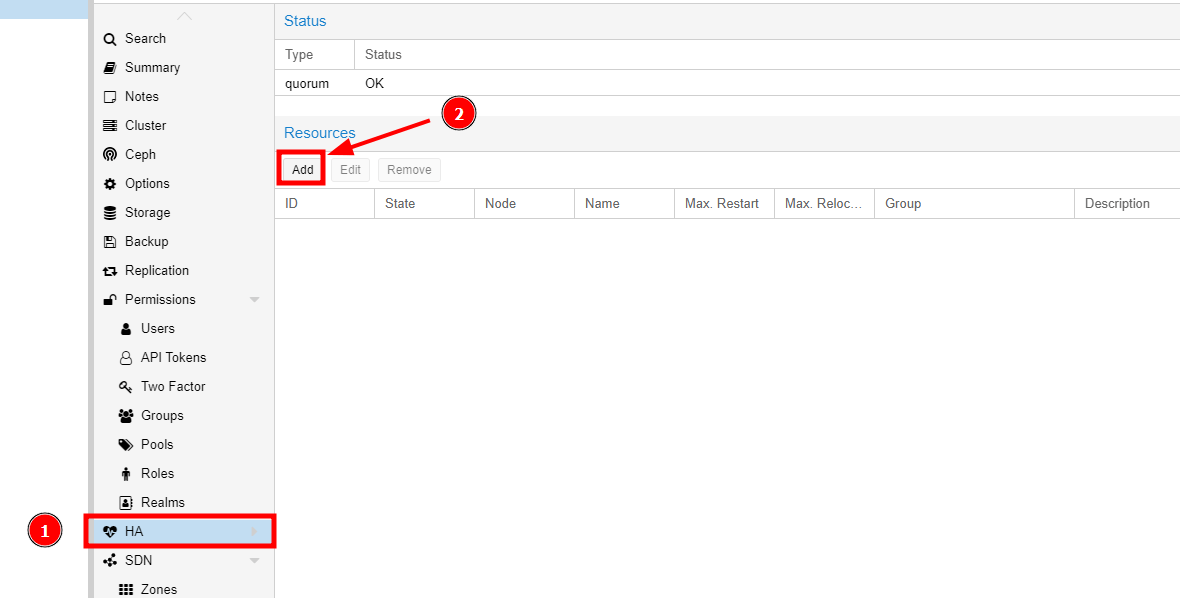
To test out HA, we will add a VM to be monitored by the HA feature. So log into one of the nodes and click “Datacenter” –> “HA“. Then click the ‘Add‘ button.
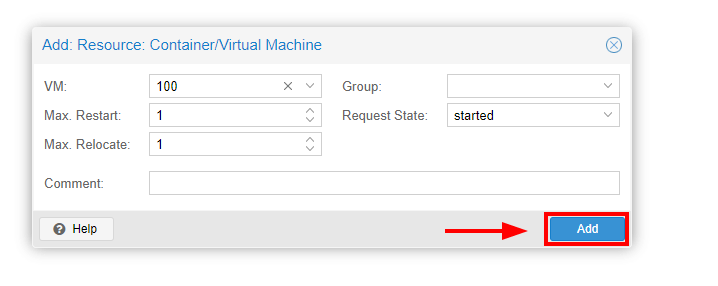
Select the VM. In our case, we only have one VM.
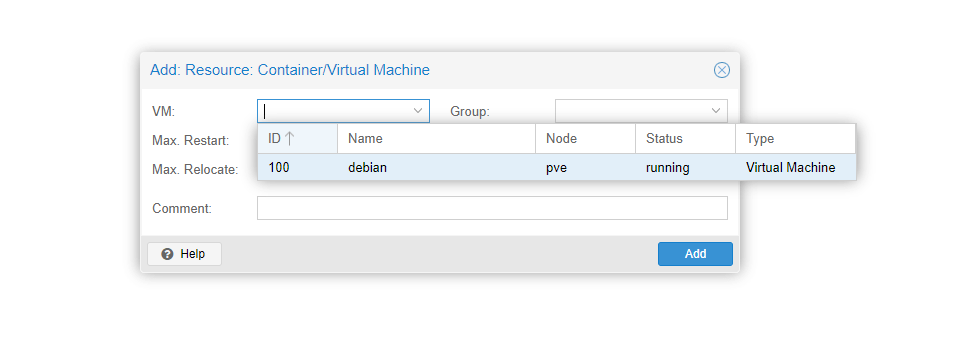
Once selected, hit the ‘Add‘ button.
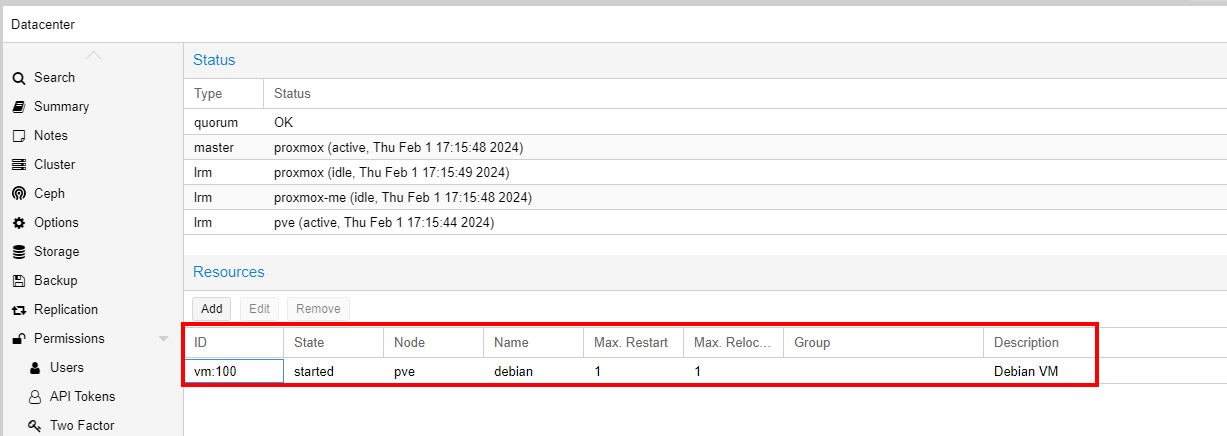
The Virtual machine to be monitored by HA will now appear on the ‘Resources‘ list.
As a simple test, all you need is to power off the node on which the VM is running. After a few seconds, you will notice that the VM will have automatically migrated itself to another live node in the cluster after the quorum has been met.
Conclusion
This tutorial has shown you how to set up clustering and High Availability on Proxmox VE. We hope that you found this insightful. Your feedback is highly welcome.
This tutorial was great!
Thank you for your help and including the screenshots!