The implementation of modern e-learning software in the educational process has ceased to be somewhat extraordinary. More and more teachers and students all over the world are using modern technology, which makes it possible to apply new learning scenarios, including more active student involvement and closer interaction outside the traditional classroom.
One of the most popular platforms that allow schools and universities to make the most of the online educational process is Moodle. In combination with ONLYOFFICE Docs, this software lets you deploy a collaborative learning management system in a Linux environment.
Moodle – Open-Source Learning Platform
Moodle is an open-source e-learning platform with a focus on security and privacy that allows educators to create flexible and highly accessible online spaces for their learners.
As a widely recognized educational software, Moodle is trusted by hundreds of millions of users worldwide. The solution is totally open-source and is supported, besides its global community, by a network of certified service providers.
Moodle offers a wide range of educational activities and tools that allow schools and universities to create their own personalized learning environments that can be accessed any time and anywhere, even from mobile devices.
Distributed under the GPL license, the self-hosted version of Moodle is free.
ONLYOFFICE Docs
ONLYOFFICE Docs is an open-source office suite that combines three online editors for text documents, spreadsheets, and presentations. The suite is completely compatible with the Microsoft Office formats (docx, xlsx, and pptx) and supports other popular formats, including odt, ods, odp, doc, xls, ppt, pdf, txt, rtf, html, epub, and csv.
[ You might also like: The Best Microsoft Excel Alternatives for Linux ]
ONLYOFFICE Docs offers a vast array of collaborative tools (two co-editing modes, tracking changes, version history, comments, and the built-in chat) and different access permissions.
The suite easily integrates with plenty of DMS services and file-sharing platforms, such as Moodle, Nextcloud, ownCloud, Confluence, Alfresco, SharePoint, Liferay, Nuxeo, etc.
The recently released version of ONLYOFFICE Docs, brings in a lot of useful features, including full support for conditional formatting and sparklines in spreadsheets, converting text to a table, and auto-capitalization of the first letter of a sentence in text documents, version history in presentations.
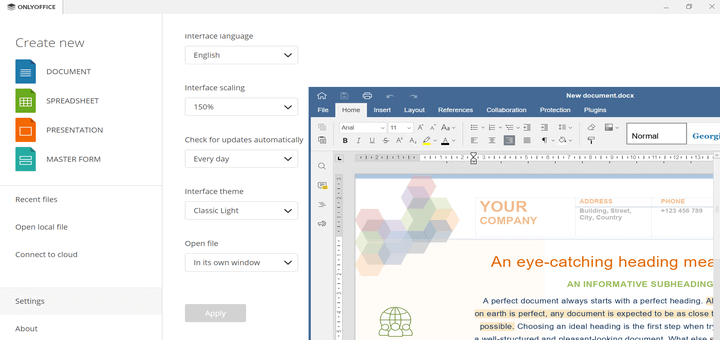
Moreover, there are new scaling options (125% and 175%) and WOPI support. The full changelog is available on GitHub.
Requirements
To create a collaborative e-learning environment, you need an instance of ONLYOFFICE Docs (ONLYOFFICE Document Server) that is resolvable and connectable to Moodle. It’s important to highlight that the instance should be able to POST to the Moodle server directly.
The hardware requirements are as follows:
- CPU: dual-core, 2 GHz at least.
- RAM: 2 GB or more.
- HDD: min. 40 GB.
- Swap: min. 4 GB.
- OS: Ubuntu 20.04 or older versions.
Installing Moodle in Ubuntu
To install and configure the latest version of the Moodle platform with NGINX and MySQL/MariaDB databases on Ubuntu 20.04, please refer to this guide.
Installing ONLYOFFICE Docs in Ubuntu
To install the latest version of ONLYOFFICE Docs and all the required dependencies on Ubuntu 20.04, please read this article.
Installing and Configuring the ONLYOFFICE for Moodle
Now that you have ONLYOFFICE Docs and Moodle installed on your Ubuntu server, you need to install the integration app. You can get it from GitHub and install it in the mod/onlyoffice directory like any other Moodle plugin.
When the plugin is installed, you’ll need to connect ONLYOFFICE by specifying the address of the ONLYOFFICE Docs instance:
https://documentserver/
After that, you can restrict access to the ONLYOFFICE Document Server by setting up a secret key. However, this action is not required for the plugin to work correctly.
Using ONLYOFFICE Docs within Moodle
After completing all the steps above, you will get a collaborative environment on your Linux server that can be used for educational purposes. Thus, you will be able to create an ONLYOFFICE activity in any Moodle course and work on text documents, spreadsheets, and presentations. As the admin, you are allowed to restrict the print and download options in the ONLYOFFICE editors.
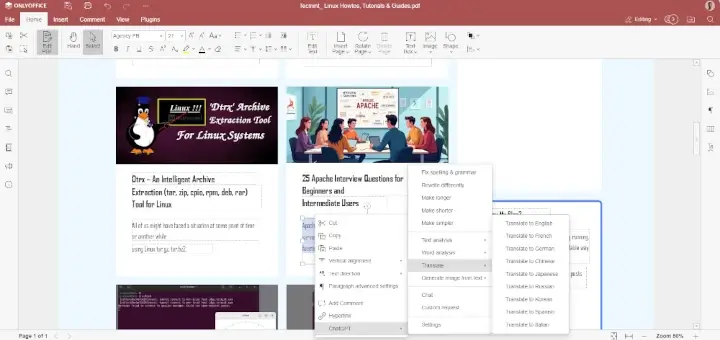
If you click an activity name/link on the course page, the corresponding ONLYOFFICE editor will open in your browser making it possible to create and edit documents attached to the course, view PDF files, collaborate in real-time with other users, and much more.

Integrating Moodle with ONLYOFFICE Desktop Editors
Starting from version 8.0 of the ONLYOFFICE suite, which comes with a lot of useful features, such as fillable PDF forms, improved screen readers, RTL interface, an updated ChatGPT plugin and a bunch of new tools in spreadsheets, there is a new option allowing you to connect your Moodle server with ONLYOFFICE Desktop Editors, a free app for Linux, Windows and macOS.
This integration works if you have a Moodle server combined with ONLYOFFICE Docs using the latest version of the ONLYOFFICE connector (v4.4.0) according to the instructions described above. Another requirement is that your ONLYOFFICE desktop app should be updated to version 8.0.
If you comply with all the requirements, you might ask a question: why do I need to connect my Moodle server with ONLYOFFICE Desktop Editors if I already have it integrated with ONLYOFFICE Docs? The reason is simple. When you access your Moodle server using the desktop app, you will be able to edit your local files as well as documents attached to Moodle courses in one place using local fonts and system printers.
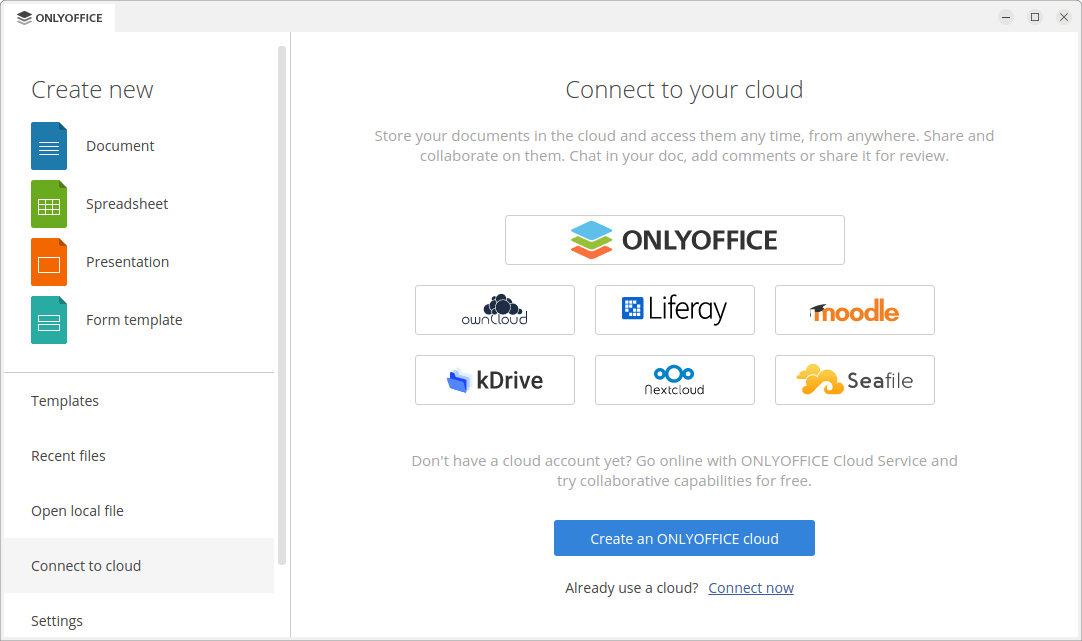
To connect the Moodle service, you need to launch the desktop program installed on your Linux distro and access the list of available providers via the Connect to cloud option.
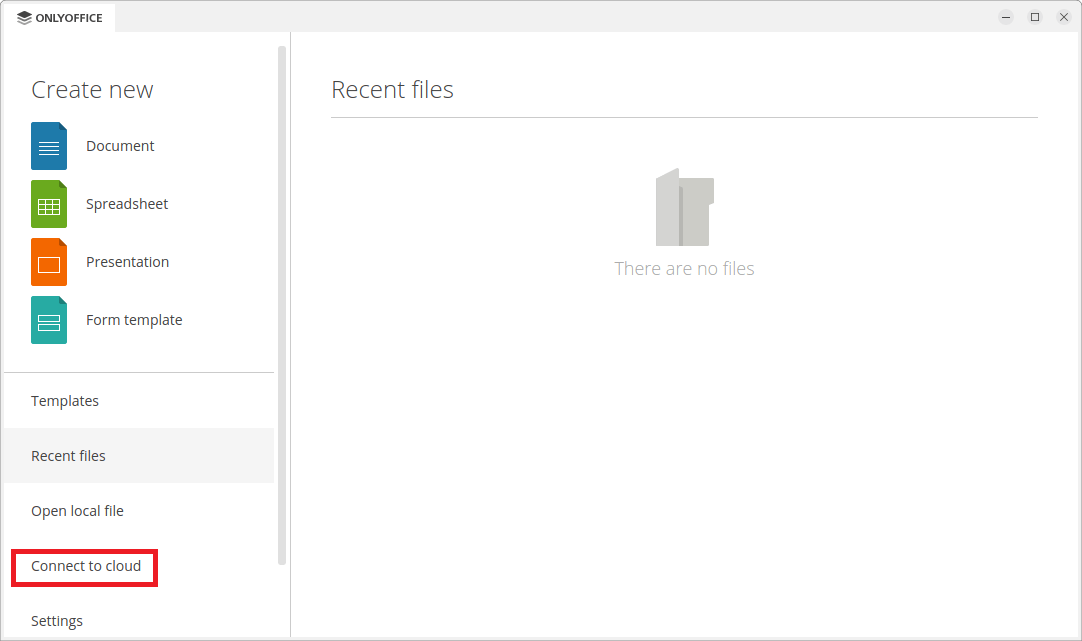
You will see the icons of all platforms and services that you can connect to your desktop app. For example, Nextloud, ownCloud, ONLYOFFICE DocSpace, kDrive, Seafile, etc. Of course, you should choose Moodle.
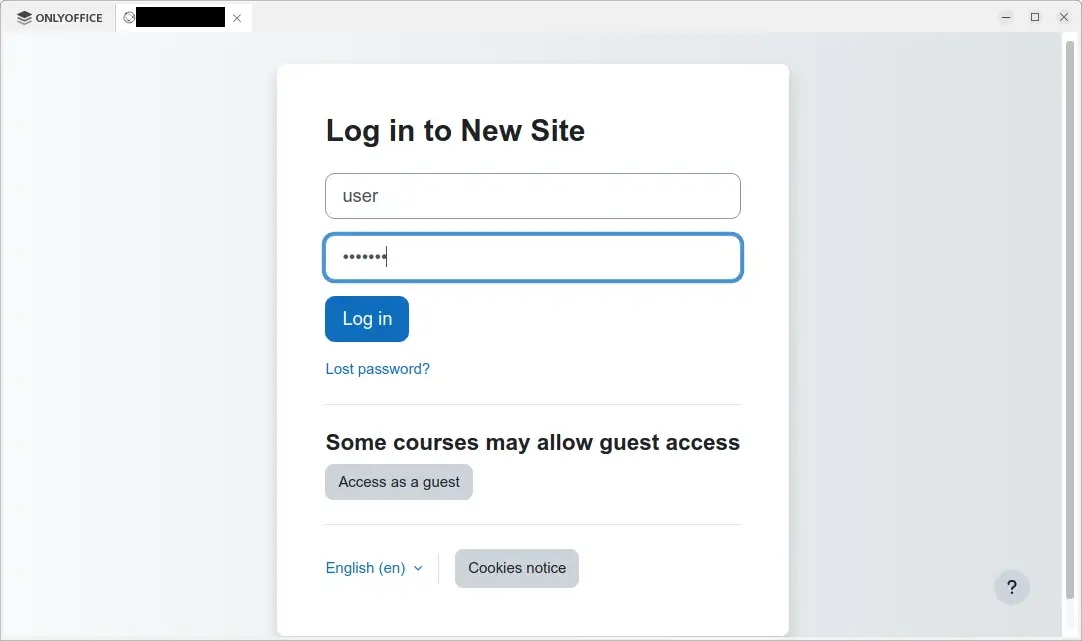
You will be offered to enter the URL address of your Moodle server. Enter the required information and click Connect now. You will be redirected to a new page where you will have to log into the Moodle platform using your account.
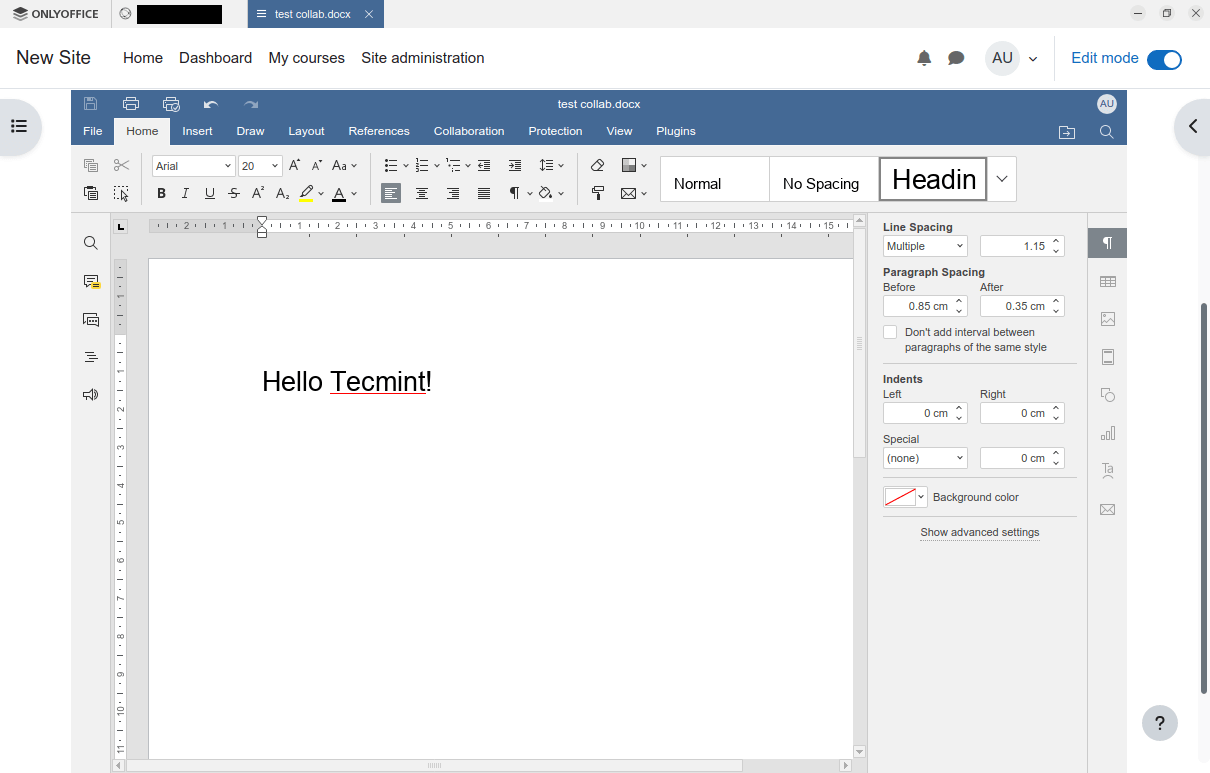
If you log in successfully, you will see the interface of the Moodle platform. Now you can open any document attached to a Moodle course,edit it using local fonts and print it using system printers.
To sum up, this integration lets you edit office files stored in your Moodle account and co-author them in real time on them using the functionality of the ONLYOFFICE online and desktop editors.
We hope you find this guide useful. Please don’t forget to share your opinion by leaving a comment below. Let us know what you think about the ONLYOFFICE/Moodle integration!