Moodle is the world’s most popular, robust, free, and open-source online learning (e-learning) management platform built for web and mobile. It offers a wide range of activities and educational tools that enable schools, universities, and related institutions to offer students a flexible learning platform any time, anywhere, without interruption to their course and curriculum.
Some of its general features include a modern, easy-to-use interface, personalized dashboard, collaborative tools and activities, all-in-one calendar, convenient file management, simple intuitive text editor, notifications, and track progress.
Importantly, Moodle is also highly extensible using over a thousand plugins that support extra activities, blocks, themes, and so much more.
In this article, you will learn how to install the latest version of the Moodle Learning Platform with NGINX and MySQL/MariaDB database on Ubuntu 20.04 and older versions.
Server Requirements:
- A freshly installed Ubuntu 20.04 Server with LEMP Stack installed.
Once you have installed the LEMP stack on the Ubuntu server, you can proceed further to set up Moodle on the server as explained below.
On this page
Setting Up DNS Record for Moodle Application
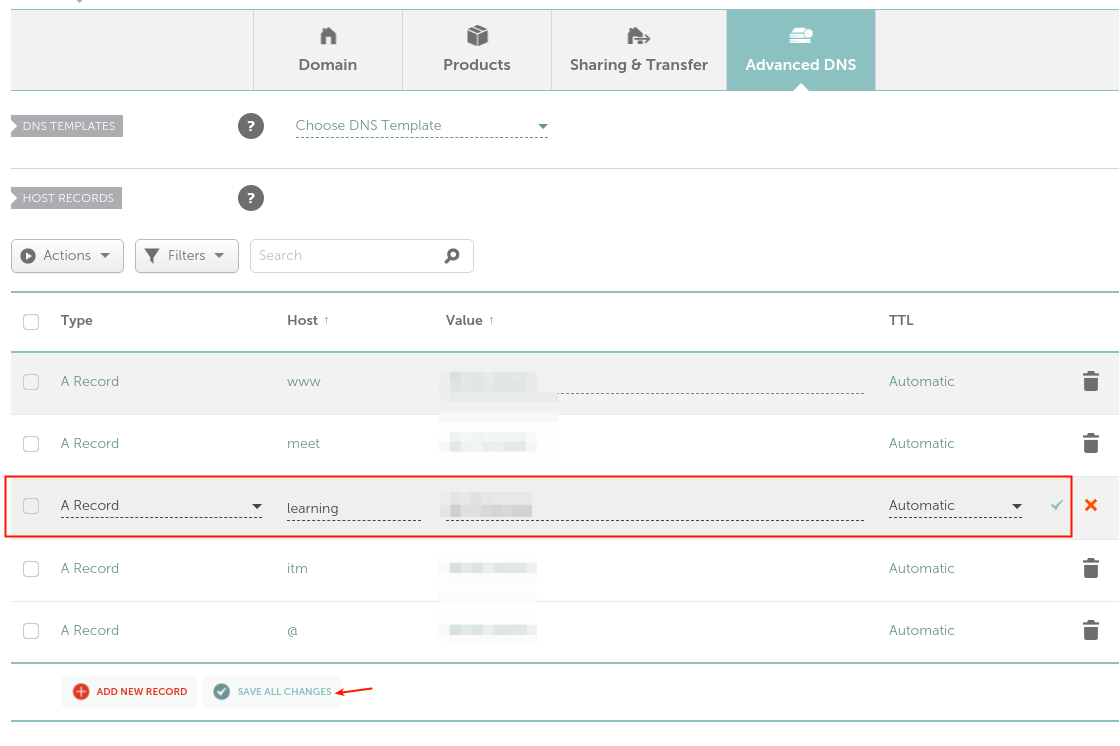
1. For users to access your Moodle instance you need to create a subdomain for it, thus, you need to create a DNS A record to achieve this. For this guide, our test domain is testprojects.me, so we need to create a subdomain, for example, learning.testprojects.me.
So, log into your domain registrar’s web console and access your domain’s advanced settings, click Add New Record of type A, a host should be learning (or any word of your choice), and value should be the public IP address of your Ubuntu server.
Installing Moodle in Ubuntu Server
2. Next, you need to install PHP extensions and libraries required by Moodle using the apt package manager as shown.
$ sudo apt update
$ sudo apt install php-common php-iconv php-curl php-mbstring php-xmlrpc php-soap php-zip php-gd php-xml php-intl php-json libpcre3 libpcre3-dev graphviz aspell ghostscript clamav
3. Next, create a database for your Moodle system. Log in to the MySQL database administration shell and create the database as shown:
$ sudo mysql

MariaDB [(none)]> CREATE DATABASE moodle;
MariaDB [(none)]> GRANT SELECT,INSERT,UPDATE,DELETE,CREATE,CREATE TEMPORARY TABLES,DROP,INDEX,ALTER ON moodle.* TO 'moodleadmin'@'localhost' IDENTIFIED BY 'Secur3P@zzwd';
MariaDB [(none)]> FLUSH PRIVILEGES;
MariaDB [(none)]> quit;
4. As mentioned earlier, for this guide, we will download and install the latest version Moodle (version 3.9 at the time of writing). Run the following wget command to grab the Moodle package and use the tar command to extract it respectively. Then use the ls command to confirm that the moodle directory exists under /var/www/html/ as shown.
$ wget -c https://download.moodle.org/download.php/direct/stable39/moodle-latest-39.tgz
$ sudo tar -zvxf moodle-latest-39.tgz -C /var/www/html/
$ ls /var/www/html/
5. Next, set appropriate permissions on the Moodle directory by running the following commands.
$ sudo chown www-data:www-data -R /var/www/html/moodle
$ sudo chmod 775 -R /var/www/html/moodle
6. Next, create the Moodle data directory, a place where Moodle can save uploaded files and set its permissions as shown.
$ sudo mkdir -p /var/moodledata
$ sudo chmod 775 -R /var/moodledata
$ sudo chown www-data:www-data -R  /var/moodledata
7. Then create the Moodle main configuration file from the sample configuration file provided with the package, open it.
$ cd /var/www/html/moodle/
$ sudo cp config-dist.php config.php
$ sudo vim config.php
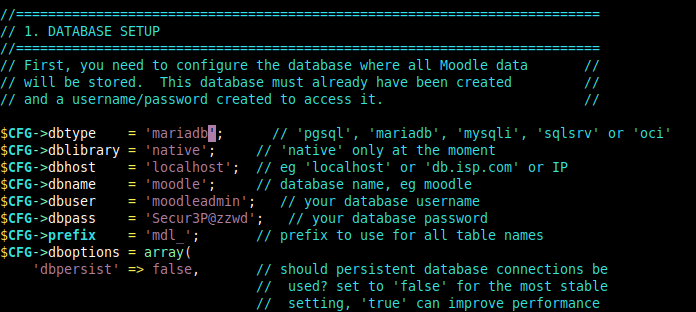
Lok for the database configuration section, then configure the database where all Moodle data will be stored, as shown in the following screenshot:
$CFG->dbtype    = 'mariadb';      // 'pgsql', 'mariadb', 'mysqli', 'sqlsrv' or 'oci'
$CFG->dblibrary = 'native';     // 'native' only at the moment
$CFG->dbhost    = 'localhost';  // eg 'localhost' or 'db.isp.com' or IP
$CFG->dbname    = 'moodle';     // database name, eg moodle
$CFG->dbuser    = 'moodleadmin';   // your database username
$CFG->dbpass    = 'Secur3P@zzwd';   // your database password
$CFG->prefix    = 'mdl_';       // prefix to use for all table names
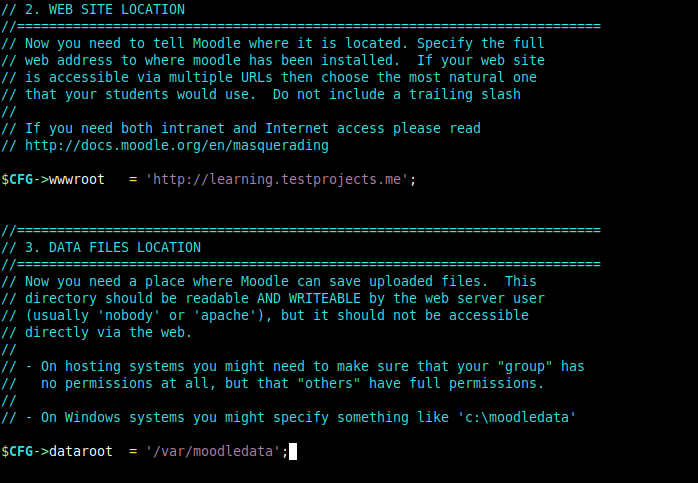
Also, configure the Moodle website location as well as the location of the Moodle data directory as shown.
$CFG->wwwroot   = 'http://learning.testprojects.me';
$CFG->dataroot  = '/var/moodledata';
Save the close the file. Then configure NGINX to server your Moodle site as described in the next section.
Configuring NGINX to Serve Moodle Application
8. For NGINX to server your Moodle site, you need to create a new server block configuration under the NGINX configuration, in the directory /etc/nginx/conf.d/.
$ sudo vim /etc/nginx/conf.d/moodle.conf
Copy and paste the following configuration in it, replace learning.testprojects.me with your subdomain. Beside, the fastcgi_pass directive should point to the address on which PHP-FPM is accepting FastCGI requests (check the /etc/php/7.4/fpm/pool.d/www.conf file for more information).
server{
   listen 80;
    server_name learning.testprojects.me;
    root        /var/www/html/moodle;
    index       index.php;

    location / {
        try_files $uri $uri/ /index.php?$query_string;
    }

    location ~ ^(.+\.php)(.*)$ {
        fastcgi_split_path_info ^(.+\.php)(.*)$;
        fastcgi_index           index.php;
        fastcgi_pass           unix:/run/php/php7.4-fpm.sock;
        include                 /etc/nginx/mime.types;
        include                 fastcgi_params;
        fastcgi_param           PATH_INFO       $fastcgi_path_info;
        fastcgi_param           SCRIPT_FILENAME $document_root$fastcgi_script_name;
}
}
Save the file and close it.
9. Next, verify that the NGINX configuration is OK after making the above changes, then gracefully restart the NGINX service.
$ sudo nginx -t
$ sudo systemctl reload nginx

Completing Moodle Installation via Web Installer
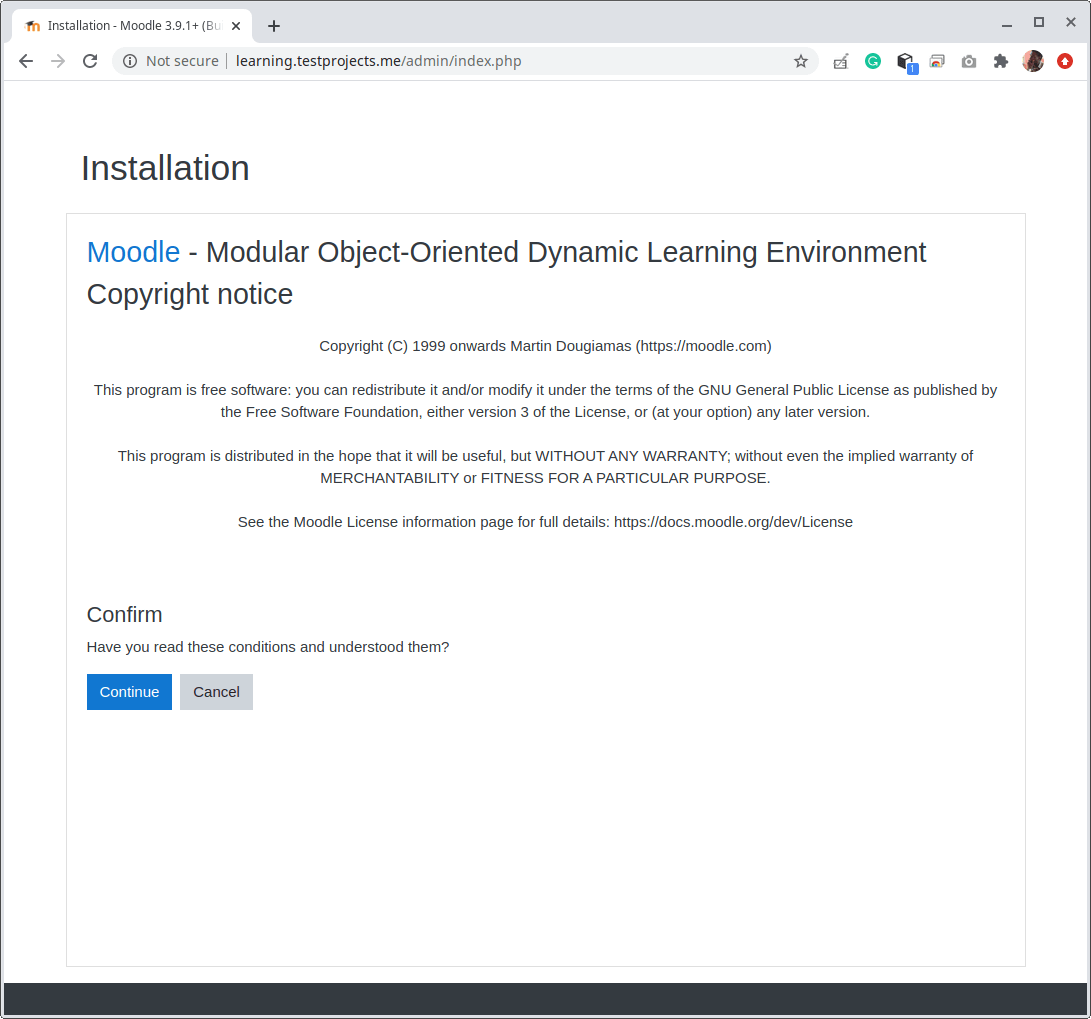
10. Now open a web browser and navigate using your subdomain, for example, learning.testprojects.me to access the Moodle web installer.
http://learning.testprojects.me
Once the welcome page loads read through the message the click Continue.
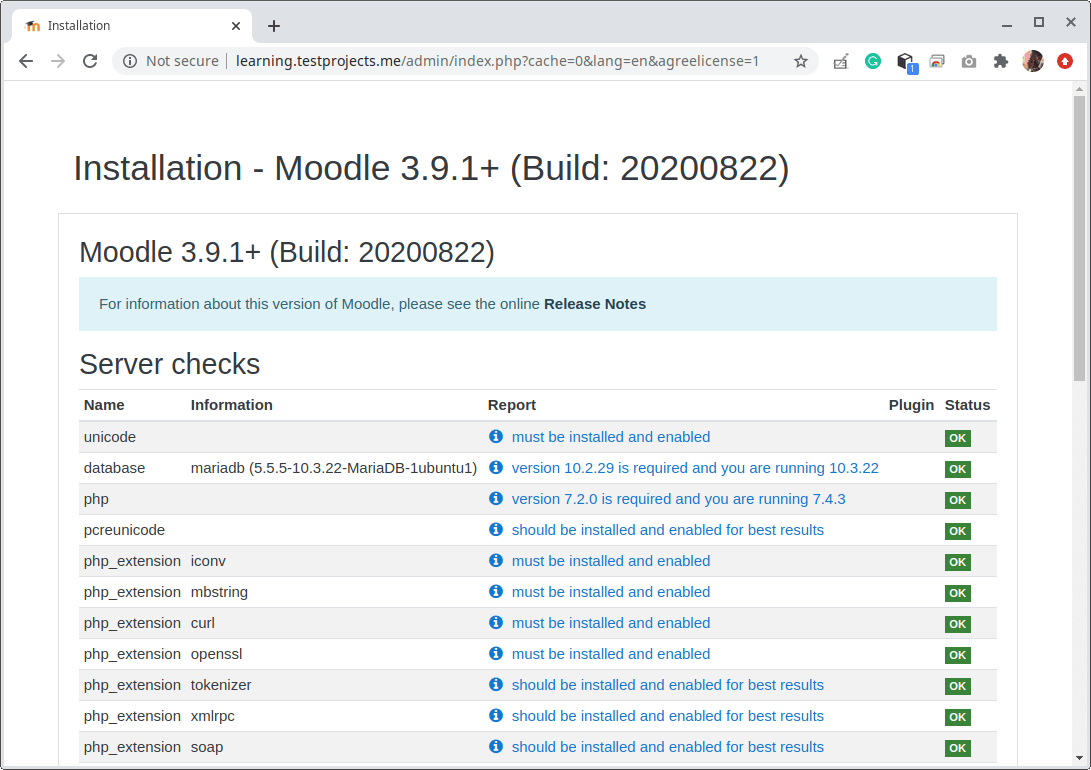
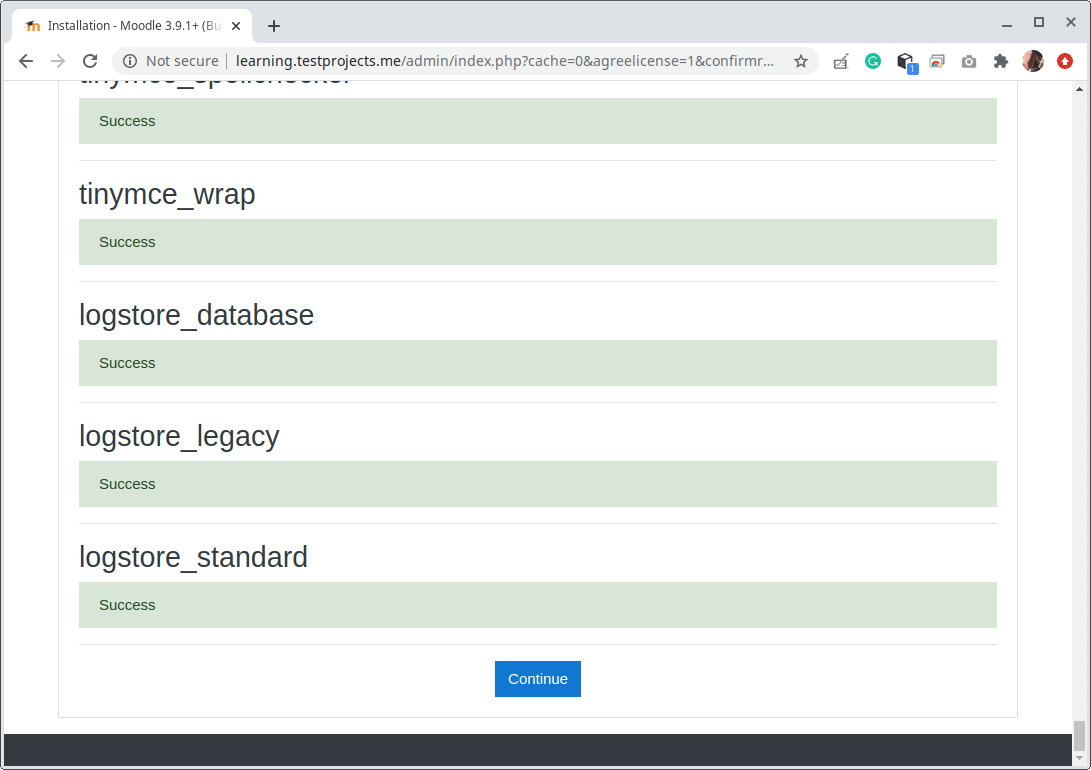
11. Next, the installer will check whether your system meets the requirements, if everything is OK, scroll down and click Continue to start the actual installation of files and setting up database schema.
Note that the installer will show a warning about the site not running on HTTPS, ignore the warning for now. In the last section, we will cover how to enable HTTPS on Moodle using free Let’s Encrypt certificates.
Once the installation is complete, click on Continue.
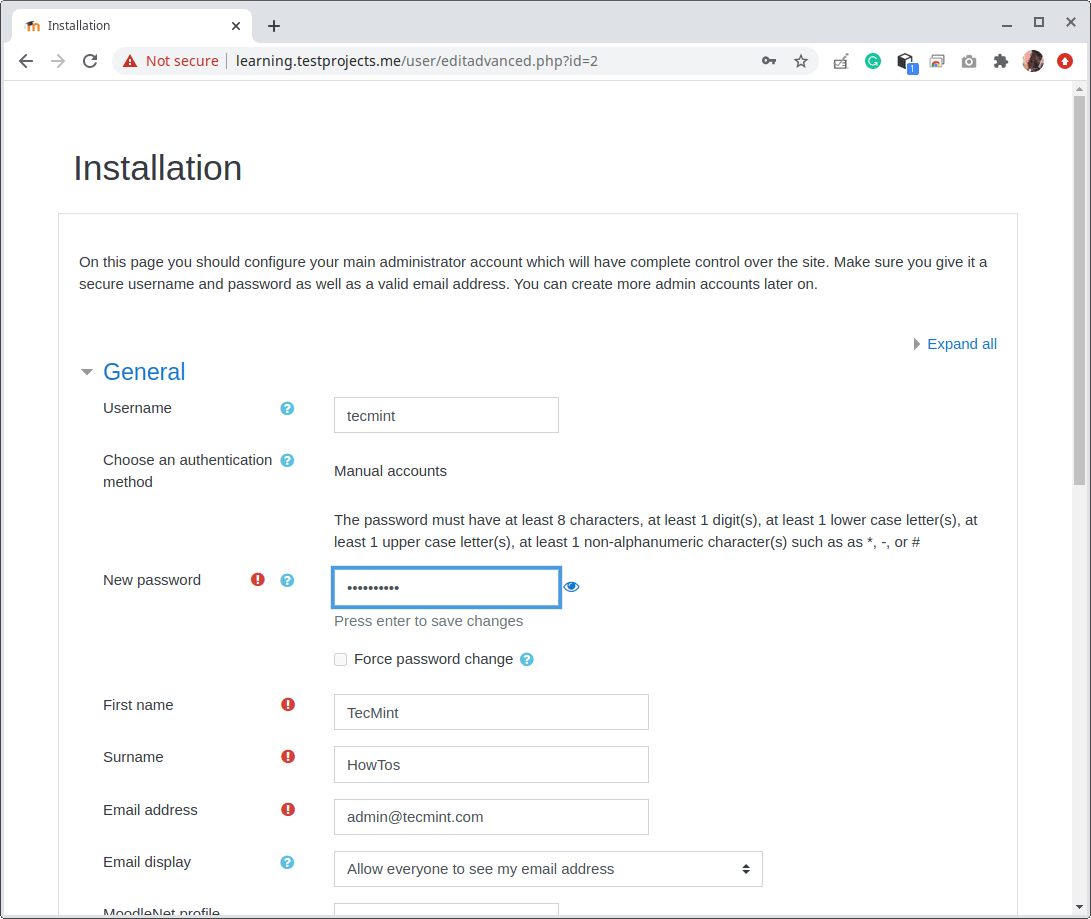
12. Next, configure your Moodle site’s administrator account by creating the account username, password, first name and surname, and email address. Then scroll down and click Update Account.
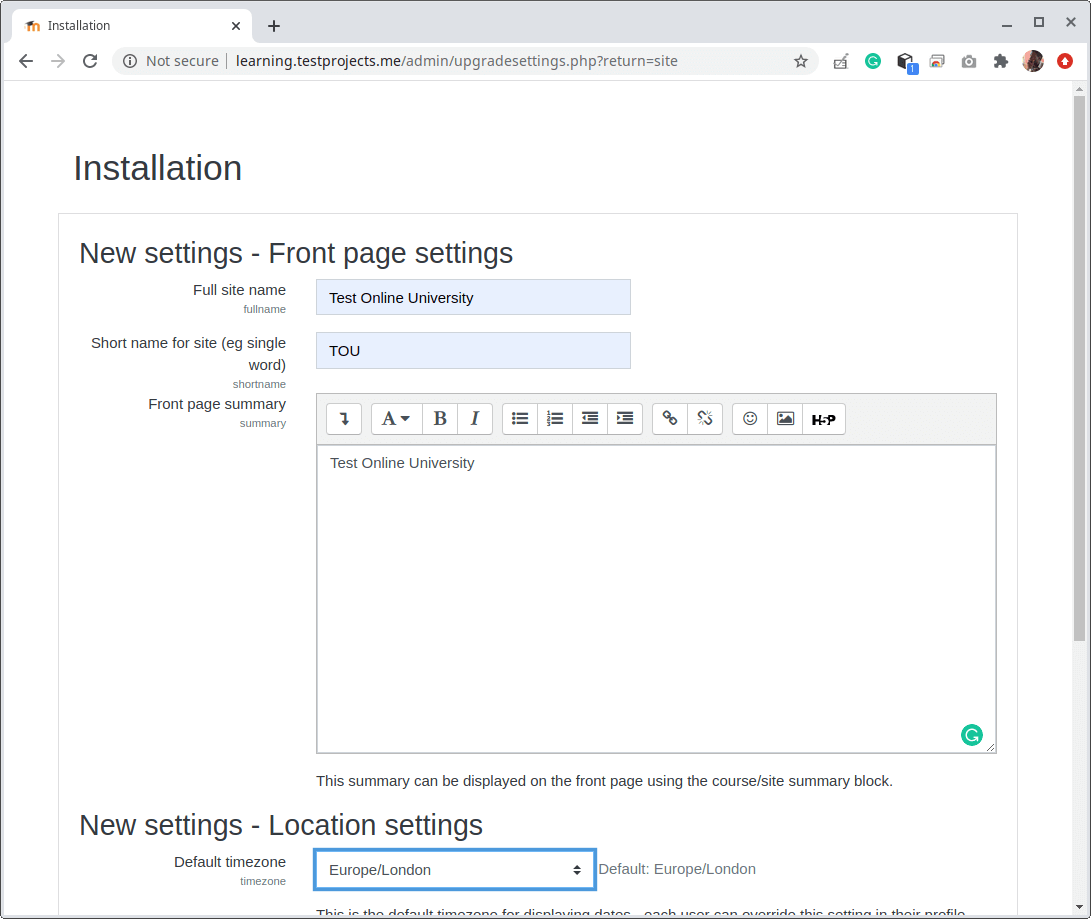
13. Next, configure the Moodle site front page settings as shown in the following screenshot. Then scroll down and click Update.
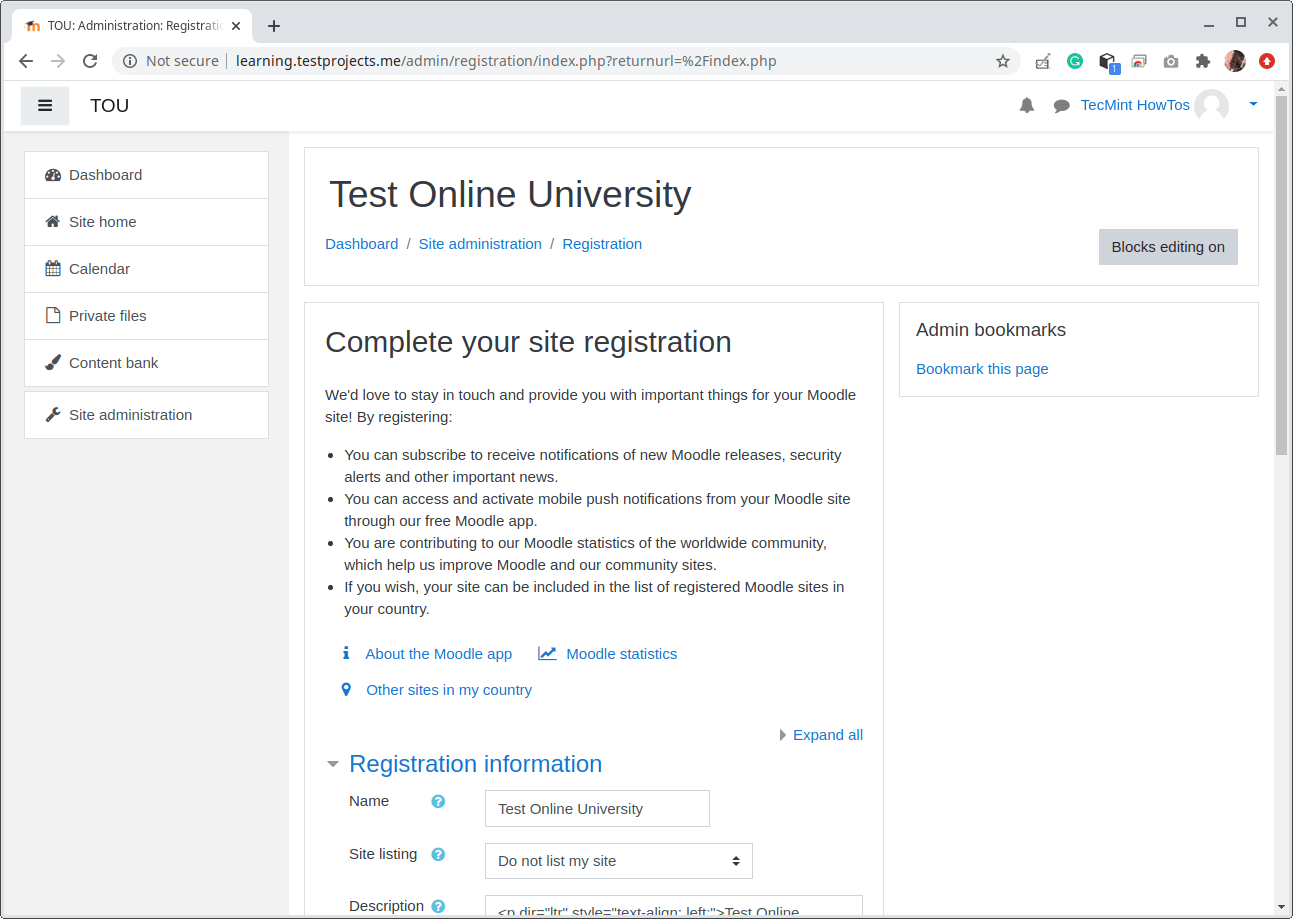
14. The web installer will automatically log you into the new Moodle site. You can complete your site registration by following the instructions on the screen.
Setting Up HTTPS on Moodle Application Using Let’s Encrypt
15. To protect your Moodle site, you need to enable HTTPS. For this guide, we will use Let’s Encrypt free and trusted SSL/TLS certificates. Another advantage of using Let’s Encrypt is that it is automated.
So, go back to your terminal and run the following command to install the certbot on Ubuntu (a free, open-source tool for automatically using Let’s Encrypt certificates to enable HTTPS on manually-administrated sites).
$ sudo snap install --classic certbot

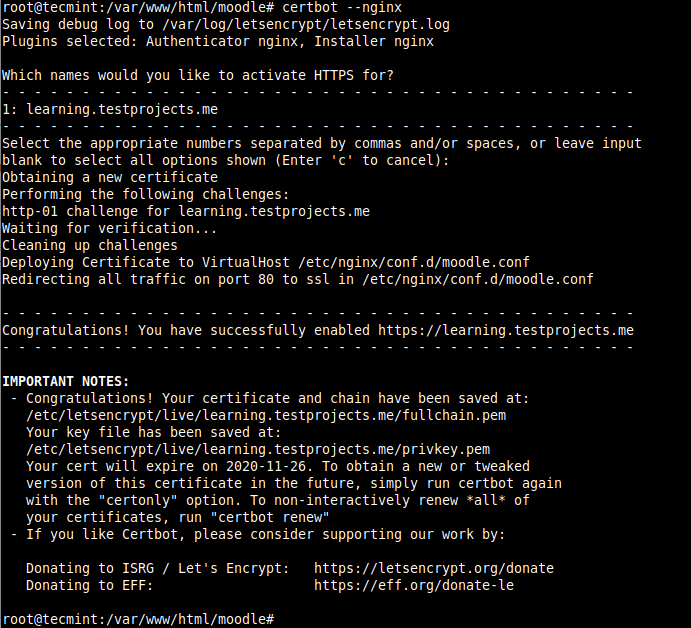
16. Then issue the following command to get a certificate and have Certbot edit your NGINX configuration to automatically configure the new certificate.
$ sudo certbot --nginx
17. Next, go back to the Moodle site configuration file.
$ sudo vim /var/www/html/moodle/config.php
and change the URL from HTTP to HTTPS as shown in the following screenshot.
$CFG->wwwroot = 'https://learning.testprojects.me';

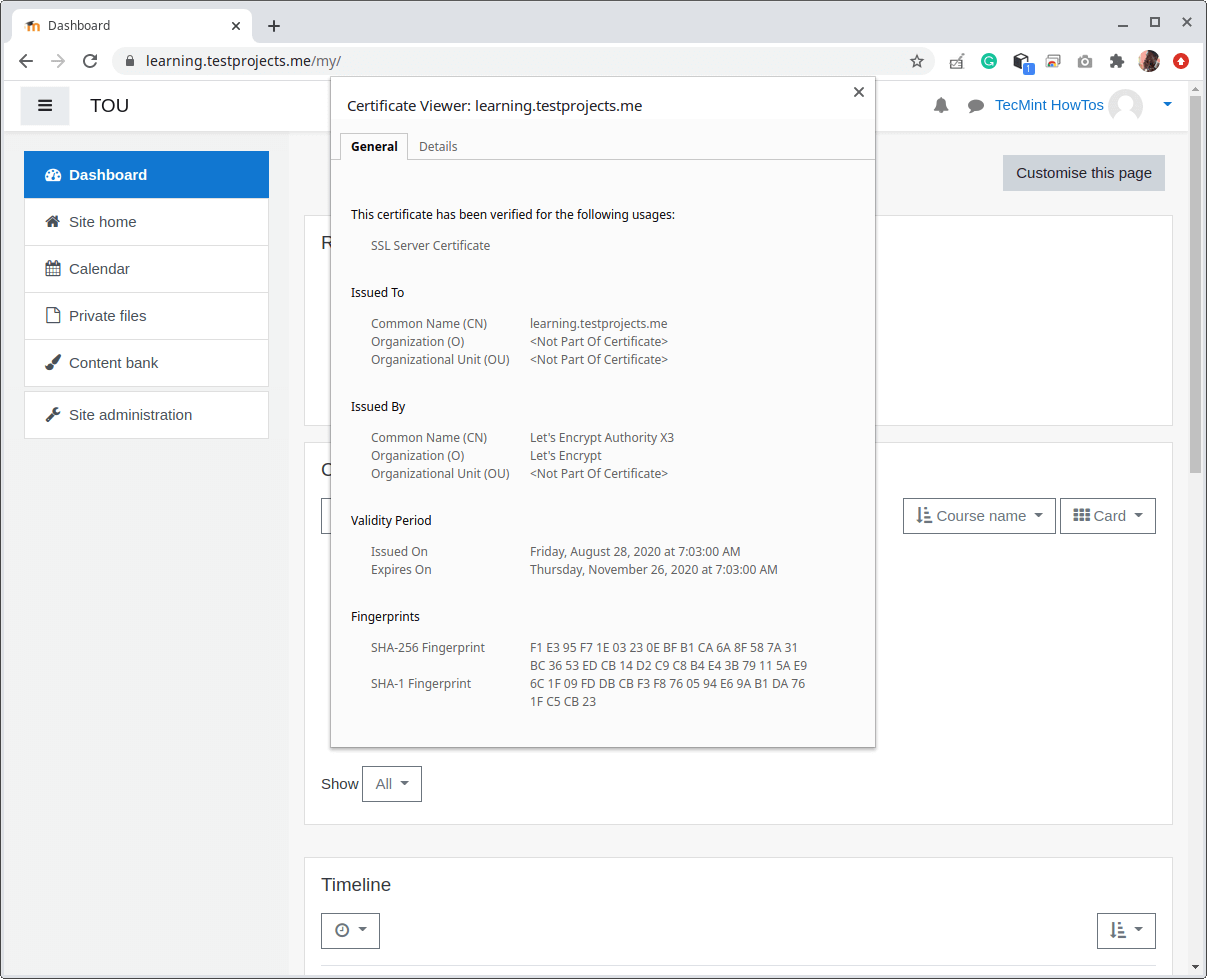
18. Finally, verify from the browser that your Moodle site is now running on HTTPS.
https://learning.testprojects.me
That’s all for now! Go to the Moodle 3.9 documentation for more information, configuration options, and usage guide.


My CSS and JavaScript files are not loaded, and I am getting a 404 errors…
Hi, I installed the model successfully. Then I uploaded a new photo from the Edit settings section and the Frontpage summary section. (As in the photo below)
https://ibb.co/WBNt90xBut when I open the home page of my model site, the uploaded image is not displayed.
https://ibb.co/g6FvtDZI want to display a custom photo on the model home screen for users. How can I fix this problem?
Unable to do Moodle Installation via Web as it says 502 bad gateway. Please help
@Janardan
NGINX will return a 502 Bad Gateway error if it can’t successfully proxy a request to PHP-FPM, via:
Ensure that PHP-FPM is running.
Using Ubuntu. I have followed all the instructions, but I keep getting this:
“Moodle requires the iconv PHP extension. Please install or enable the iconv extension.”
When I try to install php-iconv, I get this: