PHP Server Monitor is an Open Source web frontend monitoring tool written in PHP, that can verify whether the your servers (IP, domains) or services are up and running and can send you notifications via mail services or SMS if a problem occurred on a monitored service or port. It checks websites by using HTTP status code, can displays history graphs of uptime and latency and can use two levels of authentication (administrator and regular user).
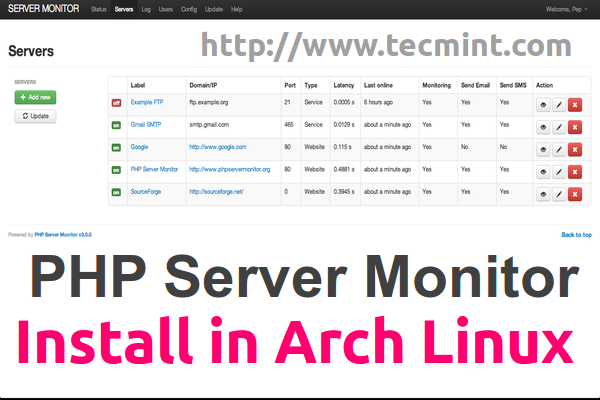
This tutorial presents you a way you can install PHP Server Monitor in an Arch Linux server environment using whether Apache as a server or Nginx web server, so, you can choose the installation process that best suits you.
PHP Server Monitor Requirements
As general requirements to install and setup PHP Server Monitor for any other Linux platforms, you server needs the following packages installed.
- PHP 5.3.7+
- PHP packages: cURL, MySQL
- MySQL Database
- Nginx or Apache web servers
System Requirements
To install PHP Server Monitor with Nginx use the following tutorials as guides to setup LEMP stack and Virtual Hosts on Arch.
To install PHP Server Monitor with Apache use the following guide to setup LAMP stack on Arch Linux.
Step 1: Configure Nginx/Apache Webserver
1. Before we start, if your setup uses Virtual Hosting you need to assure that you have valid DNS entry pointing to your domain or use local hosts file in case you don’t have a DNS server. This tutorial uses Virtual Hosting with both web servers (Nginx and Apache) configured with a local domain fake – phpsrvmon.lan – through /etc/hosts file.
Create Nginx Virtual Host Configuration Files
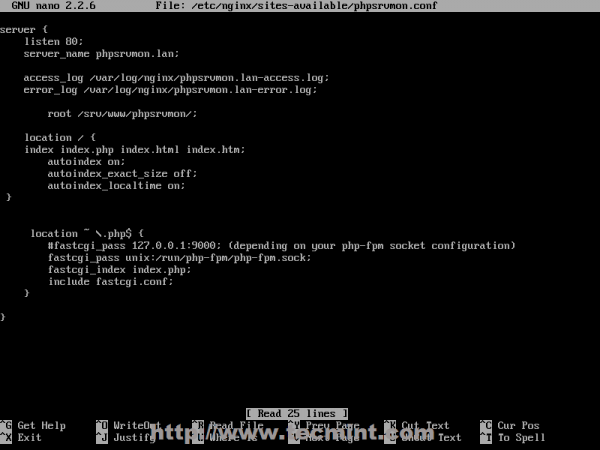
2. To add a new Nginx Virtual Host, create a new configuration file on /etc/nginx/sites-available/ with phpsrvmon.conf name and use the following template as a configuration example.
$ sudo nano /etc/nginx/sites-available/phpsrvmon.conf
Add the following code to the phpsrvmon.conf file.
server {
    listen 80;
    server_name phpsrvmon.lan;

    access_log /var/log/nginx/phpsrvmon.lan-access.log;
    error_log /var/log/nginx/phpsrvmon.lan-error.log;

                root /srv/www/phpsrvmon;

    location / {
    index index.php index.html index.htm;
                autoindex on;
}

location ~ \.php$ {
        fastcgi_pass unix:/run/php-fpm/php-fpm.sock;
        fastcgi_index index.php;
        include fastcgi.conf;
    }
}
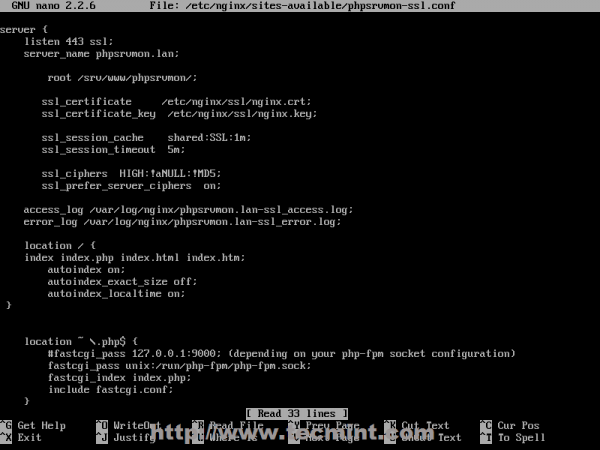
3. If you want to access PHP Sever Monitor through secure HTTP protocol, create its SSL equivalent configuration file.
$ sudo nano /etc/nginx/sites-available/phpsrvmon-ssl.conf
Add the following code to the phpsrvmon-ssl.conf file.
server {
    listen 443 ssl;
    server_name phpsrvmon.lan;

       root /srv/www/phpsrvmon;
       ssl_certificate     /etc/nginx/ssl/nginx.crt;
       ssl_certificate_key  /etc/nginx/ssl/nginx.key;
       ssl_session_cache    shared:SSL:1m;
       ssl_session_timeout  5m;
       ssl_ciphers  HIGH:!aNULL:!MD5;
       ssl_prefer_server_ciphers  on;

    access_log /var/log/nginx/phpsrvmon.lan-ssl_access.log;
    error_log /var/log/nginx/phpsrvmon.lan-ssl_error.log;

    location / {
    index index.php index.html index.htm;
                autoindex on;
 }

    location ~ \.php$ {
        fastcgi_pass unix:/run/php-fpm/php-fpm.sock;
        fastcgi_index index.php;
        include fastcgi.conf;
    }
}
4. After editing Nginx conf files, create Document Root path, in case you changed it like here to /srv/www/phpsrvmon/, activate both virtual hosts using n2ensite utility and restart Nginx to reflect changes.
$ sudo mkdir -p /srv/www/phpsrvmon/
$ sudo n2ensite phpsrvmon
$ sudo n2ensite phpsrvmon-ssl
$ sudo systemctl restart nginx
If you require a new SSL certificate for your Virtual Host, generate one using nginx_gen_ssl command with your domain name and modify phpsrvmon-ssl.conf accordingly.
Create Apache Virtual Host Configuration Files
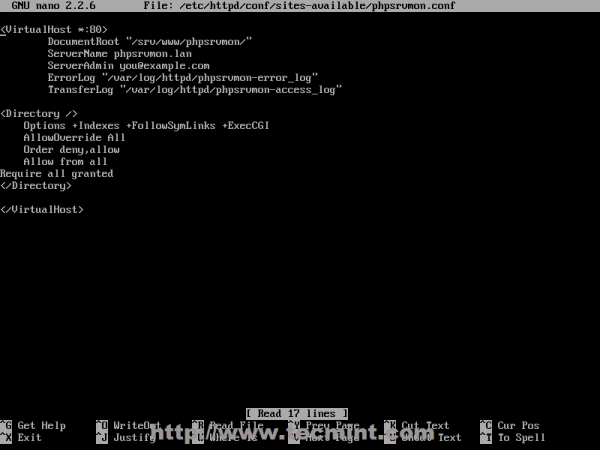
5. If you use Apache as a web server, create a new Virtual Host configuration file on /etc/httpd/conf/sites-available/ with phpsrvmon.conf name and use the following file definitions as a template.
$ sudo nano /etc/httpd/conf/sites-available/phpsrvmon.conf
Add the following code to the phpsrvmon.conf file.
<VirtualHost *:80>
                DocumentRoot "/srv/www/phpsrvmon"
                ServerName phpsrvmon.lan
                ServerAdmin [email protected]
                ErrorLog "/var/log/httpd/phpsrvmon-error_log"
                TransferLog "/var/log/httpd/phpsrvmon-access_log"

<Directory />
    Options +Indexes
    AllowOverride All
    Order deny,allow
    Allow from all
Require all granted
</Directory>
</VirtualHost>
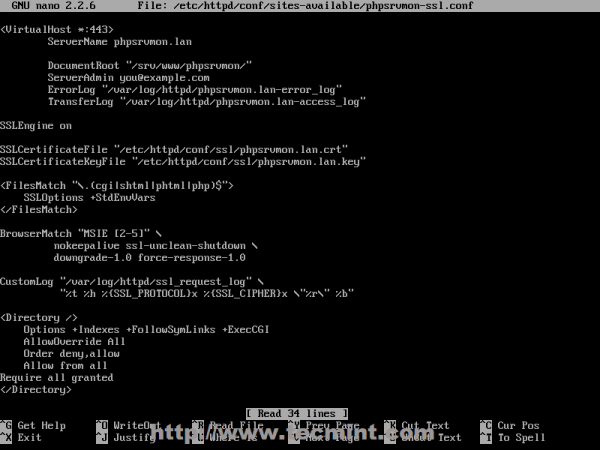
6. If you, also, need a access PHP Server Monitor on HTTPS protocol, create a new Virtual Host SSL configuration file with the following statements.
$ sudo nano /etc/httpd/conf/sites-available/phpsrvmon-ssl.conf
Add following whole code to phpsrvmon-ssl.conf file.
<VirtualHost *:443>
                ServerName phpsrvmon.lan
                DocumentRoot "/srv/www/phpsrvmon"
                ServerAdmin [email protected]
                ErrorLog "/var/log/httpd/phpsrvmon.lan-error_log"
                TransferLog "/var/log/httpd/phpsrvmon.lan-access_log"

SSLEngine on
SSLCertificateFile "/etc/httpd/conf/ssl/phpsrvmon.lan.crt"
SSLCertificateKeyFile "/etc/httpd/conf/ssl/phpsrvmon.lan.key"

<FilesMatch "\.(cgi|shtml|phtml|php)$">
    SSLOptions +StdEnvVars
</FilesMatch>

BrowserMatch "MSIE [2-5]" \
         nokeepalive ssl-unclean-shutdown \
         downgrade-1.0 force-response-1.0
CustomLog "/var/log/httpd/ssl_request_log" \
          "%t %h %{SSL_PROTOCOL}x %{SSL_CIPHER}x \"%r\" %b"

<Directory />
    Options +Indexes
    AllowOverride All
    Order deny,allow
    Allow from all
Require all granted
</Directory>
</VirtualHost>
7. Using the same procedure as for Nginx, create Document Root directory, in case the web files served path has changed, activate Apache Virtual Hosts using a2ensite command and restart daemon to apply changes.
$ sudo mkdir -p /srv/www/phpsrvmon/
$ sudo a2ensite phpsrvmon
$ sudo a2ensite phpsrvmon-ssl
$ sudo systemctl restart httpd
To generate new SSL Certificate and Key for this Virtual Host use apache_gen_ssl utility, append your domain name on Certificate name and modify /etc/httpd/conf/sites-available/phpsrvmon-ssl.conf file, replacing old SSL Certificate and Key path and names with new ones.
Step 2: Edit PHP configurations
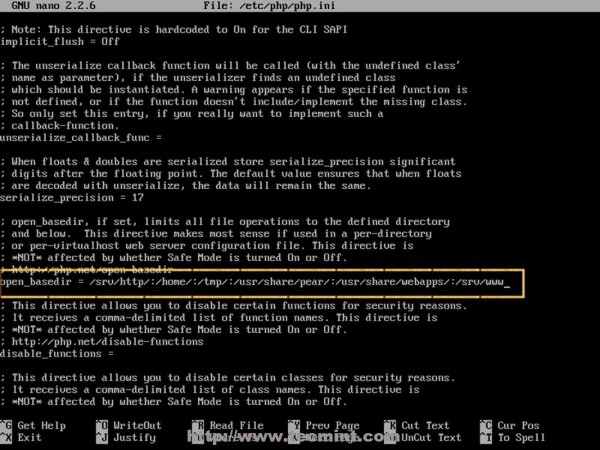
8. In order to avoid some installation errors, that PHP Server Monitor will throw when it verifies system requirements open php.ini file and make the following adjustments.
$ sudo nano /etc/php/php.ini
If Nginx/Apache Document Root path has been changed ( default one is /srv/http/) use [Ctrl+w] to locate open_basedir statement and append the new path by prefixing with a colon “ : “ – in this case the new path is /srv/www/ – to look like in the example below.
open_basedir = /srv/http/:/home/:/tmp/:/usr/share/pear/:/usr/share/webapps/:/etc/webapps/:/srv/www/
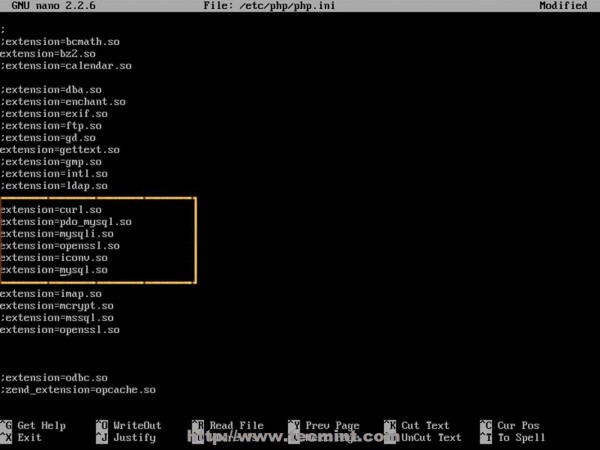
Search and enable PHP pdo, mysqli and curl extensions by uncommenting them (remove semicolon from their front).
extension=curl.so
extension=mysqli.so
extension=pdo_mysql.so
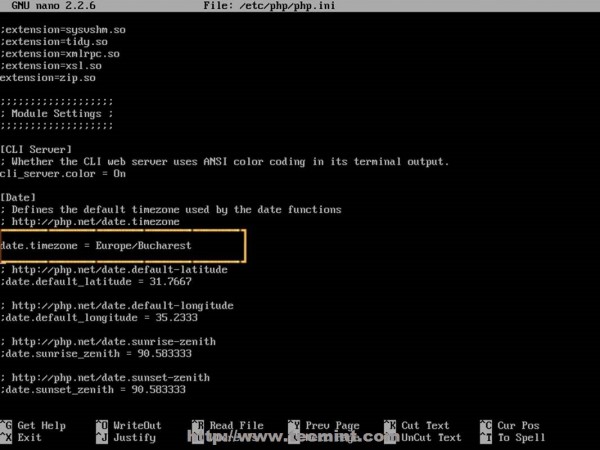
Locate timezone and set your local time as using This Page.
date.timezone = Continent/City
9. After all changes are made restart your services to apply changes.
$ sudo systemctl restart php-fpm
$ sudo systemctl restart nginx
$ sudo systemctl restart httpd
Step 3: Create PHP Server Monitor MySQL Database
10. To create the database needed for PHP Server Monitor to store information, login to MySQL/MariaDB database and create a new database using the following commands (replace database, user and password with your preferred credentials).
mysql -u root -p

MariaDB > create database phpsrvmon;
MariaDB > create user phpsrvmon_user@localhost identified by "user_password";
MariaDB > grant all privileges on phpsrvmon.* to phpsrvmon_user@localhost;
MariaDB > flush privileges;
MariaDB > quit

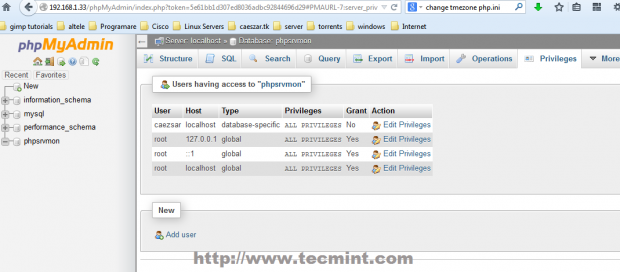
If you have PhpMyAdmin installed on your system you can create PHP Server Monitor database by accessing MySQL/MariaDB from its web interface.
Step 4: Install PHP Server Monitor
11. Before proceeding with downloading PHP Server Monitor tool, make sure you have installed wget command.
$ sudo pacman -S wget
12. To grab the latest PHP Server Monitor version go to the following link and download tar.gz archive file or use use official Git download link provided below.
Alternatively, you may also download directly using the following wget command.
$ wget http://downloads.sourceforge.net/project/phpservermon/phpservermon/PHP%20Server%20Monitor%20v3.0.1/phpservermon-v3.0.1.tar.gz
13. After downloading the latest version, extract it with tar command and copy all extracted content to Web Server Document Root path using the following commands.
$ tar xfvz phpservermon-v3.0.1.tar.gz
$ sudo cp -r phpservermon/* /srv/www/phpsrvmon/
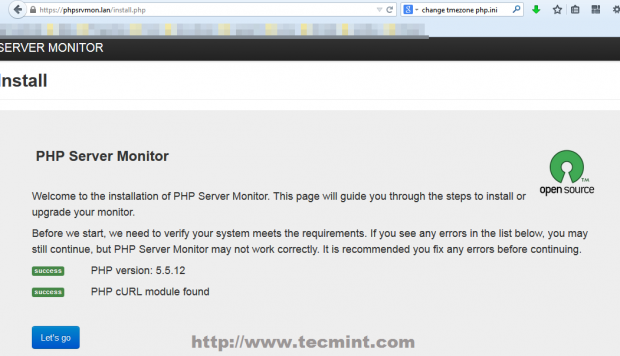
14. Then open a browser and navigate to your domain name (in case you use virtual hosts as presented in this tutorial, otherwise use your server IP address ) and on the greeting page hit Let’s go button.
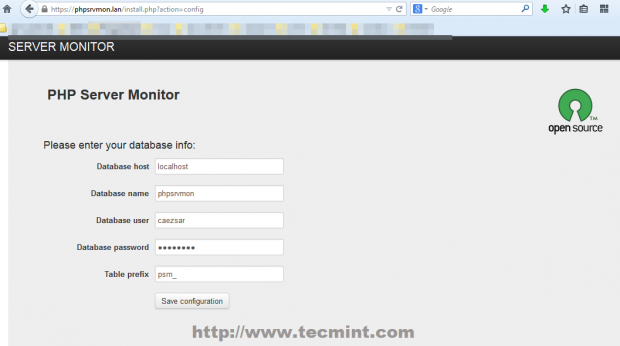
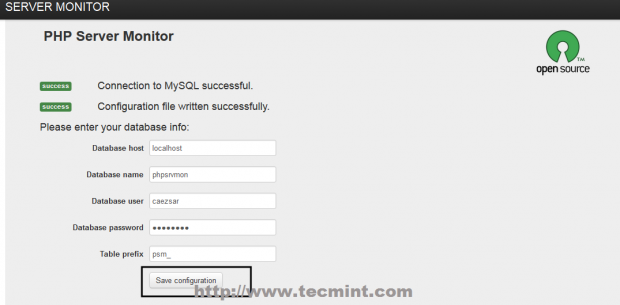
15. On the next screen enter your MySQL database information and hit on Save configuration.
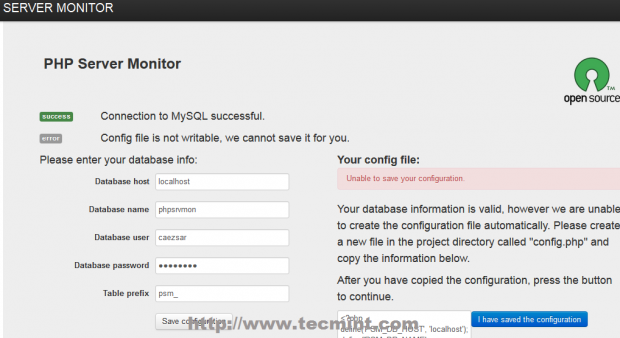
16. If you get an error that says your configuration file couldn’t be written use the following commands to create a writeable confing.php file and hit on I have saved the configuration.
$ su -c “> /srv/www/phpsrvmon/config.php”
$ sudo chmod 777 /srv/www/phpsrvmon/config.php

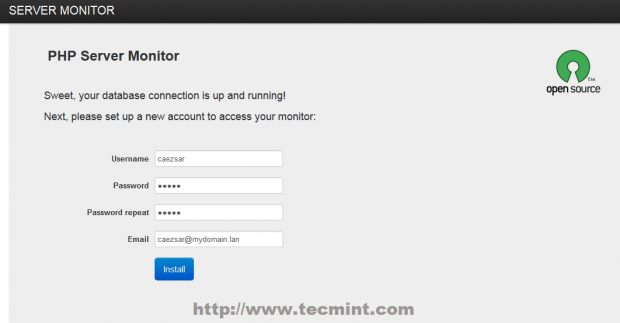
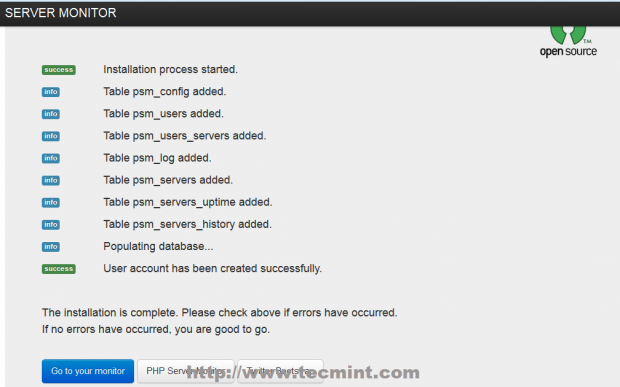
17. After saving the configuration create an administrative user for PHP Server Monitor choosing your credentials and hit on Install button.
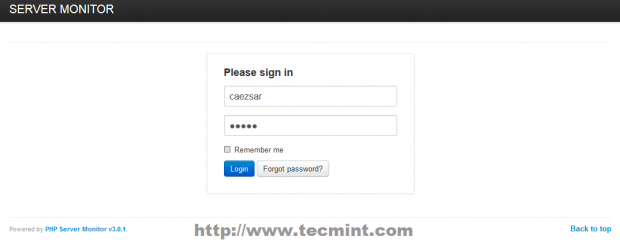
18. After the installation process is complete hit on Go to your monitor button and you will be redirected to Login page. Login with your credentials and you will be prompted to default PHP Server Monitor page. Also revert changes to PHP Server Monitor config.php file.
$ sudo chmod 754 /srv/www/phpsrvmon/config.php
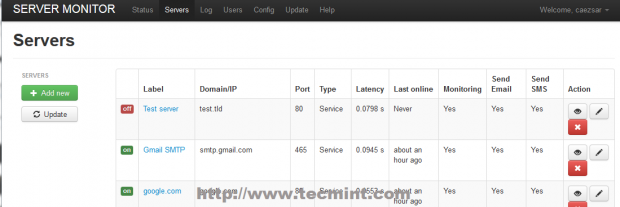
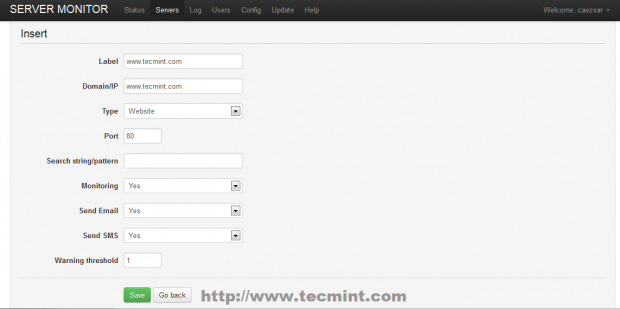
19. To add a new website for monitoring go to Servers -> Add new, fill required fields with your server settings and hit on Save button.
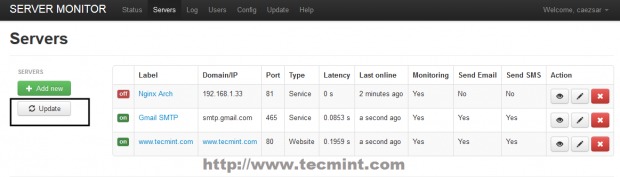
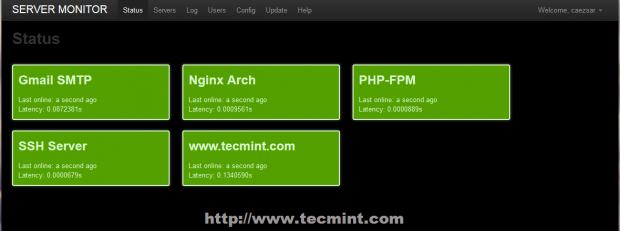
20. To start monitoring process on all servers and services hit Update button and you will be redirected to default home page where you will be presented with your websites/services status.
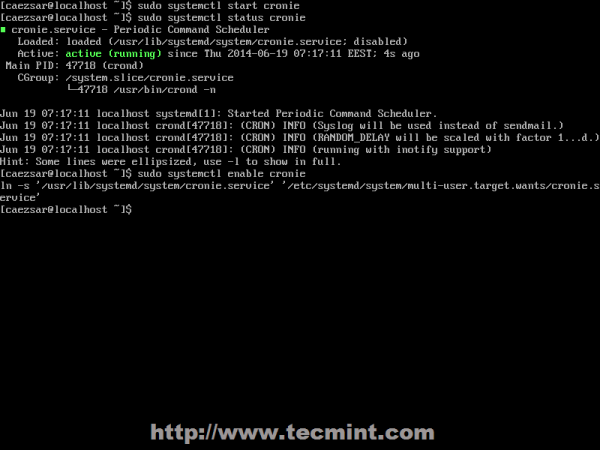
21. In order for PHP Server Monitor to automatically check your servers/services status at regular time intervals you need to install a Cron job scheduler on your system and add a monitoring time period entry in a cron file.
$ sudo pacman -S cronie
$ sudo systemctl start cronie
$ sudo systemctl enable cronie
22. To add a new entry in cron file that checks your website every 5 minutes use sudo crontab –e command, or , better, manually edit root cron file located in /var/spool/cron/ directory by adjusting the path to match your PHP Server Monitor installation directory. To list all crontab entries use sudo crontab -l command line.
$ sudo nano /var/spool/cron/root
Add the following entry – adjust time period and installation path accordingly
*/5 * * * * /usr/bin/php /srv/www/phpsrvmon/cron/status.cron.php
Conclusion
Although PHP Server Monitor doesn’t rise in complexity as other monitoring services like Nagios, Cacti or Zabbix, it tends to be very light in resource consumption and can fulfill the job as monitoring platform by configuring to send emails or text SMS through a vast SMS gateway list, in case your monitored websites and services are encountering technical problems or are down.
Homepage: PHP Server Monitor


Can you please write article on “mSend – A Powerful SMTP utility”. Here is github link : https://github.com/harry41/mSend
@Harry,
Thanks for sharing the useful SMTP client, yes i will surely write on this..
how to enable copy text into server phpmonitor.
howto connect app uptime with phpserver monitor?
Add the IP:port of your app to phpserver monitor.
Hi, thanks for the tutorial! I’m looking for a single server update in php monitor but I cant find… it permit only to update the entire server db! Do you have some suggestion to do the signle server update? Thanks
What kind of update are you talking about? Update the server, ie: apache or update php monitor database? If you are trying to apply a custom update to apache, then remove the package and compile and install apache from sources with the required modules and patches.
While concerning phpmonitor MySQL database you can modify the database from with the appropriate updates.
Good tutorial, i used this for my local arch machine. But unfortunately i also need a guide for my Centos 7 server.
Luckily i stumbled upon this good article: https://www.rosehosting.com/blog/install-php-server-monitor-on-a-centos-7-linux-vps/
I hope someone will find it useful.
@Fred,
Thanks for adding link to the CentOS 7 article, we will update the artilce to support CentOS versions..
No, you cant use Php Server Monitor to verify internal or external system resources , but only local or remote services, ports or websites ….check their status if they are up or down.
Hi Matei Cezar , thanks for the great tuto and thanks for the well explaination, just i’m wondring about how can’i get the memory usage and the cpu usage with this tool… is it possible to get it ?
thanks in advance.
Regards