Icinga is an open-source network monitoring tool that was initially created as a fork of the Nagios monitoring tool back in 2009.
Icinga checks the availability of servers and network devices such as switches and routers and sends a report to sysadmins about any failures or downtime. It also provides comprehensive data which can be visualized and used for reporting.
Its scalability and extensibility make it possible to monitor small and large network environments across several locations.
In this guide, you will learn how to install the Icinga network monitoring tool on OpenSUSE Linux.
Prerequisites
Before you proceed, ensure that you have the following list of requirements.
- An instance of OpenSUSE with a sudo user configured.
- LAMP stack installed. Check our guide on how to install LAMP on OpenSUSE.
Step 1: Install PHP Extensions in OpenSUSE
First off, install and run the following zypper command below to install the following PHP extensions which will be required by Icinga2.
$ sudo zypper install php-gd php-pgsql php-ldap php-mbstring php-mysql php-curl php-xml php-cli php-soap php-intl php-zip php-xmlrpc php-opcache php-gmp php-imagick -y
Some additional configuration will be required. To access the main PHP configuration file.
$ vim /etc/php7/apache2/php.ini
Make the following changes to these directives.
memory_limit = 256M
post_max_size = 64M
upload_max_filesize = 100M
max_execution_time = 300
default_charset = "UTF-8"
date.timezone = "Africa/Nairobi"
cgi.fix_pathinfo=0
Be sure to set the date.timezone directive to reflect your geographical region.
Step 2: Add the Icinga Repository in OpenSUSE
By default, the Icinga package is not provided by OpenSUSE repositories. Therefore, you need to manually add the Official Icinga repository from Icinga in order to install Icinga2.
So, begin by adding the GPG key.
$ sudo rpm --import https://packages.icinga.com/icinga.key
Once the key is added. Add the Icinga repository as follows.
$ sudo zypper ar https://packages.icinga.com/openSUSE/ICINGA-release.repo
Then refresh all the repositories.
$ sudo zypper ref
Step 3: Instal Icinga2 and Monitoring Plugins in OpenSUSE
With the Icinga repository enabled, the next step is to install Icinga and the monitoring plugins. To do so, run the command:
$ sudo zypper install icinga2 nagios-plugins-all
Next, start the Icinga service and enable it to start automatically during boot time.
$ sudo systemctl start icinga2
$ sudo systemctl enable icinga2
Just to be sure that the Icinga daemon is running, check its status as shown:
$ sudo systemctl status icinga2

Step 4: Install Icinga IDO (Icinga Data Output) Module
The IDO (Icinga Data Output) module is a core feature that exports configuration and status information into a relational database such as MySQL or MariaDB. The database is used as a backend by Icinga Web2.
To install the Icinga IDO feature, run the command:
$ sudo zypper install icinga2-ido-mysql
Once installed, the next step is to create a database for the IDO feature where all the configuration and status information will be exported.
So, log in to the MariaDB database:
$ sudo mysql -u root -p
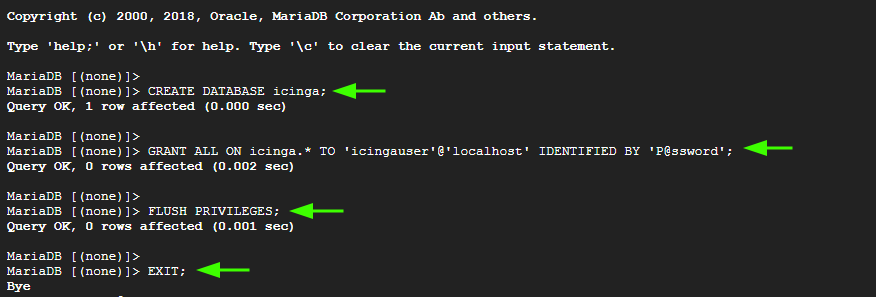
Next, create the database and database user and grant all privileges to the user on the database.
> CREATE DATABASE icinga;
> GRANT ALL ON icinga.* TO 'icingauser'@'localhost' IDENTIFIED BY 'P@ssword';
> FLUSH PRIVILEGES;
> EXIT;
Next, import the Icinga2 IDO schema as follows. Once prompted for a password, provide the MariaDB root password.
$ sudo mysql -u root -p icinga < /usr/share/icinga2-ido-mysql/schema/mysql.sql
Step 5: Enable IDO-MySQL Feature
The next step is to enable the ido-mysql feature. To do this, use the icinga2 command:
$ sudo icinga2 feature enable ido-mysql

Module 'ido-mysql' was enabled.
Make sure to restart Icinga 2 for these changes to take effect.
$ sudo systemctl restart icinga2
The IDO-MySQL package comes with a default configuration file called ido-mysql.conf. We need to make a few changes to the file in order to allow connection to the IDO database.
Therefore, open the configuration file.
$ sudo vim /etc/icinga2/features-available/ido-mysql.conf
Navigate to this section, uncomment and provide the IDO database details.
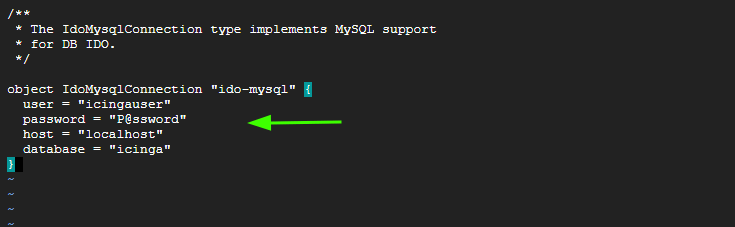
Save and exit the file. To apply the changes made, restart Icinga2:
$ sudo systemctl restart icinga2
Step 6: Install and Configure IcingaWeb2 in OpenSUSE
IcingaWeb2 is an open-source monitoring web interface, command-line tool, and framework developed by Icinga. It provides support for Icinga2, Icinga Core, and any other backend that is compatible with the IDO database.
The IcingaWeb2 interface provides you with a neat and intuitive dashboard for monitoring your network resources. To install IcingaWeb2 and the Icinga CLI, run the command:
$ sudo zypper install icingaweb2 icingacli -y
Next, we are going to create a second database schema for Icinga Web2. Once again, log in to the MySQL database server.
$ sudo mysql -u root -p
Create a database and user for Icinga Web2 and assign all privileges to the user on the database.
> CREATE DATABASE icingaweb2;
> GRANT ALL ON icingaweb2.* TO 'icingaweb2user'@'localhost' IDENTIFIED BY 'P@ssword';
> FLUSH PRIVILEGES;
> EXIT;
Next, enable the Apache rewrite module and restart Apache for the changes to take effect.
$ sudo a2enmod rewrite
$ sudo systemctl restart apache2
Now create a secret token, which is being used for authentication when completing the setup on a web browser.
$ sudo icingacli setup token create

The newly generated setup token is: 12cd61c1700fa80e
Copy and Save the token as it will be used in the next step.
Step 7: Complete IcingaWeb2 Installation from Browser
With all the configurations in place, the last step is to complete the IcingaWeb2 setup on a browser.
To finalize the setup, open your browser and browse the following URL.
http://server-ip/icingaweb2/setup
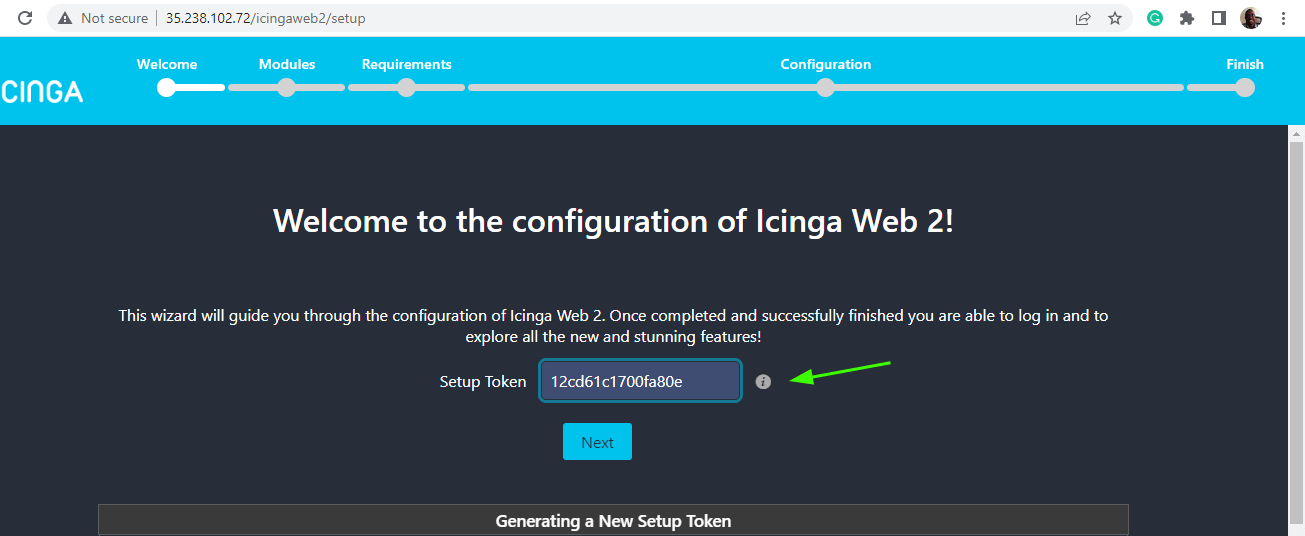
This directs you to the Icinga Web 2 installation wizard as shown. The first section is the configuration of Icinga Web2.
To proceed, paste the Setup Token that you generated in the previous step to the ‘Setup Token’ field and click ‘Next’.
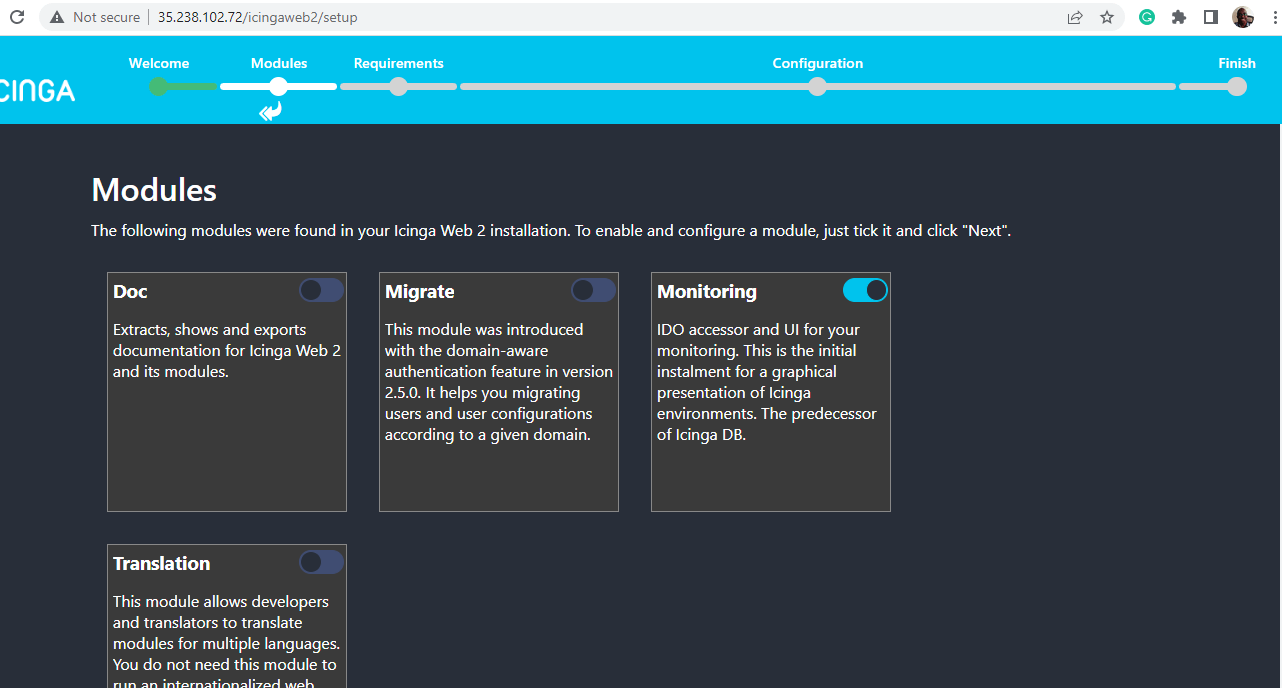
The next step provides a list of modules in Icinga2 which can be enabled. By default, the ‘Monitoring’ module is enabled. You can enable the modules you want and then click ‘Next’ to continue.
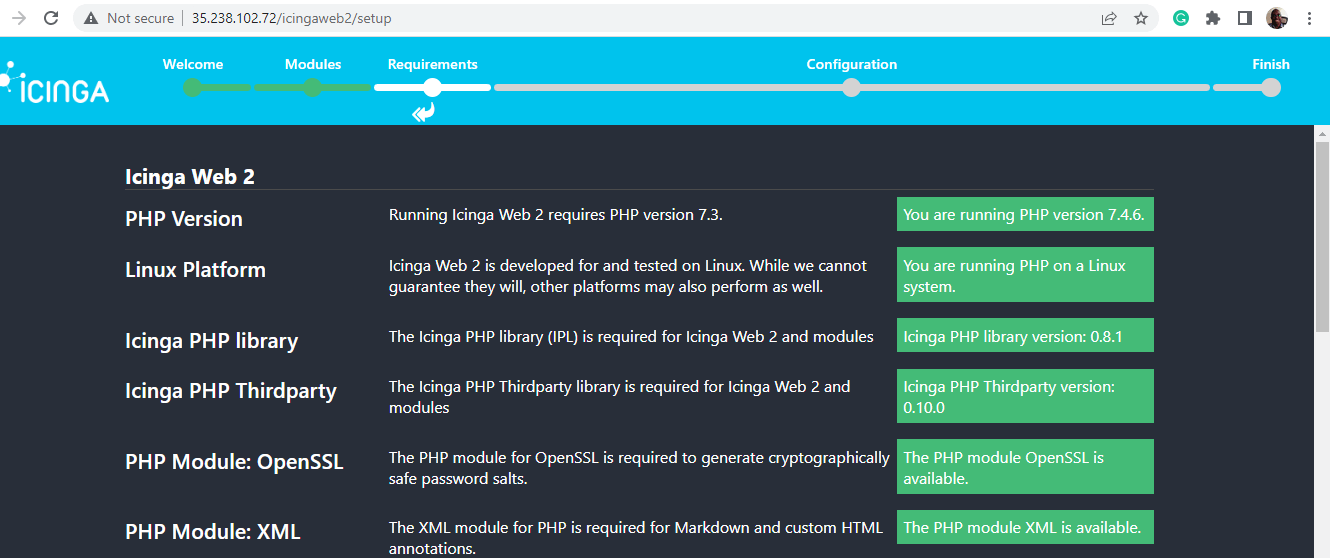
The next step lists all the PHP modules and other requirements required by Icinga Web 2. Scroll through the list and ensure that all the requirements have been met. Then click ‘Next’.
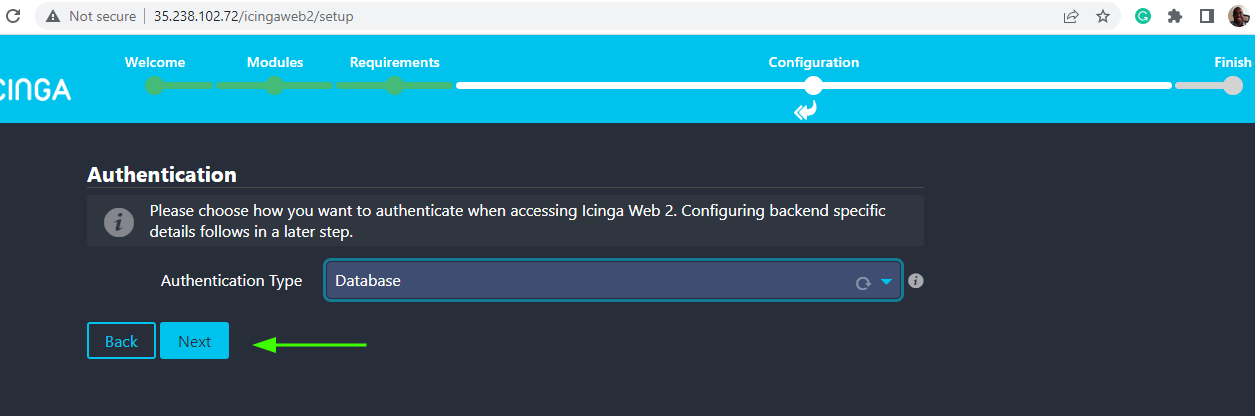
For the ‘Authentication’ step, just accept the default selection and click ‘Next’.
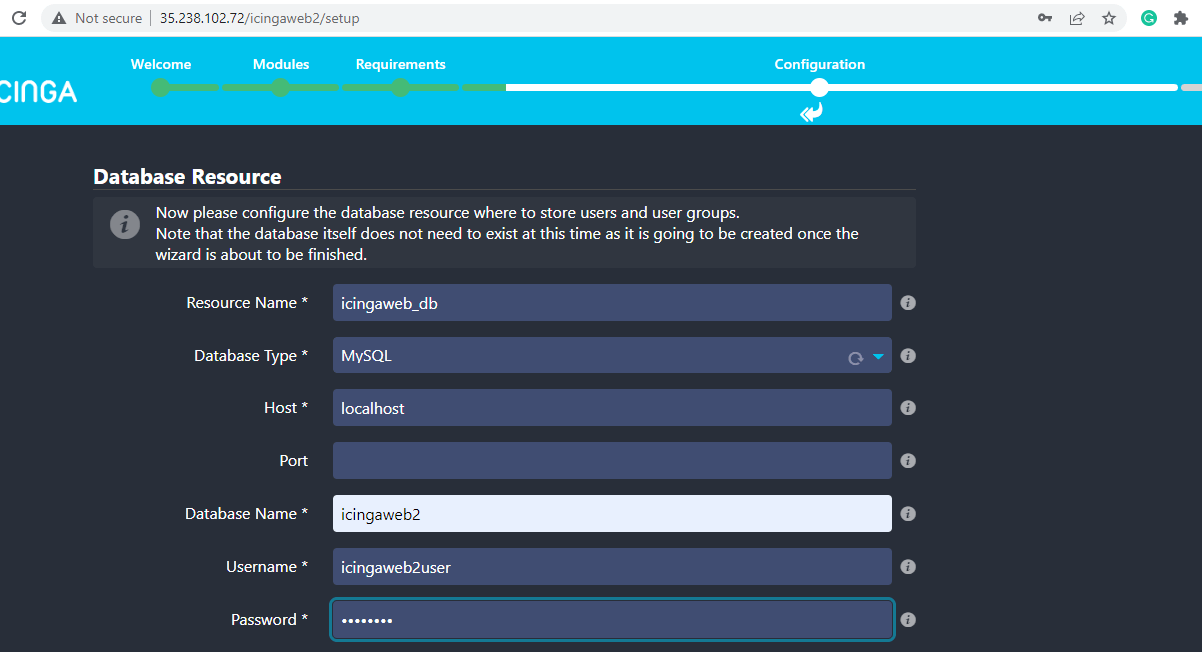
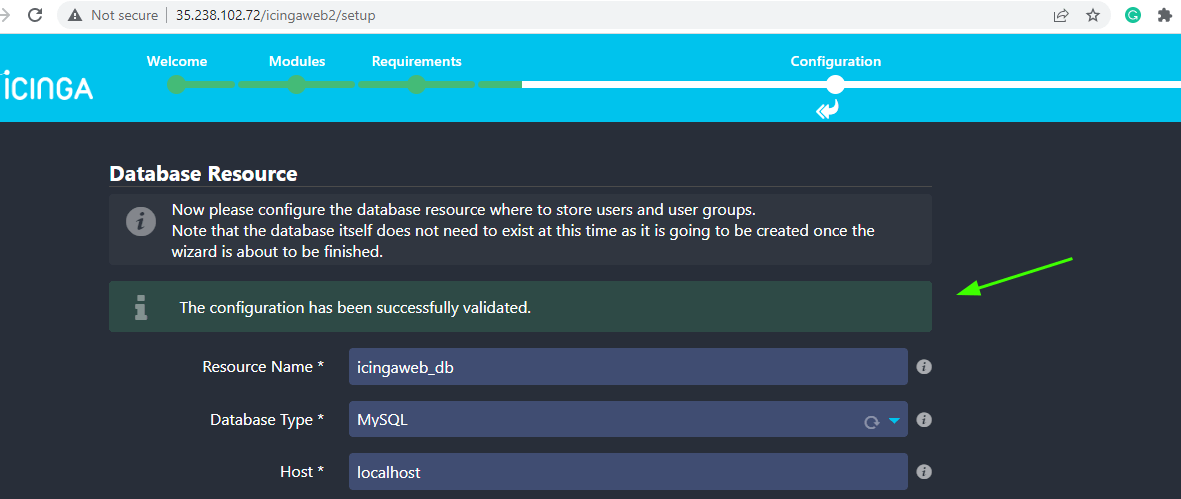
In the next step, provide the database details for IcingaWeb2 as specified.
Once done, scroll all the way down and click on ‘Validate configuration’ to verify that the credentials are correct.
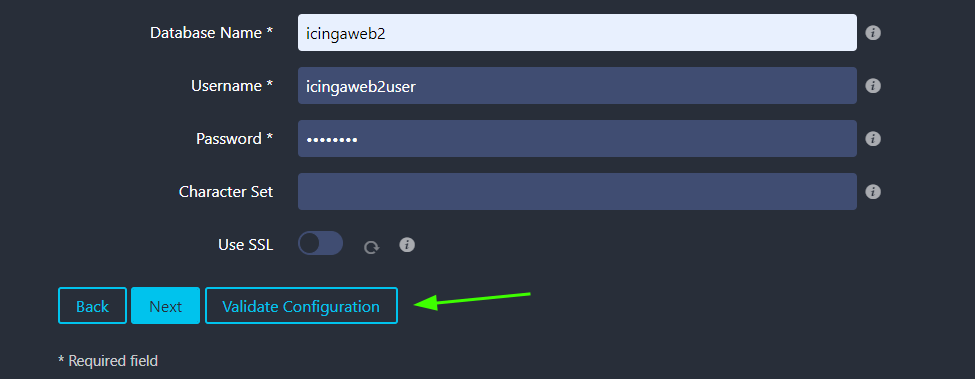
If the details you provided are correct, the configuration should be validated. Once again, scroll all the way to the bottom and click on ‘Next’.
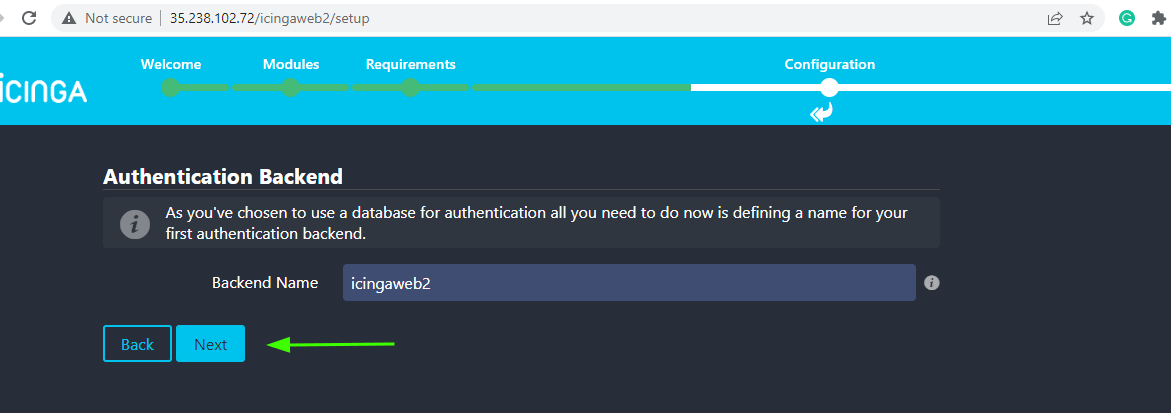
For ‘Authentication Backend’ simply accept the default option and click ‘Next’.
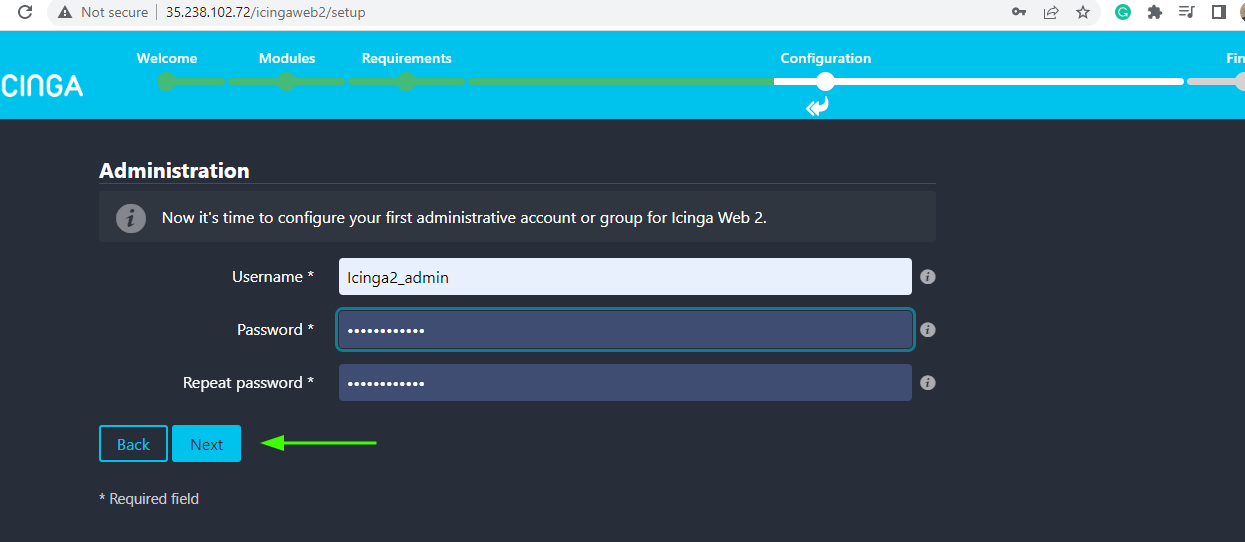
In the next step, create an administrative user by providing a username and password. This is the user that will be used to log in to the Icinga dashboard.
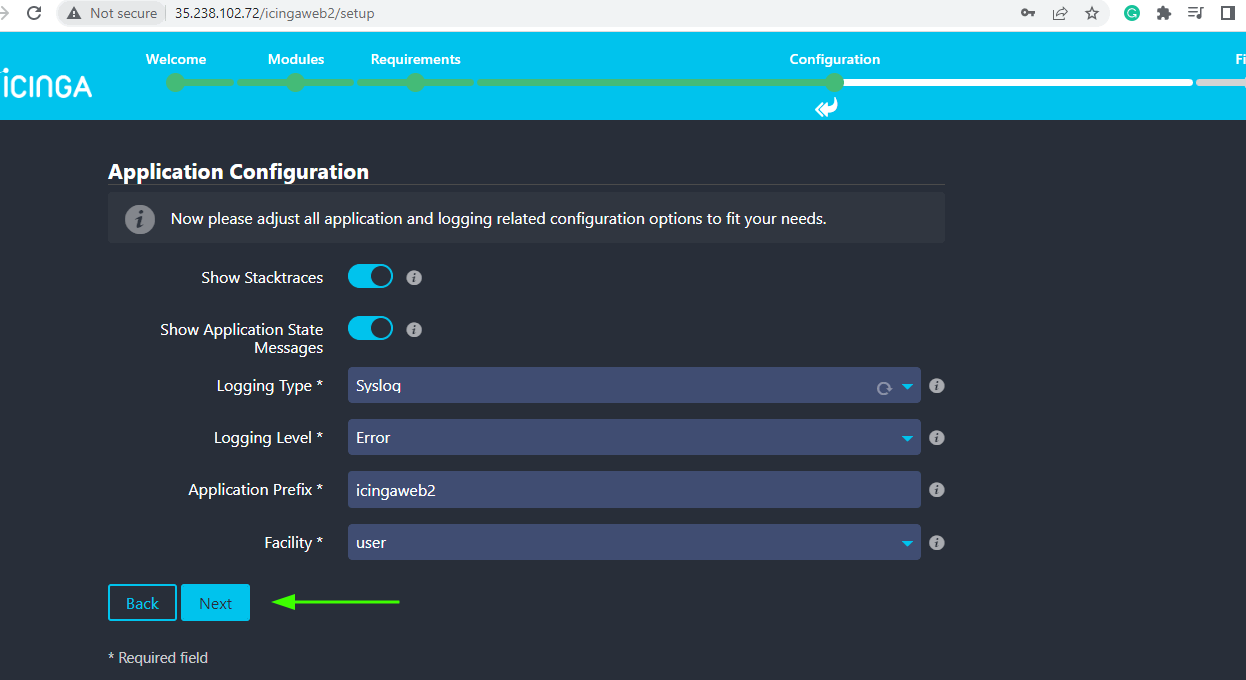
For ‘Application Configuration’, accept the default values and click ‘Next’.
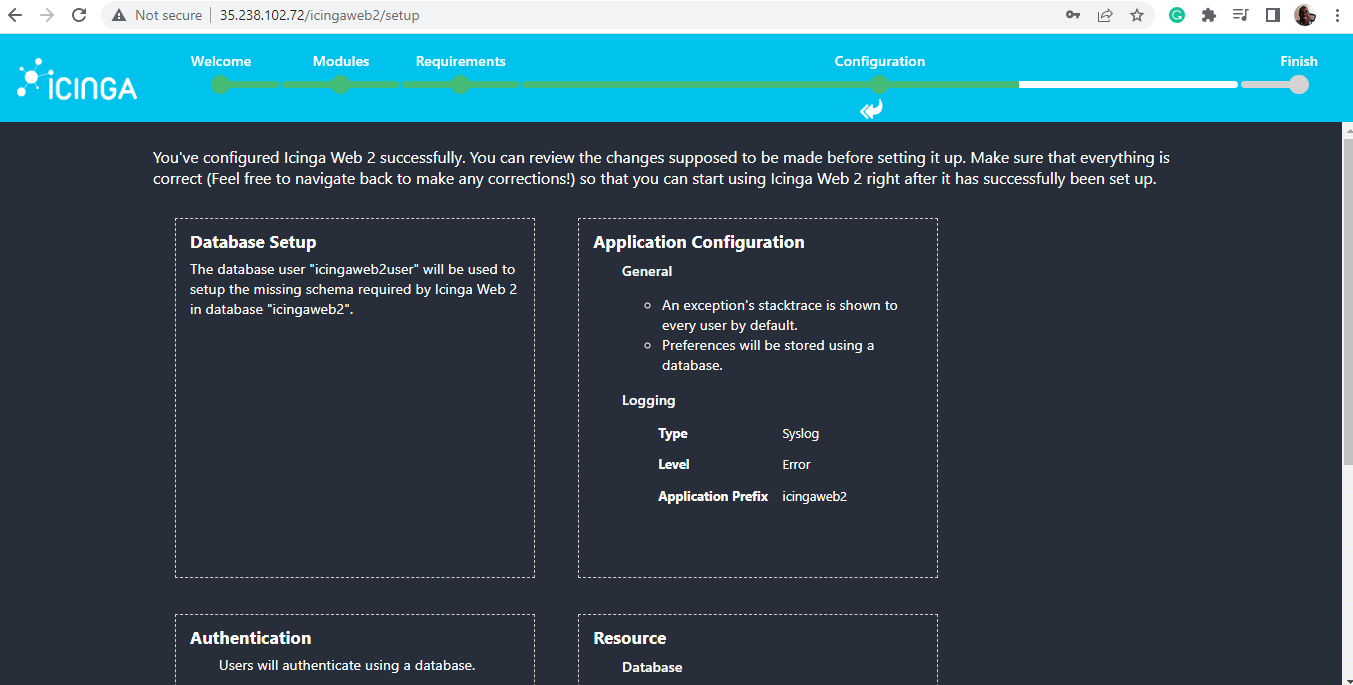
Next, review all the configurations that you have provided. If all looks good, scroll down and click ‘Next’.
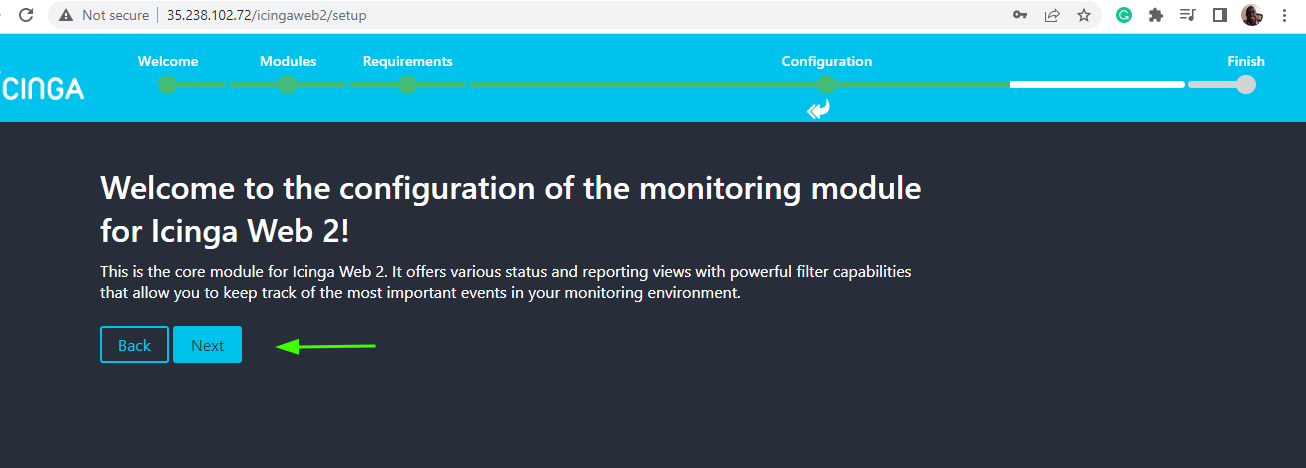
The next section is the configuration of the monitoring module for Icinga Web 2. So, click ‘Next’ to go to the next step.
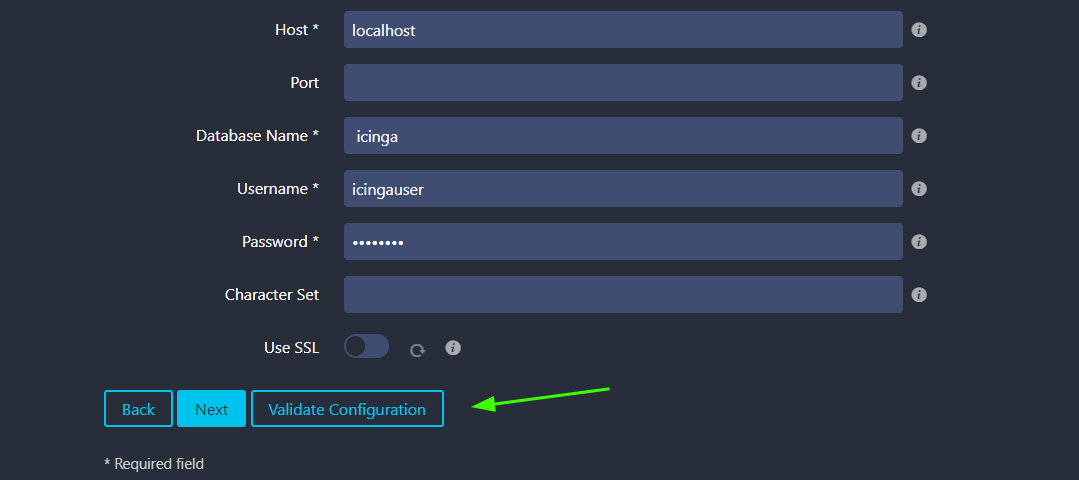
In the ‘Monitoring IDO Resource’ provide the database details for the IDO database as specified in Step 4.

Scroll down and click on ‘Validate Configuration’.
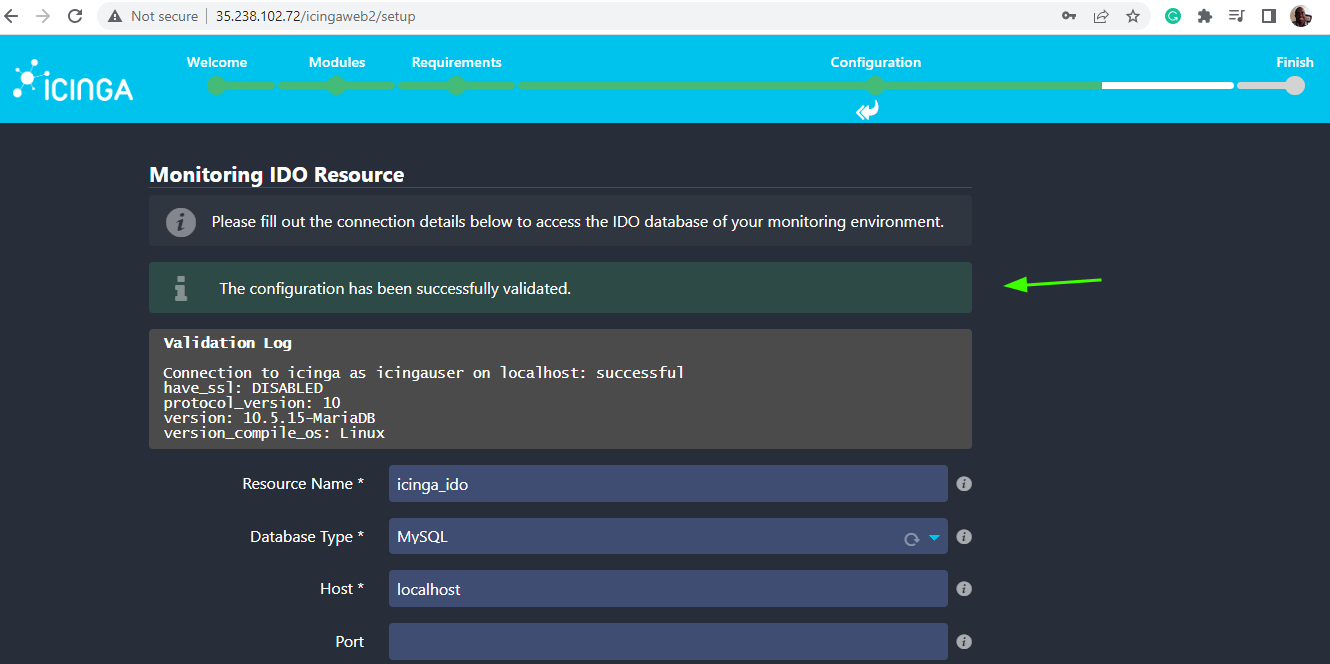
If all went all, the configuration will be successfully validated. Once again, scroll all the way down and click ‘Next’.
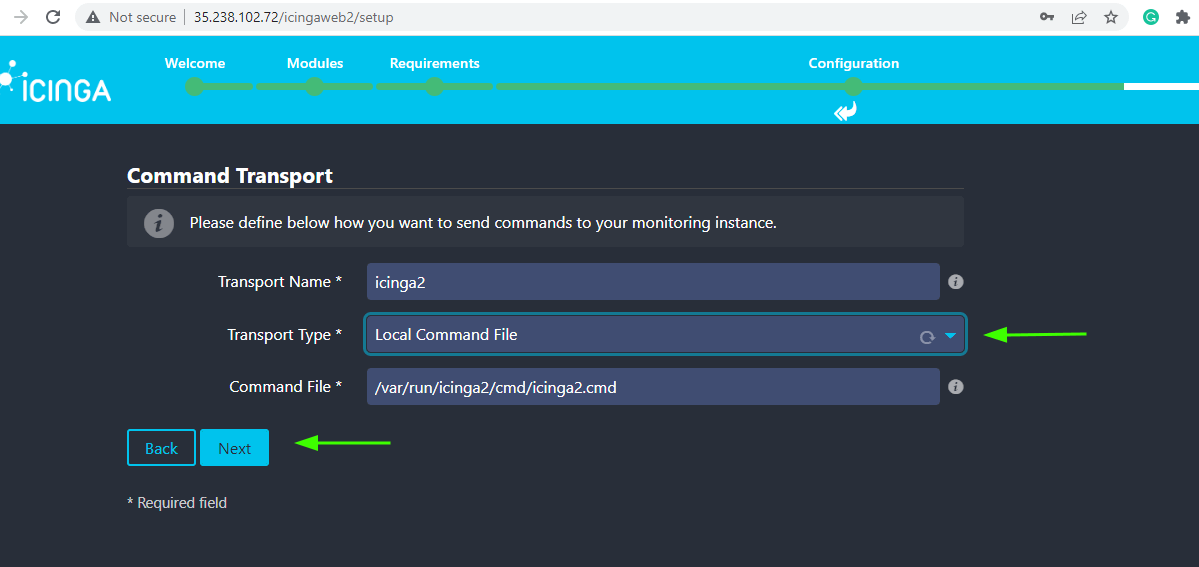
In the ‘Command Transport’ section, select ‘Local Command File’ as the Transport Type. and click ‘Next’.
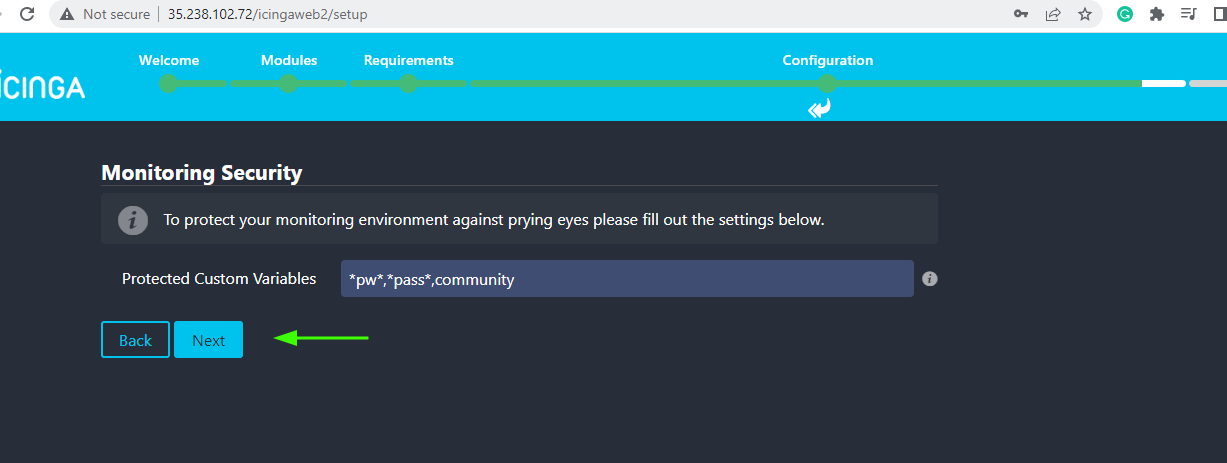
In the ‘Monitoring Security’ section, simply press ‘Next’ to go with the default option.
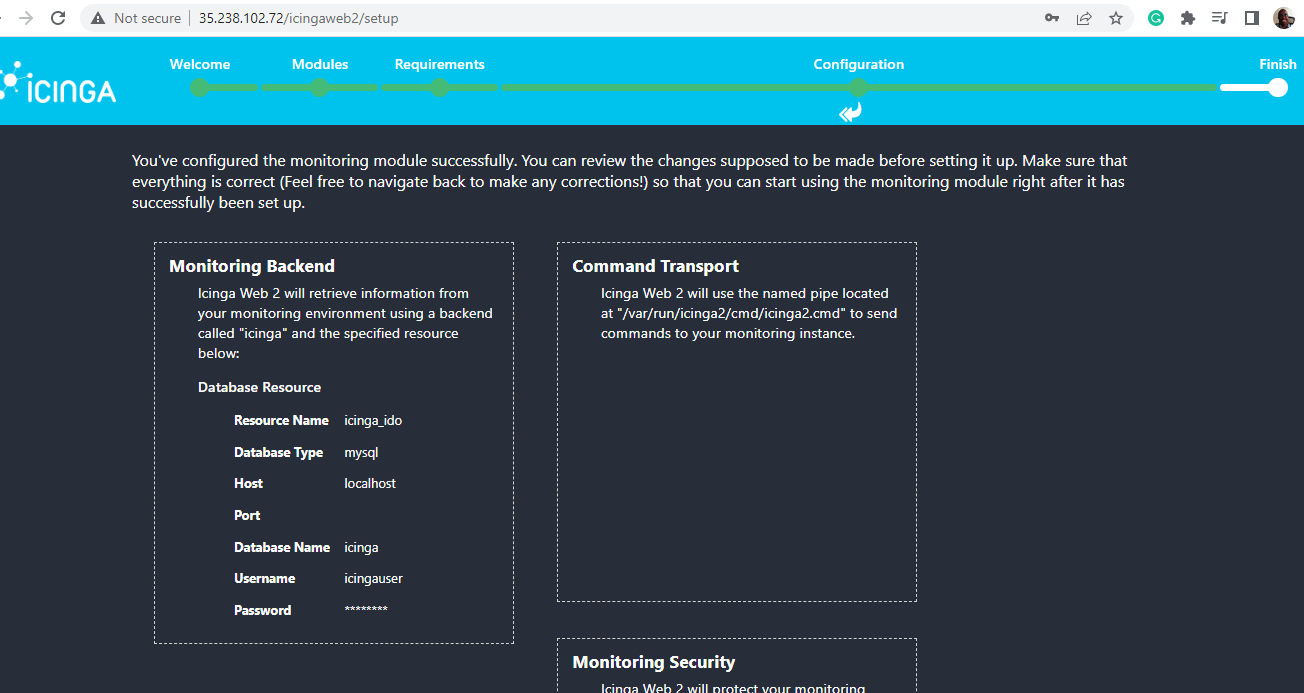
Finally, review the configurations for the monitoring module. If everything looks okay, scroll down and click on ‘Finish’.
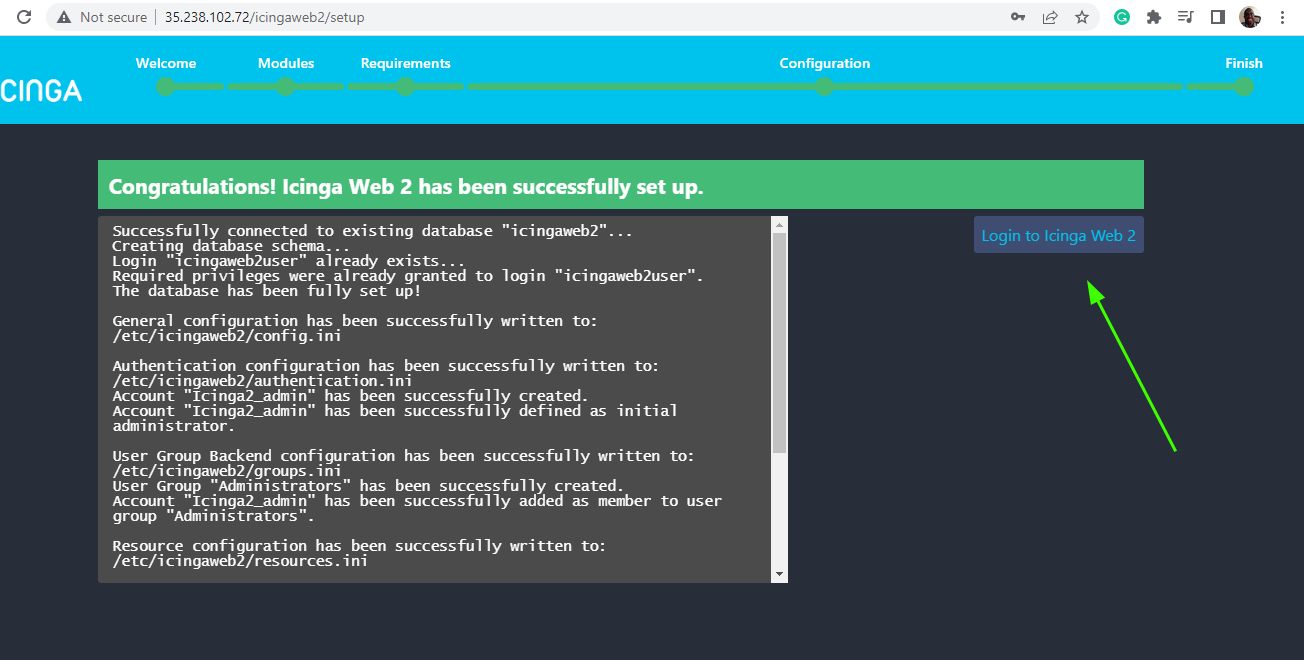
You should get a congratulatory message informing you that Icinga Web 2 has been set up. To log in to Icinga Web 2, click on the ‘Login to Icinga Web2’ button.
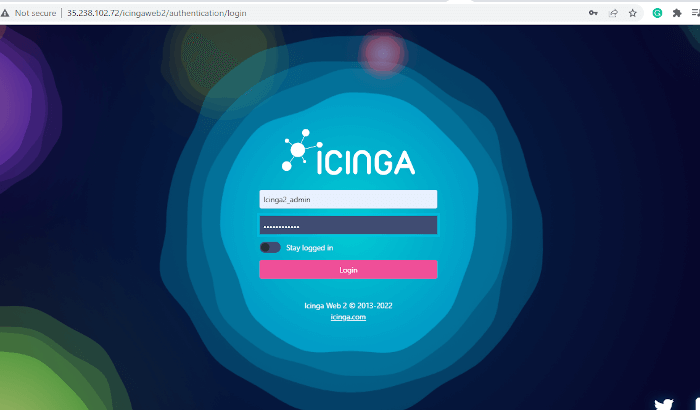
This takes you to the login page as shown. Provide the username and password of the Icinga Admin user that you created and click ‘Login’.
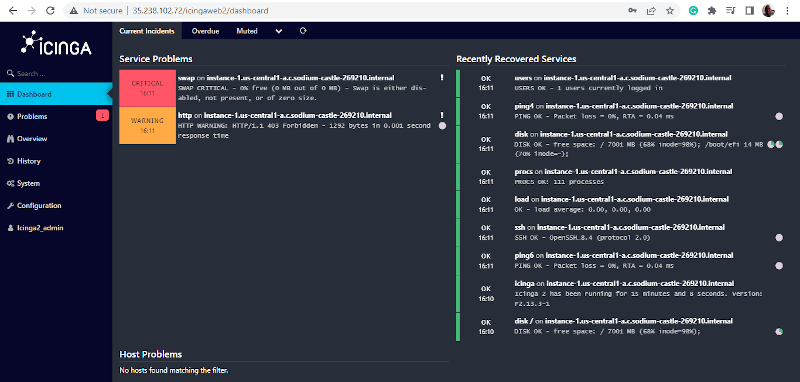
This ushers you to the Icinga Web2 dashboard as you can see. From there you can add your network devices for monitoring.
We have come to the end of this guide. We have successfully installed Icinga Monitoring Tool on OpenSUSE.


Thank you very much. Still a very useful tutorial for Beginners.
Worked like a charm :-)