Nagios XI is a powerful monitoring tool used to monitor IT infrastructure and ensure the smooth operation of networks, servers, applications, and services.
In this guide, we’ll walk you through the steps to install Nagios XI on Ubuntu 22.04, making monitoring your systems easier and more efficient.
Prerequisites
Before you begin the installation process, make sure you have:
- An instance of Ubuntu 22.04 LTS (or later) is installed and accessible with root or sudo privileges.
- A minimum of 4GB RAM and 20GB of disk space.
- Basic knowledge of Linux command-line interface.
Step 1: Install Required Dependencies
It’s essential to start by updating the system packages to ensure that you have the latest versions and security patches installed.
sudo apt update
sudo apt upgrade
Next, we need to install several dependencies that are necessary for Nagios XI to run smoothly.
sudo apt install apache2 php mysql-server php-mysql libapache2-mod-php php-gd php-ldap php-pear php-xml php-soap php-intl php-json php-mbstring php-cli php-curl

After installing the required dependencies, you need to secure your MySQL using a script called mysql_secure_installation that helps you secure your installation.
sudo mysql_secure_installation
Follow the prompts to configure the security options such set a root password, removing anonymous users, disallowing remote root login, and removing the test database. Answer ‘Y' for yes or ‘N' for no as per your preference.
Step 2: Download Nagios XI
Next, download the Nagios XI installation script from the official Nagios website or you can use the wget command to download the script directly to your server.
wget https://assets.nagios.com/downloads/nagiosxi/install.sh
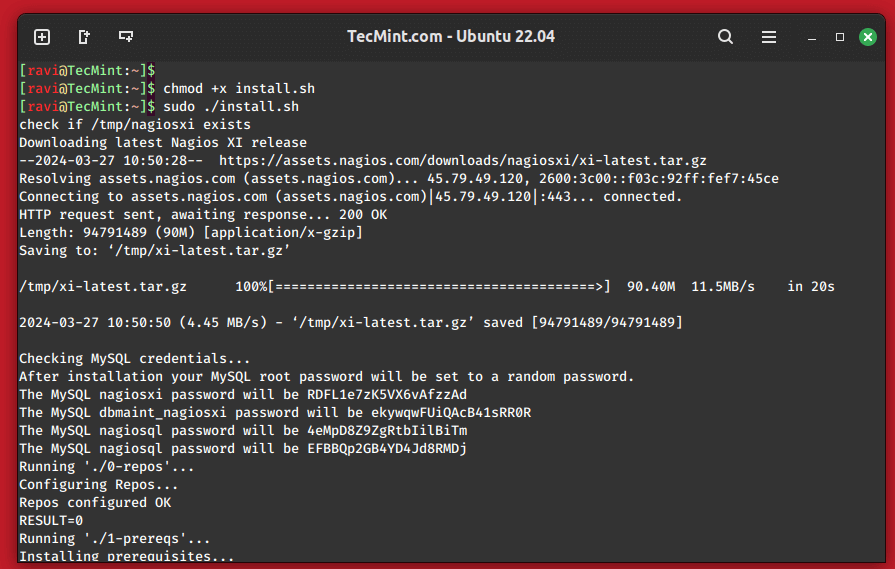
Once the download is complete, you need to make the script executable and run it with root privileges.
chmod +x install.sh
sudo ./install.sh
The installation script will guide you through the installation process, prompting you to provide necessary information such as the MySQL root password, Nagios XI administrator password, and other configuration details.
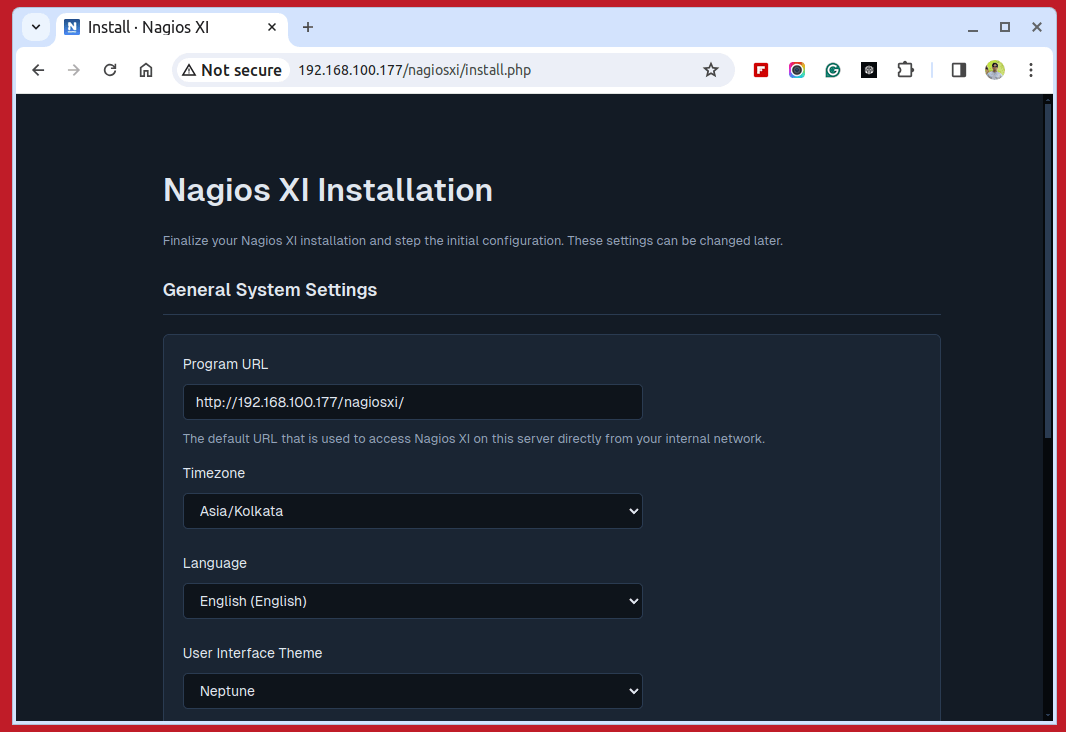
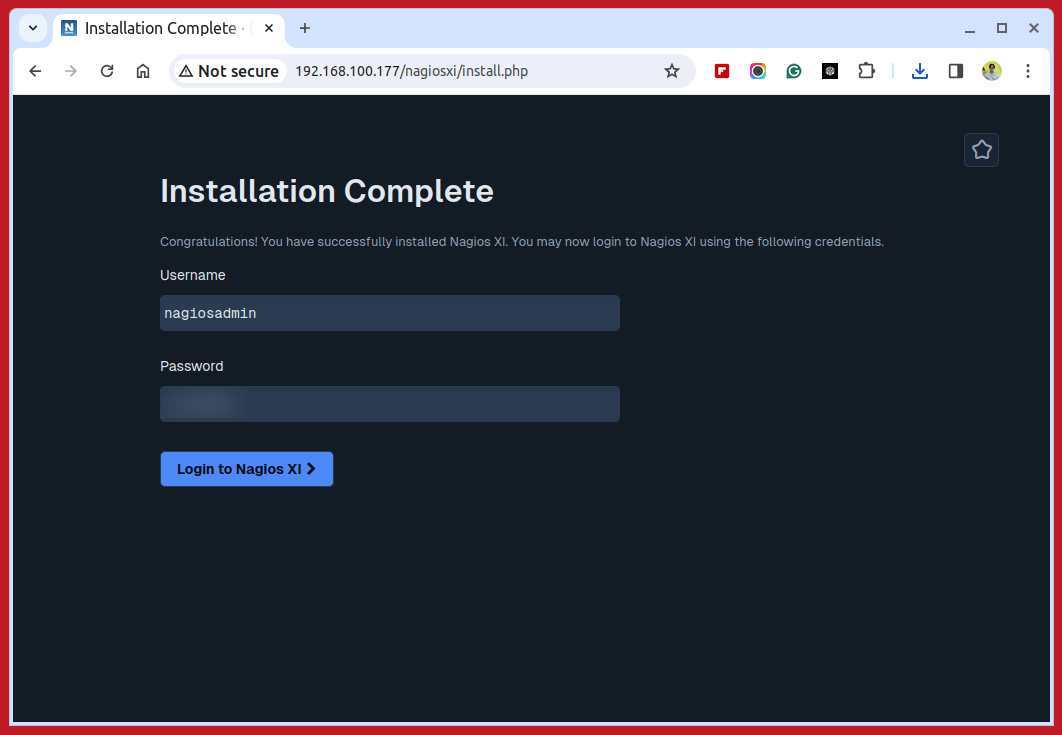
Step 3: Access Nagios XI Web Interface
Once the installation is complete, you can access the Nagios XI web interface by opening a web browser and navigating to the following url.
http://your-server-ip/nagiosxi/
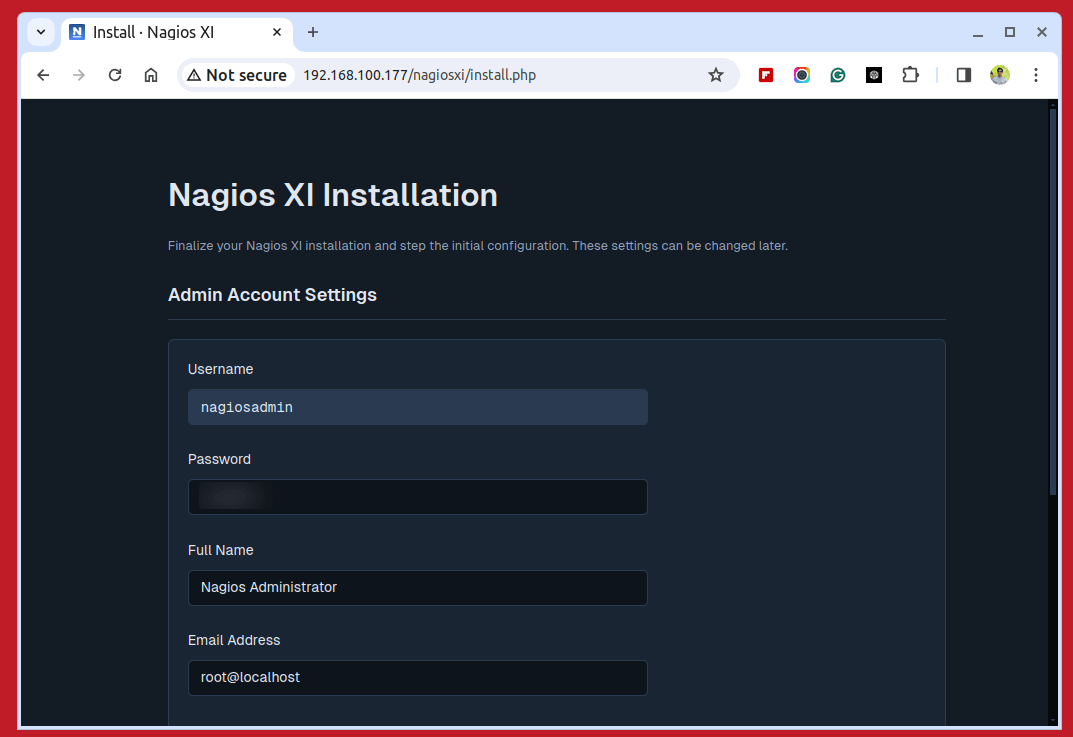
Log in with the username “nagiosadmin” and the password you created during setup.
After logging in, you’ll need to perform some initial configuration tasks such as adding hosts, services, and configuring alerts. The Nagios XI web interface provides a user-friendly interface to perform these tasks.
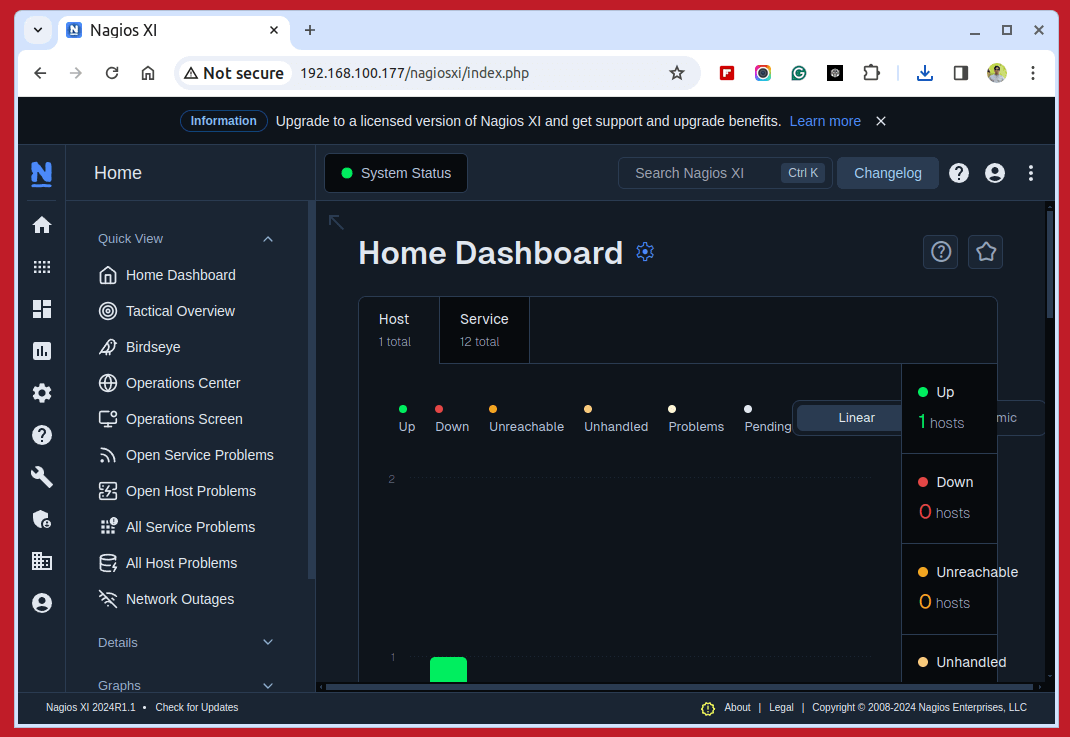
With Nagios XI successfully installed and configured, you can now start monitoring your infrastructure. Add hosts and services to monitor, configure notification preferences, and customize dashboards according to your requirements.
Conclusion
In this guide, we’ve walked you through the process of installing Nagios XI on Ubuntu 22.04. By following these steps, you can set up a powerful monitoring solution to keep track of your infrastructure’s health and performance.
Nagios XI offers a wide range of features and capabilities to help you effectively manage your IT environment and ensure maximum uptime for your critical systems.