Nagios is a free and open-source tool for monitoring systems, networks, and infrastructure. Nagios provides a web interface for viewing current network status, log files, notifications, and much more.
[ You might also like: 22 Linux Networking Commands for Sysadmin ]
It can monitor a host’s resources and services and send SMS and email alerts if something goes wrong. Additionally, Nagios offers remote monitoring using Nagios Remote plugins or through SSL encrypted tunnels or SSH.
In this article, we will go through the installation of Nagios on the Rocky Linux and AlmaLinux distribution.
Step 1: Install Dependencies for Nagios
It is always important to ensure your system packages are updated before installing additional packages.
$ sudo dnf update
Some additional dependencies are required for the installation of Nagios to proceed without a hitch. These include the Apache HTTP web server, compiler tools such gcc, SNMP packages and php modules to mention a few.
$ sudo dnf install -y php perl @httpd wget unzip glibc automake glibc-common gettext autoconf php php-cli gcc gd gd-devel net-snmp openssl-devel unzip net-snmp postfix net-snmp-utils
Thereafter, proceed and install the development tools:
$ sudo dnf -y groupinstall "Development Tools"
Once the installation is complete, start and enable httpd and php-fpm services to start on boot time.
$ sudo systemctl enable --now httpd php-fpm
Then start the Apache webserver and php-fpm services.
$ sudo systemctl start httpd
$ sudo systemctl start php-fpm
It would also be a great idea to confirm that both services are running:
$ sudo systemctl status httpd
$ sudo systemctl status php-fpm
Perfect! We have installed all the requisite packages needed for Nagios. Now let’s get along with downloading Nagios.
Step 2: Download Nagios Core Source Code
We are ready to proceed with the download of Nagios. We will download the Nagios Core archive from the official site. By the time of writing this guide, the latest version of Nagios is 4.4.6.
Use the wget command to download the archive file.
$ wget https://assets.nagios.com/downloads/nagioscore/releases/nagios-4.4.6.tar.gz
Once the download is complete, execute the following command to extract the Nagios source code.
$ tar -xzf nagios-4.4.6.tar.gz
Next, navigate into the Nagios source code folder.
$ cd nagios-*/
Next, install all the necessary dependencies and build tools for Nagios by running the following configuration script:
$ sudo ./configure
The following summary will be displayed if the configuration is successful:
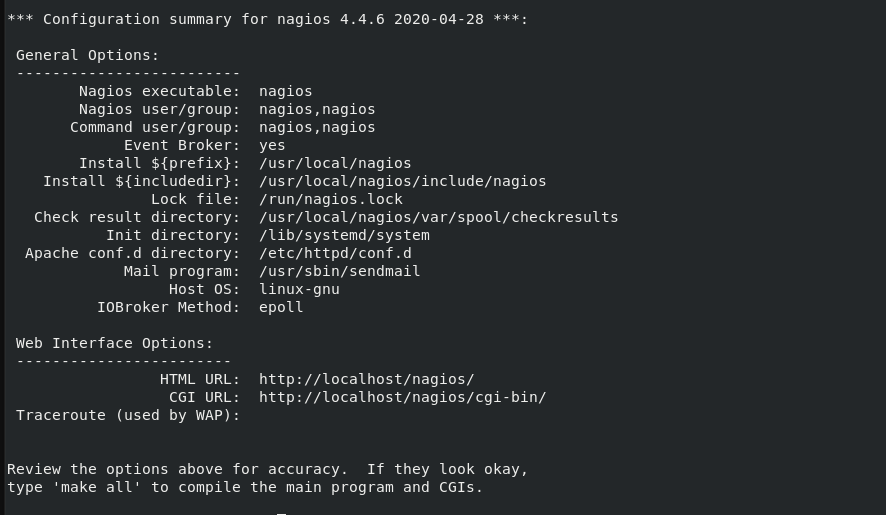
Next, compile the Nagios main program as shown:
$ sudo make all

After successful compilation, you should get the output shown below provided with the next steps to execute:
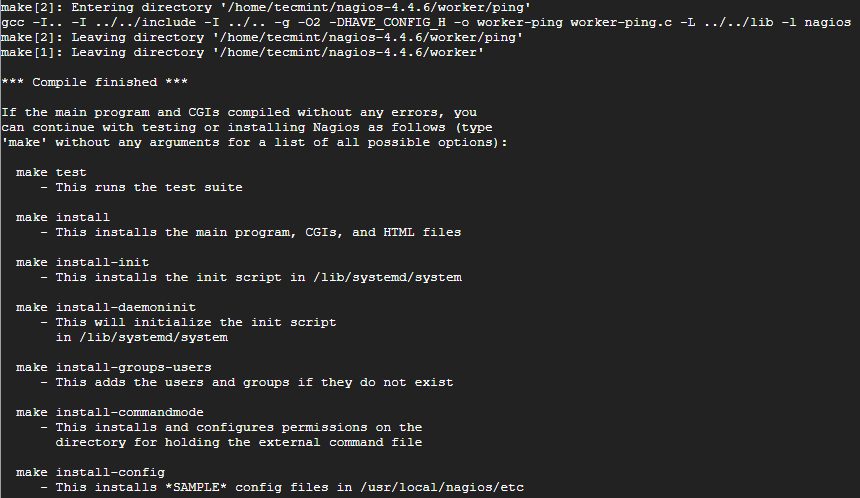
Now, let’s create a Nagios system and user.
$ sudo make install-groups-users
Afterward, execute the following command to add an apache user to the Nagios group.
$ sudo usermod -aG nagios apache
Step 3: Install Nagios Core on Linux
Now, let’s install Nagios Core along with CGIs and HTML files.
$ sudo make install

Then install the init script in the /lib/systemd/system path.
$ sudo make install-init
Next, install Nagios initialization scripts.
$ sudo make install-daemoninit
Then, install and configure permissions on the folder for holding the external command line:
$ sudo make install-commandmode
Next, install the Nagios sample configuration files.
$ sudo make install-config

After running this command, the files are installed in /usr/local/nagios/etc.
Then, install Apache configuration files required for Nagios.
$ sudo make install-webconf
Step 4: Create Nagios Web User
To access the Nagios web dashboard, you must first create an apache user account.
$ sudo htpasswd -c /usr/local/nagios/etc/htpasswd.users nagiosadmin
By default, the user is nagiosadmin.
In case you wish to use a different user, replace all instances of Nagiosadmin in the /usr/local/nagios/etc/cgi.cfg file with the new user name.
Next, ensure you set the ownership of the Nagios Apache authentication configuration file to the webserver user.
$ sudo chown apache:apache /usr/local/nagios/etc/htpasswd.users
Then, set file permissions appropriately such that apache has read-write access.
$ sudo chmod 640 /usr/local/nagios/etc/htpasswd.users
After the above steps, restart the apache service to apply the changes.
$ sudo systemctl restart httpd
Now configure the firewall to allow inbound HTTP traffic.
$ firewall-cmd --add-port=80/tcp --permanent
$ firewall-cmd --reload
Now, start and enable the Nagios service to run automatically upon system boot.
$ sudo systemctl enable nagios --now
To check the status of Nagios run:
$ sudo systemctl status nagios
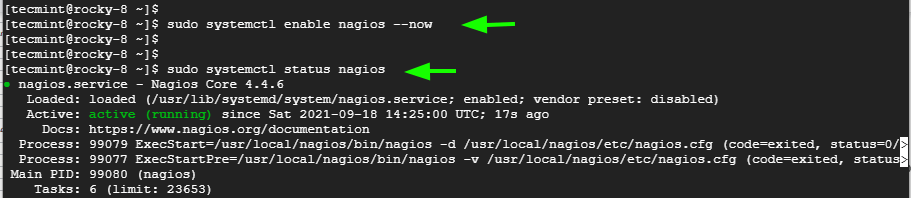
From the output above, the Nagios Service is now operating successfully on our system.
Step 5: Accessing Nagios Web Interface
Finally, let’s access the Nagios dashboard. Open your preferred web browser and access Nagios with the following address:
$ http://your-server-ip/nagios/
You will be prompted to log in. Use the credentials we assigned to the Nagiosadmin user.
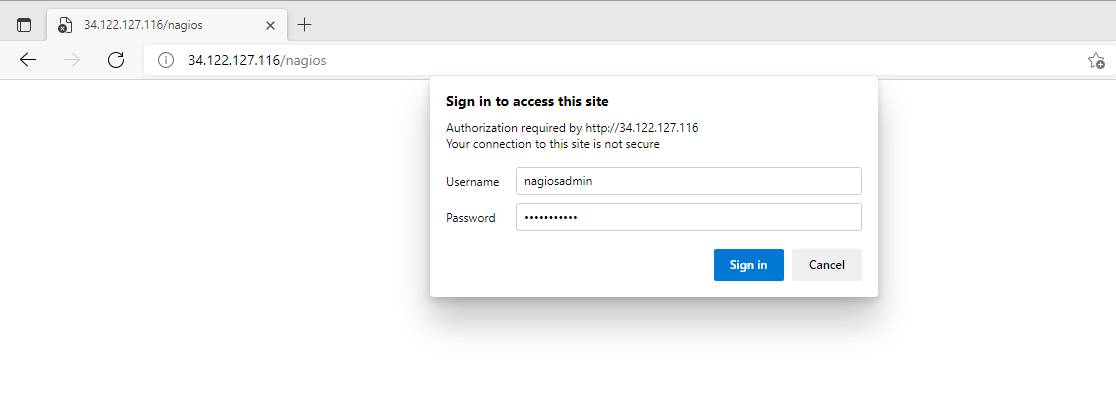
After successfully logging in, you will be directed to the Nagios dashboard.

We have now successfully installed the Nagios monitoring tool on our Rocky Linux and AlmaLinux system.


